Are you ready to take a closer look at your Daffodils pages? They're pretty magical!

Be sure to download the instructions included with the purchase of your Daffodils collection if you want to create the layouts below exactly as you see them. You'll also need a 12" paper trimmer, adhesive, tape, and our awesome 3x14" acrylic grid ruler.
Daffodils Page Kit
LAYOUTS 1 & 2

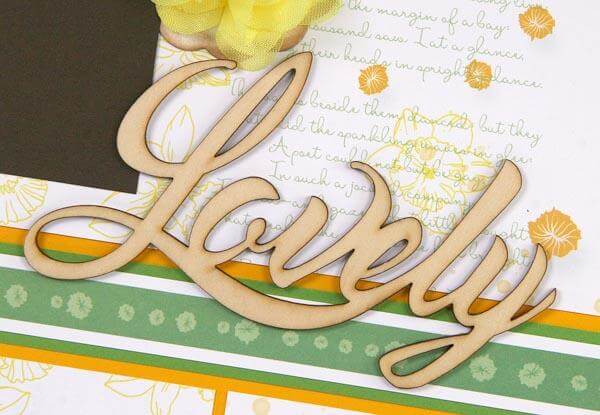
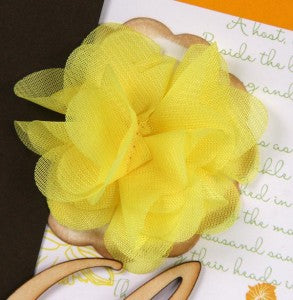
Snip the yellow chiffon flower from the strip of tulle and adhere to a white scalloped tag. Warm the edges of the tag with Earth ink and CS® Ink Applicator.
Adhere three brown corduroy buttons to the border strip on the upper right corner of the layout with CS® Bookbinding Glue. Make sure this is the final step of layout assembly and set the page aside to dry.

LAYOUTS 3 & 4

There are three circle shapes on the printed cutaparts. Punch with a 1.75" circle punch, cut with scissors, or use your favorite die cutting system to create the circles. Nest each circle onto a white tag.

Nest three yellow corduroy buttons onto the cutapart squares designed just for them!

LAYOUTS 5 & 6

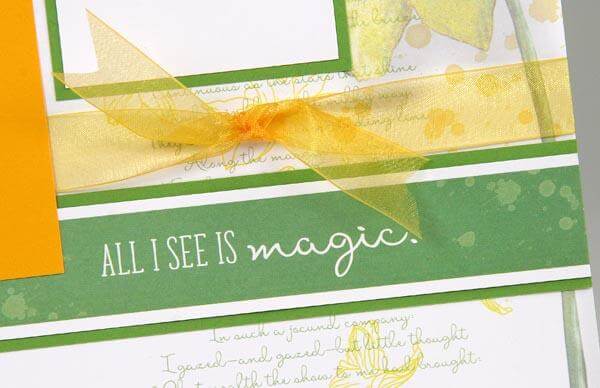
Wrap the organza ribbon around the narrow strip on the left side of the layout, tie a knot, and trim the ends.

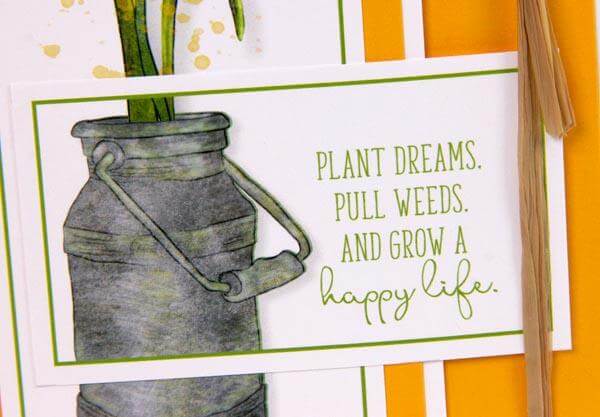
For the right side of the layout, trim a 14" piece of ribbon, stretch across the page, and tape the ends on the back. Tie an additional piece of ribbon onto the strip and trim the ends.

LAYOUTS 7 & 8

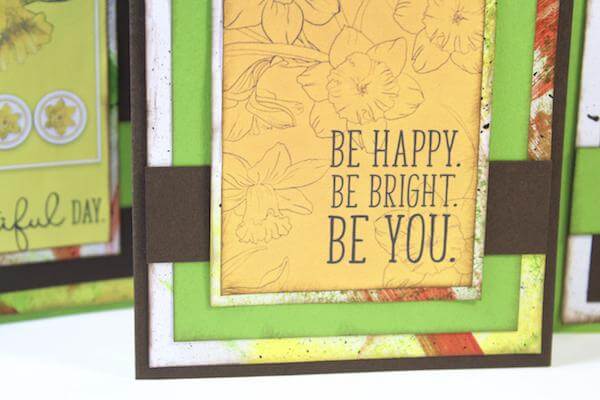
Hide the "hanging hole" of the white scalloped tag behind the Green mat, and place the circular journaling prompt on top of the nested cutapart.

Page Kit members, watch for the link to your full-length video workshop filled with assembly tips to help recreate your Daffodils pages. Happy assembling!
Tricia

