
It's no secret our Special Release Page Kits make gorgeous layouts for your scrapbooks. However, if you're a card maker, you can easily transform the kit contents into a set of stunning cards. Club Scrap's card making formulas make it possible.
After scrapping my Pure and Simple Page Kit, I picked up a second collection knowing it would make wonderful cards. Since I normally have hundreds of cards in my stash, I'm always looking for ways to turn cards into ready-made gifts - perfect for a variety of occasions.
Choosing a Formula
There are dozens of card formulas to choose from - whether you choose downloadable card making formulas from our online store, or repurpose instructions from a past monthly card kit - you really can't go wrong.
Pure and Simple Remix Cards
I opted to repurpose a past special release card formula from the Farm Critters Remix Card Kit. This formula transforms a kit into sixteen greeting cards and two notecard carriers - just add one sheet of folding board and two hook and loop dots. Are you ready for a tour of the completed projects?
Notecard Carriers
Substitute papers from the Pure and Simple kit for those in the instructions (see substitution list at the end of this post). Trim all papers except (1) White, (1) Black and the Cutaparts. Cut and score one Steel Gray Folding Board according to step 5 in the instructions. Follow steps 6-19 to make two notecard carriers with coordinating belly bands.
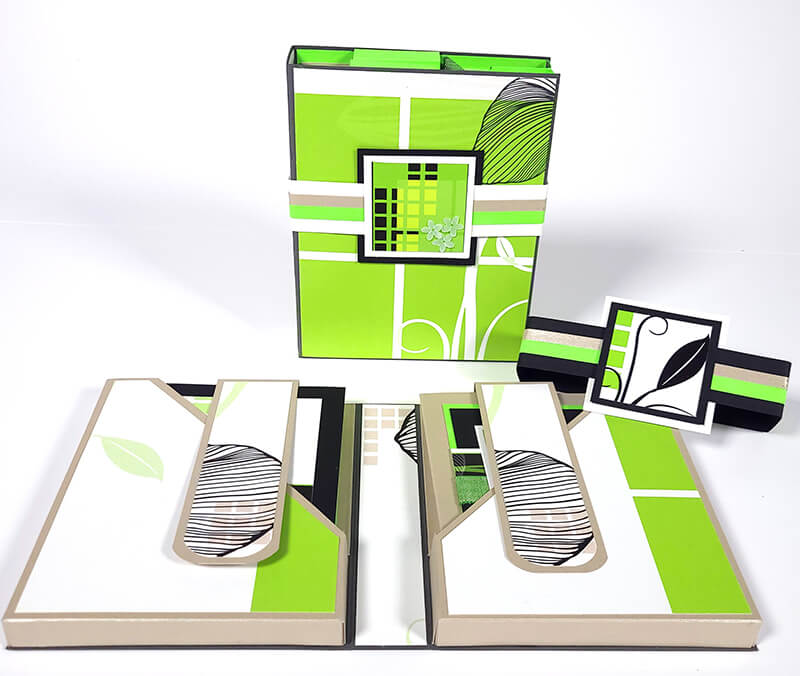
Each notecard carrier holds eight of the cards and coordinating A2 envelopes (sold separately). The tabs secured with hook and loop dots keep the cards and envelopes in their respective pockets, while the belly band acts as a closure for each carrier.
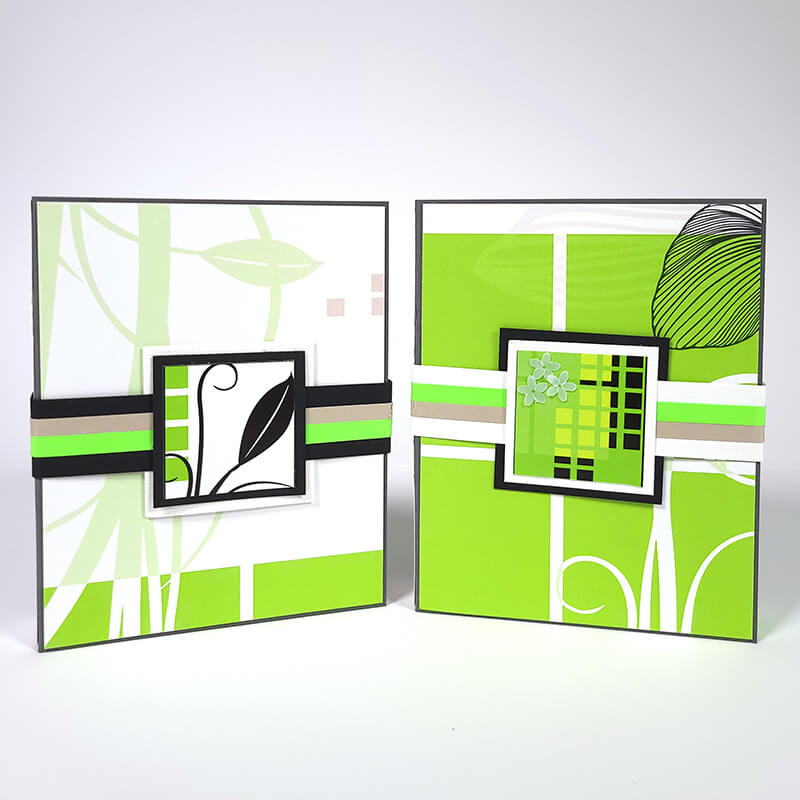
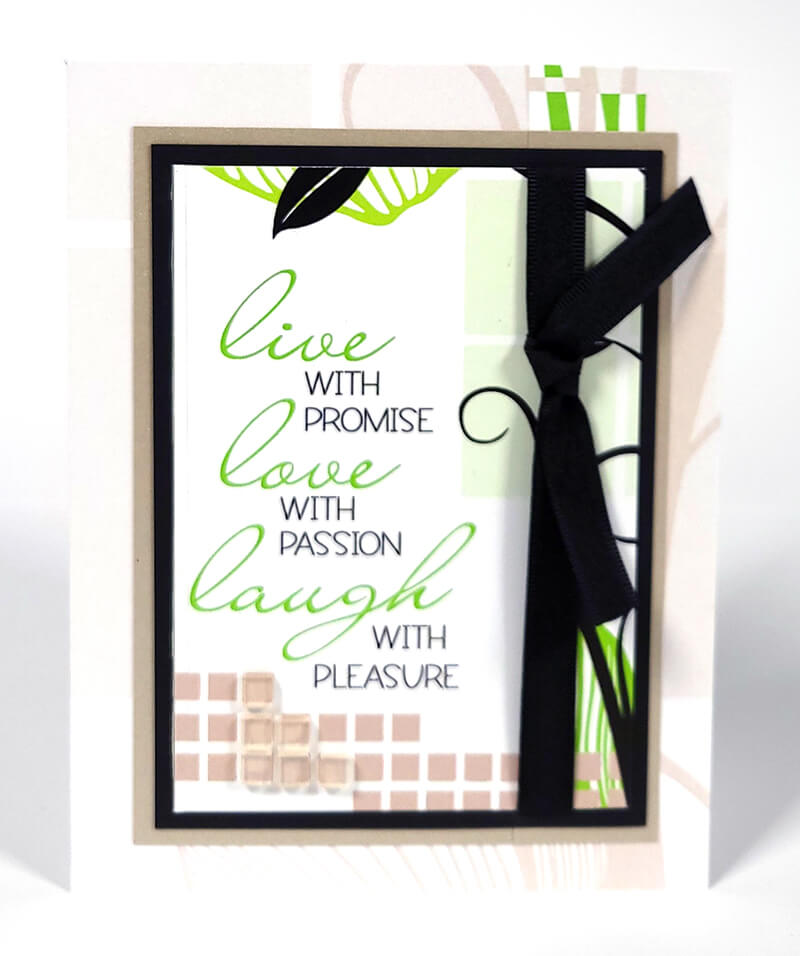
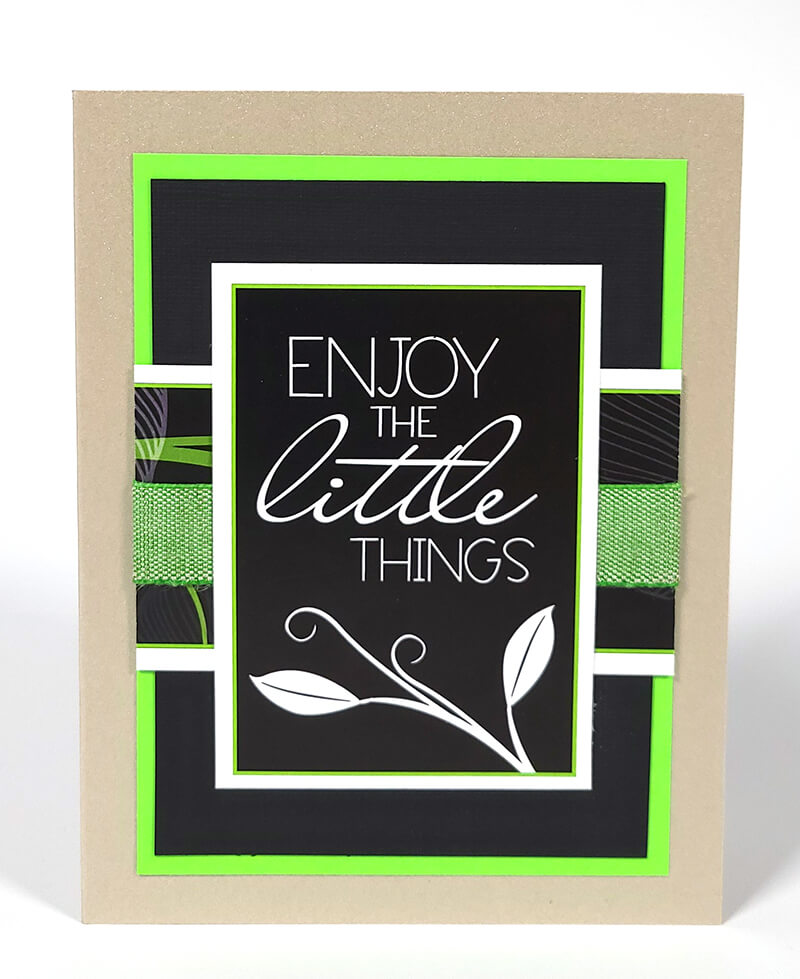
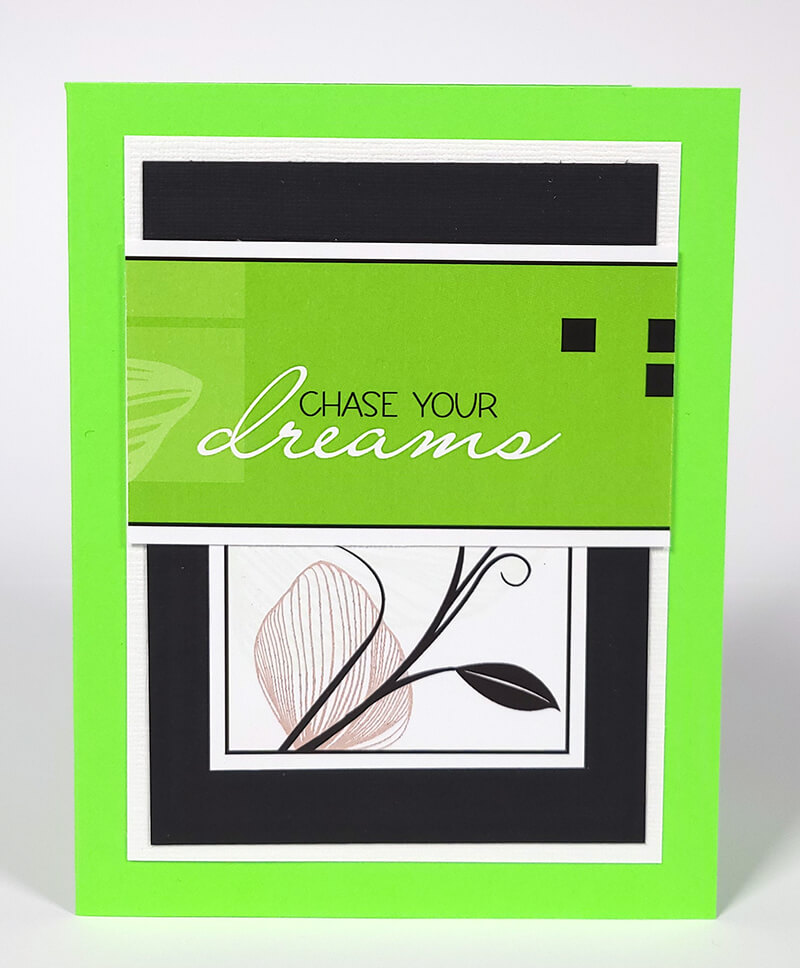
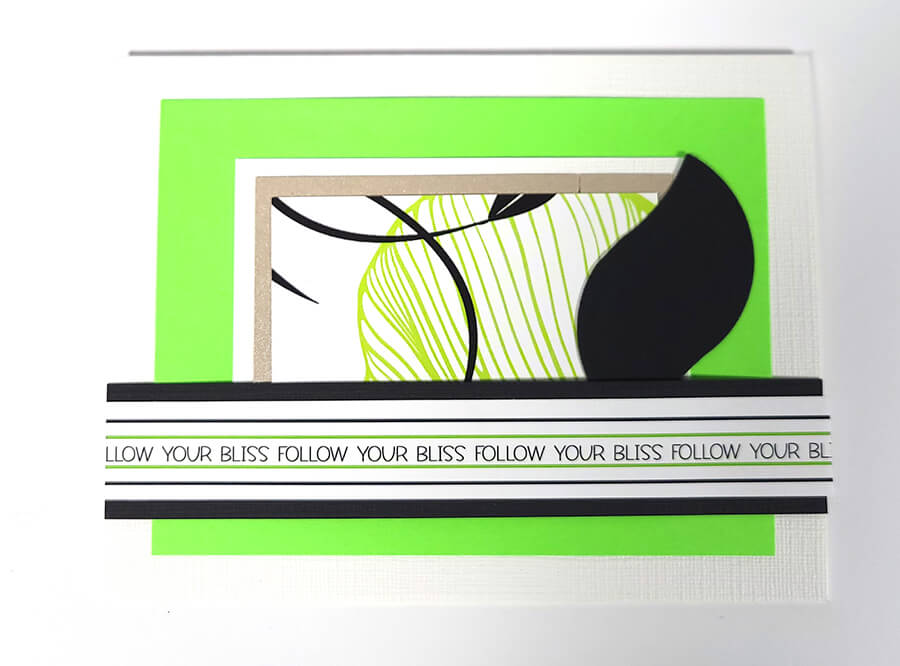
Cards 1-8
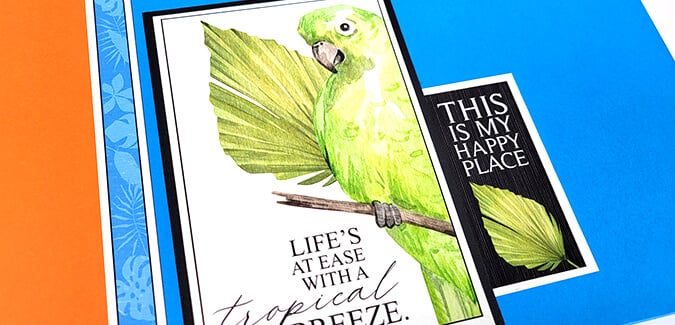
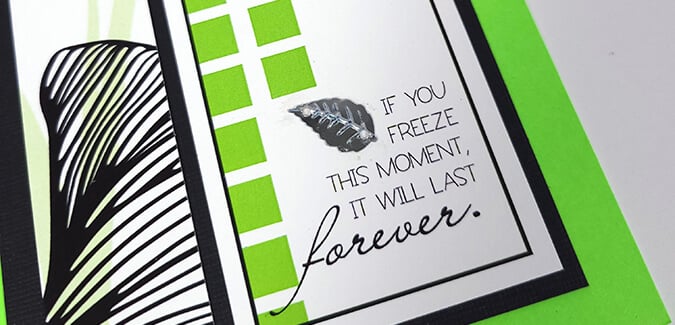
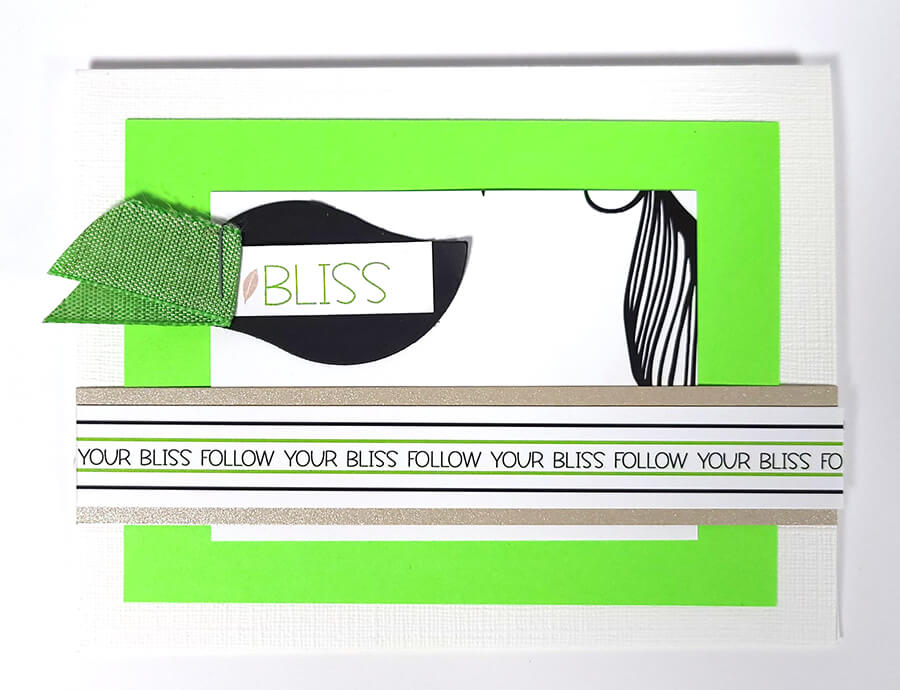
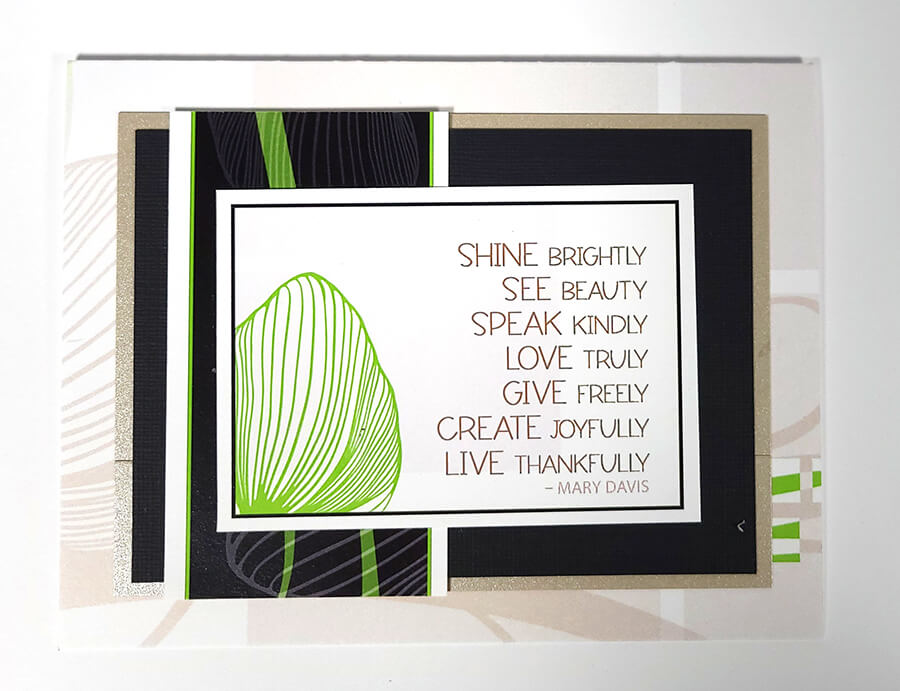
To create the cards, "deal out" all card bases and layered panels, interchanging colors as desired. You can use the Farm Critters finished card samples as inspiration.
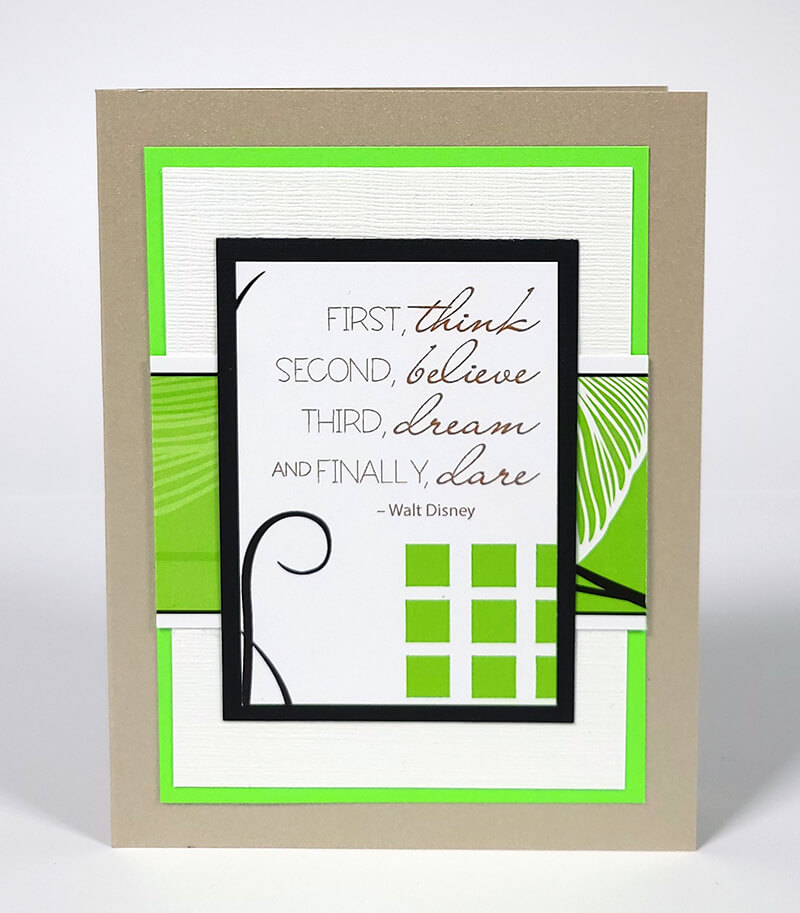
Sort through cutapart sentiments and dry-fit onto the card bases and panels until all are used.
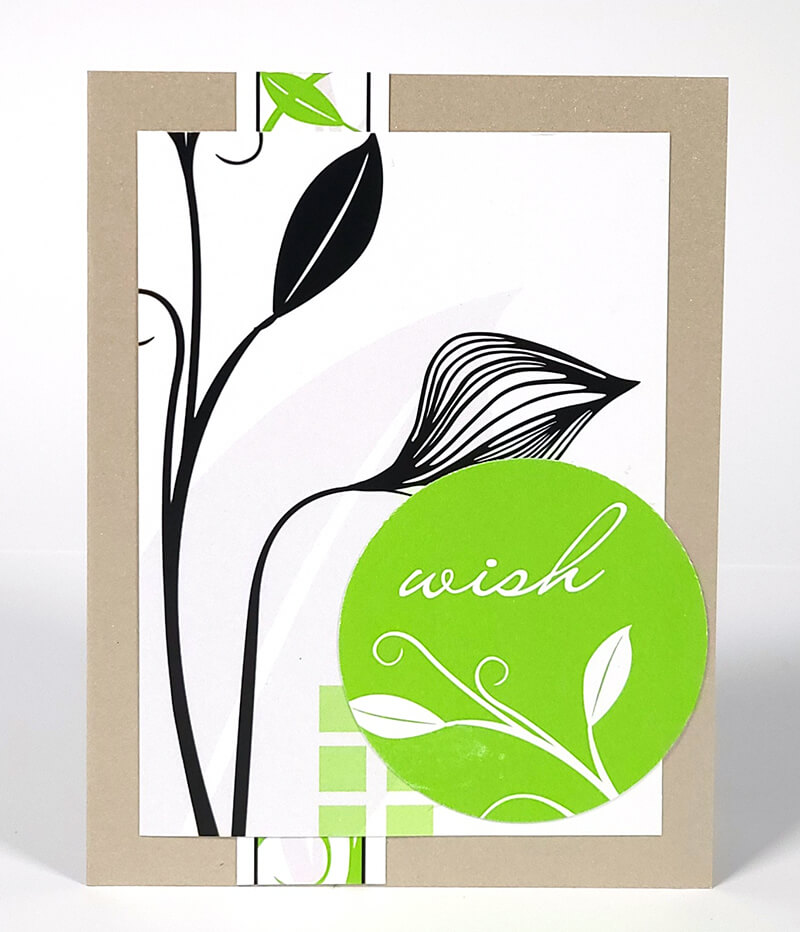
Trim border strips, title strips and any "oversized" cutaparts as desired to fit the remaining cards. Embellish with kit goodies and ribbons.
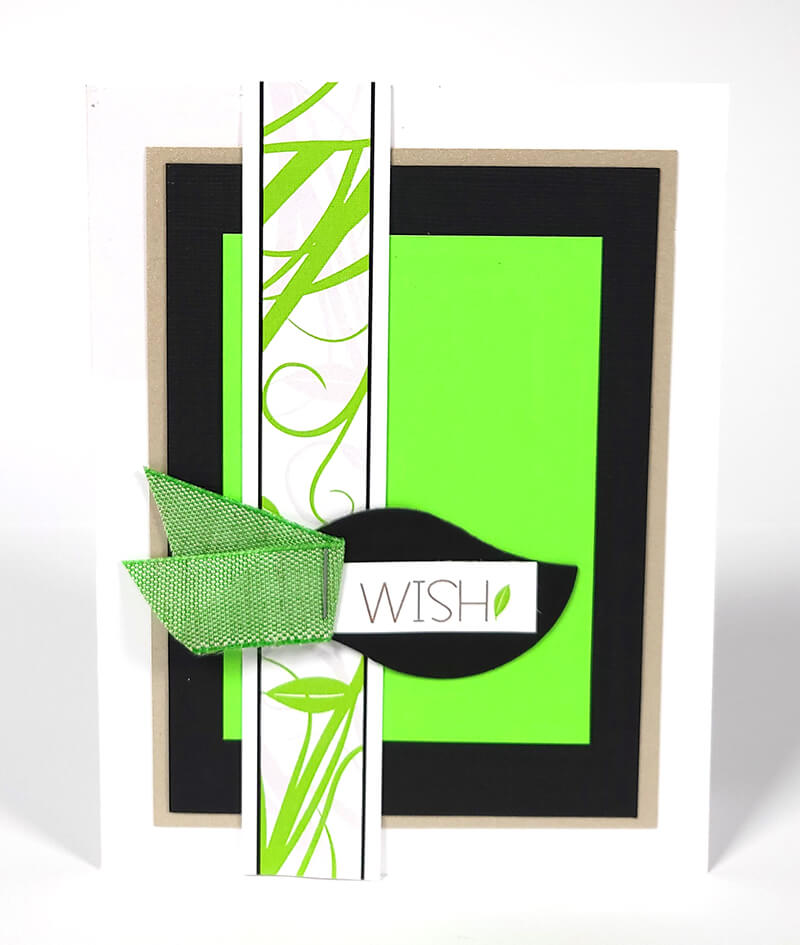
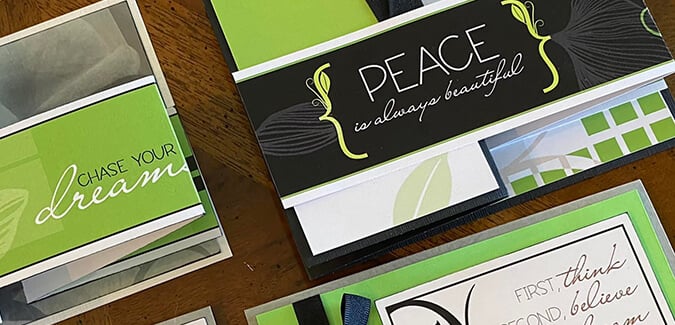
Staple the green ribbon to a black leaf tag. Top with the "Wish" cutapart.
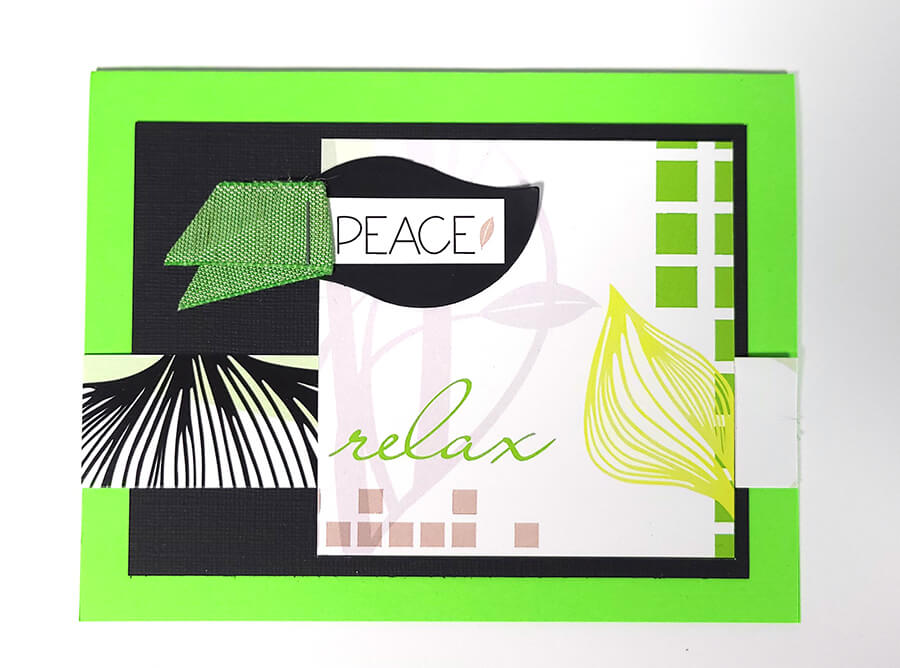
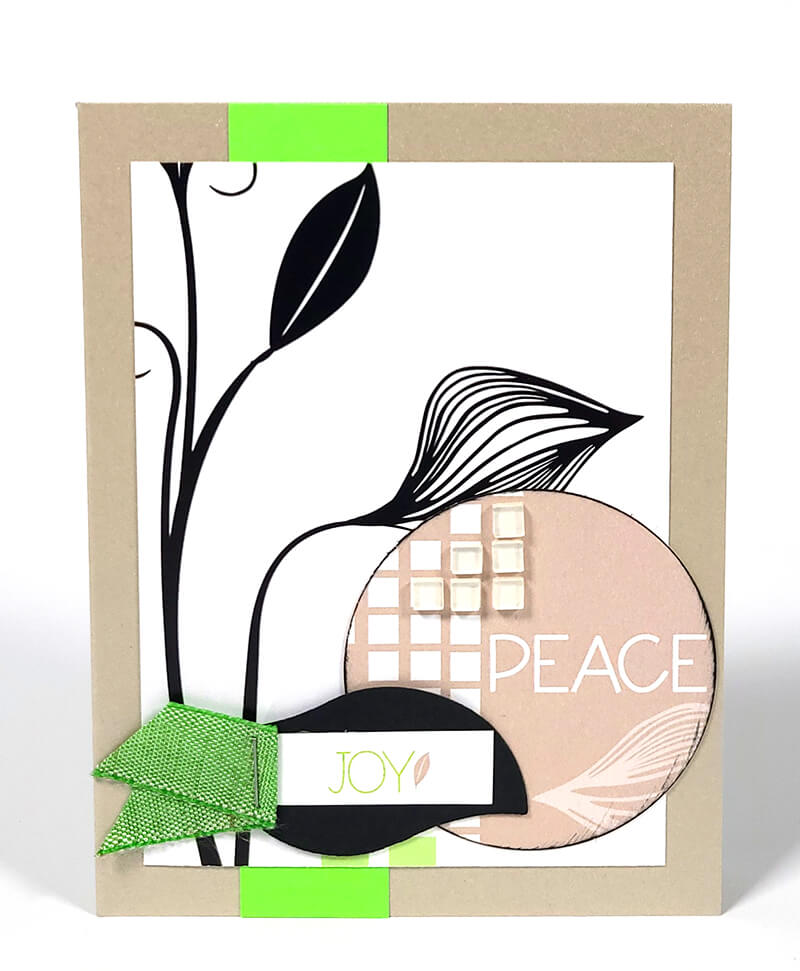
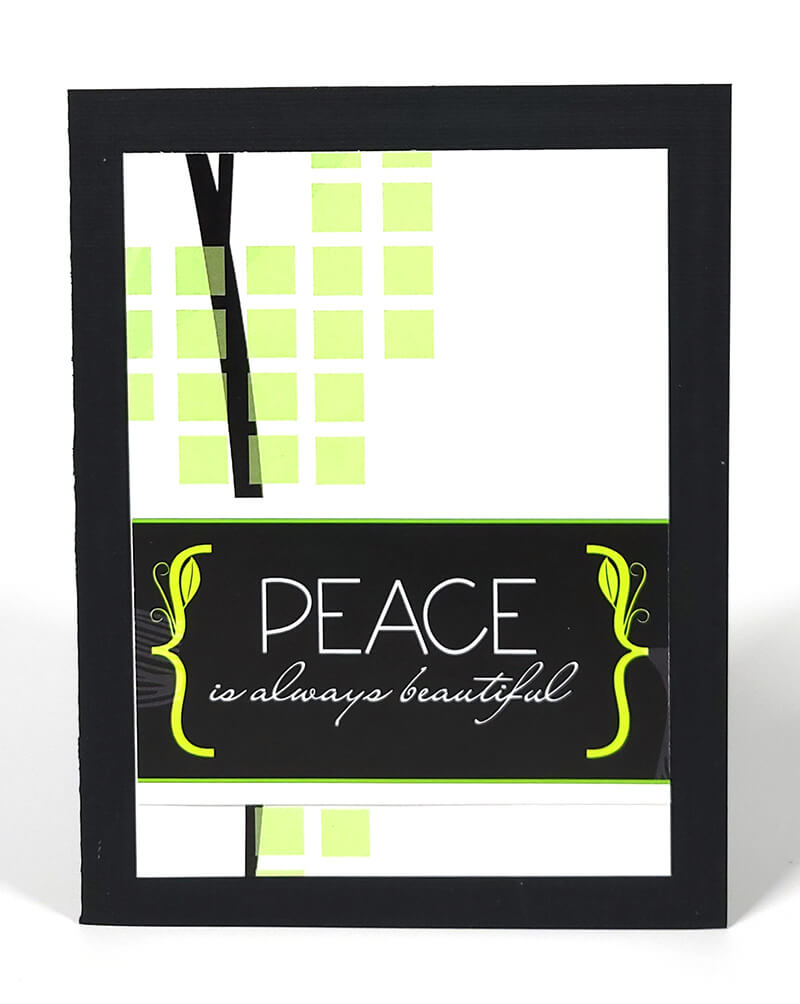
Use Bookbinding glue in a needle-tipped applicator to apply tiny mosaic tiles over select blocks on the "Peace" cutapart.
Use the glue/applicator to adhere a small metallic leaf accent.
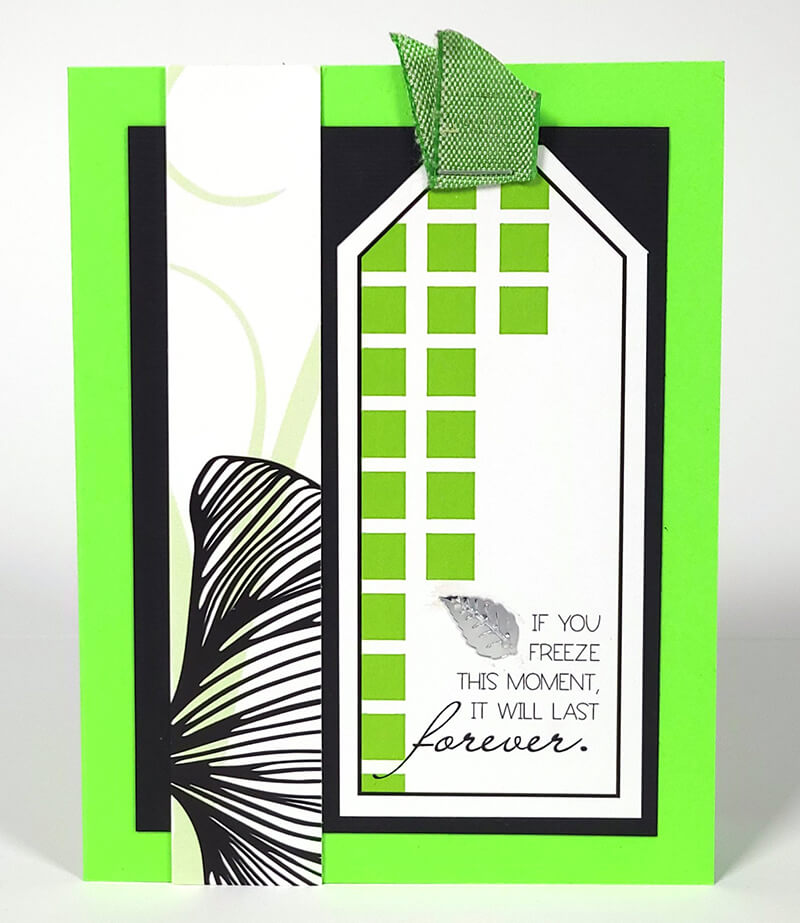
Cards 9-16
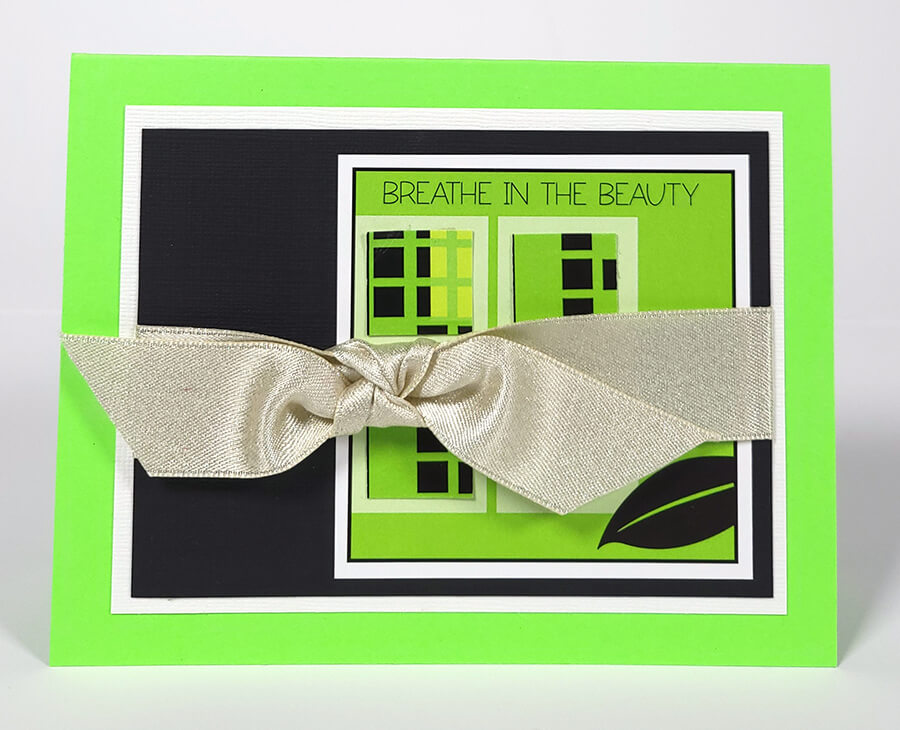
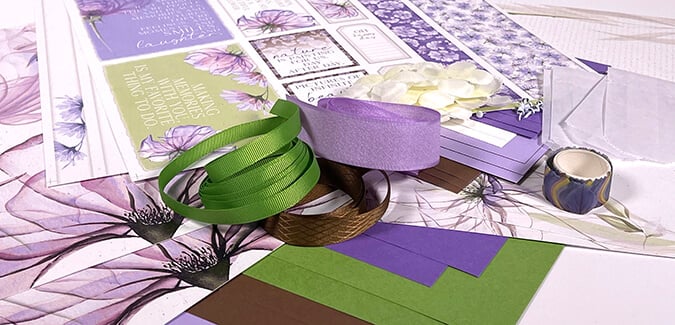
Tie a length of luxurious metallic ribbon to the front of the card. Trim border strip scraps into .75" squares and layer onto the block artwork on the "Beauty" cutapart.
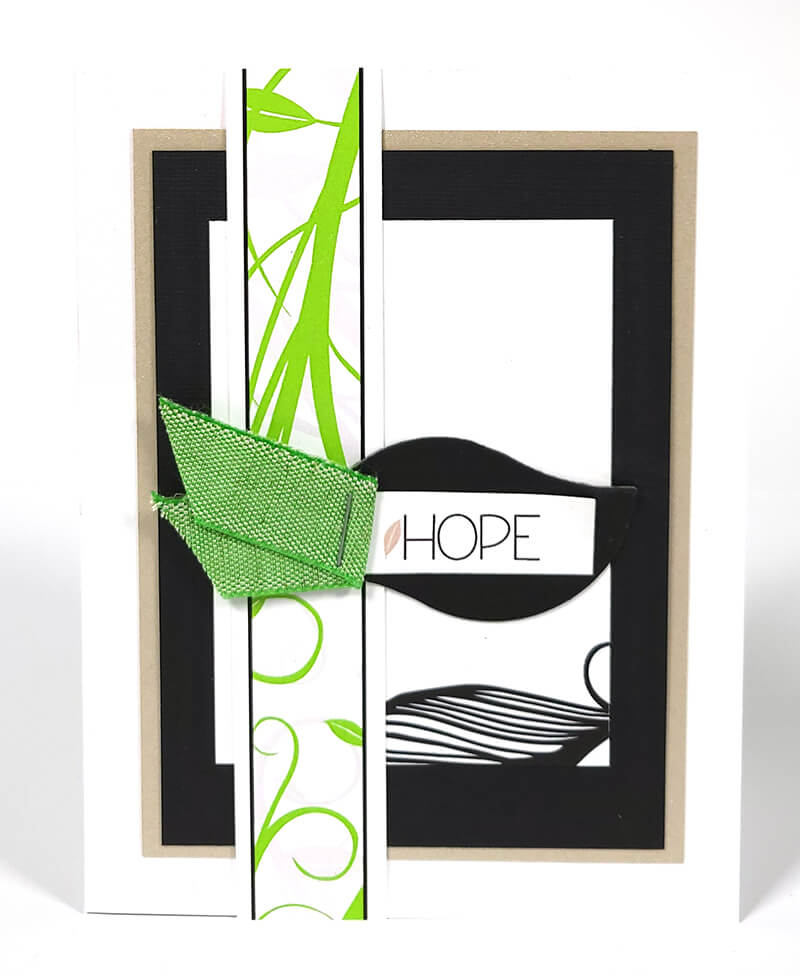
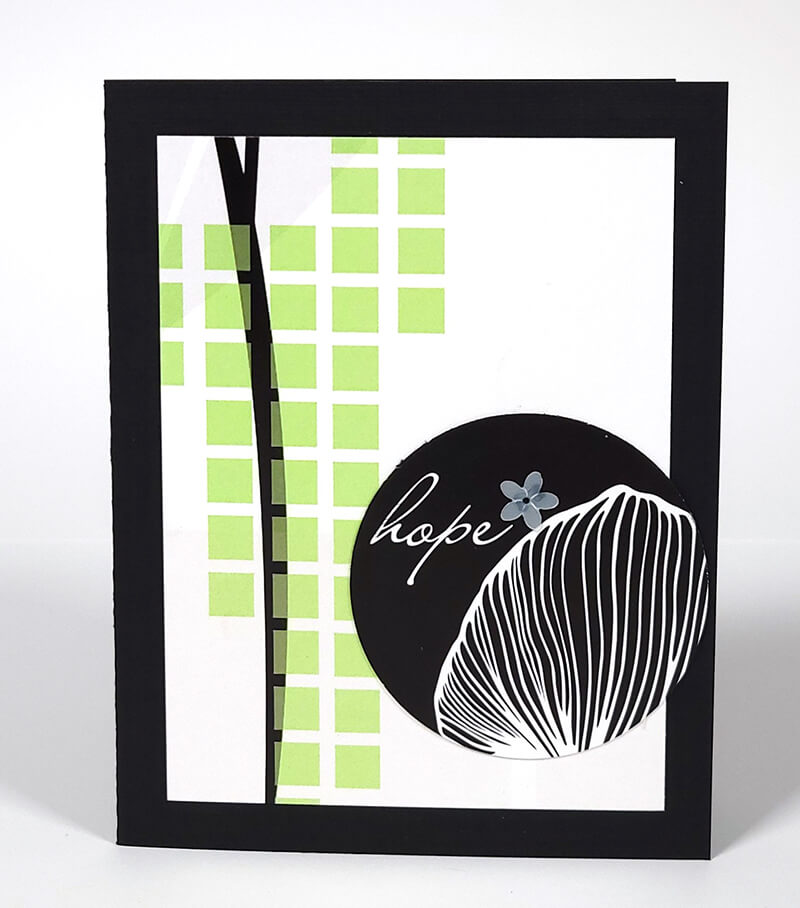
Use a needle-tipped applicator to apply our Bookbinding glue to a flower sequin and attach to the circular "Hope" cutapart.
Are you looking to make cards from your favorite special release? Be sure to check out our full selection of Card Formulas available for immediate download in our online store. The possibilities are truly endless.
Happy card making!
12x12 Folding Board
$2.75
Heavier than cover weight paper, but lighter than mat board. Equivalent to 18 pt. board or 125 lb. cover weight stock. Cuts easily with our 12-inch paper trimmer. Perfect for book and box projects, such as the M.E.M.B.E.R. Album, Notecard… Read More
Hook and Loop Dots
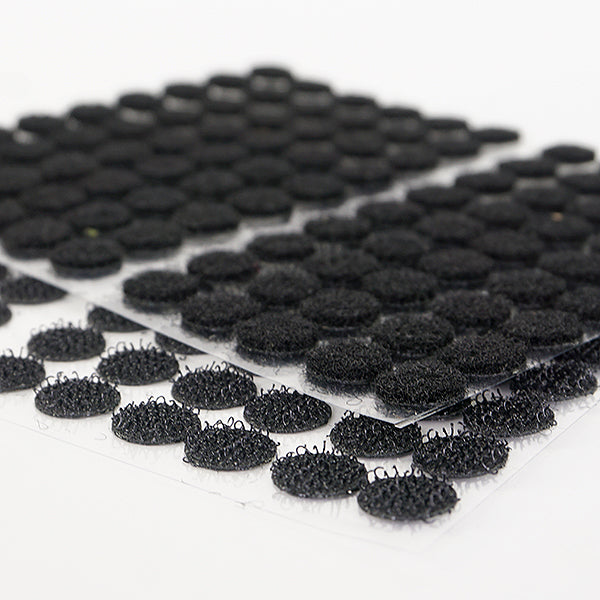
$5.50
Hook and loop self-adhesive dots. Each measures approximately 3/8" in diameter. 90 pairs per package.… Read More
Paper Substitutions
- (1) Black, (1) White
- (1) Green, Taupe Metallic, White, Black, (2) Small Block Print
- (2) Green, (2) Taupe Metallic
- (2) Large Block Print
- Steel Gray Folding Board
Assembly Tips
- Trim papers according to cutting diagrams, sorting into pocket file (or piles) per instructions.
- Follow the notecard carrier assembly instructions 6-19.
- Trim cutaparts using the artwork as a guide.
- To begin the card assembly process, "deal out" all card bases and layered panels, interchanging colors as desired. Use the Farm Critters finished card samples as inspiration.
- Sort through cutapart sentiments and dry-fit onto card bases and panels until all are used. Trim border strips, title strips and largest cutaparts as desired to fit the remaining cards. Embellish with kit goodies and ribbons.