
Create unique backgrounds with a fun color lift stencil technique originally developed by Jennifer McGuire. Lisa brought this idea to me and I was blown away by the results!
Color Lift Stencil Technique
Lisa and I had a blast experimenting with a variety of stencils and masks paired with water reactive mediums like Distress Oxide inks and Color Burst pigment powders.
Distress Oxides
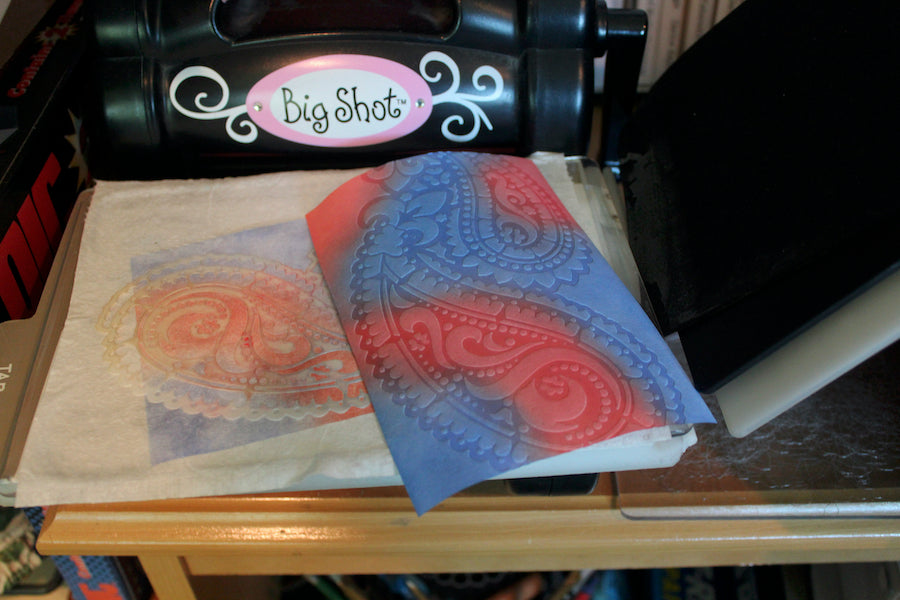
Blend Distress Oxide inks (Blueprint Sketch and Barn Door) onto a white panel with Ink Applicator Brushes.

Following your embossing machine's instructions, make an embossing "sandwich" with the inked panel, the Western Paisley Masking Stencil, and a baby wipe.

Run the "sandwich" through the machine three times. The moisture of the baby wipe will remove the ink from the areas not covered by the stencil.
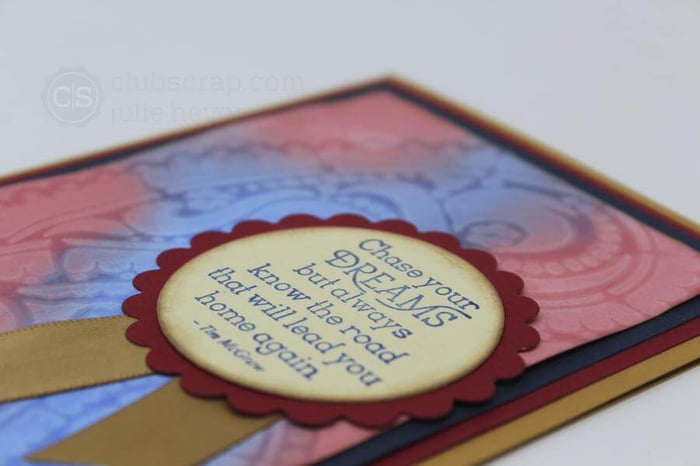
Trim the baby wipe and the panel for use on a Side Flap Trifold Card.

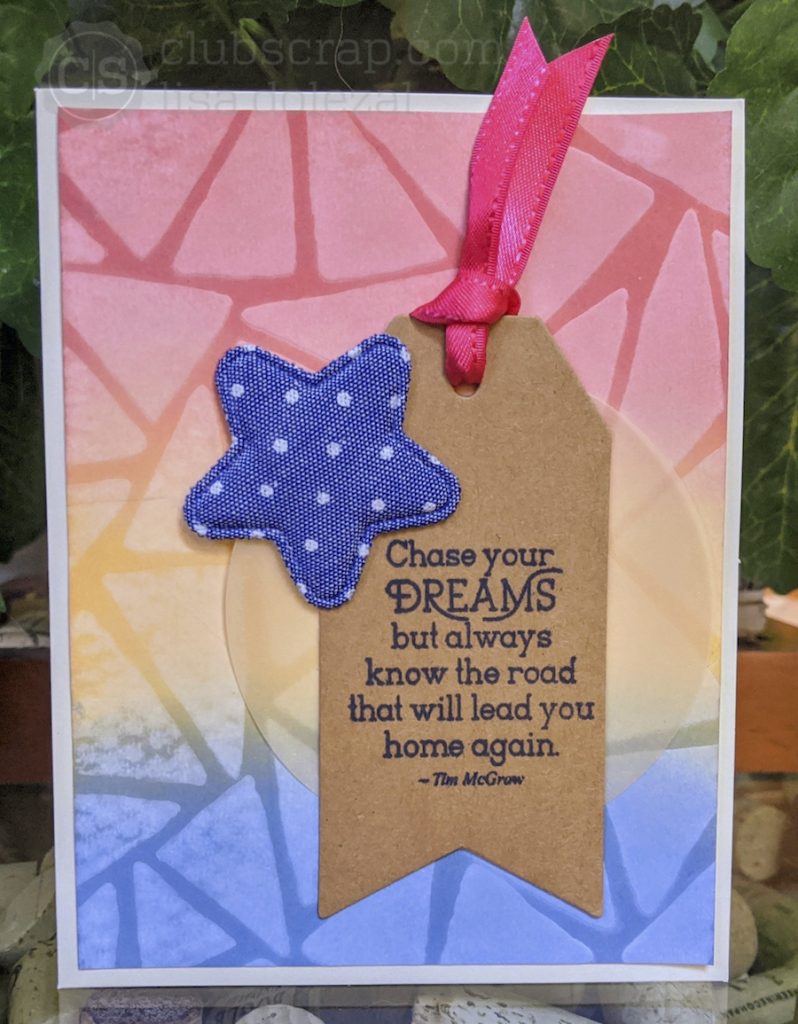
Let's take a look at the finished card created with papers and a stamped sentiment from Vintage Americana collection.


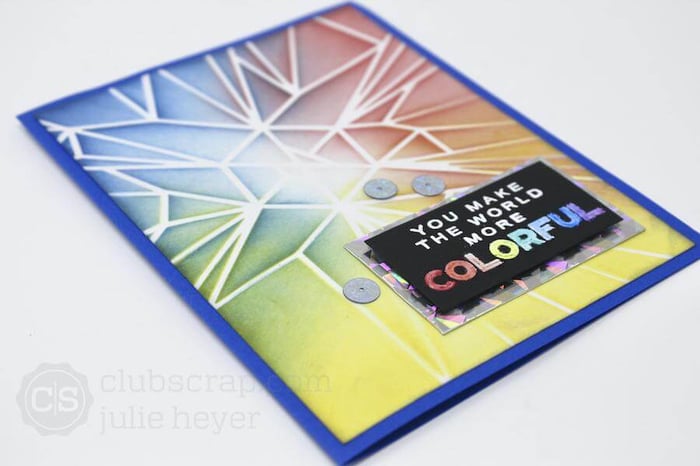
Lisa created this card with Distress Oxides paired with the Firecracker stencil. This fun die cut panel makes the perfect focal image!

Color Burst Pigment Powders
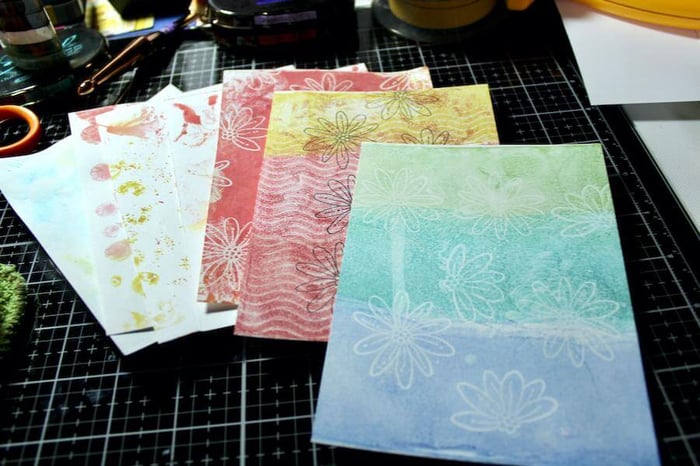
Dilute a bit of pigment powder in about a 1/4 teaspoon of water on an acrylic block or nonstick surface.

Apply the color to a white panel (preferably watercolor or mixed media stock) with a paintbrush and dry with a heat tool.

Lightly moisten a piece of paper towel with water. Create an embossing sandwich of the watercolor panel, Fly A Kite Stencil, and moistened paper towel with your machine's recommended shims or platforms. Run the "sandwich" through the machine three times.

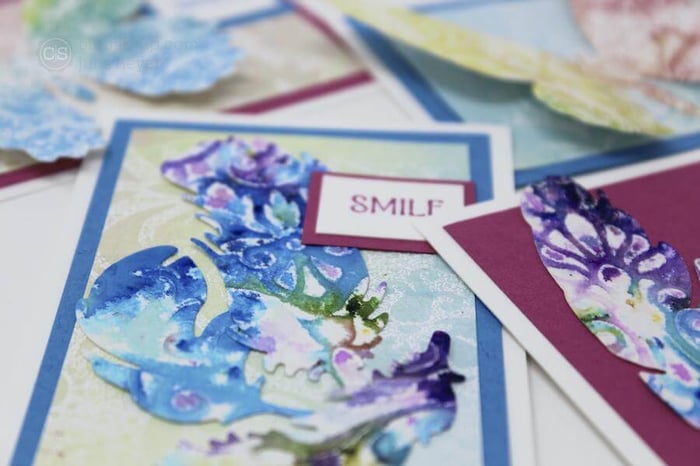
Dry the panel with a heat tool, if needed. Trim the panel into 2.5x3.5" Artist Trading Card bases.

Trim cutaparts printed from the Fly A Kite Hybrid kit and adhere to the front of each ATC base.

Tie a bow with black and white baker's twine onto the cloud charm. Adhere it to each of the ATCs with Bookbinding Glue dispensed from a Needle-tipped Applicator.

Let's take closer look at the finished cards.

Now, it’s your turn! Create artwork with the Color Lift Stencil technique shared here, or create your own! Visit the Facebook Chat Group 06/20 Technique Challenge post to upload completed artwork in the comments section. Not a chat group member? Answer a few simple questions, and we will accept your request in no time!
 Lisa and Julie