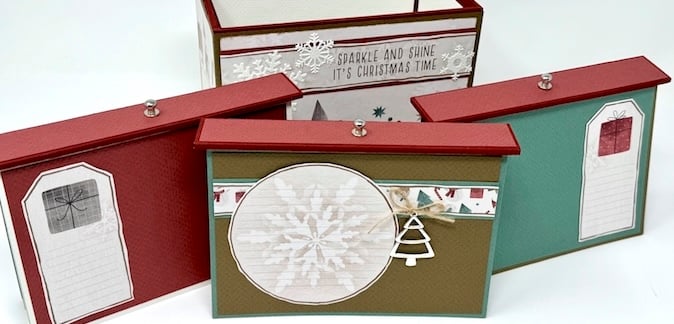

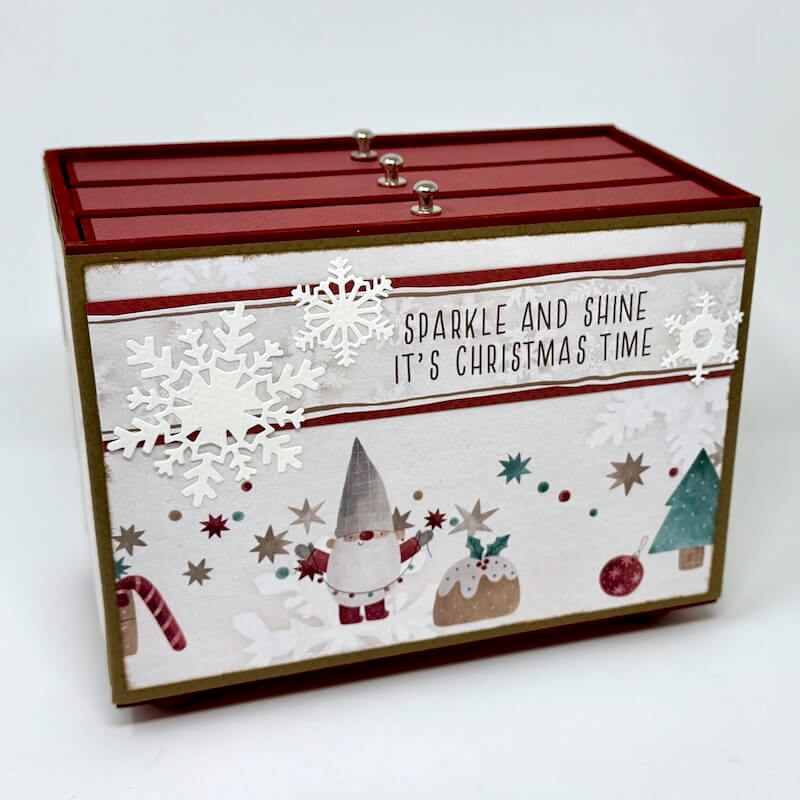
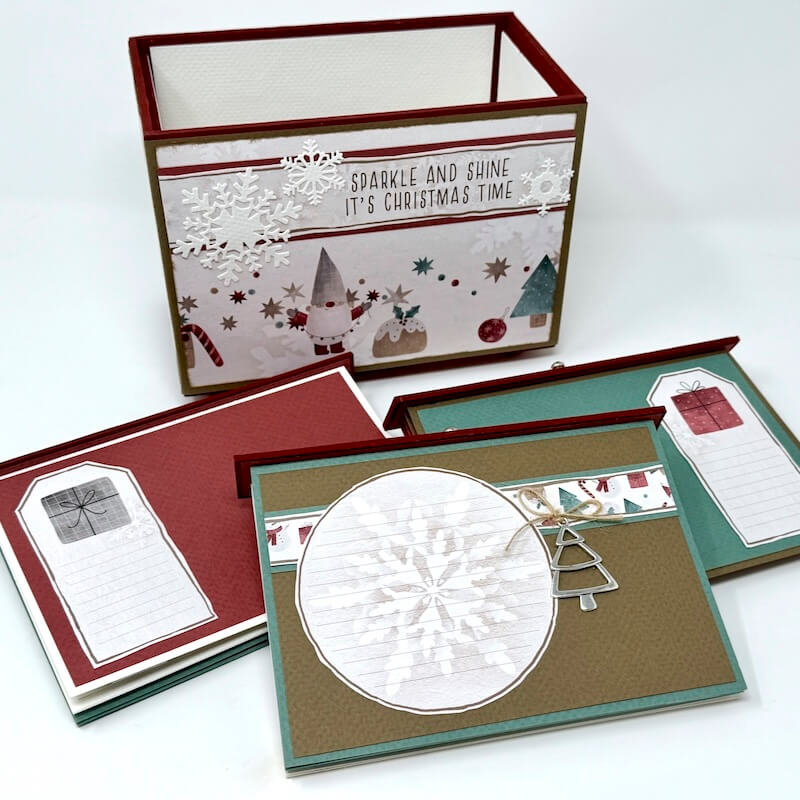
Create a Photo Drop Box featuring the Gnome For Christmas Page Kit. The project holds tons of photos from your holiday gatherings. It also makes a perfect gift!
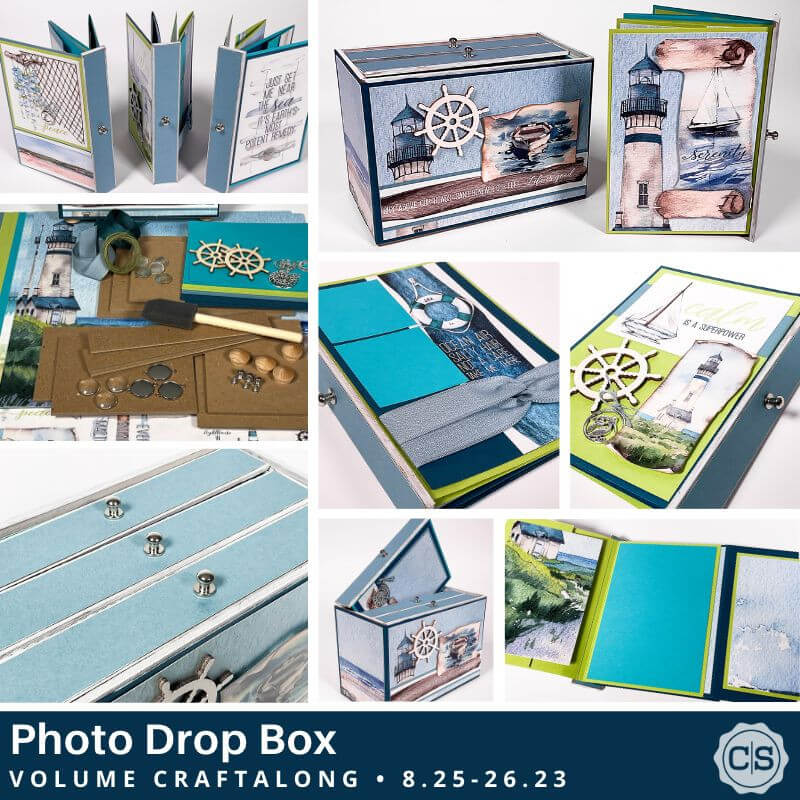
Last summer, Tricia taught the Photo Drop Box workshop for a VOLUME Event. During the presentation, students learned how to make a clever and interactive photo storage solution featuring Club Scrap's Coastal Page kit.
As with most Club Scrap workshops, once the initial project has been completed, the instructions can be recycled to make even more featuring other Club Scrap® collections or with supplies from your stash.
Gnome For Christmas Photo Drop Box Assembly Tips
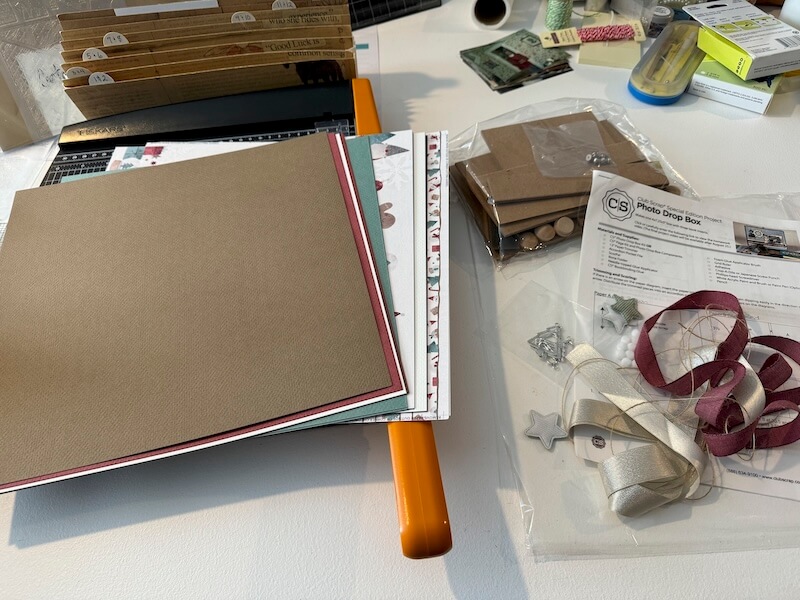
Gather papers from the Gnome For Christmas Page Kit along with the Photo Drop Box components.
The project instructions feature papers from the Coastal collection, so prior to the trimming process, make the following paper substitutions for each step in the instructions:
1 - Brown
2 - Red
3 - (2) Ivory
4 - Brown, Red, (2) Green
5 - Border Print
6 - Brown, Red, Ivory, Green
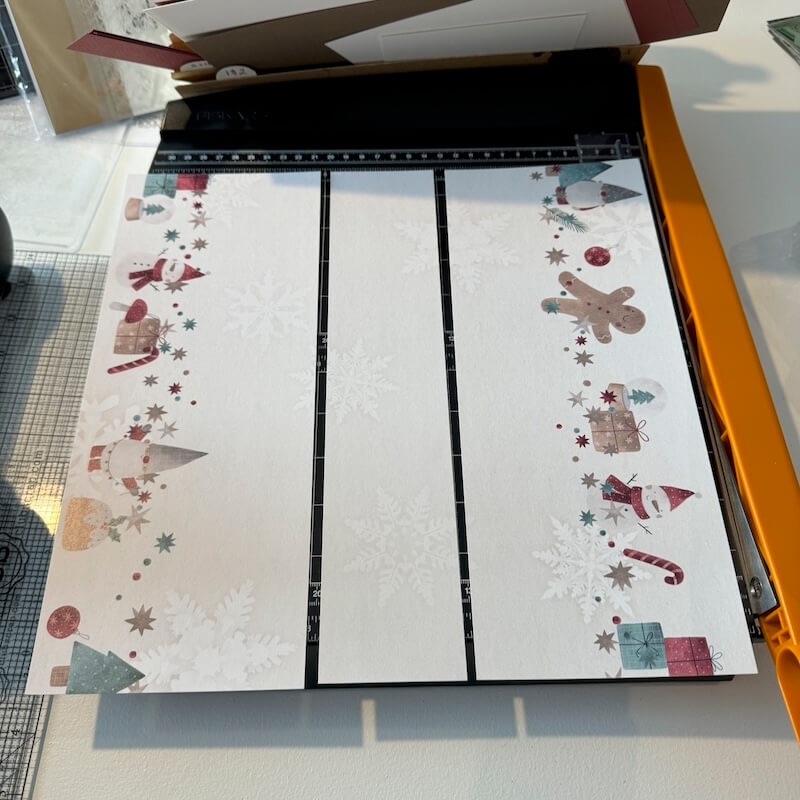
Adapt the trimming instructions to fit the artwork on the Border Print. Place the print in the trimmer with the border artwork running vertically. Trim at 7.25 and 2.5". Follow the rest of the instructions as written.
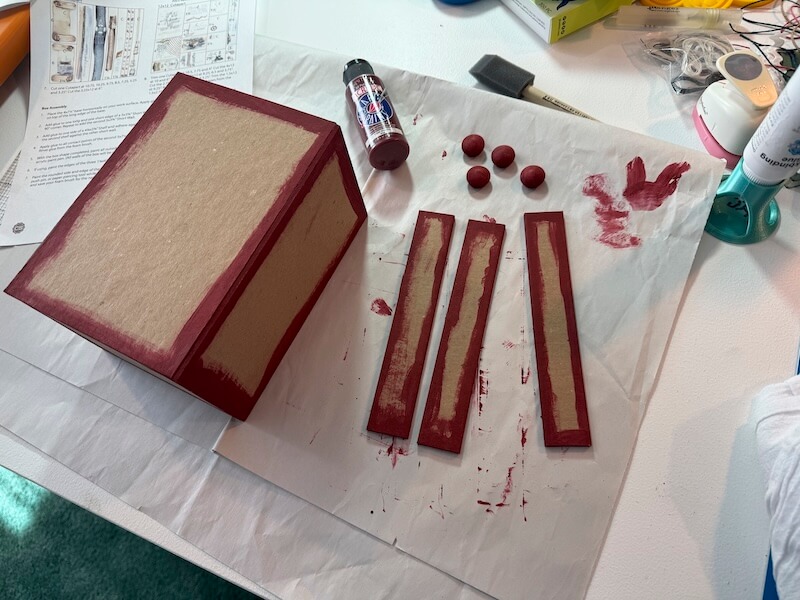
Once the box is assembled, choose an acrylic color that coordinates with the page kit. Apply paint to all of the outside and inside edges of the box, as well as the edges of the spine boards and four wood feet.
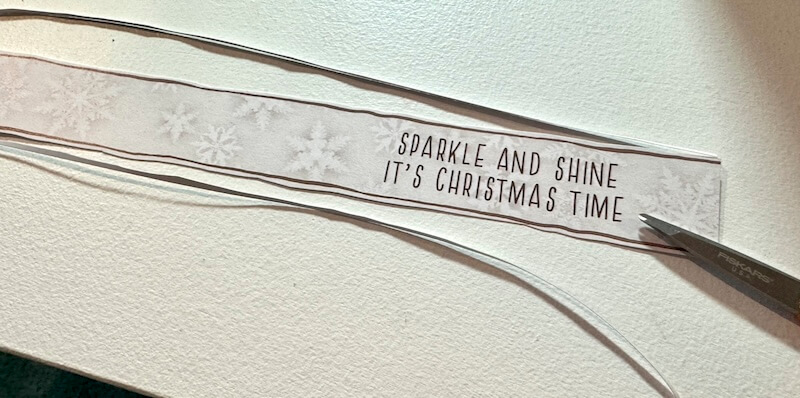
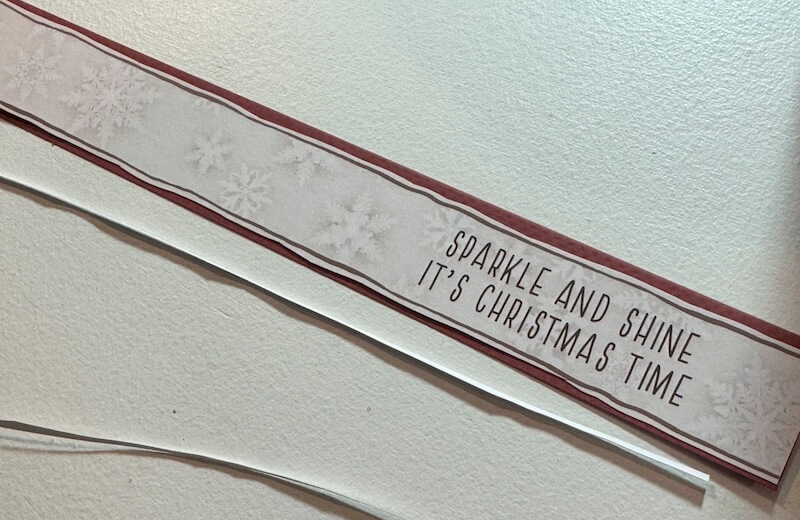
Trim border strips from the cutapart sheets with scissors. Use the wavy line framing the artwork as a guide.
Mat these pieces with long strips from Pocket D.
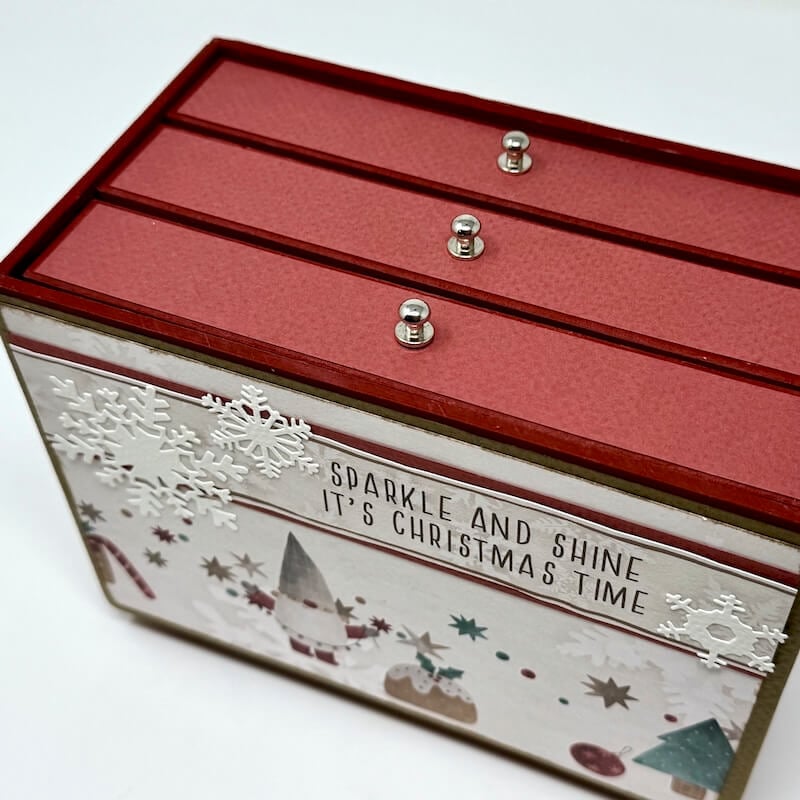
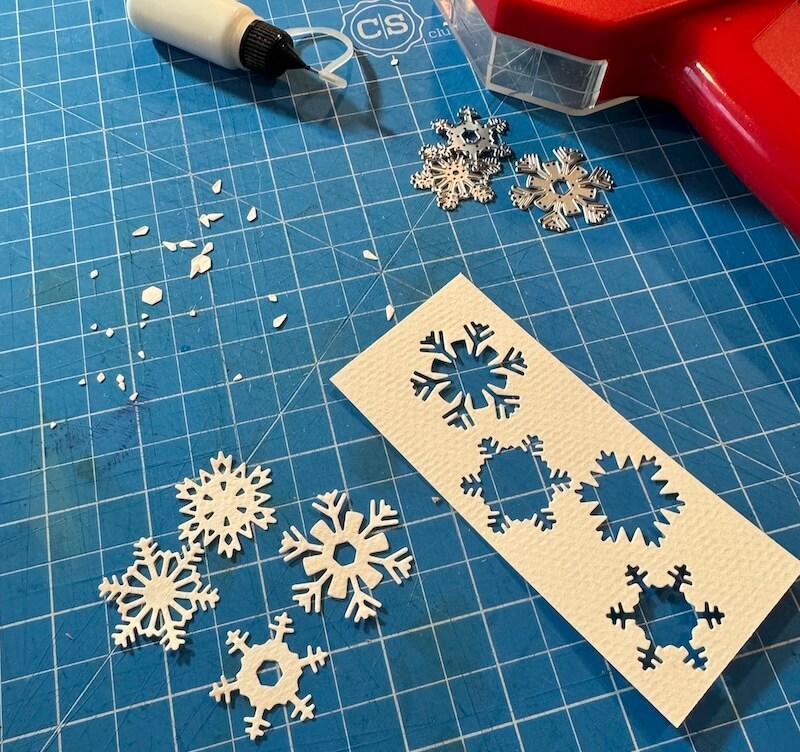
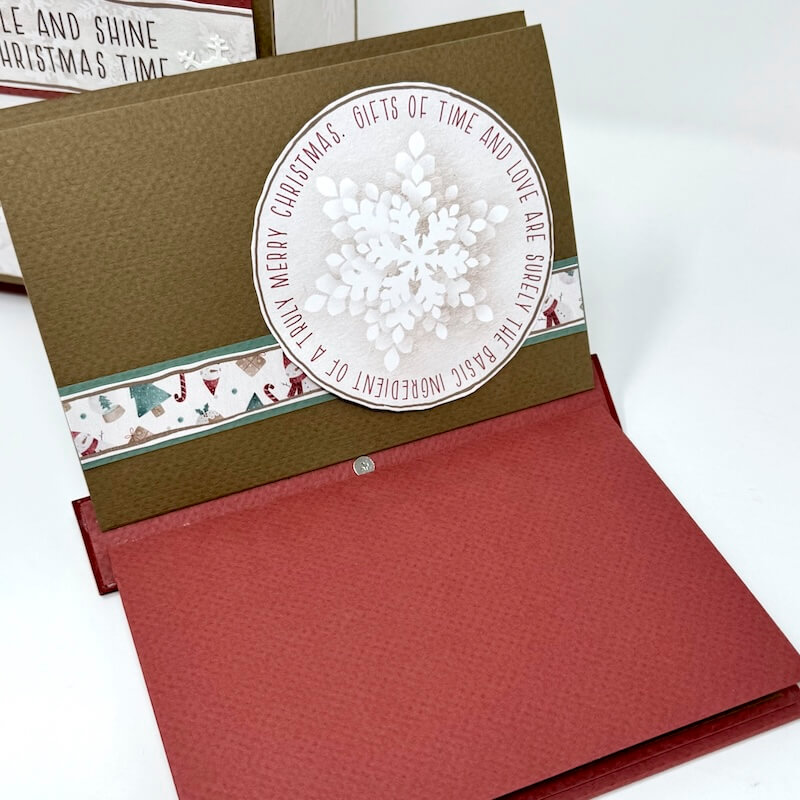
Die cut snowflakes from Ivory paper scraps (Pocket D) to embellish the outside of the box.
Trim the border strip to match the width of the printed paper panel on the box. Add die cut snowflakes with Bookbinding Glue dispensed from a Needle-tipped Applicator.
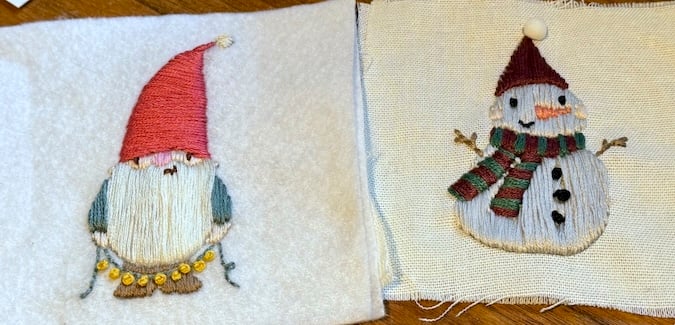
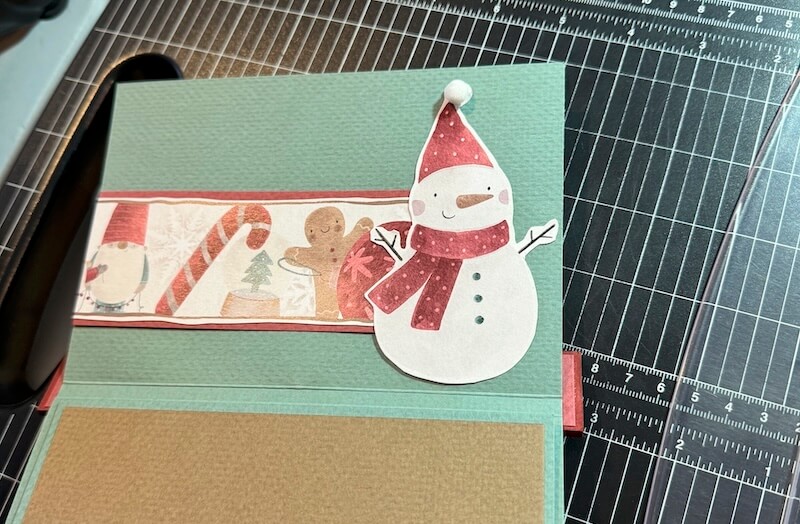
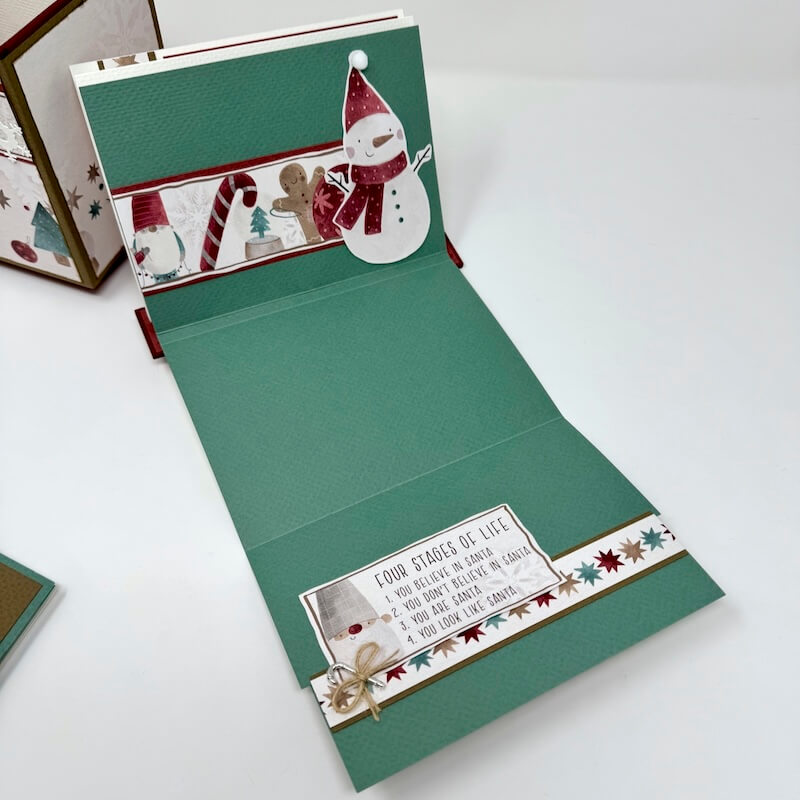
Next, turn your attention to the photo booklets that fit inside the box. Decorate the inside pages with mats and leftover cutaparts. Strips that are too short to span the entire width of the pages can also be utilized as shown below. Adhere them flush with one side of the booklet...
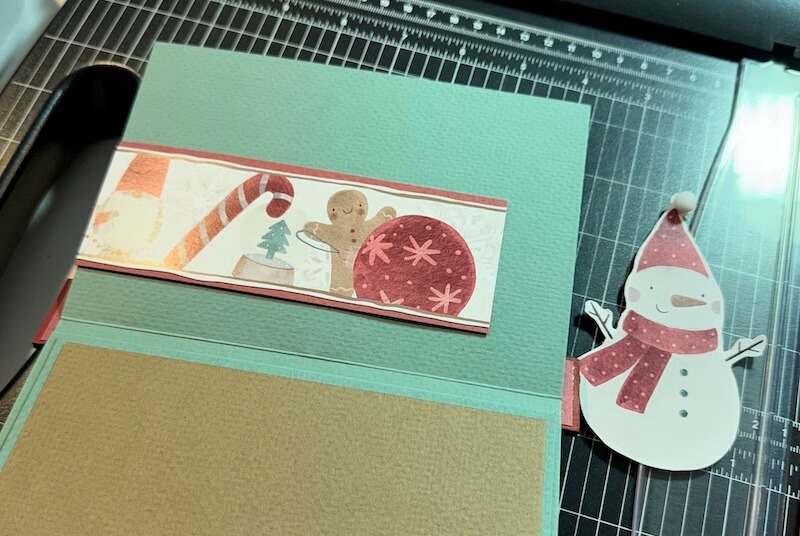
...then cover the gap with a snowman from the cutapart sheet trimmed closely with scissors.
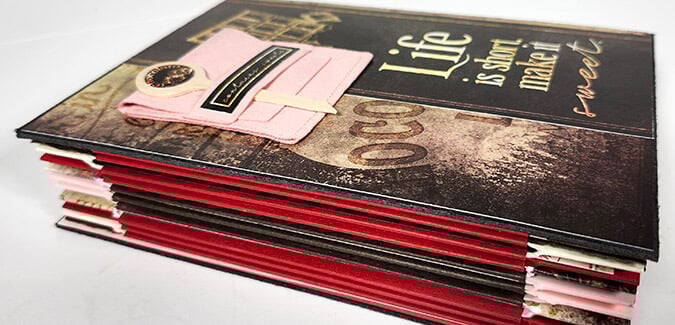
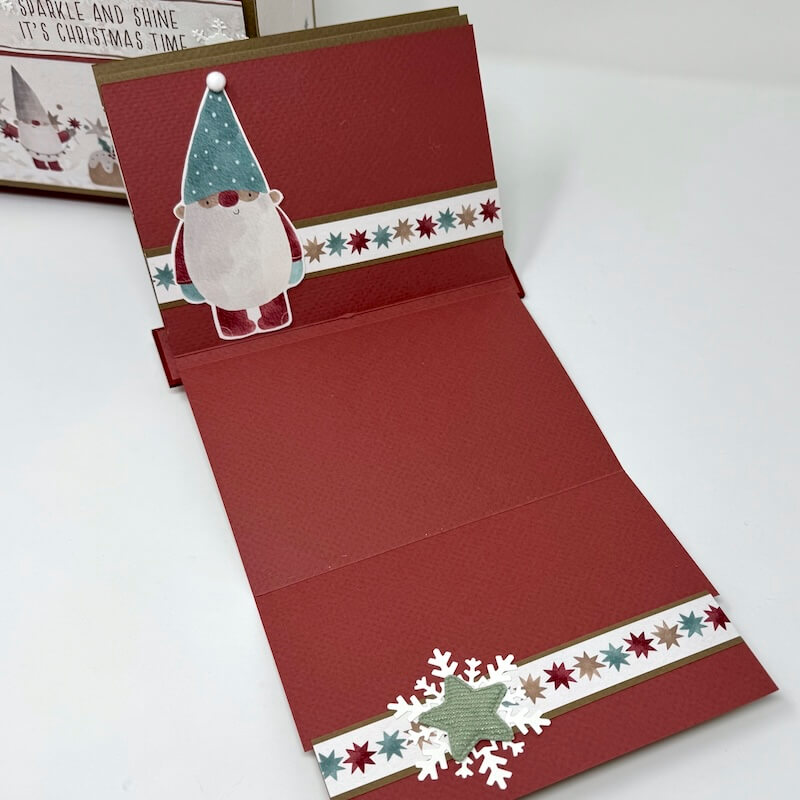
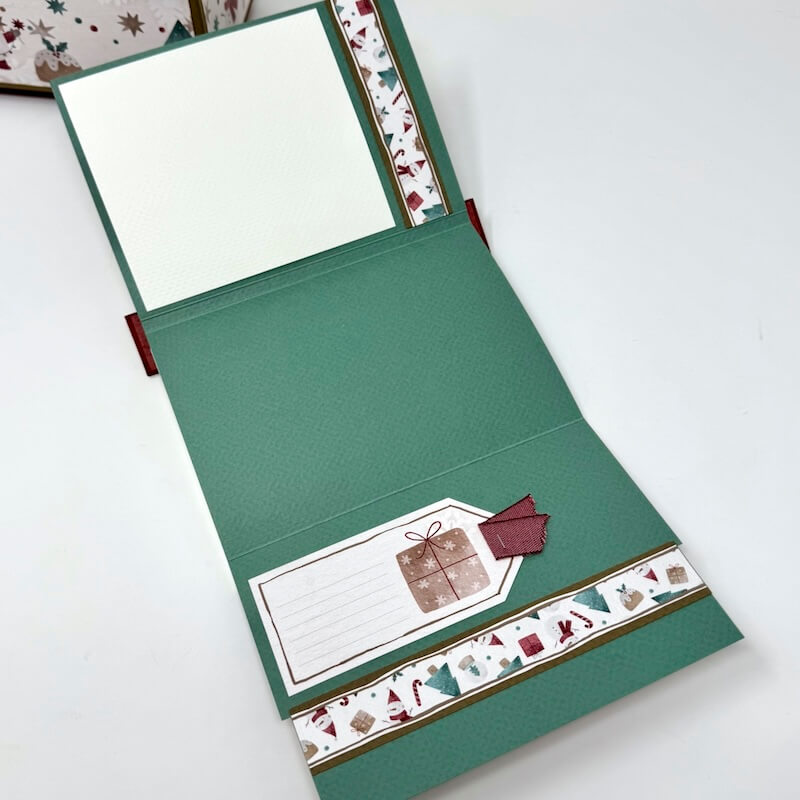
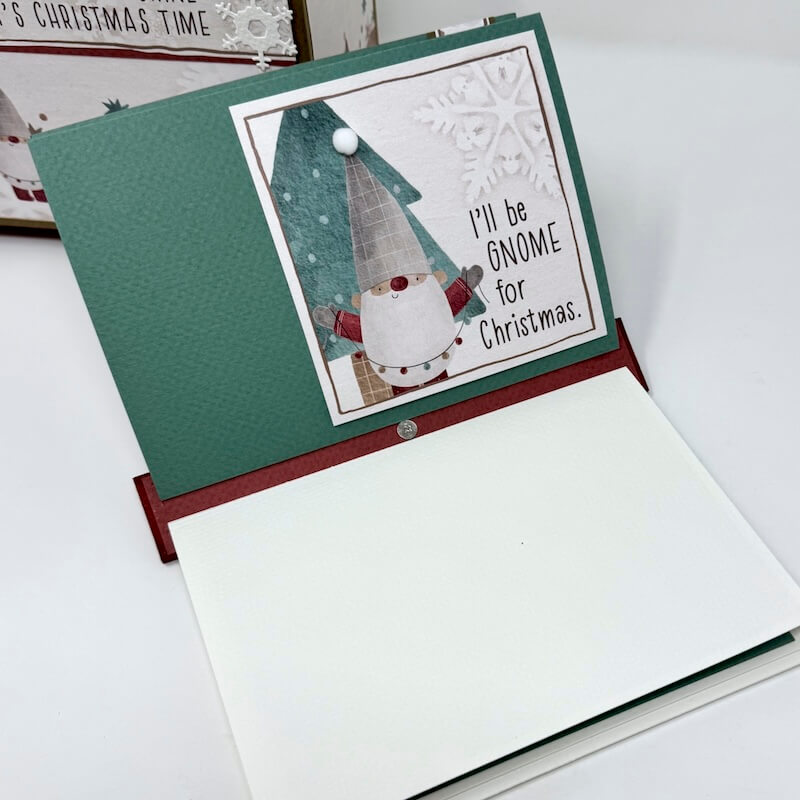
Let's take a closer look at the finished photo booklets. Even though it's fun to add embellishments, remember to leave space for the photos to be added later.
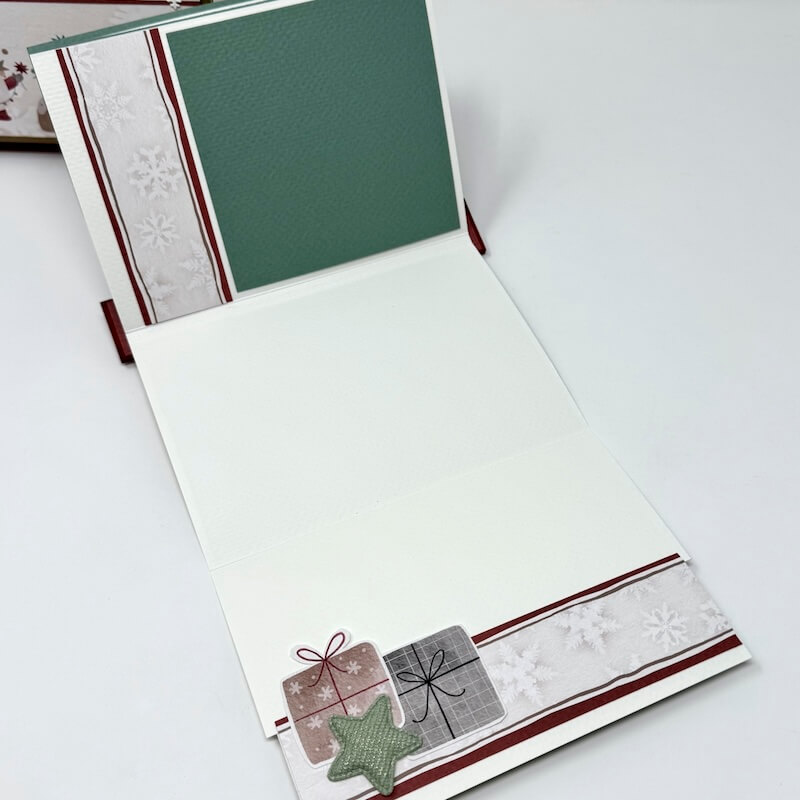
The gnome and die cut snowflake/star cluster are perfectly placed to hide a gap in the star border strip.
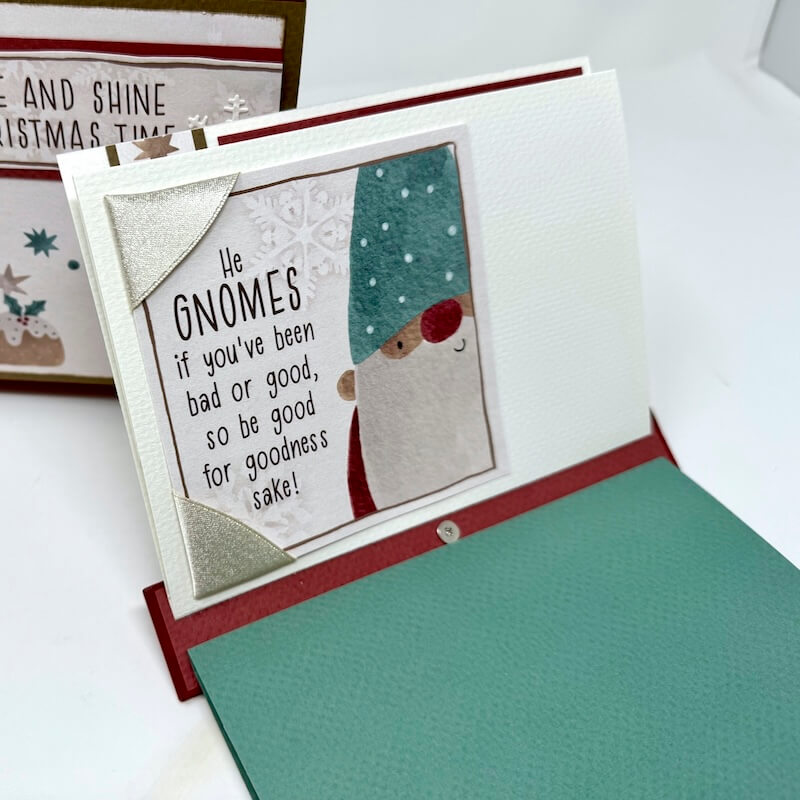
Cover the corners of a square cutapart with small bits of the beautiful shimmery ribbon.
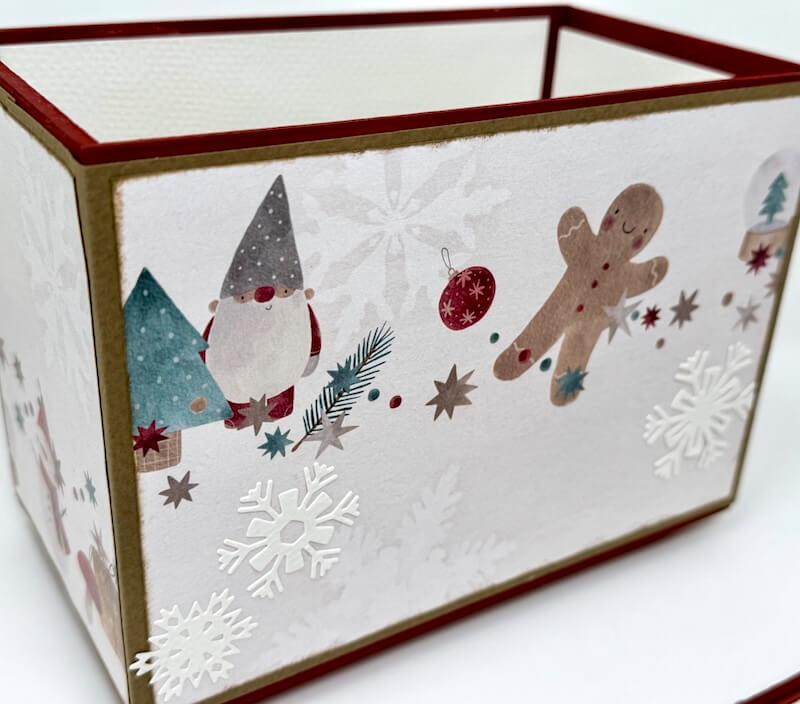
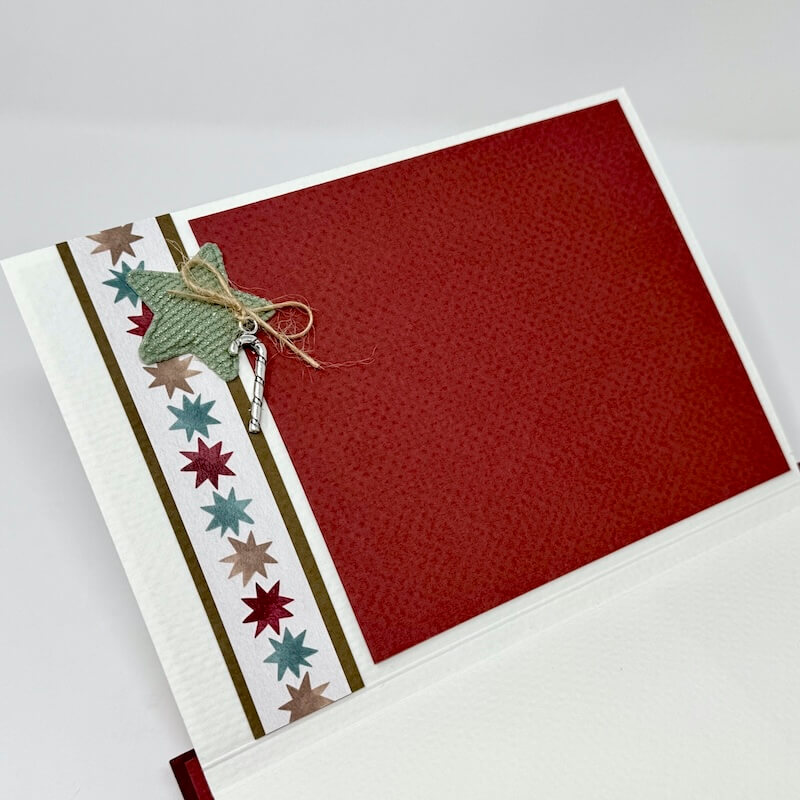
Even the "back side" of the box gets the decorative treatment.
Just add the photo booklet inserts to the box, and it's ready for gifting!
I hope this virtual tour of my Photo Drop Box gives you lots of inspiration when creating one of your own. We love to see your finished projects, be sure to share your work with others on the Club Scrap Chat Group on Facebook.

Stay tuned for more inspiration as we celebrate "12 Days of Holiday Gift Ideas" on the blog this month.
Happy holidays!
Photo Drop Box Components
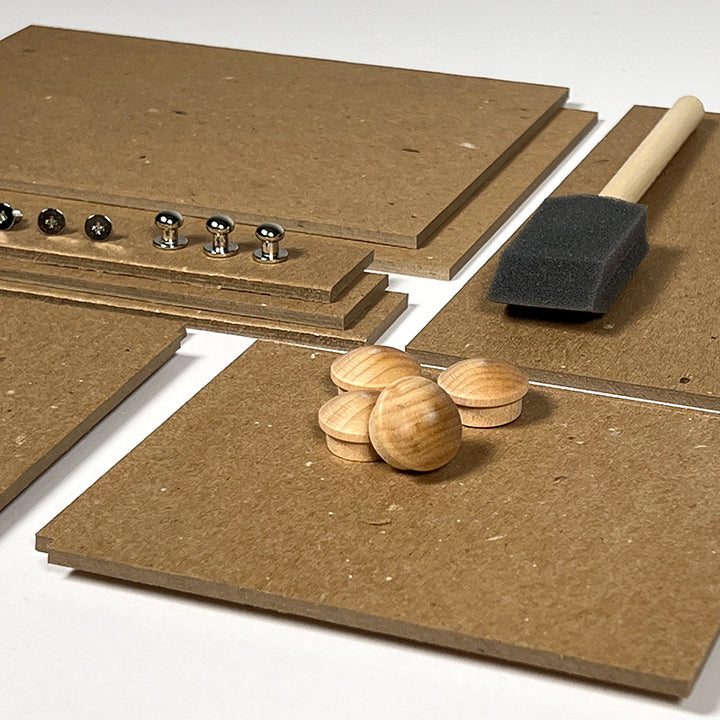
$22.17
Learn how to make a clever and interactive photo storage solution when you pair the components with any CS page kit. The box measures approximately 7.25x5.25x4" and is home to three removable inserts for photos. (A few additional materials and… Read More