
Tricia and I both completed our Butterflies Remix layouts in record time. The color palette and artwork make it user-friendly and appropriate for nearly any occasion. Enjoy a visual tour of my layouts and Tricia's completed pages as we (hopefully) demonstrate the versatility of this collection.
Butterflies Remix Layouts - Karen
Layout 1 & 2
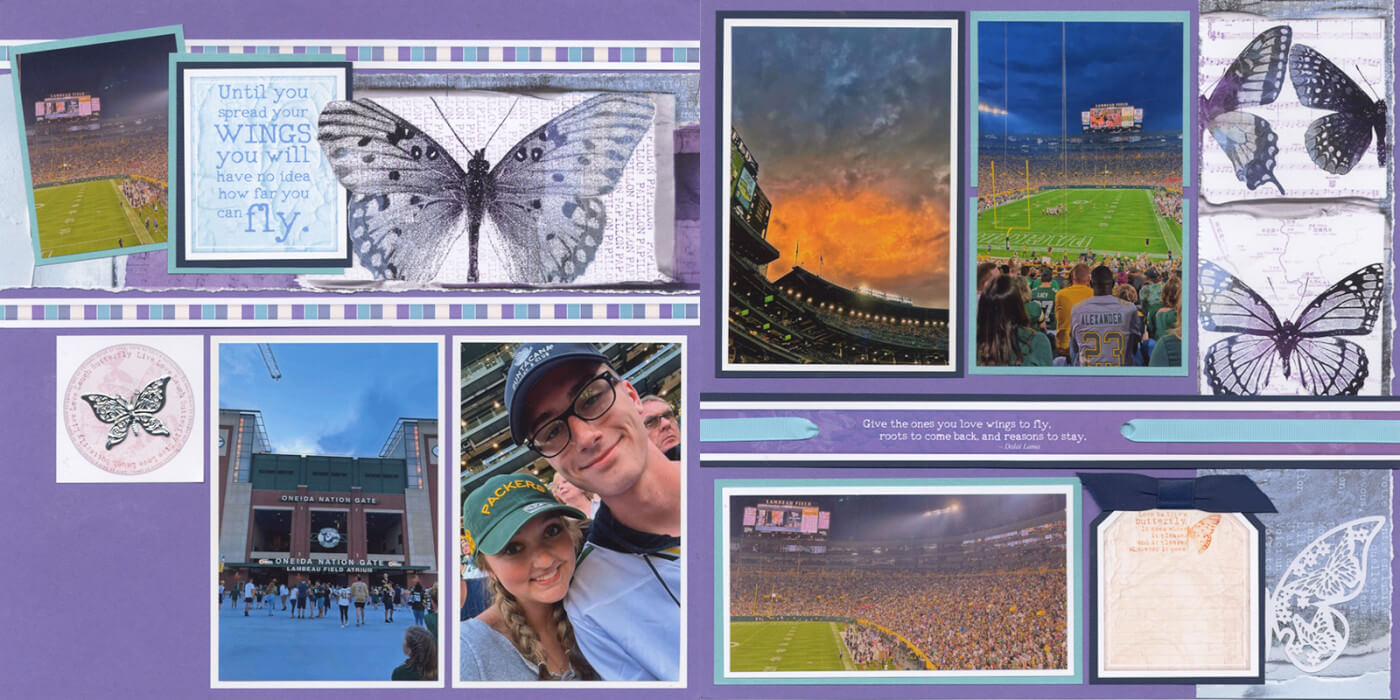
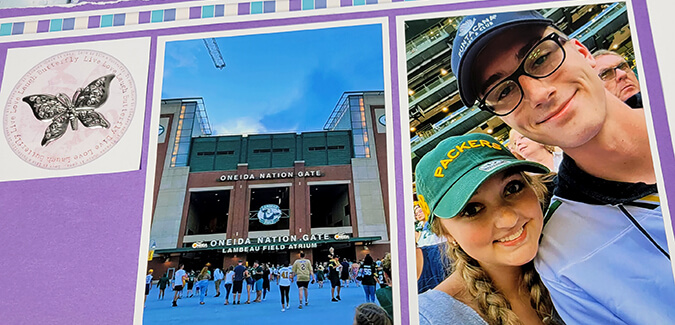
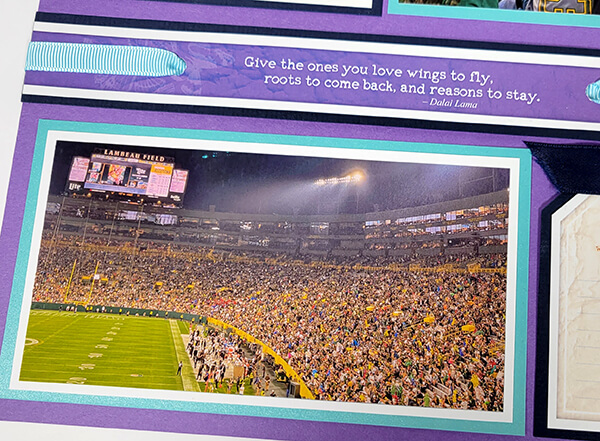
Packers football photos on Butterflies? You betcha! A bit of rearranging of the decorative elements makes this page work with my son's photos.
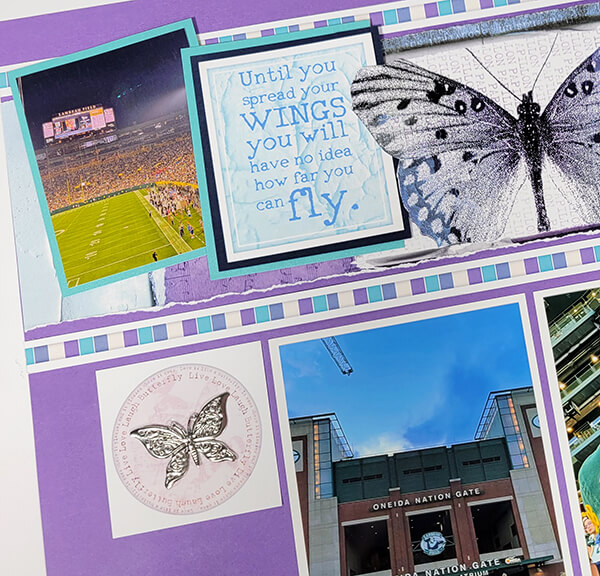
Use a craft knife to carefully trim around a portion of the butterfly wing. Transfer the sentiment cutapart to the aqua metallic mat, and tuck beneath the wing. Position the cutapart with the silver butterfly charm left of the white vertical mats.
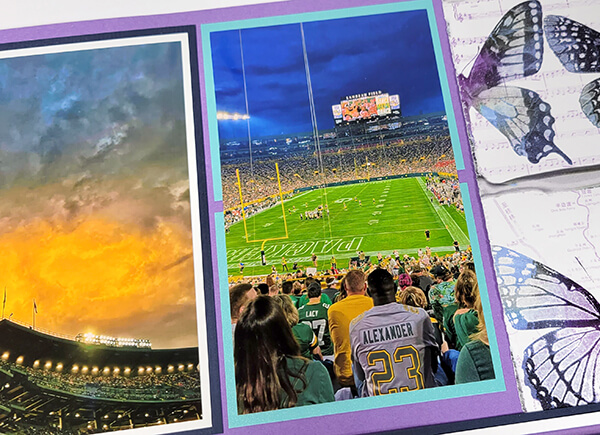
On the right, crop a single photo to fit across both aqua metallic mats.
An extra cropped photo fits over the sentiment cutapart at the bottom of the page.
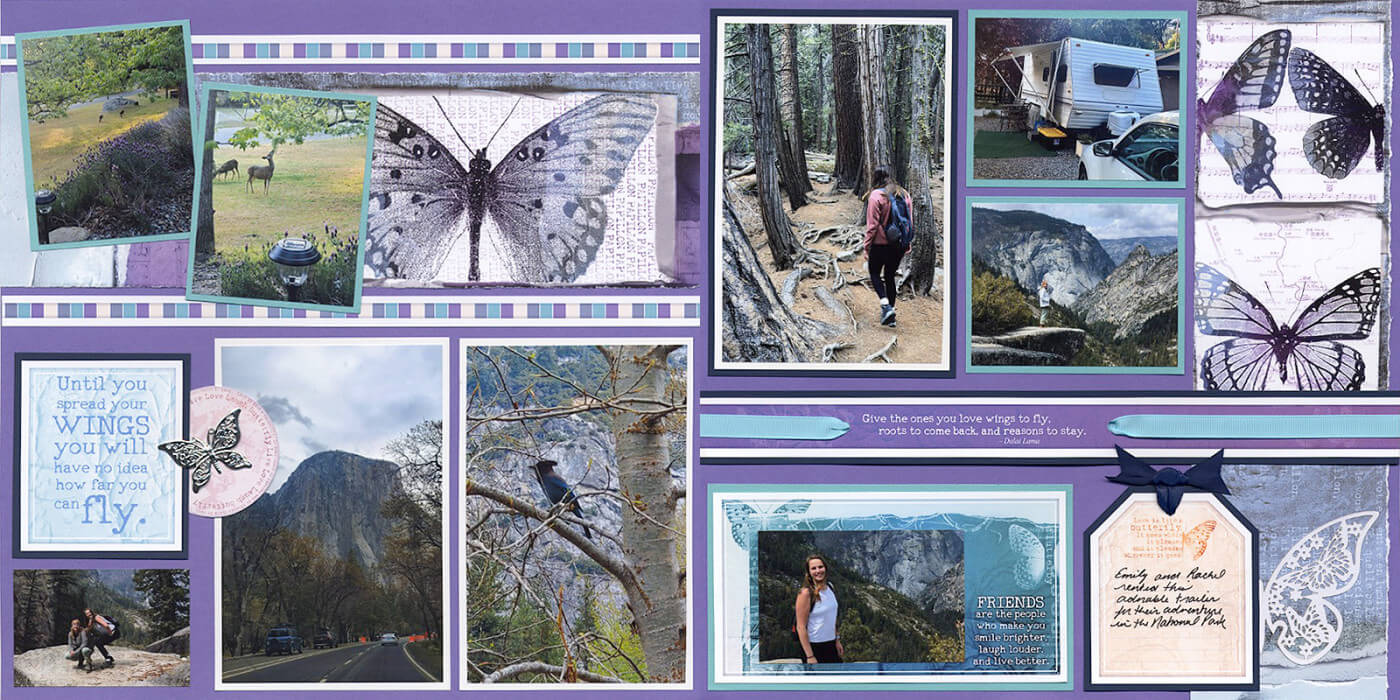
Layout 3 & 4
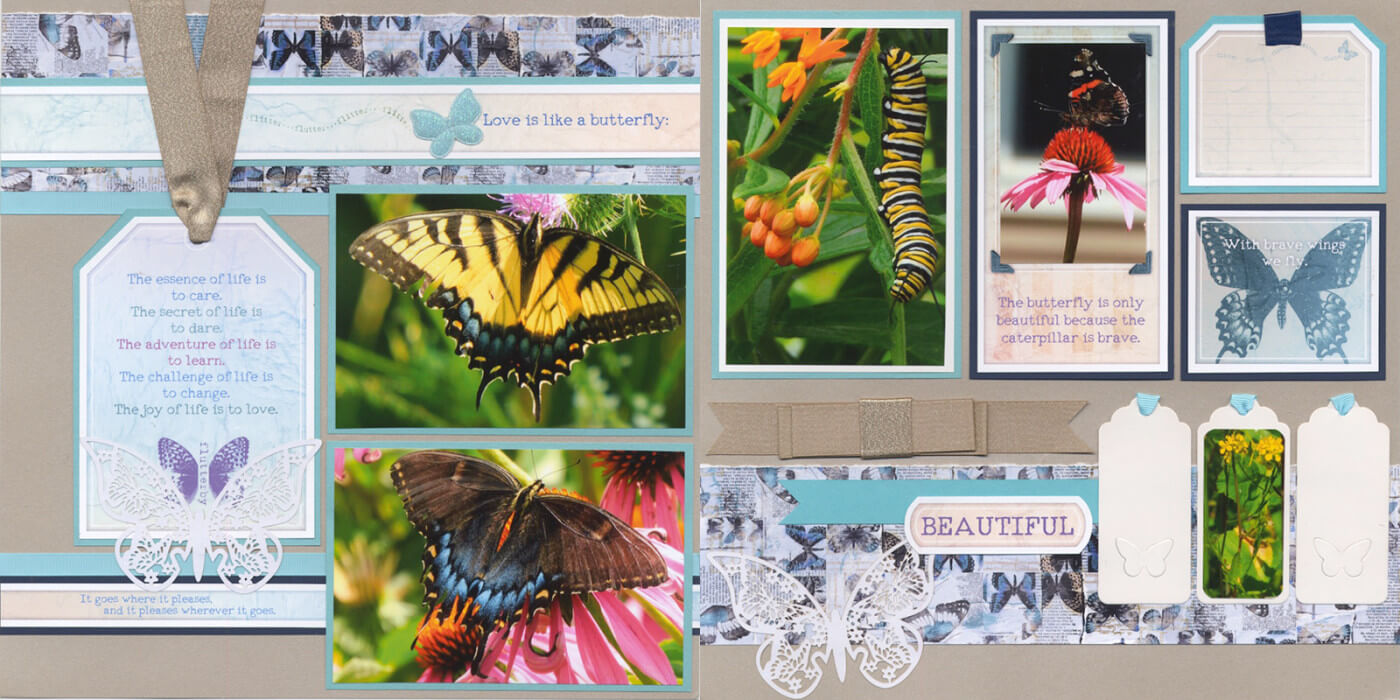
This two page spread features my father's gorgeous butterfly photos.
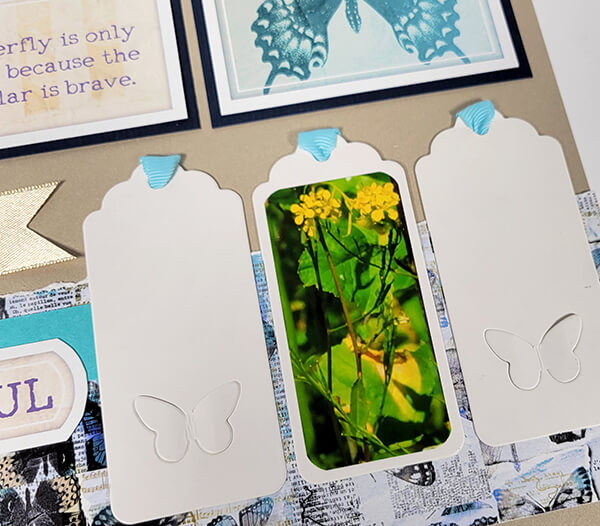
Add an accent photo to the center tag - simply crop to fit and round the corners.
Layout 5 & 6
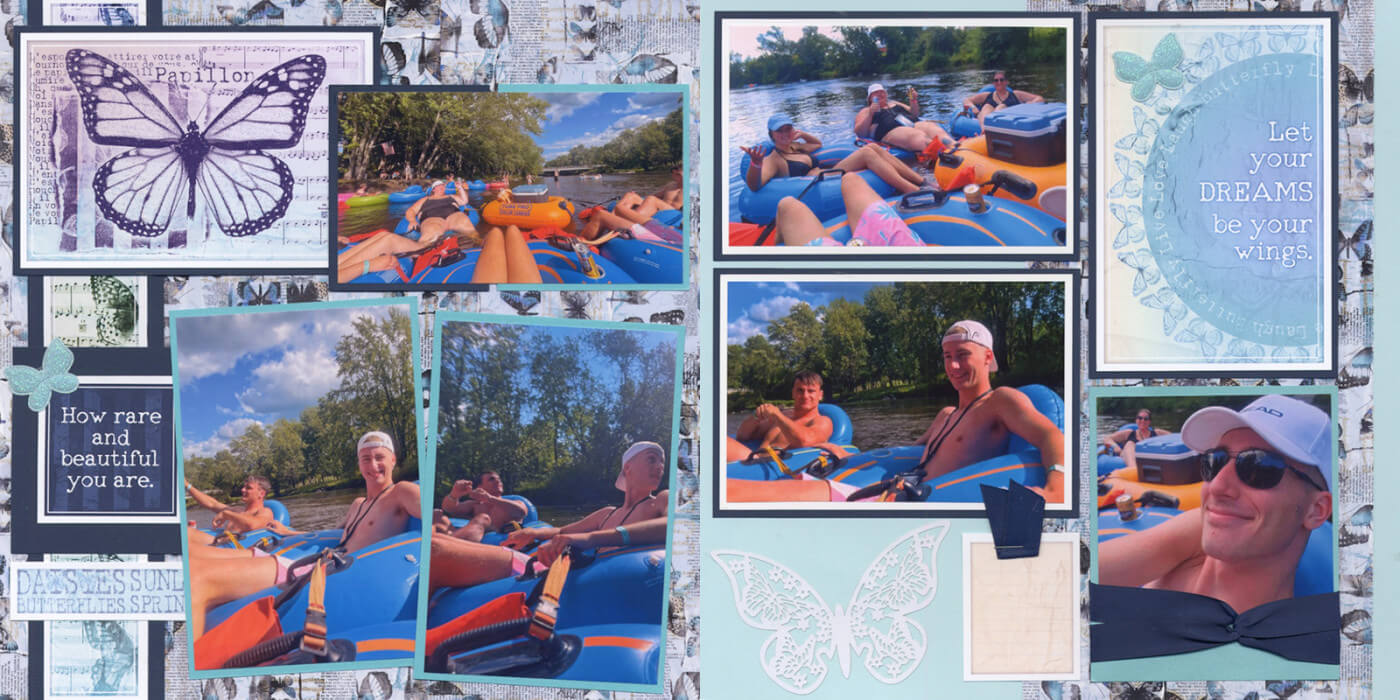
Photos from tubing down the Wolf River look amazing on the Butterflies color palette. A bit of rearranging of the cutaparts allows me to add a larger photo to the top of the left page.
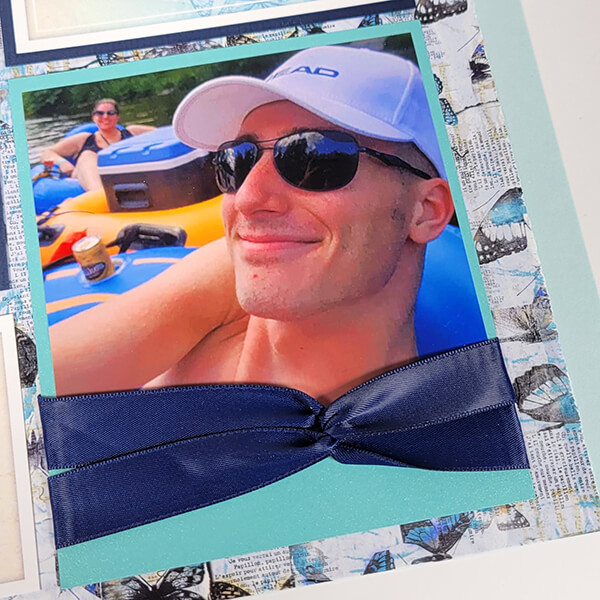
Tie a bit of ribbon to the bottom of the mat to disguise the "too short" photo.
Layout 7 & 8
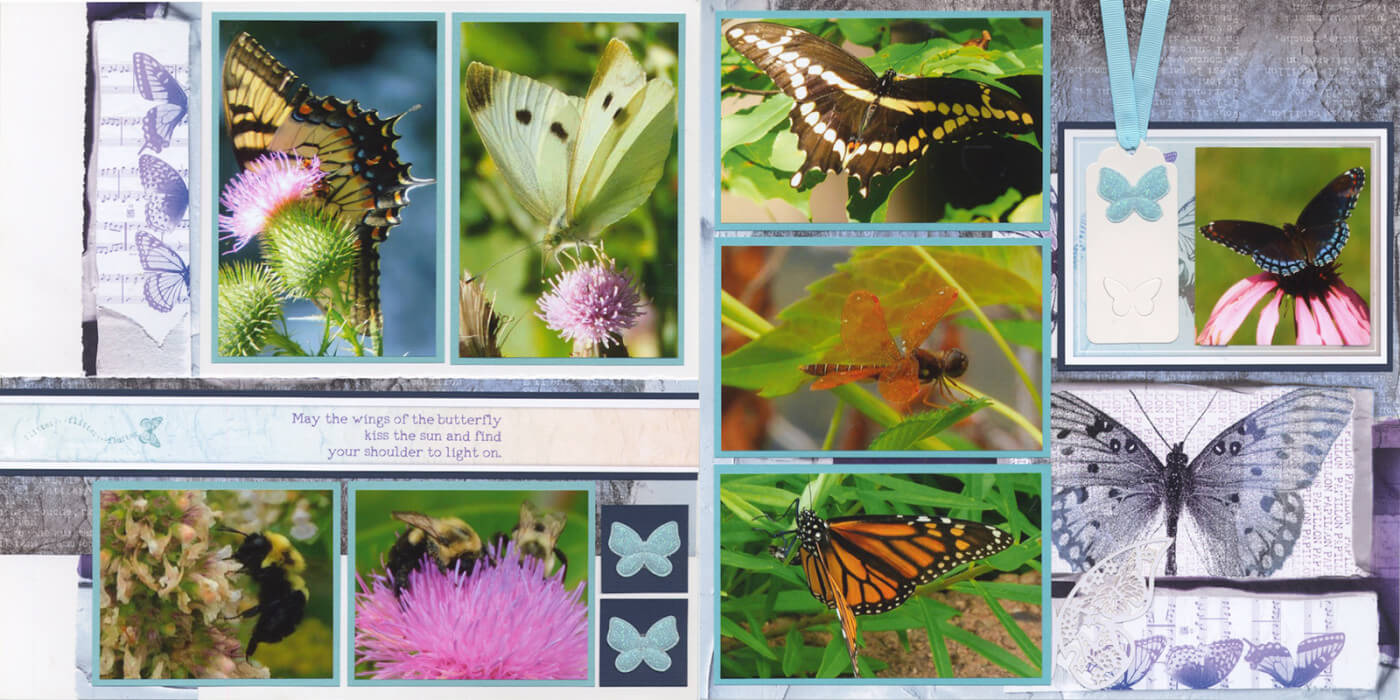
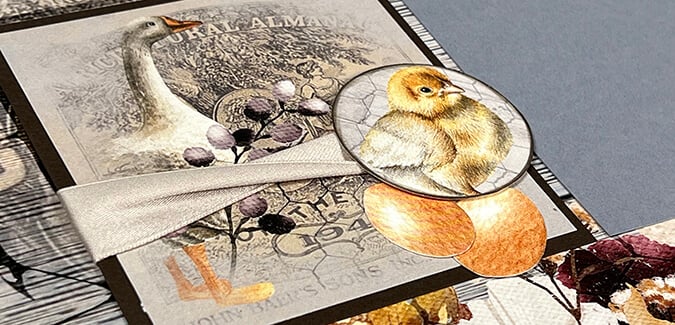
This layout features more of my dad's nature photos.
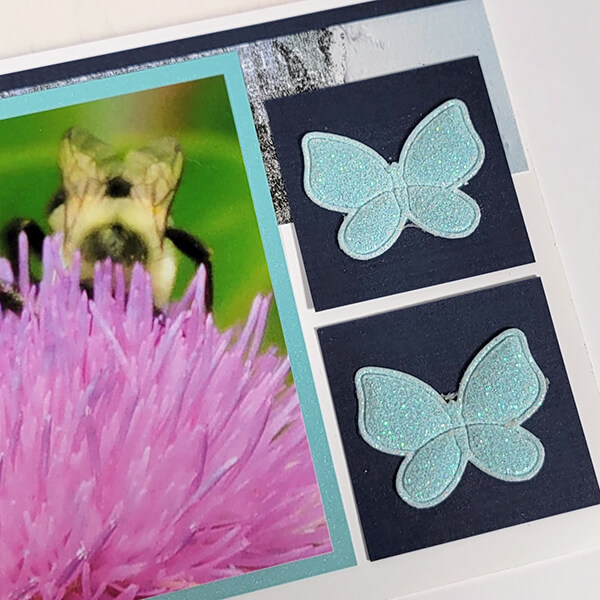
In lieu of tiny photos, add two butterfly appliqués to the small dark blue mats.
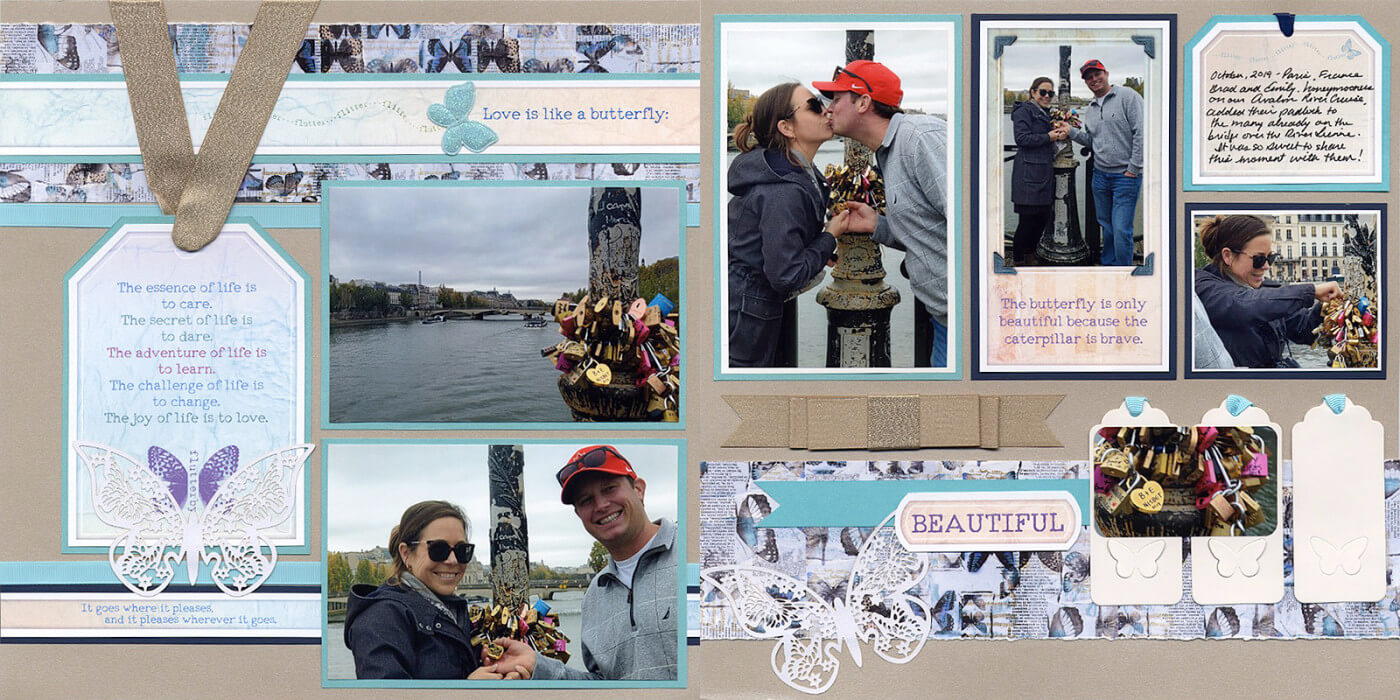
Butterflies Remix Page Kit - Tricia
Layout 1 & 2
Tuck an extra photo into the lower left corner of the layout; use your trusty grid ruler to determine photo size. Repeat steps to crop another photo to fit the open space to the left of the sentiment on the Cutapart at the bottom of page 2.
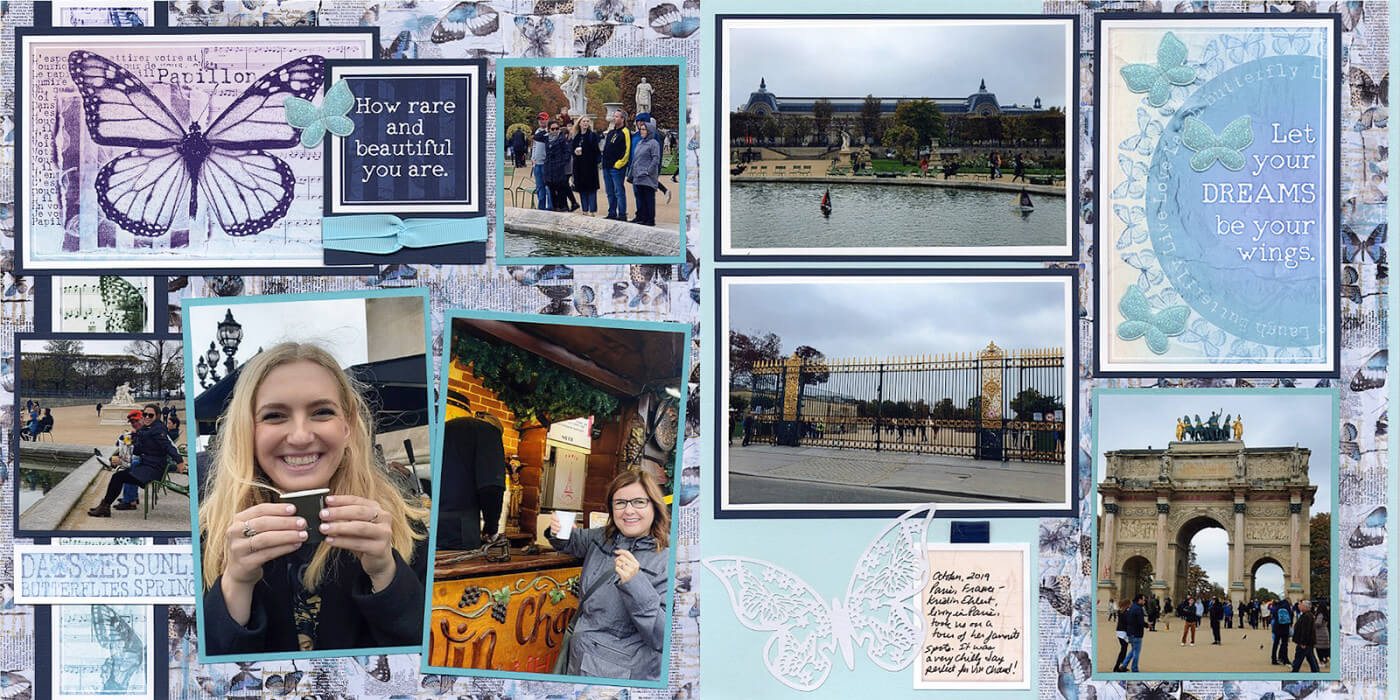
Layout 3 & 4
A 1-7/8x3-1/8" photo with rounded corners spans across two die cut tags.
Layout 5 & 6
Layout 7 & 8

Crop a small photo, round the corners, and adhere it to the top of the die cut tag on page 8.
Tricia and I hope sharing our completed pages helps inspire you to scrap your own soon. If you do, be sure to share your finished layouts with other Club Scrap fans on our Facebook Chat Group.
Happy scrapping!