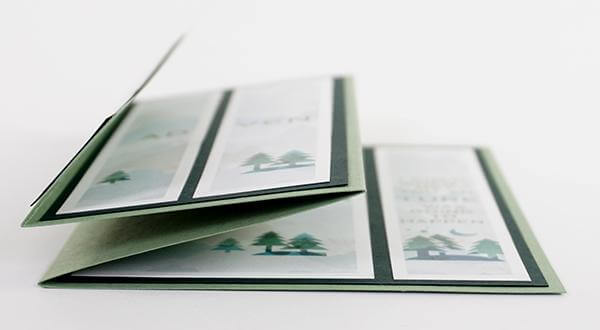

The Alpine Page Kit is both beautiful and inspiring. It will work well with pictures of any outdoor event: an Alaskan cruise, a family ski trip, holiday photos, a snowy day, a walk outside, etc. I think my favorite image is the goat which, as you may know, stands for "the greatest of all time!"

The instruction download included with the Alpine page kit will assist with trimming and arranging the papers. The details below will help you see some of the special details a bit more closely.
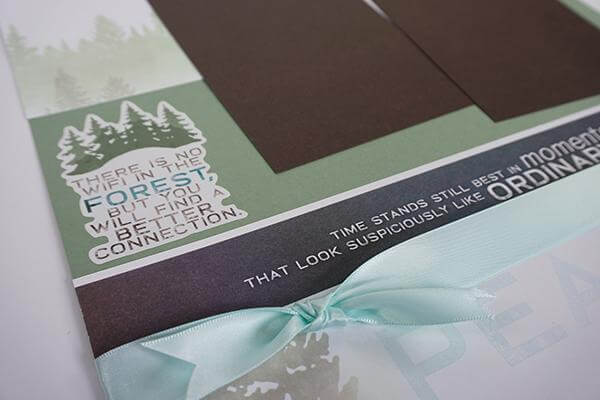
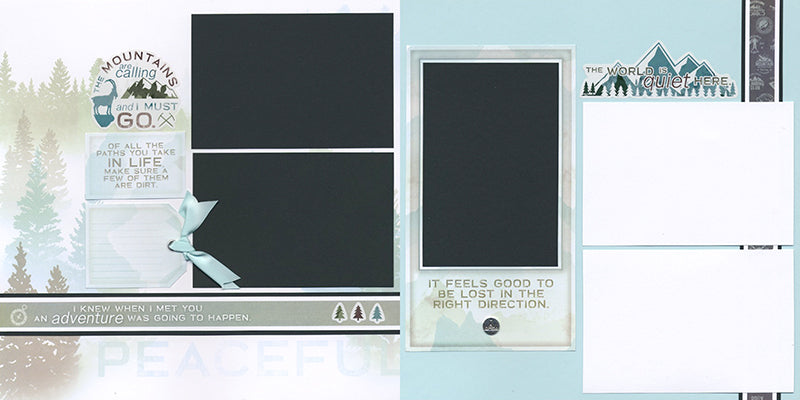
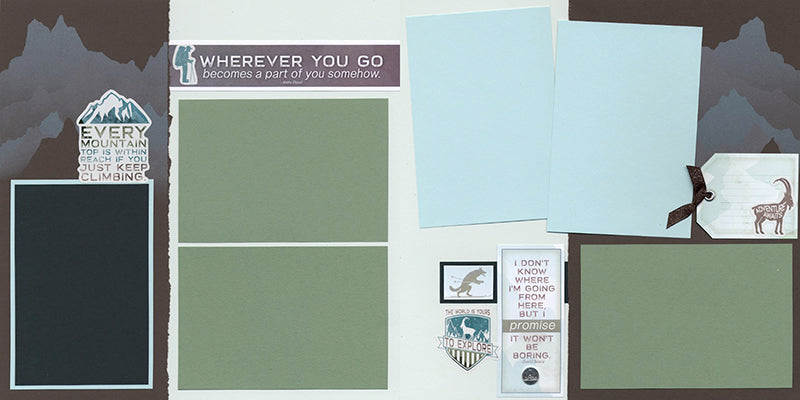
LAYOUTS 1 & 2

Oooh, that soft blue satin ribbon is so luxurious. Trim a 14" length and wrap it around the page. Leave a small amount of slack and tape the ends on the back of the page. Then, tie a small piece onto the stretched ribbon and trim the ends.

Create an eye-catching journaling prompt with a printed cutapart. Slice the top left and right corners at a 45 degree angle with a ruler and craft knife, punch a hole, add an eyelet from your stash, and top with the sparkly grosgrain ribbon in your kit.

The overlay stencil in the collection is stunning. Use the small alignment holes on the stencil to help create depth and shading to a background mountain scene. We used CS® Spruce ink for the border strip on page two. Watch the video tutorial for more tips on the stenciling technique.

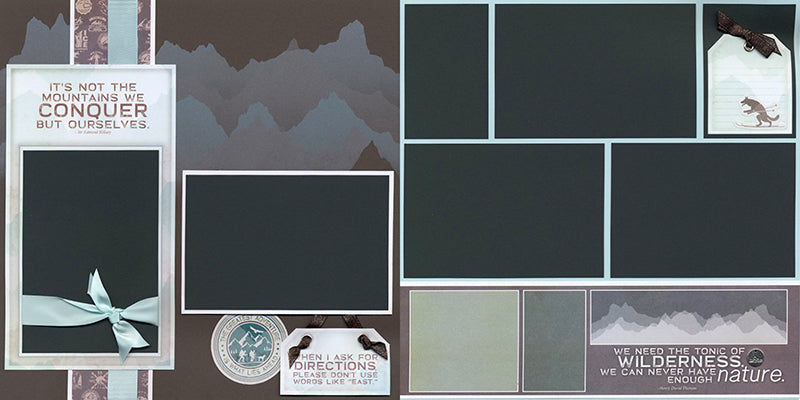
LAYOUTS 3 & 4
Our custom designed laser cut stickers include three adorable, tiny trees. Add them to the right side of the border strip on page three.

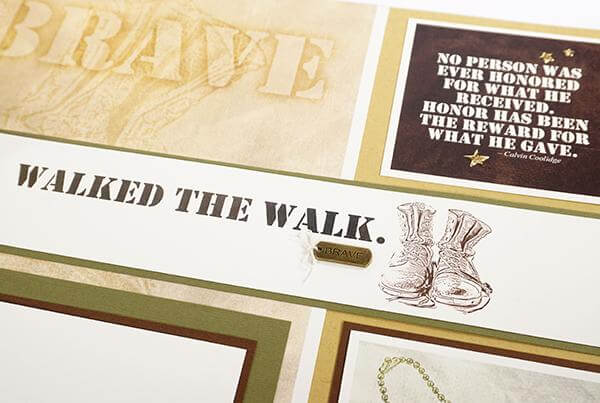
Create another tag-shaped journaling prompt topped with a satin bow. Trim the ends like a swallowtail by folding the ribbon in half and cutting at an angle from the folded edge toward the end.

I adore the modern silver mountain charms in the kit. Add one beneath the jumbo photo mat with a dab of CS® Bookbinding Glue, and that charm won't be going anywhere!

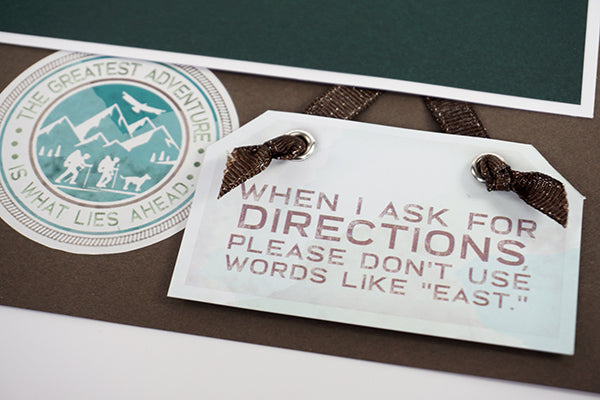
LAYOUTS 5 & 6
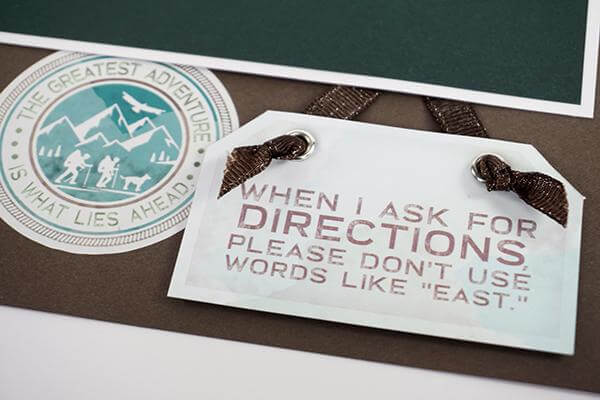
Make a cute "hanging" tag with the cutapart by trimming the top corners at an angle. Punch holes, add silver eyelets, and thread with brown grosgrain ribbon. Tie a knot in each end and tape the ribbon loop behind the photo mat. Adhere the tag with foam adhesive, and tuck the badge-shaped sticker slightly behind the photo mat and tag.
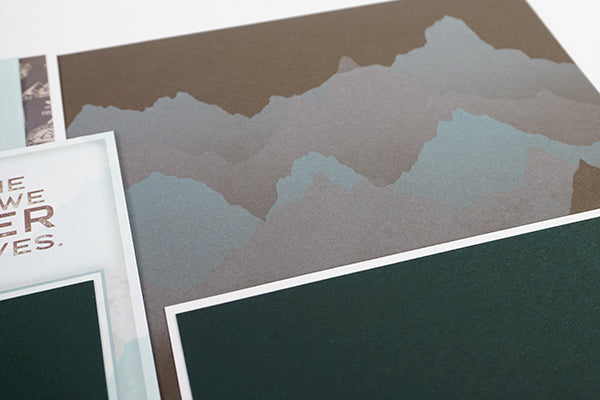
I didn't have the heart to cover the top corner of the gorgeous Brown Print with anything, but this spot could make a lovely home for a horizontal photo. The manufacturing process required a unique "double bump" method where the sheet was first printed with white ink and then allowed to dry for a day or two. Finally it was printed again with blue ink followed by another day of drying before its final trim and delivery.
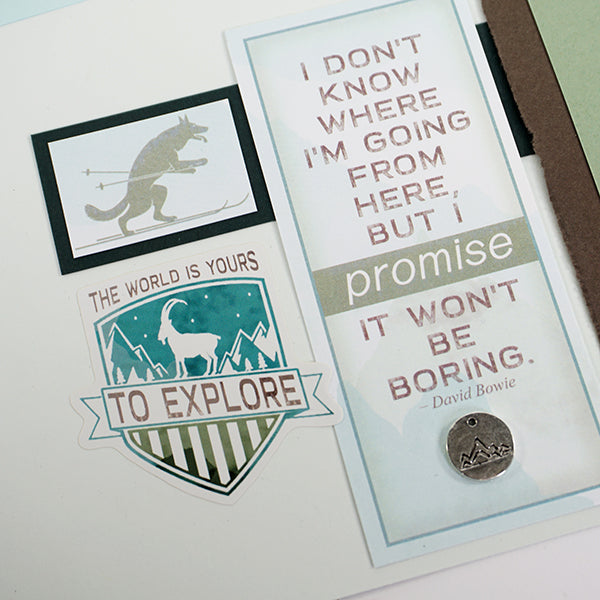
LAYOUTS 7 & 8
If you wish, place a 3x14" CS® Grid Ruler 5" from the left edge of the Brown print. Hold down firmly and tear upward and toward you to get a torn yet straight edge.

There was a small Pine strip of paper that could have easily been a scrap. Instead, slide it behind the cutapart sentiment to "anchor" it to the page. Finally, trim closely around the skiing wolf cutapart and nest it onto the strip. Finish with a sticker and a silver mountain charm.
I'm happy to say that by using that small strip of Pine paper, there wasn't a single scrap discarded in the making of the Alpine pages. Take a breath of fresh air, and come back tomorrow for a closer look at the Alpine Card Kit!
Tricia