Dandelion Stencil and a Bonus Coneflower Overlay Tutorial

Dandelion Stencil and a Bonus Coneflower Overlay Tutorial

Kay Williamson

Listen to article
Audio is generated by DropInBlog's AI and may have slight pronunciation nuances. Learn more

Create beautiful artwork for scrapbook pages, album covers, and cards with this month's Vintage Botany Dandelion Overlay Stencil.

Mini Album Cover Created with Vintage Botany Stencil, #clubscrap #vintagebotany #stencil

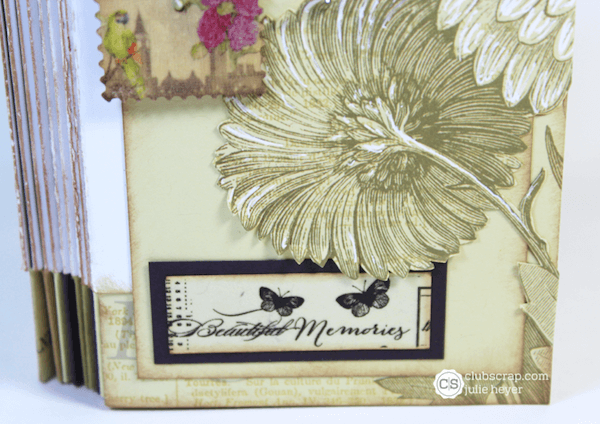
This unique dandelion stencil not only creates a whimsical dandelion fluff but makes a perfect coneflower as well. I chose to stencil both options onto the front and back covers of this 5x7" mini album.

Purple Coneflower Album (Front)

Mini Album Cover Created with Vintage Botany Stencil, #clubscrap #vintagebotany #stencil

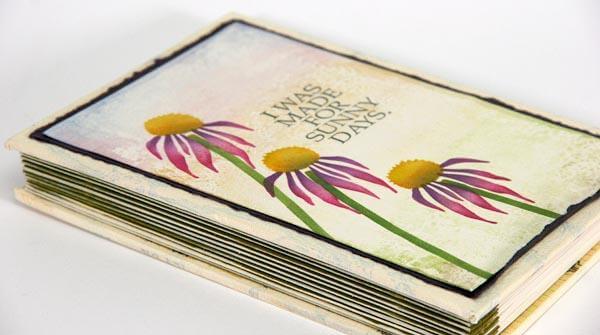
Dandelion Stencil (Back)

Mini Album Cover Created with Vintage Botany Stencil, #clubscrap #vintagebotany #stencil

Mini Album Cover Created with Vintage Botany Stencil, #clubscrap #vintagebotany #stencil

Mini Album Cover Created with Vintage Botany Stencil, #clubscrap #vintagebotany #stencil

Stenciled Coneflower Panel Instructions

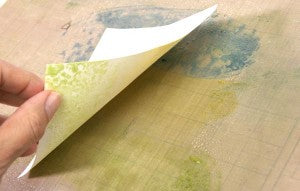
1. To create a softly mottled background, apply Sapphire, Topaz, Tangerine, Orchid, and Leaf Hybrid inks directly from the pad onto a non-stick craft sheet.

    Mini Album Cover Created with Vintage Botany Stencil, #clubscrap #vintagebotany #stencil

    2. Spray generously with water.

    Mini Album Cover Created with Vintage Botany Stencil, #clubscrap #vintagebotany #stencil

    3. Press a panel of 4.75 x 6.75" Vintage Botany Ivory Plain onto the moistened ink. Lift panel and set aside to dry completely before moving on to the next step.

    Mini Album Cover Created with Vintage Botany Stencil, #clubscrap #vintagebotany #stencil

    4. Add a stamped sentiment from the Jumbo UM set with Spruce ink. Position the stencil over the panel next to the sentiment. Apply Leaf ink to the stem and blend Topaz and Tangerine for the center.

    Mini Album Cover Created with Vintage Botany Stencil, #clubscrap #vintagebotany #stencil

    5. Reposition the stencil with the petals under the flower center and color the open areas with Fuchsia and Orchid ink. Add additional stenciled flowers to complete the panel, if desired.

    Mini Album Cover Created with Vintage Botany Stencil, #clubscrap #vintagebotany #stencil

    6. Mat with purple and attach the panel to the album cover.

    Mini Album Cover Created with Vintage Botany Stencil, #clubscrap #vintagebotany #stencil

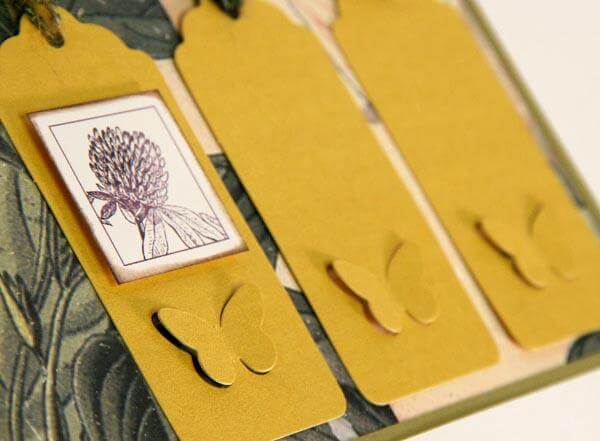
    I couldn't stop there, so I created this card too! Isn't it sweet?

    Mini Album Cover Created with Vintage Botany Stencil, #clubscrap #vintagebotany #stencil

    Happy stenciling!

    Kay

    Kay Williamson SaveSave SaveSave SaveSave SaveSave SaveSave SaveSave SaveSave SaveSave SaveSave SaveSave SaveSave SaveSave SaveSave SaveSave SaveSave SaveSave

    « Back to Blog