Since Lite kits shipped yesterday, it's time to think about different techniques you can use with the new Reunion Lite Stained Glass Stencil.
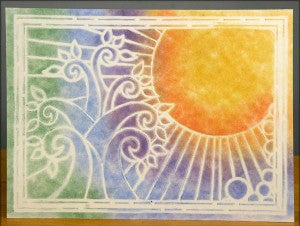
BRAYERED INK TECHNIQUE
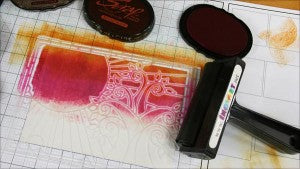
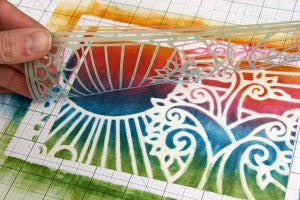
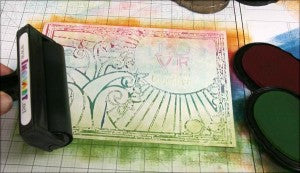
1. Place masking stencil on white cardstock, select desired dye ink colors. Starting with lightest ink color, brayer ink directly over masking stencil onto card stock.
2. Continue until covered with ink. Remove stencil.
3. Use White Pigment Ink to stamp sentiment. Trim to 4.75 x 6.75" and attach to 5x7" card base.
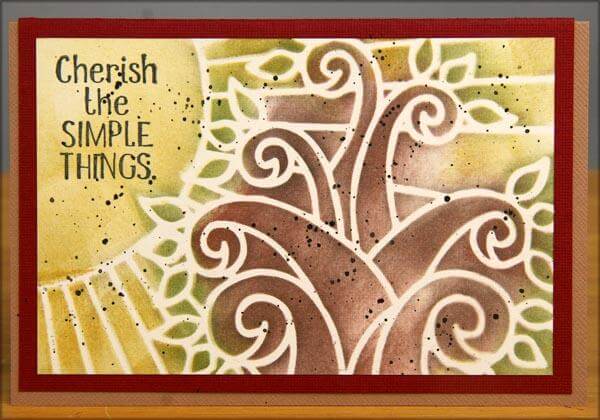
COLORED SPRAY TECHNIQUE
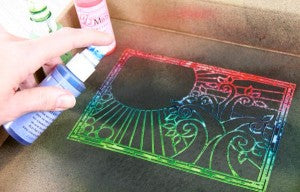
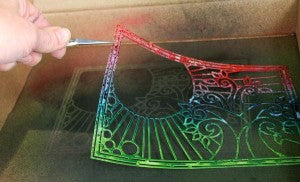
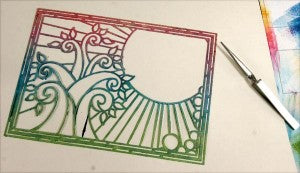
1. Place stencil into a protected work area, such as a Club Scrap Pizza Box. Apply sprays to load the stencil with color.
2. Carefully pick up the stencil (tweezers may be helpful here). Place stencil colored side down onto plain white cardstock.
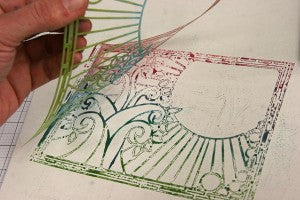
3. Press stencil onto cardstock. Make sure it has full contact with the paper in all areas.
4. Remove stencil and trim as a panel for a greeting card or page embellishment.
5. Add more color with ink and brayer, if desired.
BLENDED PASTEL TECHNIQUE
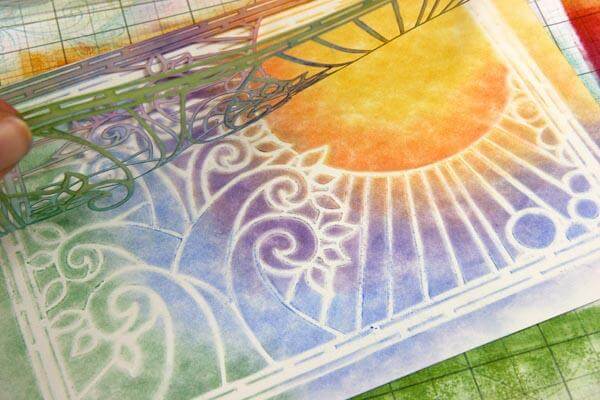
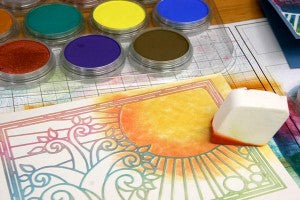
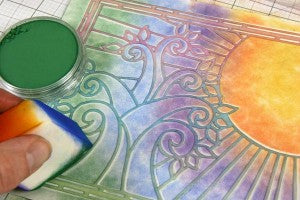
1. Apply Pan Pastels over the Masking Stencil using an applicator Sponge.
2. Start with lightest color. Add more colors with sponge, blending well.
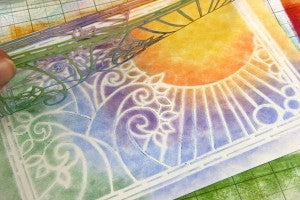
3. Remove stencil when coloring is completed.
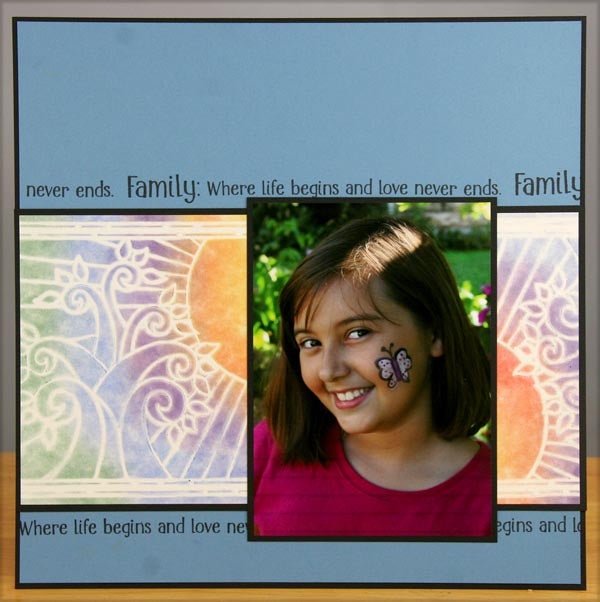
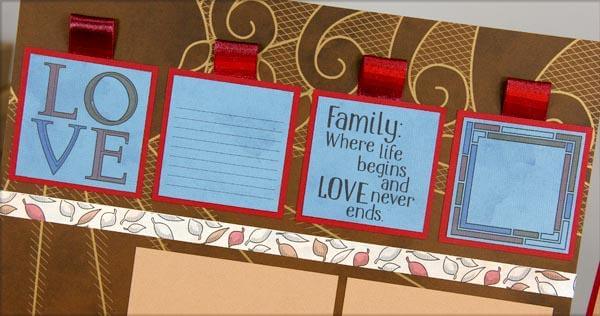
4. Trim to size for a greeting card or for use as a decorative border element on a scrapbook page (like I did in the photo above).
This versatile Stained Glass Stencil is on it's way to you as part of your Reunion Lite kit. If you are not a Club Scrap Lite Member yet, click HERE to become one today!
Kay
