
This is the time of year I'm typically scrambling to make a few more special handmade gifts for people I love and appreciate. I recalled the quick and easy notecard gifts I gave away last year and thought it would be the perfect project to revisit.

First, I viewed the how-to video. Gosh, that was helpful!
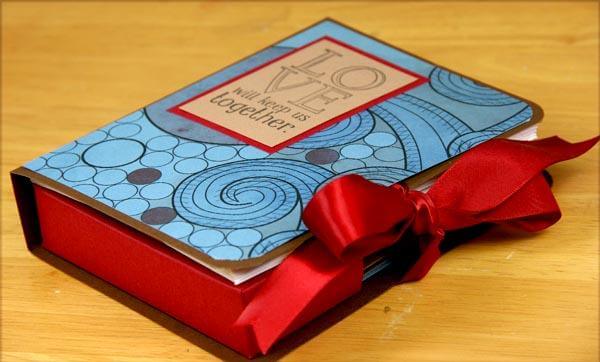
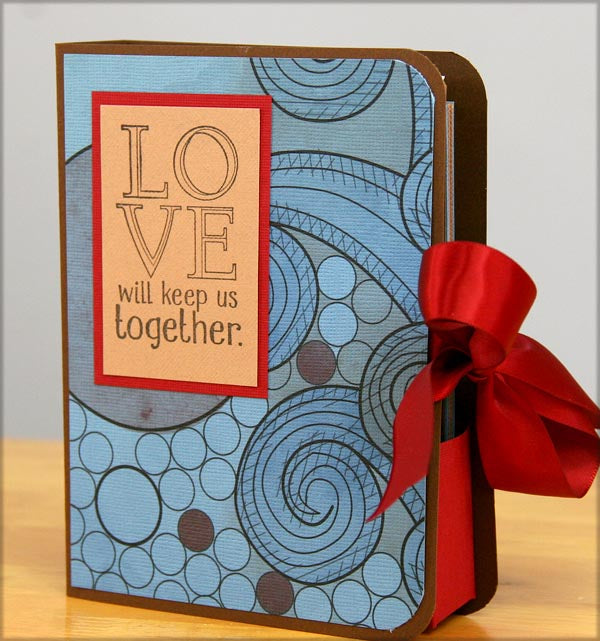
My Reunion gift card box came together in less than thirty minutes. If you created a cutting, scoring, folding and adhering assembly line to make several at a time, you could knock out a dozen of these in an afternoon! (Perhaps you could recruit a few helpers?)
Here's the process:
1. Trim, score and round corners of selected papers according to the directions provided in the blog. Or, you can download or print this .pdf file created from the same blog, minus the photos.
Gift Box Tutorial Instructions

2. Fold the Outer Case Paper along score lines and tape a ribbon closure to each cover.

3. Adhere the Outer Case Panels to the cover.

3. Cut, fold and assemble the Card Pocket paper.

4. Adhere the pocket to the right side of the inside cover.

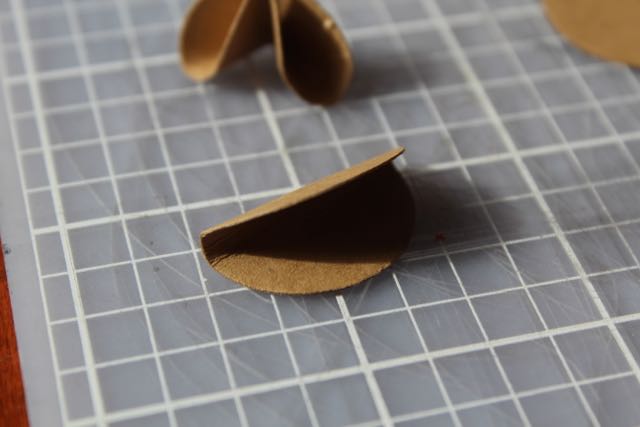
5. Mitre corners and fold flaps to create the postage stamp pocket. Adhere flaps to the card pocket.

6. Wrap a 1.5x12" paper strip around eight A2 envelopes and secure with tape.

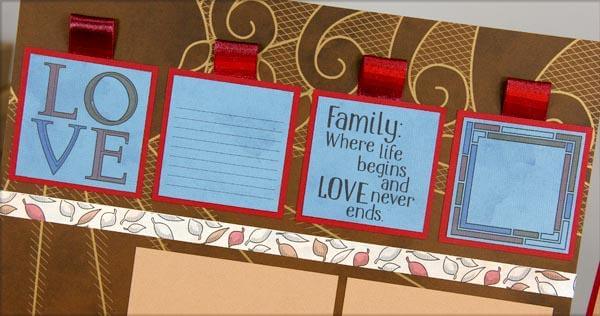
7. Adhere the taped side of the strip with envelopes to the inside left cover. Design eight simple cards and insert into the card pocket.

8. Hand the project to the talented Kay Williamson to be photographed. Enjoy giving it away!

An envelope punch board was used to create the opening at the top of the pocket.


Tricia
.