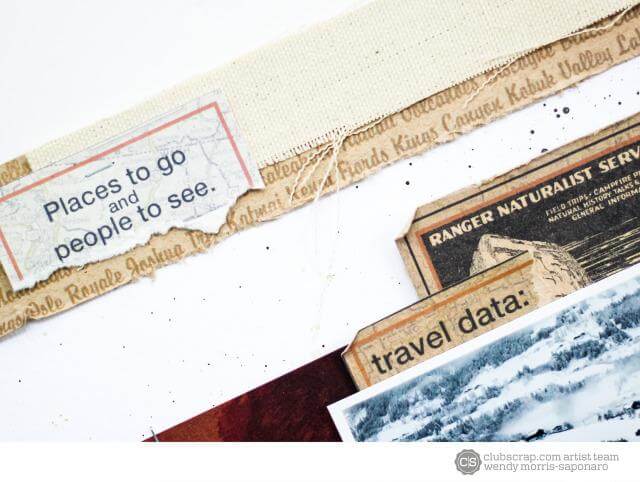
The design of the National Parks Collection is not only great for outdoor photos, it's also perfect for home decor! The Club Stamp Text Weight Print is featured on this 6x6" faux canvas wall hanging.

Faux Canvas Wall Hanging
Let's look at the construction.
1. Cut Book Board to the following dimensions:
(2) 6x6" Front and Back Walls
(2) 1x6" Side Walls
(2) 1x5-3/4" Side Walls

2. Use a grid ruler to locate the center of one 6x6" book board panel, about 1" from an edge. Punch three connecting holes in a row to create an opening for level hanging. If you have a plan for embellishments on the front that requires punched holes, take care of that now, as well. (Don't be like me.)

3. Adhere book board pieces with Book Binding Glue to create a box. (Yes, my book board is white. Pay no attention to this.)

(If you decide you need a hole in the front board to add a binder clip and brad, you'll need a Japanese screw punch on hand.)

4. Without glue, place the 8.5x11 Text Weight Print onto the board, as shown. Make a crease in the paper along all four edges after placement has been determined.

5. Spread Bookbinding Glue onto the front wall of the box and attach within paper creases.

6. Working one side at a time, cut paper to create flaps and glue onto the side walls of the box.


7. Cut "patches" from a second 8.5x11 Text Weight Print to cover any visible book board on the side walls.

8. Trim a 5.75x5.75" Brown Plain and center onto the back of the box.

9. Transfer the location of the pre-punched hanging holes through to the cover paper.

10. Distress edges with Earth Ink.

11. Wrap the left side of the box with several passes of waxed linen thread; attach the clip to the box by pushing the brad through the pre-punched hole after adding a dab of bookbinding glue.


12. Remove the clothespin from a Mini Chalkboard and stain the wood with brown acrylic paint. Stamp a sentiment from the National Parks Greeting UM with White Pigment Ink onto the blackboard area and attach to the clip.


13. Stamp another sentiment onto a portion of a printed Cutapart and add to the box.

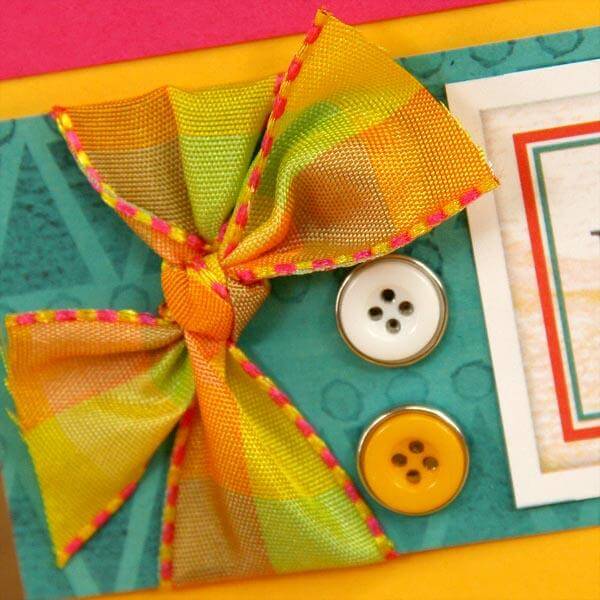
14. Embellish to your heart's desire.


I look forward to hanging this on my wall!

Last month I created a faux canvas with The Blues collection. Click HERE to learn more about this version of the project. (If you forget to punch a hanging hole, an easel works great, too!)

Wishing you a creative day. Thank you for stopping by.
Kay