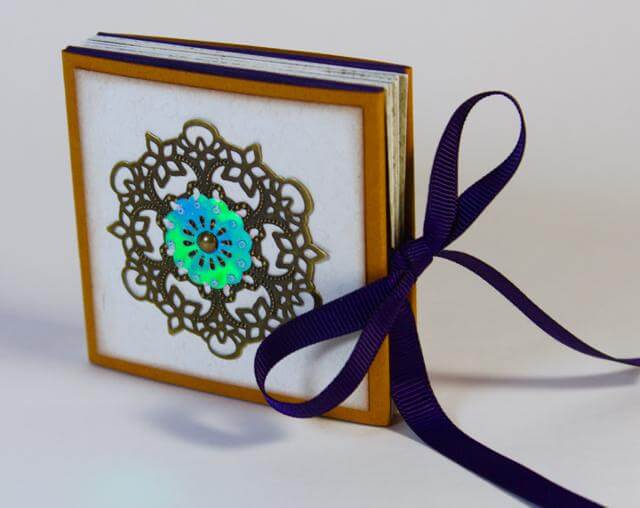

Create a unique card with a simple fold and clever cuts.

I found this helpful how-to video on Pinterest. Be sure to check out this LINK for details. Let's get started. Trim Moroccan Spice 8.5x11 Purple horizontally at 5.5" to create two card bases.

Score one cared base horizontally at 4.25".

Lay the card base open horizontally on a cutting mat. Place the edge of the 3x14" grid ruler along the left edge of the card with the 3" mark at the top edge of the card.
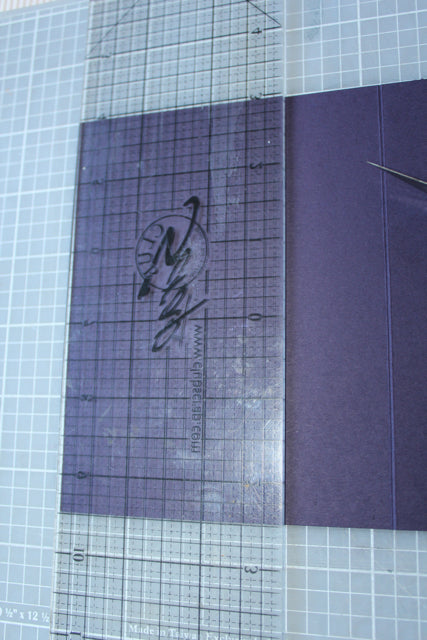
Cut from the 2-3/8" measurement down to the "0" center mark with a craft knife.

Rotate the card base vertically. Align the edge of the ruler with the left edge of the card. The 3" mark will be along the bottom of the card base.

Make a cut beginning at the 0 center down to the 2 3/8" mark. Flip the card base over. Fold the top right corner of the square down onto the front of the card. Burnish the crease.

Secure the square to the front of the card with a small dot of adhesive from the Glue Pen.


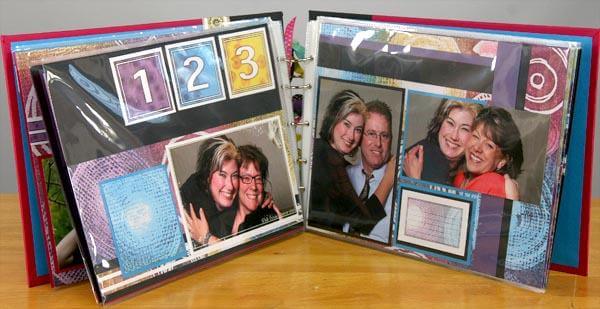
Attach a 3.75x5" Ivory Print nested onto a 4x5.25" Green panel to the inside of the card.

Cut a 2.5x2.5" Ivory Print and layer onto a 2.75x2.75" Green square. Attach to the front of the card.

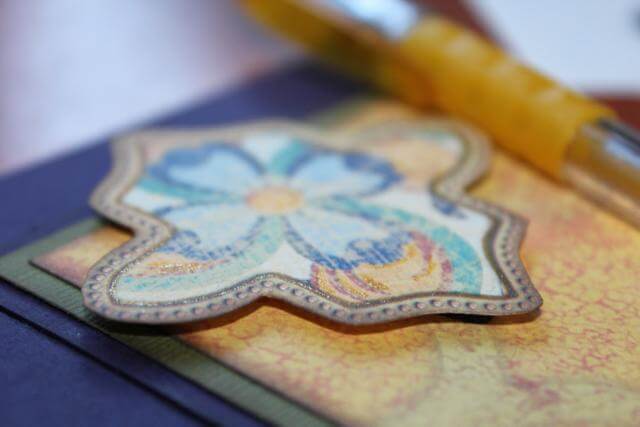
Fussy cut a flower tile from the 8.5x11" Ivory Print.

Add to the card with dimensional adhesive squares.

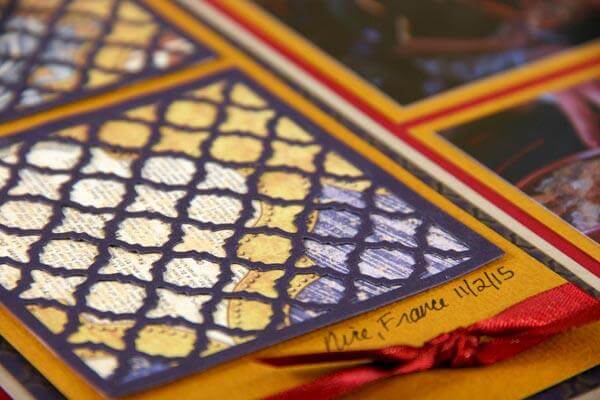
Add gold glitter gel pen accents to the tile and distress the edges with Earth ink.

Stamp a sentiment from the Moroccan Spice Borders and Backgrounds UM with Gold Metallic ink.

I hope you'll spice up your card making with this cool technique!
 Julie
Julie