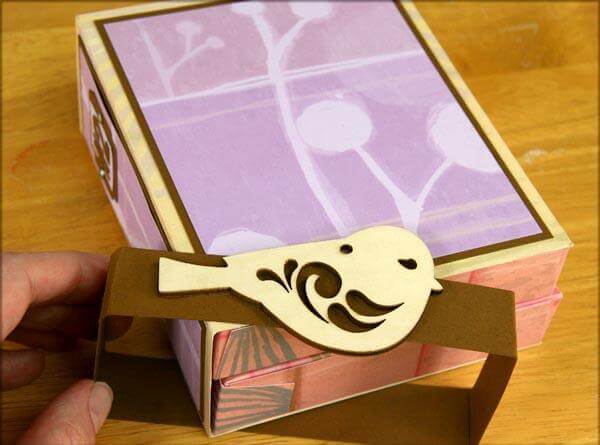

I featured this handy Card Carrier for the 50s Kitchen blog hop and received several requests for a "how-to" video. The carrier holds the twelve or more greeting cards I make each month with the Club Stamp collection along with corresponding A2 envelopes.


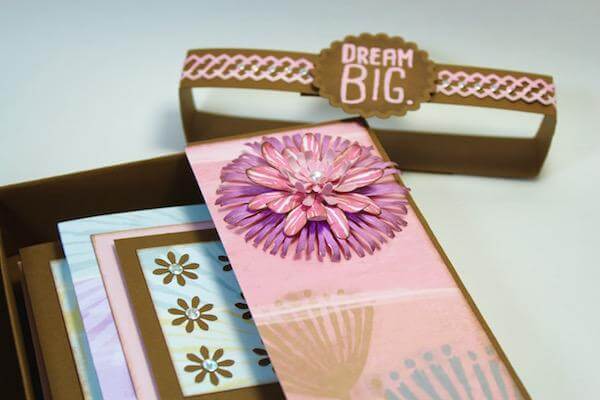
This is the Botanicals version of the card carrier . . .


You will need the following papers trimmed from Club Scrap quality 80-pound cover stock:
- (2) 6.75x12" Inside Pockets (Botanicals CS 12x12 Pink Print)
- 5-7/8x12" Outside Cover (Botanicals CS 12x12 Yellow Print)
- (2) 1x10" Closure Band Strips (Botanicals Brown Plain)
- (2) 4.5x5.5" Outside Cover Mattes (Botanicals Brown Plain)
- (2) 4.25x5.25" Outside Cover Panels (Botanicals CS 12x12 Lilac Print)
- 2x5.5" Outside Spine Matte (Botanicals Brown Plain)
- 1.75x5.25" Outside Spine Panel (Botanicals CS 12x12 Lilac Print)
- 2x5.75" Inside Spine Cover (Botanicals CS 12x12 Lilac Print)
You will also need a ruler, pencil, cutting mat, craft knife, scoring tool, bone folder and adhesive. Let's make one together with the help of my video tutorial.
View the original blog post for the step by step instructions, measurements and diagrams. Join Club Stamp today and get a start on filling your new carrier with beautiful greeting cards! Here are the cards inside my Botanicals carrier . . .

Tricia