
If you joined Club Scrap on the Botanicals Blog Hop, then hopefully you saw the sneak peek of this project on my Cape Scrapper Blog.

Inspired by a Coredinations blog post, I altered the dimensions to fit a set of four A2 size cards and envelopes.
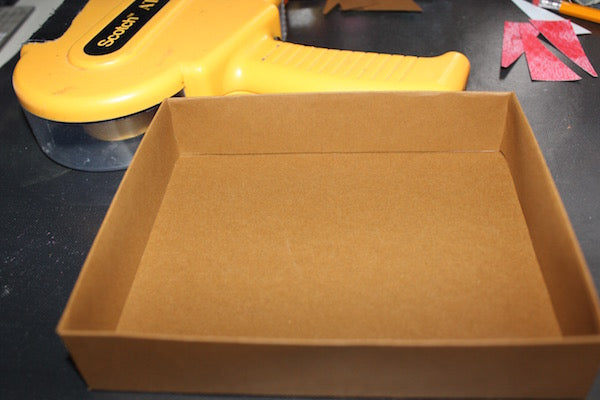
1. Trim one 11.25x10.25 and two 8.75x5.125" papers from two sheets of 12x12 Botanicals Brown Plain.
2. Follow the FREE template instructions available for download HERE to create the base and two lid pieces.
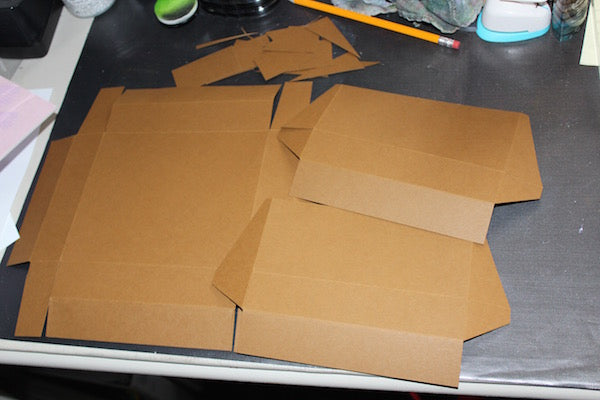
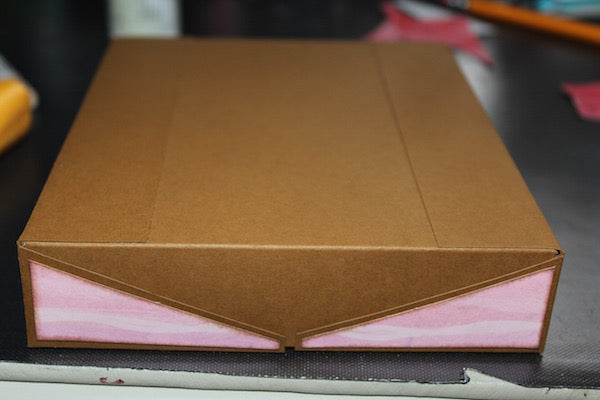
3. Assemble the base of the box. The two flaps will be folded and secured within the two long sides of the box to create a solid box structure.
4. Trim the 12x12 Pink Print into panels to decorate the lids. 

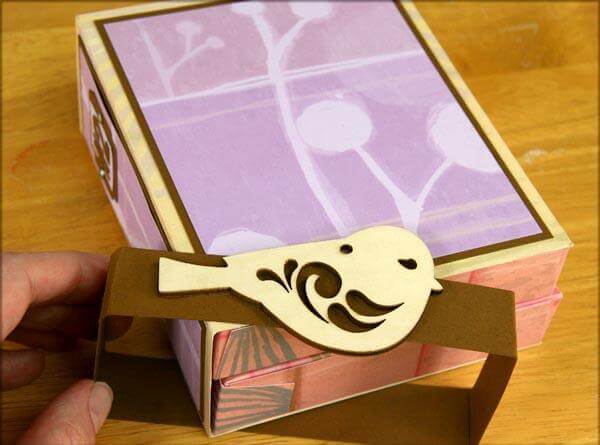
5. Once the panels are adhered to the lid pieces, it is time to assemble the lids. NOTE: The two top panels will nest onto the top of the box lids with an eighth-inch reveal on three sides and will overhang the center of the box closure by 1/8".

6. Apply glue or adhesive to the small angled pieces on the short sides of the lid and attach.

7. Apply book binding glue to the long flaps of both lids and adhere to the bottom box.

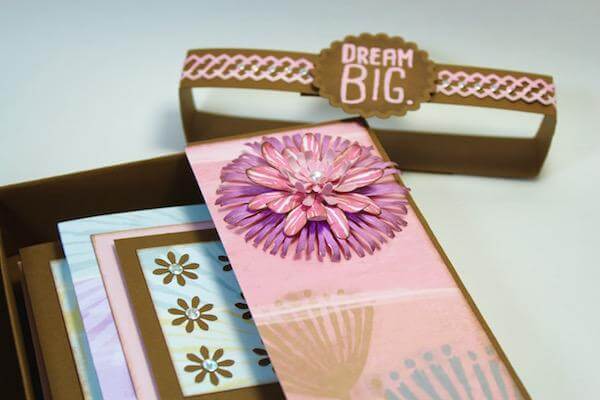
8. Create a belly band using two 1x12" pieces of brown paper glued together in the middle and wrap around the box to ensure the perfect fit. Stamp the "Dream Big" sentiment from the Botanicals Art Nouveau sheet onto a die cut shape with pink acrylic paint. Use the image to cover the seam of the belly band. Complete the box with a paper flower embellishment.

Here is the finished project.

 Happy Spring! Julie