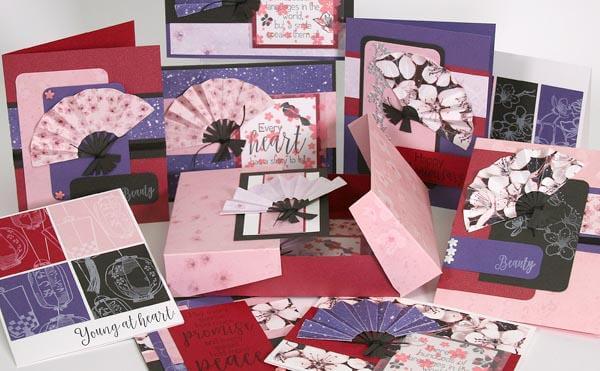
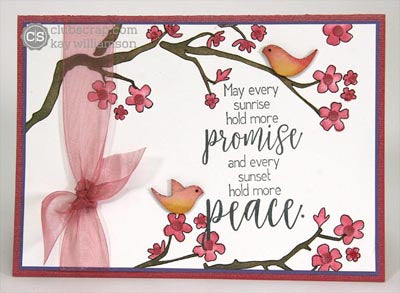
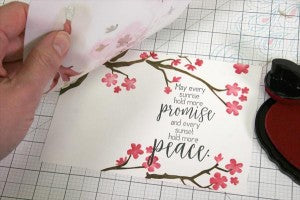
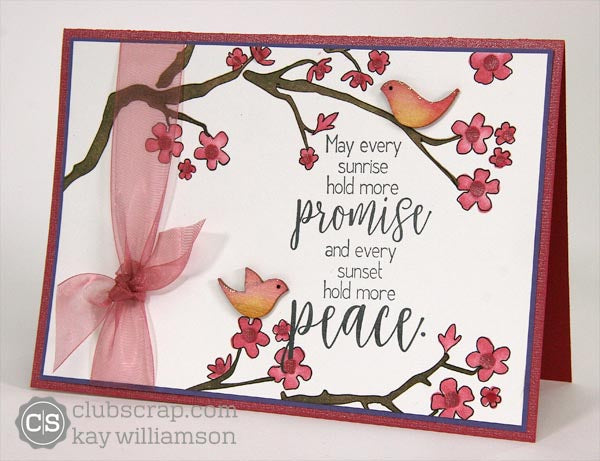
The Cherry Blossoms stencil included in the Lite kit helped make this adorable 5x7" card. It was fun to sponge layers of ink onto the stenciled branches and blossoms!
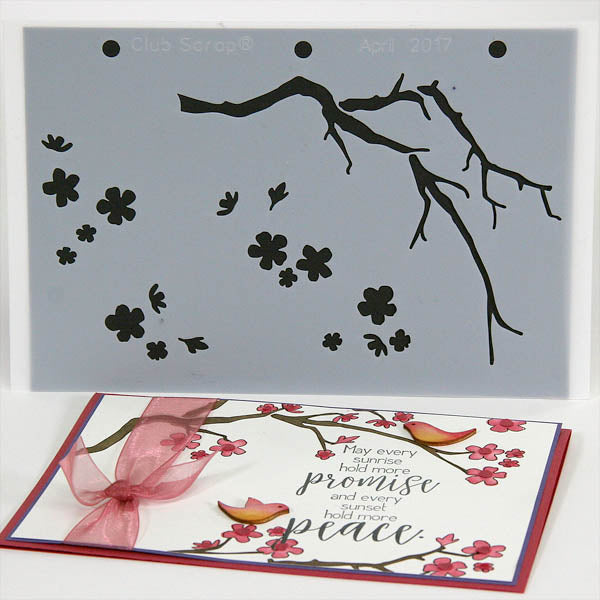
This multi-layer stencil has endless potential. Make sure you pick one up if it's not already on its way in your Club Scrap Lite kit. (If you're new around here, a stencil will be included in the Deluxe or Lite kit on alternating months. Shop the stencil category in our store to see what you may have missed!)
Take the following steps to create the card . . .
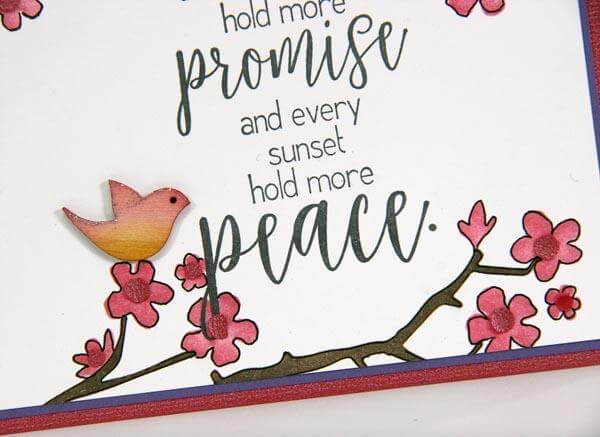
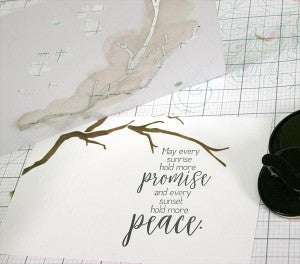
1. Stamp the sentiment onto a White card panel with India Black ink. Stencil the branch around the sentiment with a Foam Applicator and Earth ink.
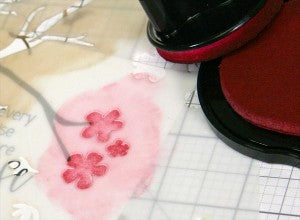
2. Stencil cherry blossoms onto the branch with Carnation ink.
3. Stencil additional branches and blossoms onto the card panel.
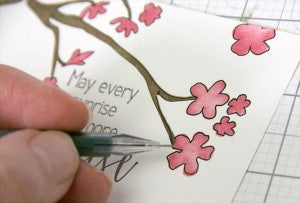
4. Realign the stencil with the branch and outline with the Delft Black Gel Pen.

4. Outline the blossoms with the help of the stencil or freehand.
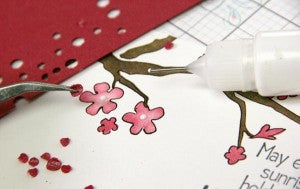
5. Punch small circles from Cherry Plain paper and adhere to the blossom centers with CS Bookbinding Glue in a Needle-tip Applicator.
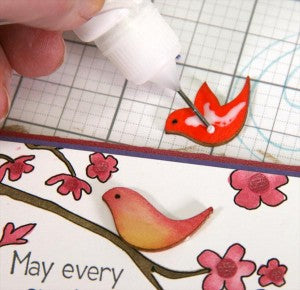
6. Sponge Carnation and Tangerine inks onto the Woodcut Birds.

7. Adhere the birds to the branch.
8. Mat the art panel with Purple, wrap with chiffon ribbon, and layer onto a folded Cherry card base.
 Y
Y
our skills will blossom with this stencil. Use it to create your own custom background paper for scrapbook pages, too!
Kay