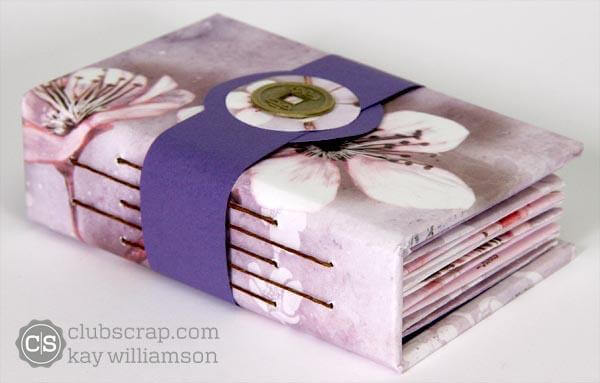
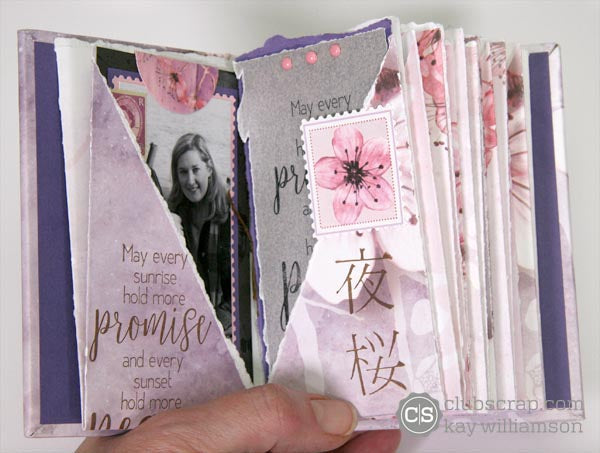
Make a beautiful handmade pocket book with the super-sweet Cherry Blossoms collection.
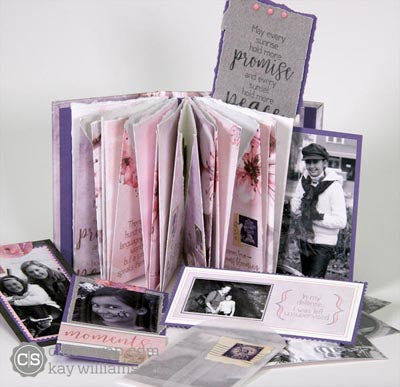
Before we dive into the assembly tutorial, pin the image below to help you remember to come back and create one for yourself!

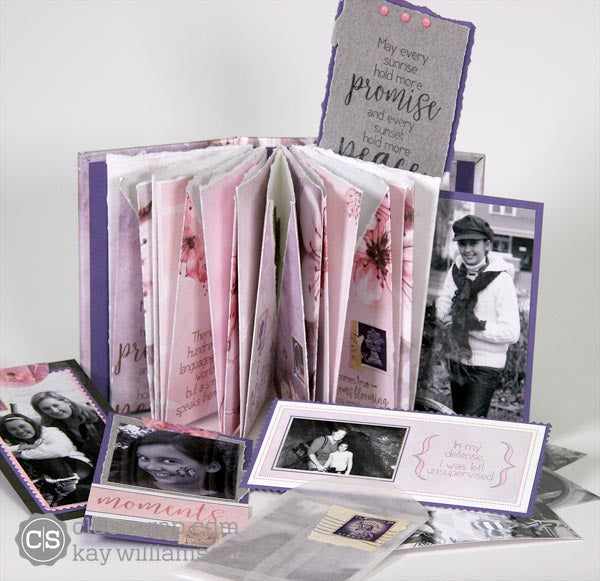
The finished size of the book is rather petite at only 3.25x5.25x1.5".
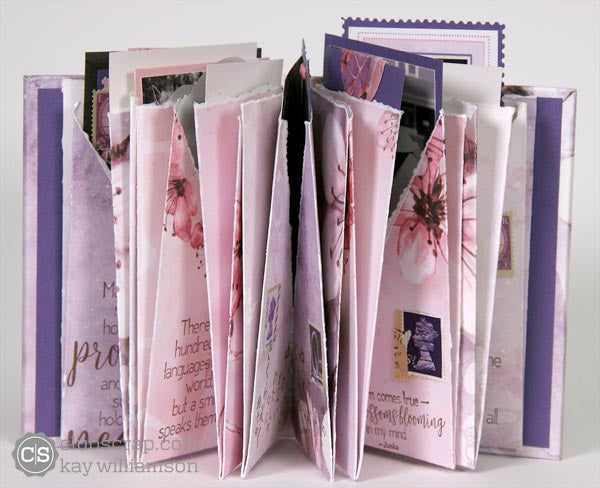
The pocket pages give the sense of traditional Japanese origami paper folding techniques, but are not very complicated to create.
Follow these steps to make the pocket book:
INSIDE PAGES

1. Tear 1" from the top and bottom edges of five 12x12 Prints to create five 10x12" pieces.

2. With the torn edge at the top, score at 3, 6, and 9".

3. Rotate the paper and score vertically at 5".

4. Place the grid ruler from the center score line to the first 3" score line and tear away the corner. Repeat for the three remaining corners.

5. Fold pointed ends in.

6. Invert and fold in half as shown.

7. Fold in half again.

8. Repeat for all five pages.

COVER
1. Cut one 1.25 x 5.25" Book Board Spine and two 3.125 x 5.25" Book Board Covers. Place the spine horizontally. Measure and mark at .75, 1.5, 3.75 and 4.5" with a grid ruler and pencil.
2. Place the spine vertically. Measure 3/8" from the left edge and hashmark the intersecting point at the top and bottom guideline. Move the ruler to 7/8" from the left edge and mark the top and bottom guideline at the intersecting point.

3. Measure and mark the inner guidelines at 1/8, 5/8, and 1-1/8".

4. Piece a stitching hole into each marked area to create a total of ten holes.

5. Trim a 7.25x10" outside cover wrap. Adhere the book board covers and spine to the wrap, leaving a 1/4" gutter between the spine and covers and a 1" lip on the outside edges. Pierce through the stitching holes to transfer them to the cover wrap, and wrap the paper flaps around the boards.

6. Transfer the pierced stitching holes through the paper flaps on the inside of the cover. Next, place one prepared inside page on the spine, aligned with the first set of vertical stitching holes. Mark the location of the holes onto the page.

7. Pierce the stitching holes onto the pocket page.

8. Transfer the stitching holes for the first page onto two additional pages.

9. Align the folded edge of a pocket page with the second column of pierced holes on the spine and mark the location of the holes. Pierce holes in that location on the remaining two inside pocket pages.

9. Adhere a 5x5.75" Purple paper to the inside cover.

10. Pierce the stitching holes through to the purple inside cover.

BOOK ASSEMBLY
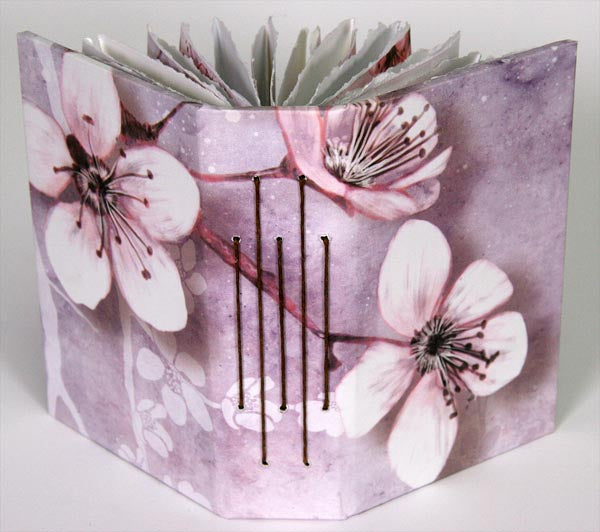
1. Thread a needle with waxed linen and pamphlet stitch each page to the corresponding holes in the binding.
2. Trim thread tails after the knot is made on the inside of the page.

3. Continue adding pages in the same fashion, lining up the correct pages with the correctly-spaced stitching holes.

Yay! The book construction is almost complete!

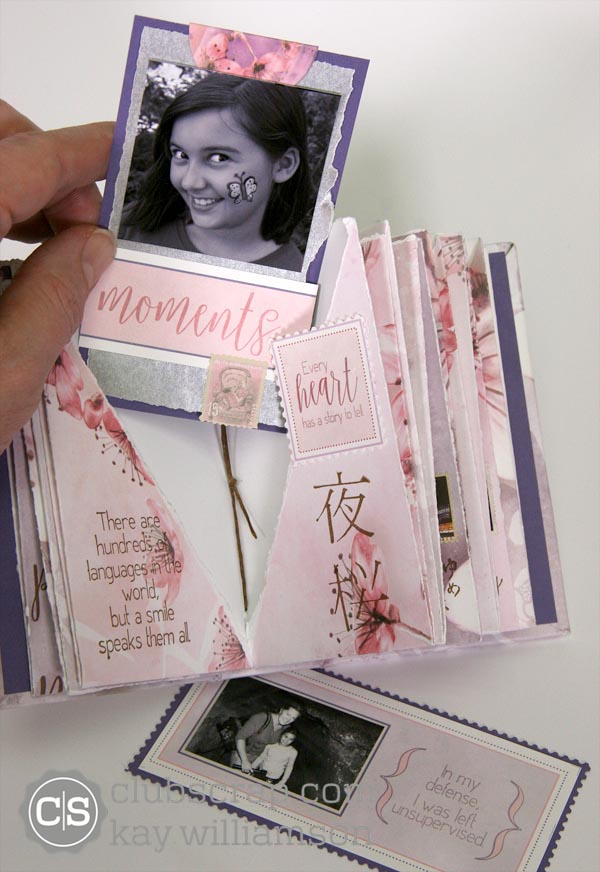
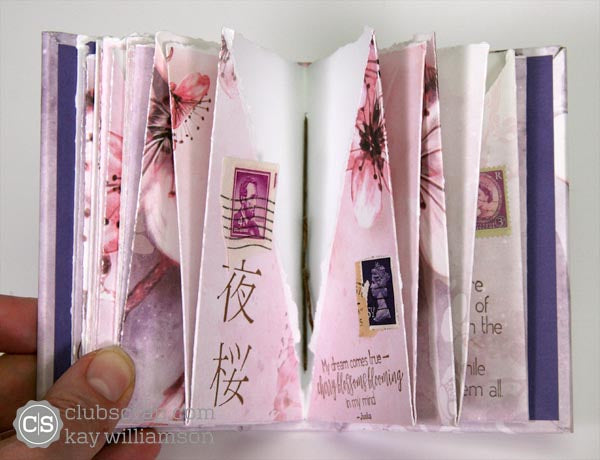
Add Cherry Blossoms cutaparts, photos and other memorabilia to embellish the pockets.
BAND CLOSURE

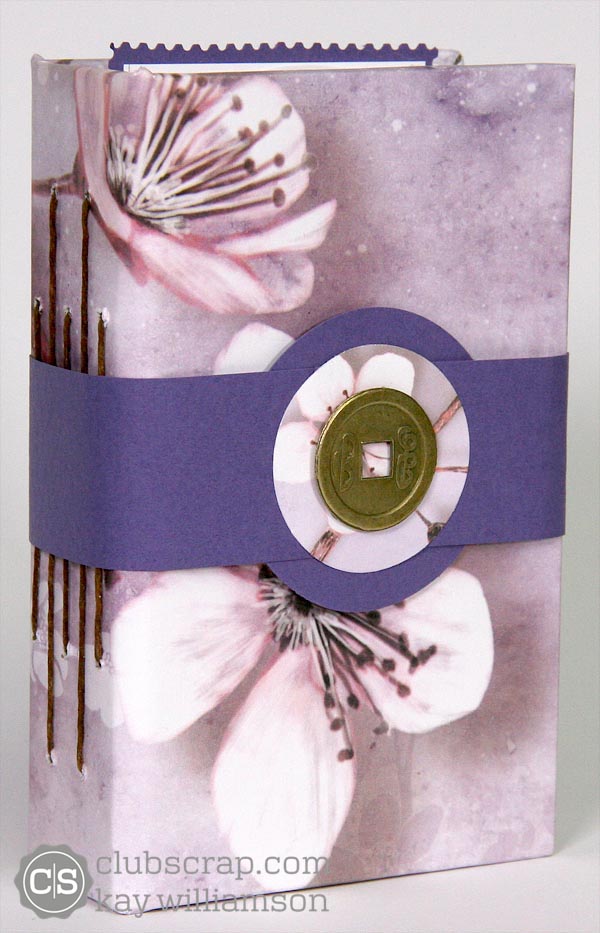
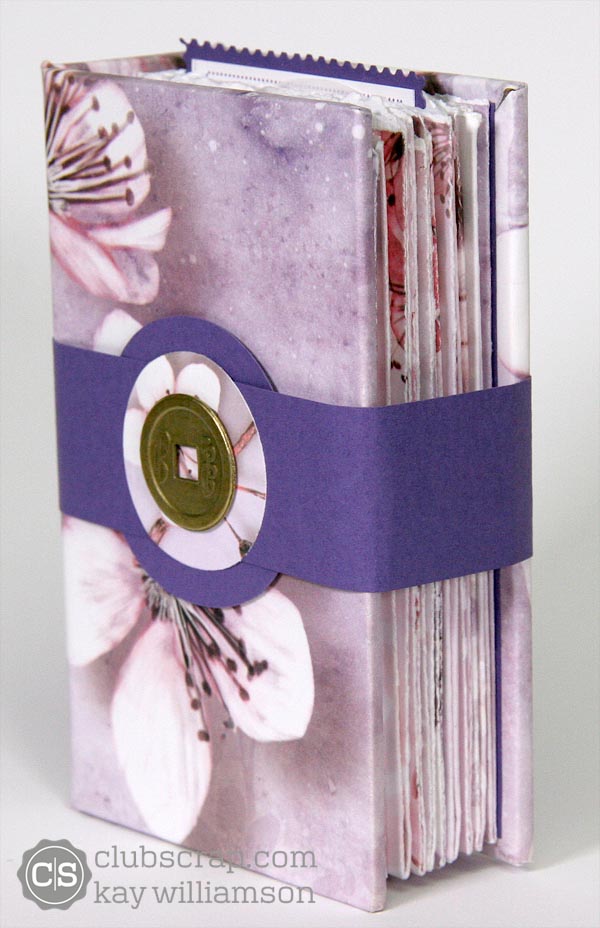
1. Cut a 1.25 x 10.50 strip of Purple, wrap around the book and adhere ends.

2. Adhere a 2" punched circle behind belt seam and a 1.5" punched circle on the front to finish off the belt. Embellish with a Bronze Coin.

I simply love how this looks. I hope you do, too!
"Pocket" this idea and get started on your own book with the Cherry Blossoms collection.
Kay

