
Happy New Year! I'm thrilled to be hosting the first Challenge of 2016. This month's challenge is to incorporate origami folded elements into your scrapbooking or other projects.
I had so much fun with the Turkish Map Fold Book I made for the Navigation Blog Hop, I decided to try my hand at another origami project. This Pin has been languishing on a board for a while now, so I gave it a shot.
Disclaimer: The Pin is more of a "photo tutorial"--the instructions and measurements are not in English, however, it was fairly easy to follow the steps represented in the photos. After a bit of experimenting, I came up with the following written instructions to pair with the photo tutorial (should you decide to make this project yourself).
ORIGAMI PHOTO BOOK
1. Start with an 8x8" piece of card stock (you could also use text weight paper). Score at 2, 4 and 6". Rotate 90 degrees and score at 2, 4 and 6" to create grid pattern.
2. Fold each corner on the diagonal toward the center of square (see Pin sample image). Unfold.
3. Fold each of the four outer square corners at a 90 degree angle (see Pin sample image).
4. Use the Pin sample image as a guide to continue folding to create the photo pocket with four corner tabs.
One photo square can be cute on its own, but if you make more than one, you can string several together by reversing one of the folded tabs.

Origami squares cut from 8.5x11 Deluxe Green Fiber Print, and 8.5x11 Green Parchment Plain, stamped with various Navigation UM images.
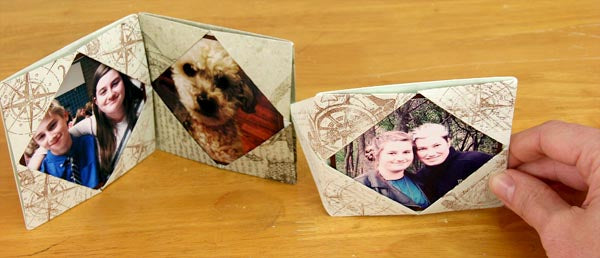

And when you accordion fold the whole thing together, it makes a sweet little book.

The finished pages are 4x4", so I placed 3.5" square photos on 3.75" mats into each of the tabbed sections.

Here's what the finished pages look like all strung together. The photos under the tabs are removable, so they could be changed as desired.

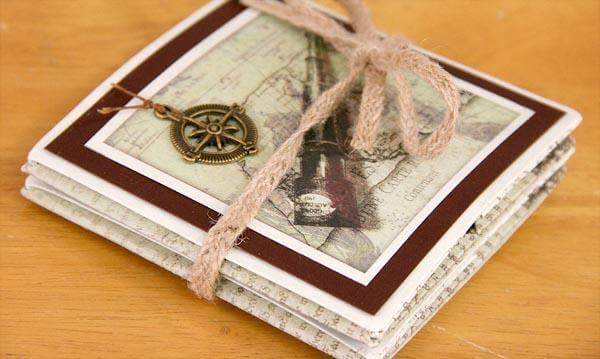
I decorated the back side of each individual square with a matted photo. I added a 3.25" printed Lite Cutapart and Compass Charm to create the front cover.
To help inspire you to join the fun, I searched our blog for other examples of other ways to incorporate origami folded elements into your projects. Here are a few to get you started:
Moroccan Spice Maze Book
Constellations Origami Star
Picnic Origami Heart
Dungarees Origami Shirt
Lakes Origami Boats
Cinema Mini Envelope
I invite you to click on one of the projects above, make something fun of your own!