
Channel your "inner Shibori artist" with this fun dyed tissue paper technique.

I learned the details about the Shibori collection and couldn't wait to make my own dyed artwork.

Club Scrap sent me a box of sample papers from the Shibori collection, and the shipment came wrapped in a layer of bright white tissue paper. I immediately thought it would be the perfect vehicle for testing my dying technique.

Dyed Tissue Paper Technique:
Trim tissue paper into long pieces approximately 4" wide. (Temporarily fold the paper as needed to fit into a trimmer.) Accordion fold the strips into 1" sections beginning with the short end of the strip. The folds do not have to be perfect. Think about how you made paper fans when you were a kid.

Accordion fold again, but this time in the shape of a triangle. This fold reminded me of putting away the American flag with my grandpa at the end of each day.


Secure the triangular shape with a large clip. Add several drops of Sapphire and Sandstone re-inkers to a craft mat. (I also experimented with Color Burst pigment powders diluted with water.) Dip the tips of the paper into the re-inkers. Dilute the colors with Isopropyl Alcohol, causing them to wick further into the tissue paper.


The tissue is very delicate and can tear easily when damp. Allow the piece to dry completely. Speed up the drying time with a heat tool or hair dryer. Be very careful not to burn the tissue paper. Don't ask me how I know these tips!


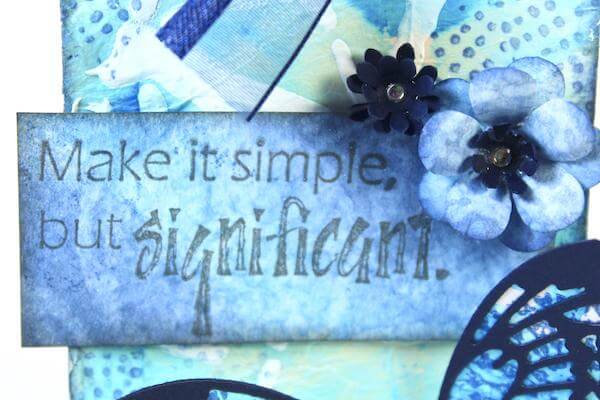
Altered Manila Tag
Brush Bookbinding Glue onto a manila tag with a foam brush.

Lay a piece of dyed tissue over the wet glue and gently burnish, being careful not to tear the paper.

Remove excess paper from the outside edges of the tag with scissors. Re-punch the hole at the top of the tag.

Embellish with texture paste, die cuts, punched flowers and a stamped sentiment.

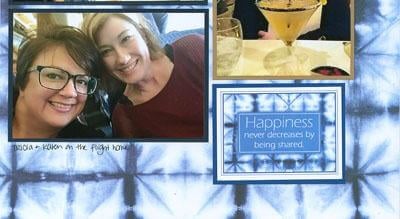
Assembly Line Card Making Idea Deck Vol 2: 2 of Hearts Cards
Follow the cutting instructions and create a set of cards featuring the tissue paper panels.
 Tip: Brush Bookbinding glue onto white printer paper. Lay the tissue paper onto the wet surface and allow to dry. Trim into panels sized to layer with the Shibori papers.

It’s your turn to try the dyed tissue paper technique for yourself. Share your artwork via the Linky party below by April 30th for a chance to win a Club Scrap gift certificate! Happy Creating!
 Julie
Julie