You will have so much fun creating twelve beautiful Turquoise Cards! (I don't even know why one set is called "impossible" because it's as easy as pie.)
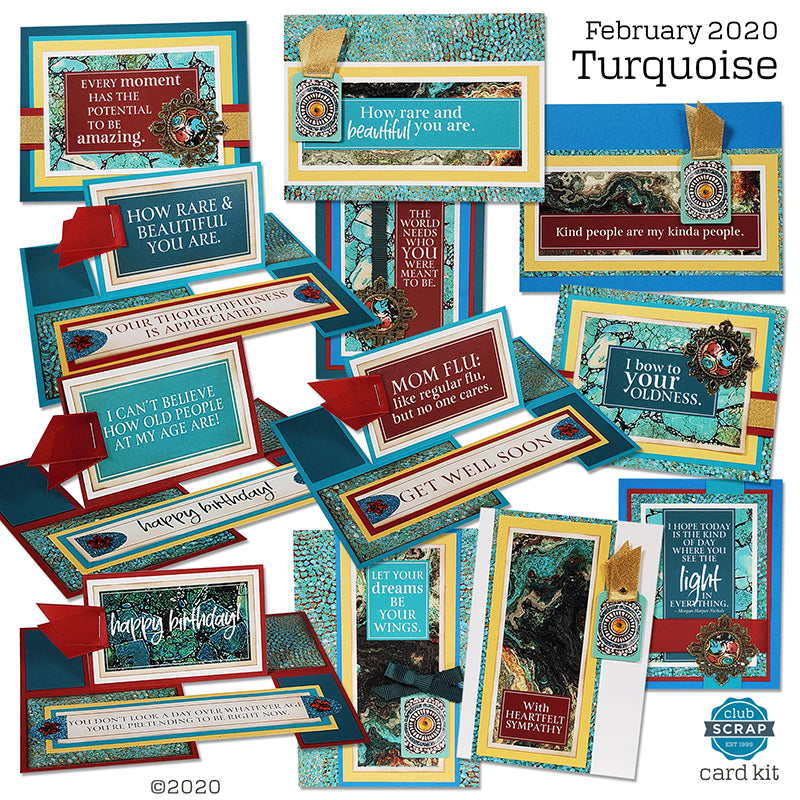
We've worked in a few funny sentiments but also included many useful themes like sympathy, thank you, congrats, and birthday.
Remember, the card kit papers begin as 12x12 sheets. It's neat to see how they are transformed into beautiful cards with very few scraps. Here's a quick preview of what we'll do together in the online workshop.
Turquoise Cards
Set A - 4.25x5.5" Cards
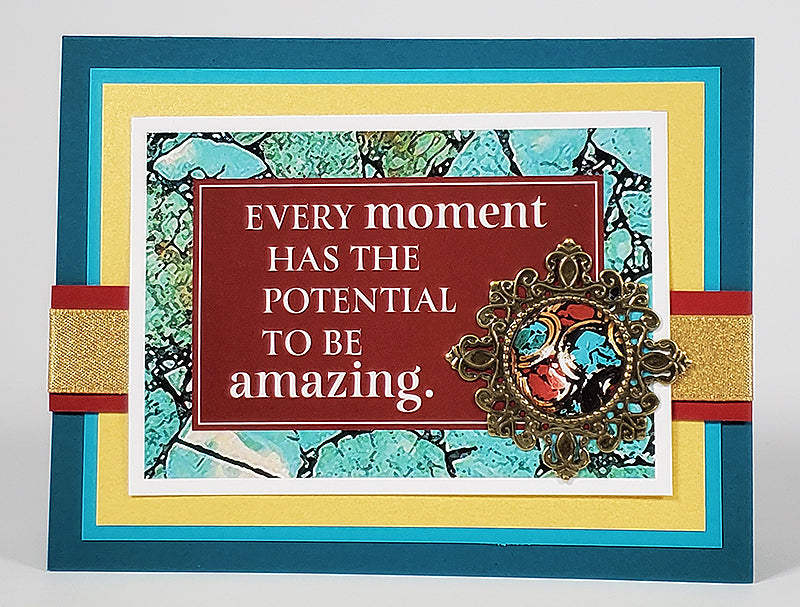
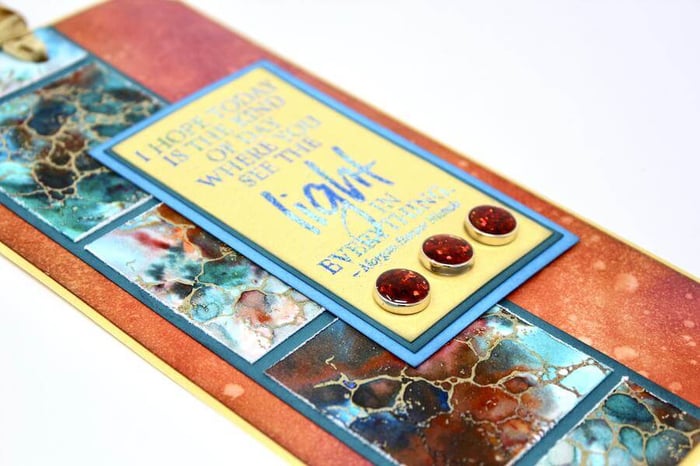
We managed to find a set of beautiful, yet paper thin and light-weight bronze settings. The center is 7/8", and we've planned for that. The cutaparts include a set of four perfectly-sized circles. Simply trim and adhere with CS® Bookbinding Glue. If you'd like, substitute with an image or stamped sentiment of your own.

Set B - 4.5x6.25" Cards
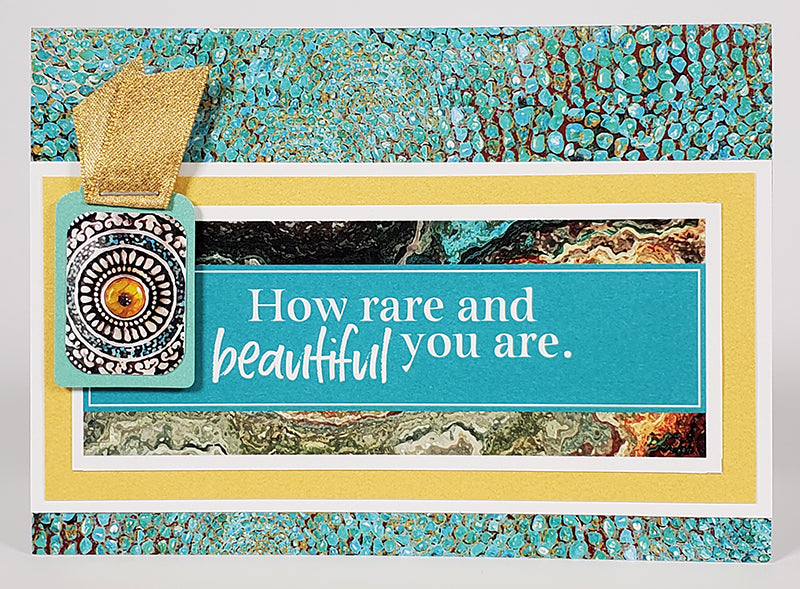
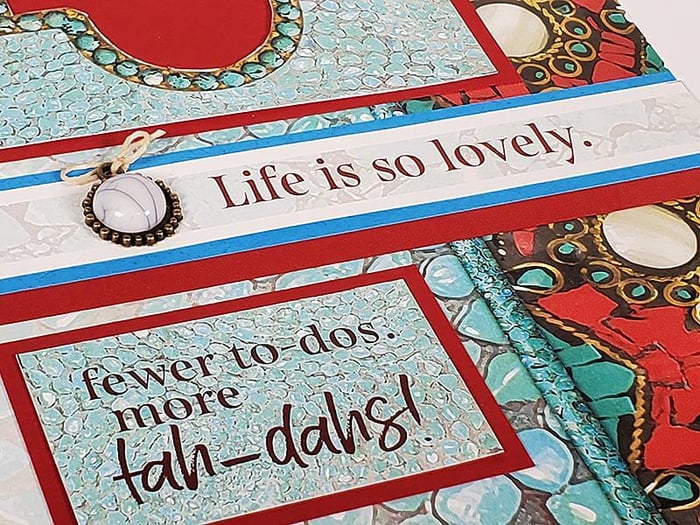
Create four unique embellishments for card set B. Round the corners of the decorative cutaparts and adhere to the center of the metallic turquoise tag. Top the tag with a ribbon, or whatever you like, and layer onto the card. Easy peasy!

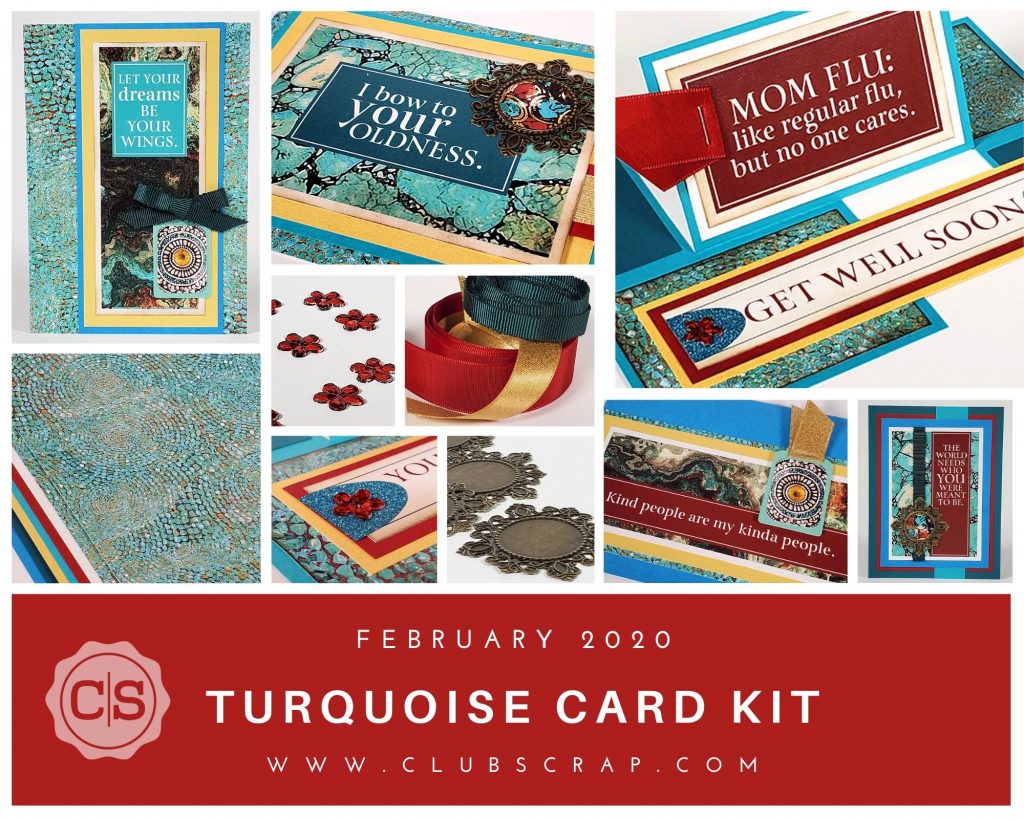
Set C - 5x7" Impossible Cards
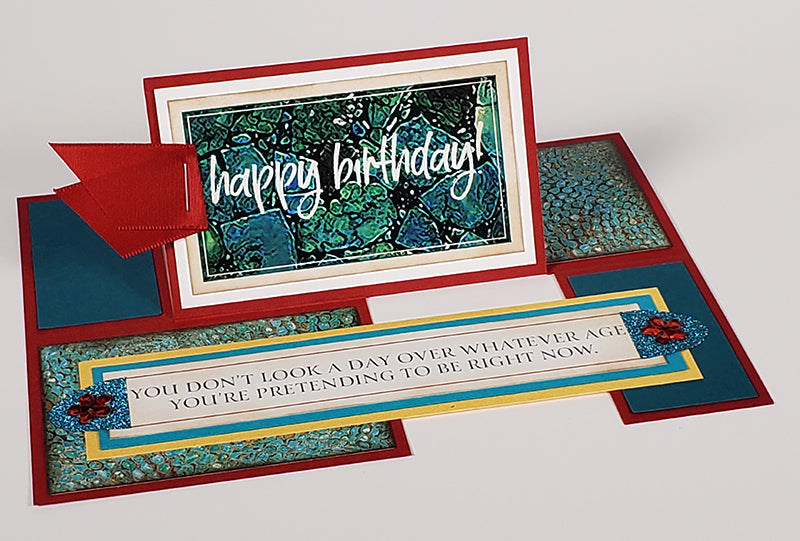
And my favorite . . . the "impossible" card. Make the clever structure from a single 5x7" sheet with only one score line and three cuts. The final step, the "flip," creates a unique pop-up shape ready for decorating. And decorating, we shall do!

I sincerely hope you like the Turquoise cards as much as I do. Report back when they're complete and let me know how it went! Take the ultimate challenge and try making a second set of cards by recycling the instructions with papers and embellishments of your own.
Let's rock!
Tricia