
Create stunning cards with the Tunisian Tiles stamps. Pair these Portuguese tile-inspired images with the rich, vibrant paper colors of the collection.
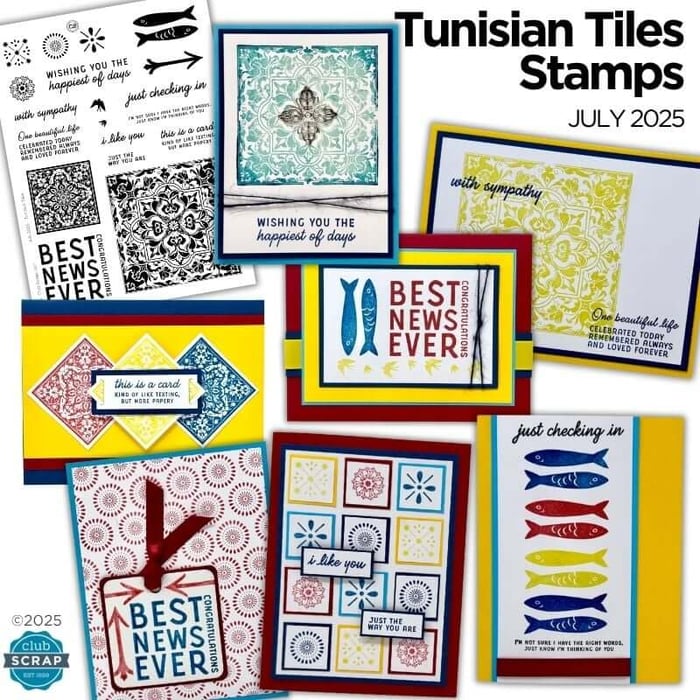
Tunisian Tiles Stamps
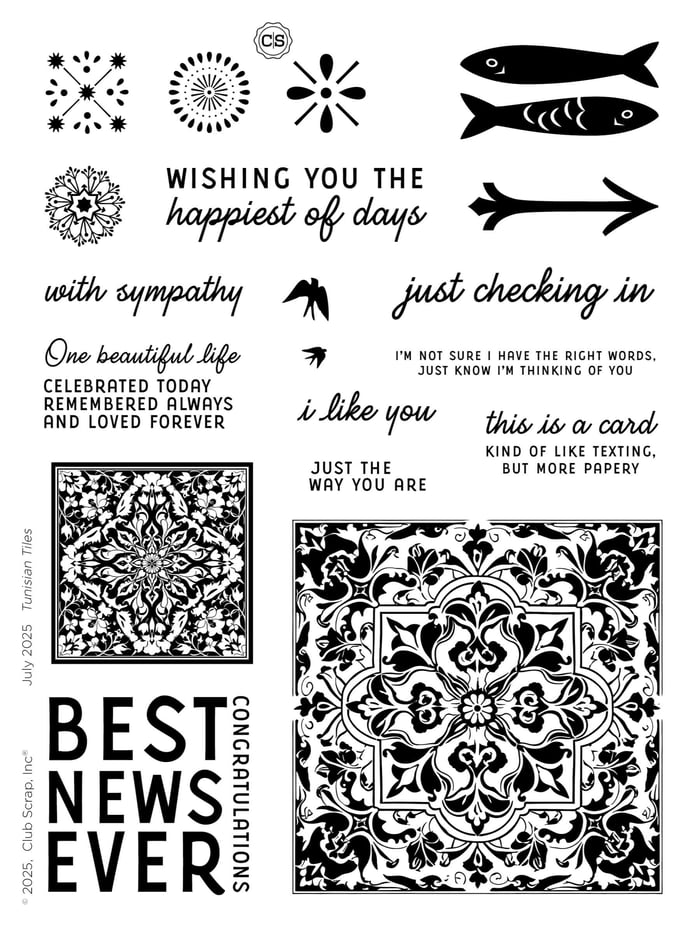
Looking for the perfect Inks to pair with the Tunisian Tiles stamps? We recommend Lagoon, Red, Sapphire, Ash, and Yellow hybrid inks to coordinate with the July color palette.
The finished size of each card below is 4.25x5.5", unless otherwise noted.
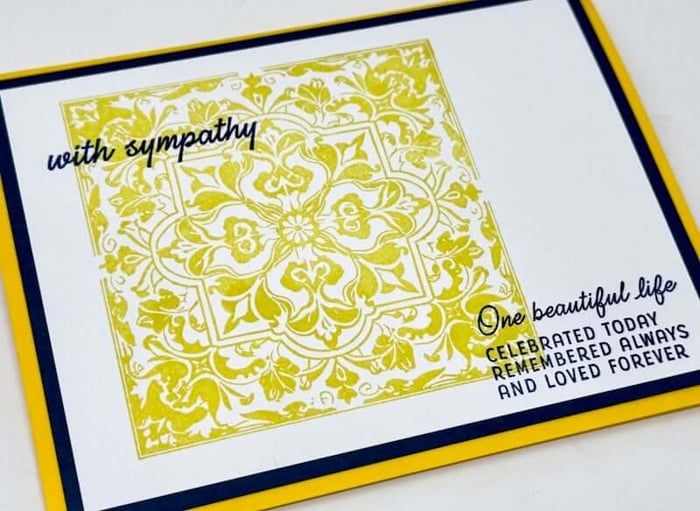
Card 1
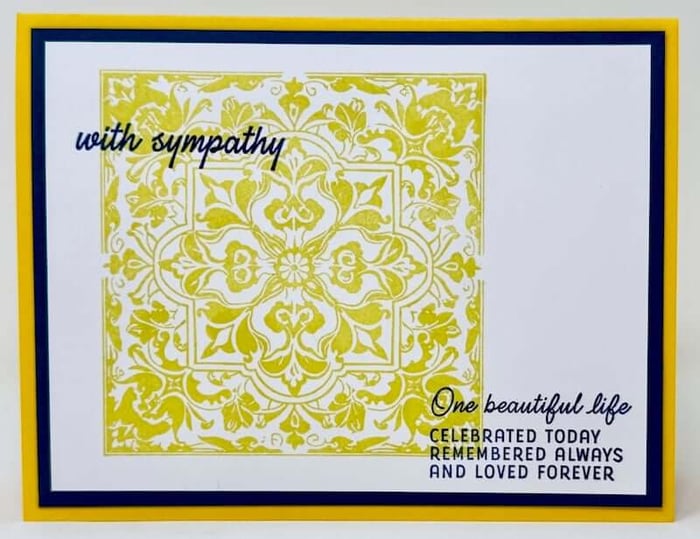
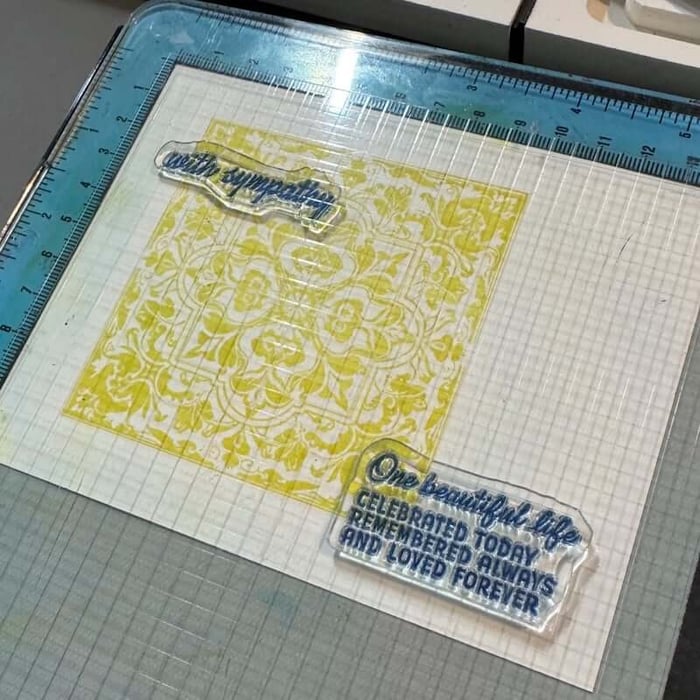
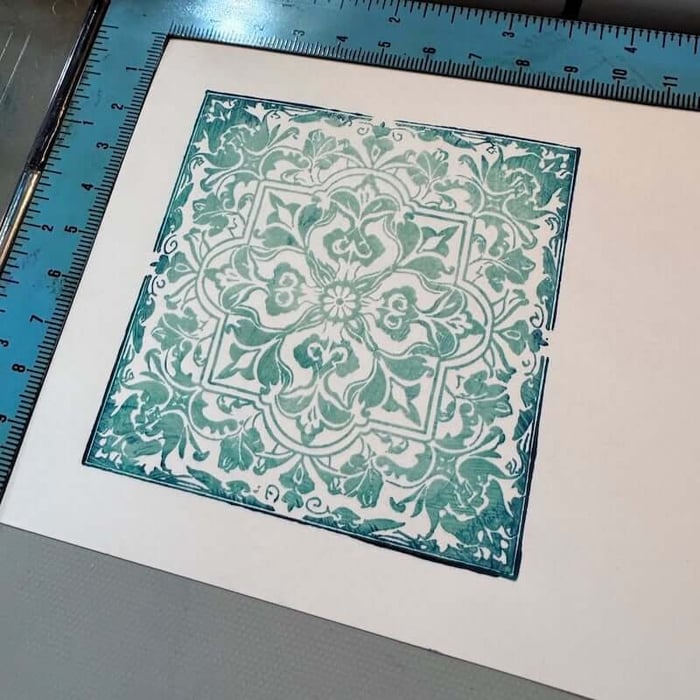
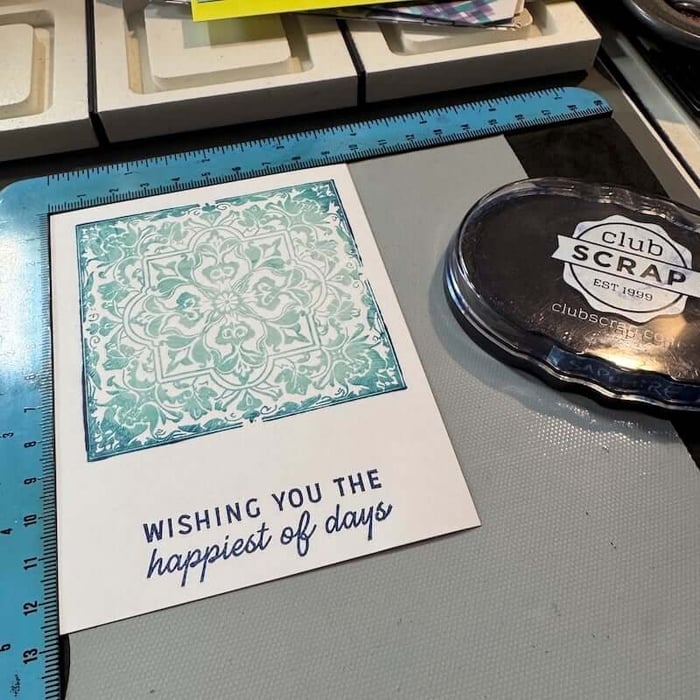
Stamp the large tile image on a white panel with Yellow Hybrid Ink.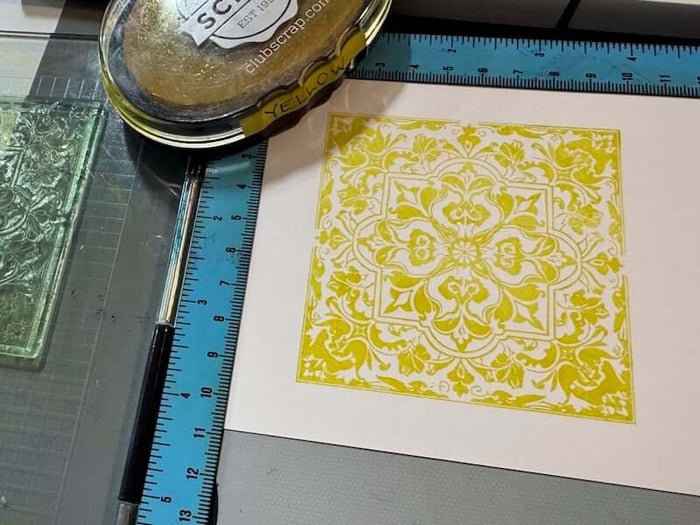
Place each of the sentiments over the tile image to ensure proper positioning.
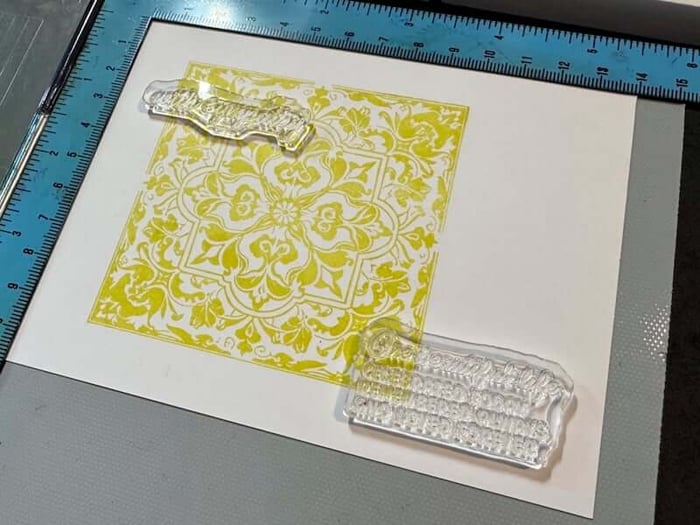
Pick up the stamps with the lid of the stamp positioner. Add Sapphire Ink to the stamps.
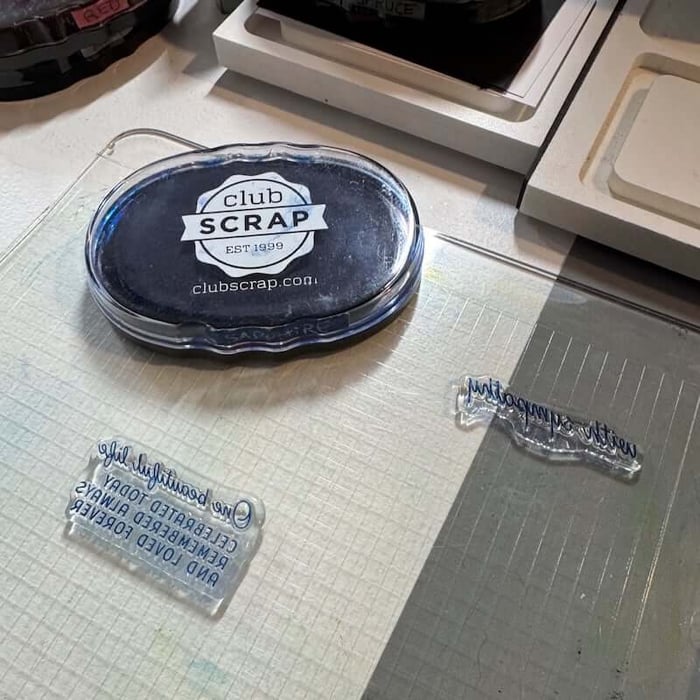
Close the lid to add the sentiments to the tile image.
Nest the white panel with a Blue mat. Adhere to a Yellow folded card base to complete the card.
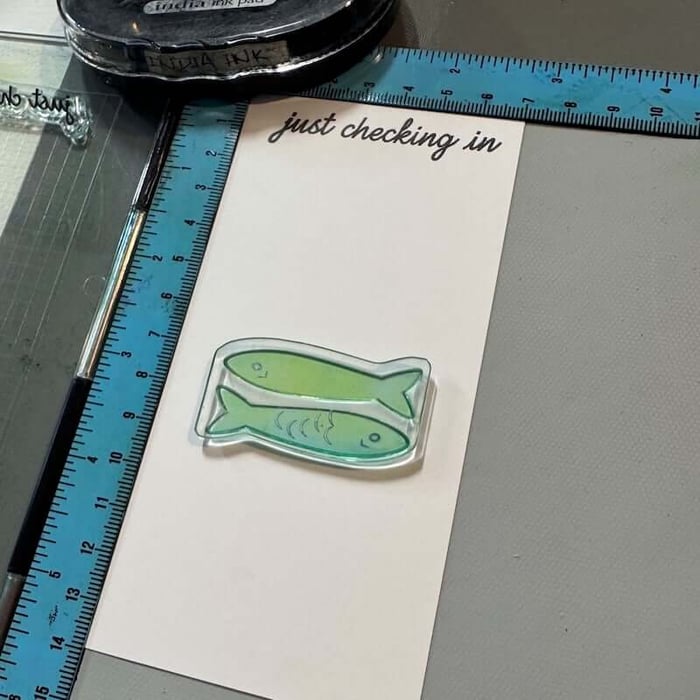
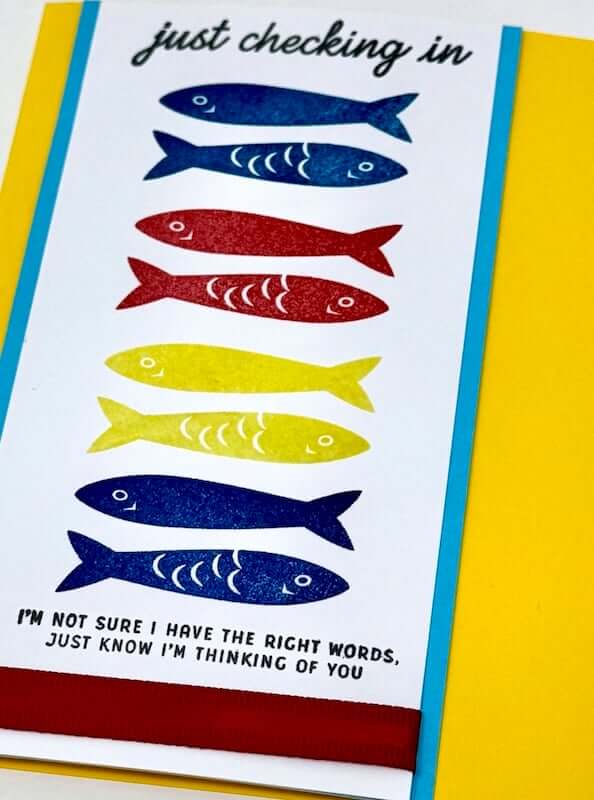
Card 2
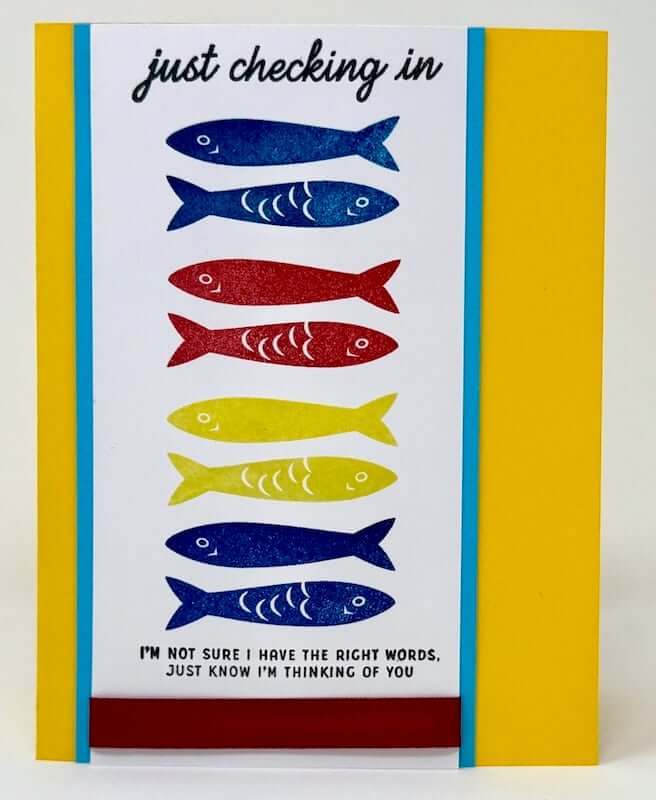
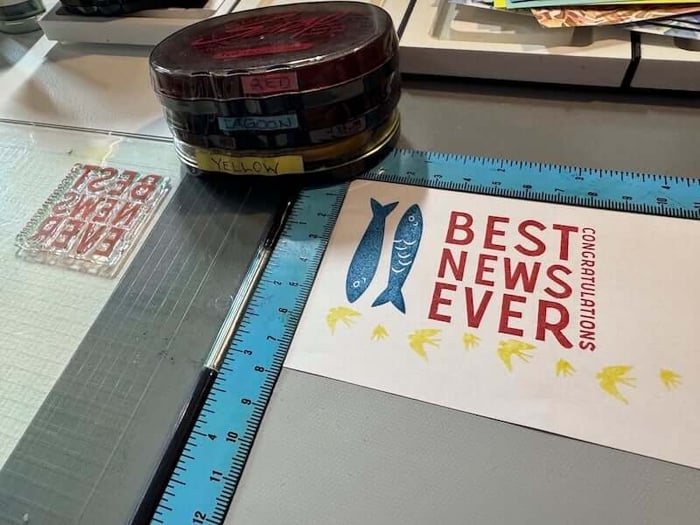
Add the first sentiment to the top of a white panel with India Ink. Add the fish images beginning with the lightest ink color (Yellow) first.
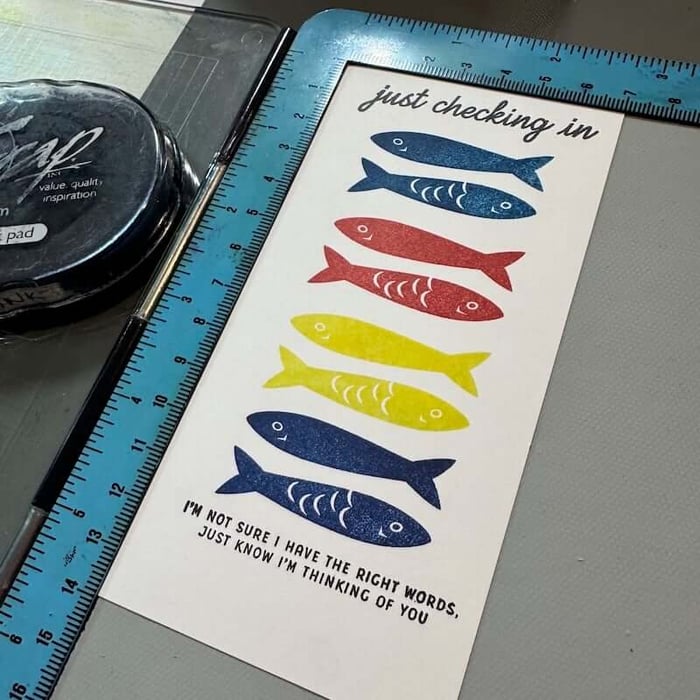
Continue to add fish with Red, Lagoon, and Sapphire.
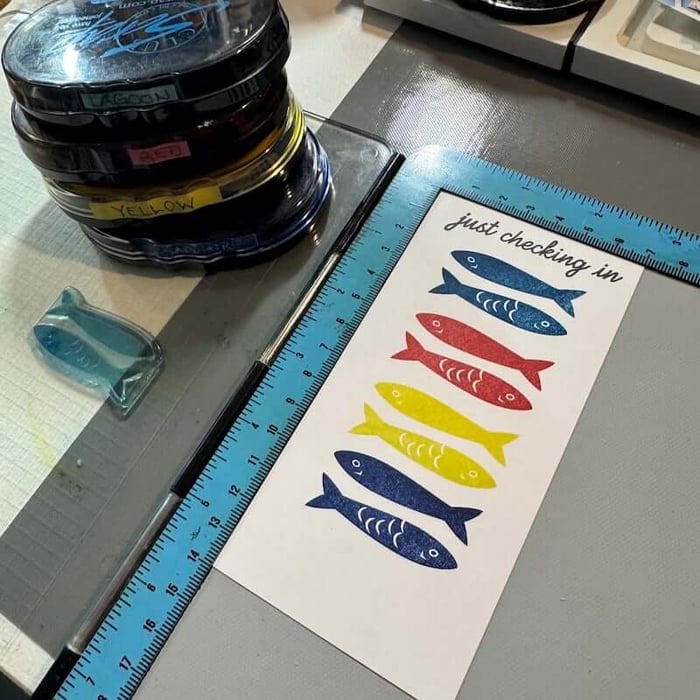
Stamp the second sentiment under the last pair of fish with India Ink.
Wrap a length of red ribbon around the bottom of the white panel. Secure the ends on the back with clear tape.
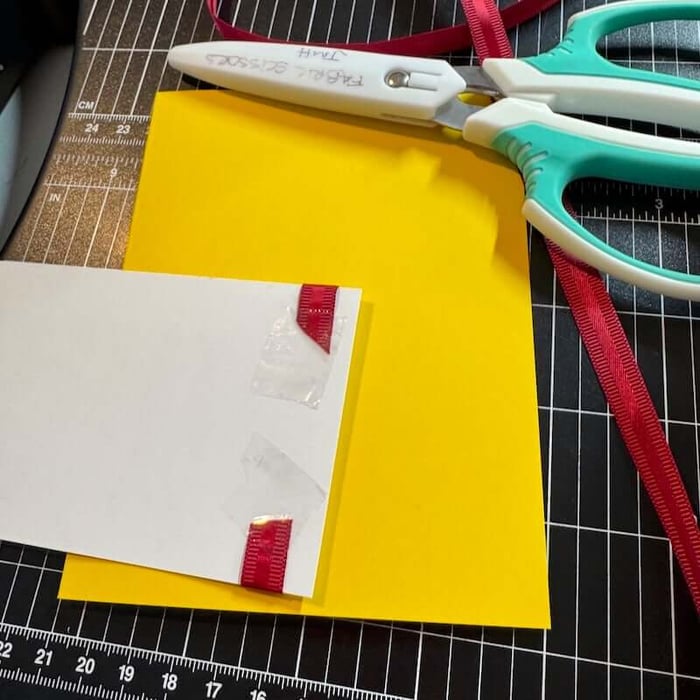
Add the panel to an Aqua mat and adhere to the folded card base.
Card 3

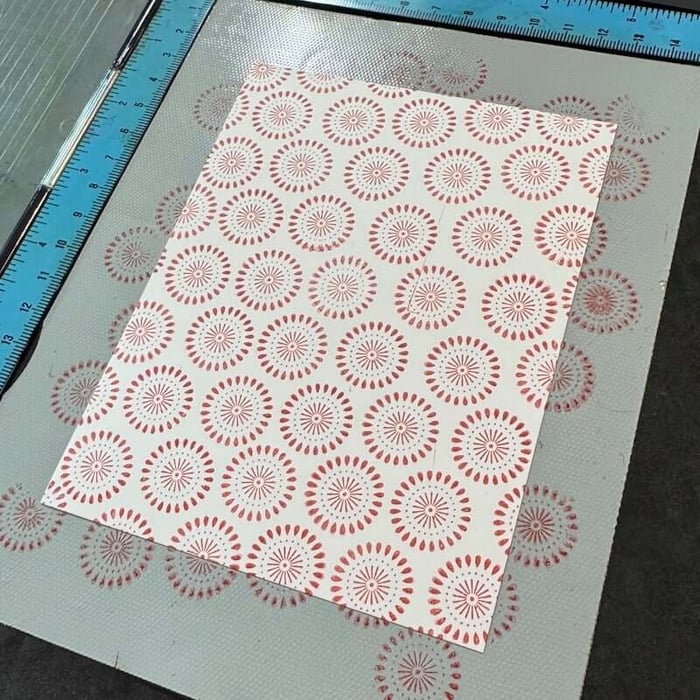
Create a background by repeatedly stamping the burst image with Red Ink onto a White panel.
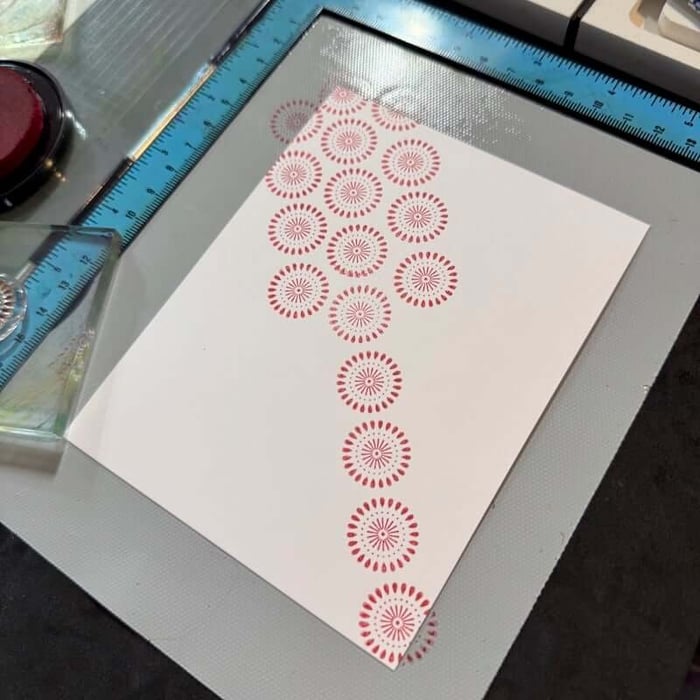
Remember to allow the stamped images to "fall off" the edges of the paper to mimic a "real" print.
Add the sentiment to the bottom right corner of a white square tag with Lagoon Ink.
Stamp the arrows around the sentiment with Red Ink. Round the corners of a 2-5/8" Red square and adhere to the back of the tag.
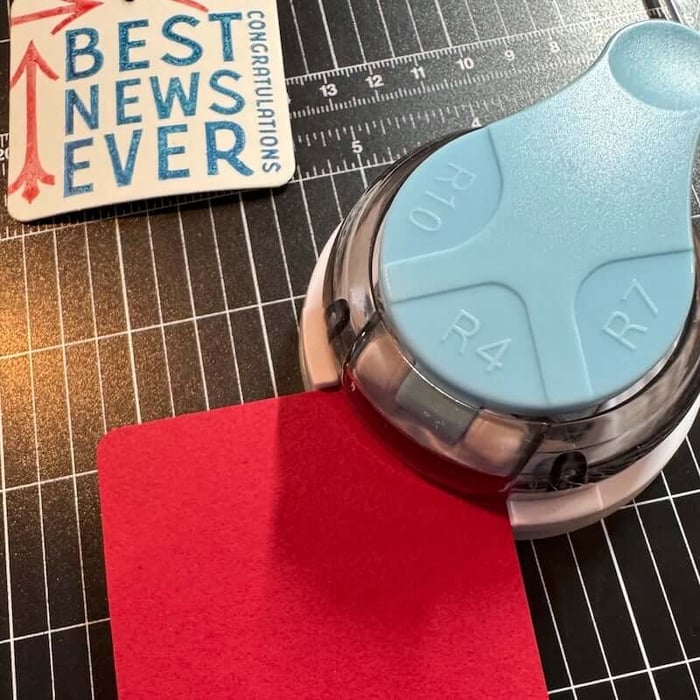
Punch a slightly larger hole in the tag and the Red mat. Thread the loop end of a folded red ribbon from the back to the front of the layered tag. Insert the ends of the ribbon through the loop to secure.

Trim the "print" to 4x5.25" and nest onto a folded Aqua card base. Add the tag to the front of the card.

Card 4

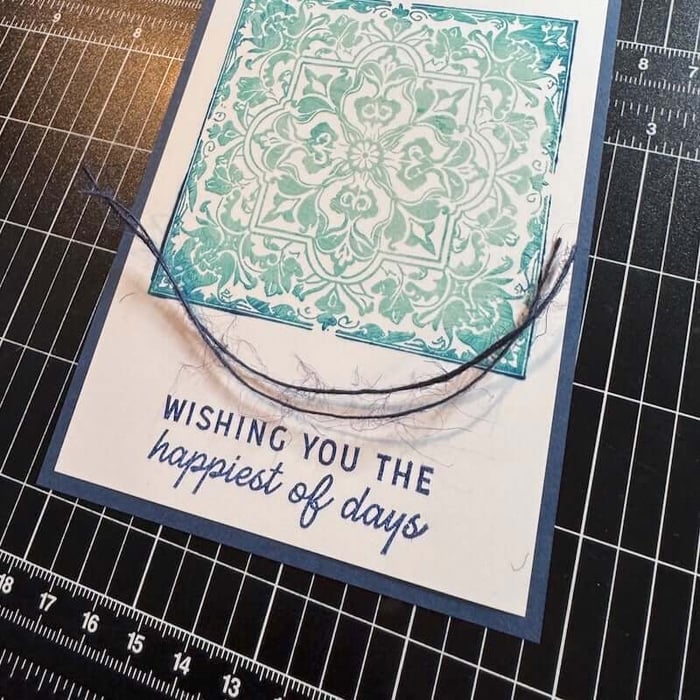
Stamp the sentiment along with bird and fish images onto a white panel with Red, Yellow and Lagoon Ink.
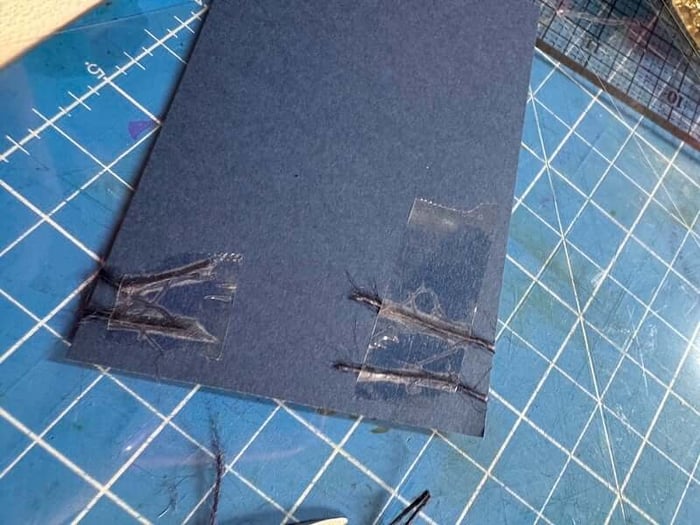
Trim the panel to 3x4-1/4" and adhere to a 3-1/4x4-1/2" Blue mat. Trim two 6" lengths of jute.

Tie them together with a simple knot.

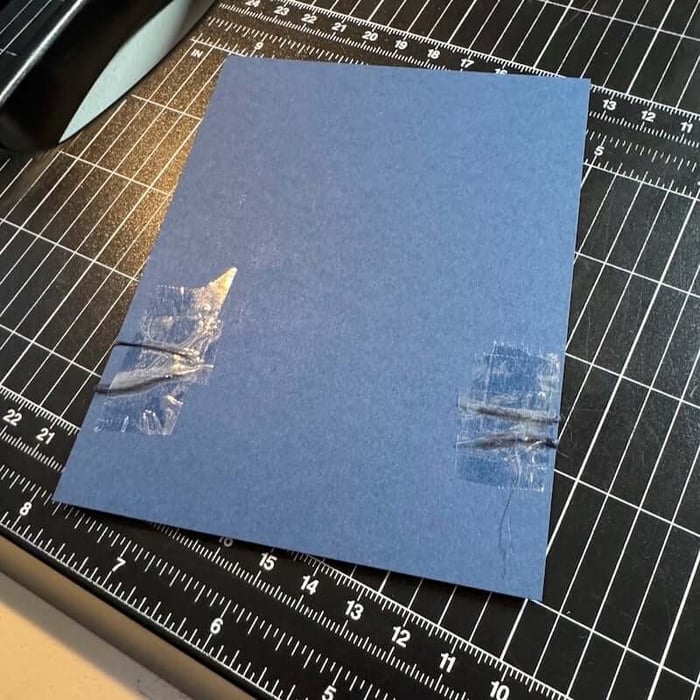
Wrap the ends of the jute around the back of the Blue mat and secure to the back with clear tape.
Wrap a 1x5-1/2" Blue strip with yellow ribbon.
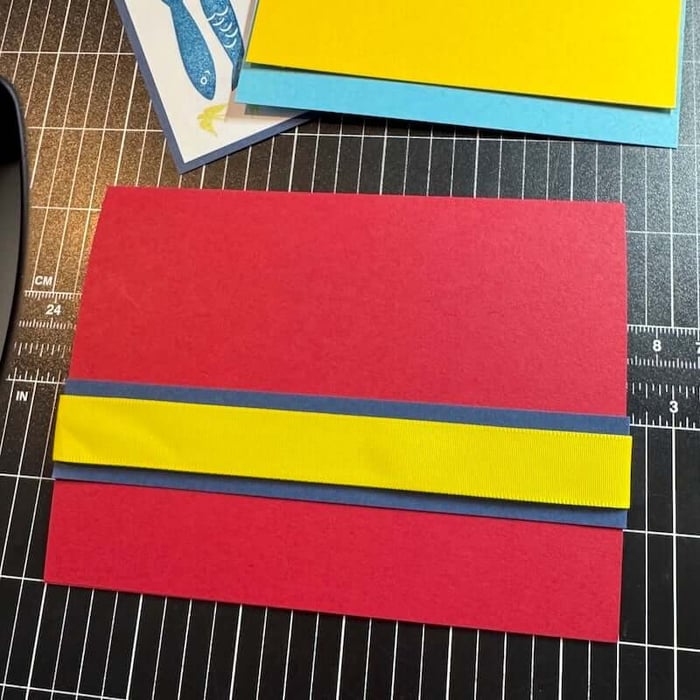
Secure to the back with clear tape.
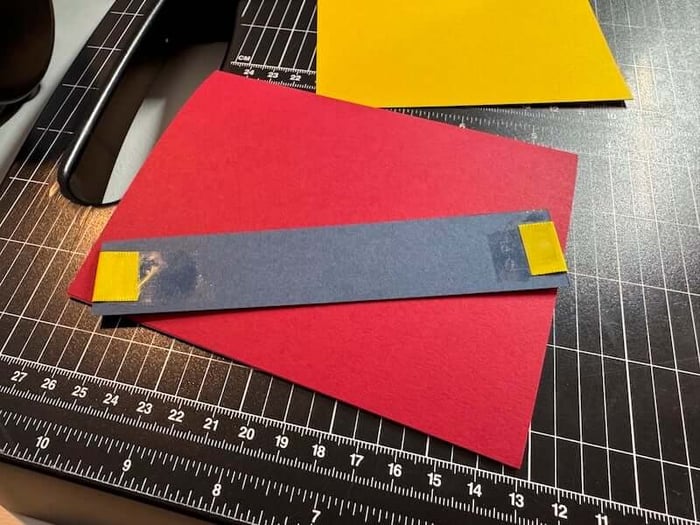
Adhere the strip near the bottom of a folded Red card base.
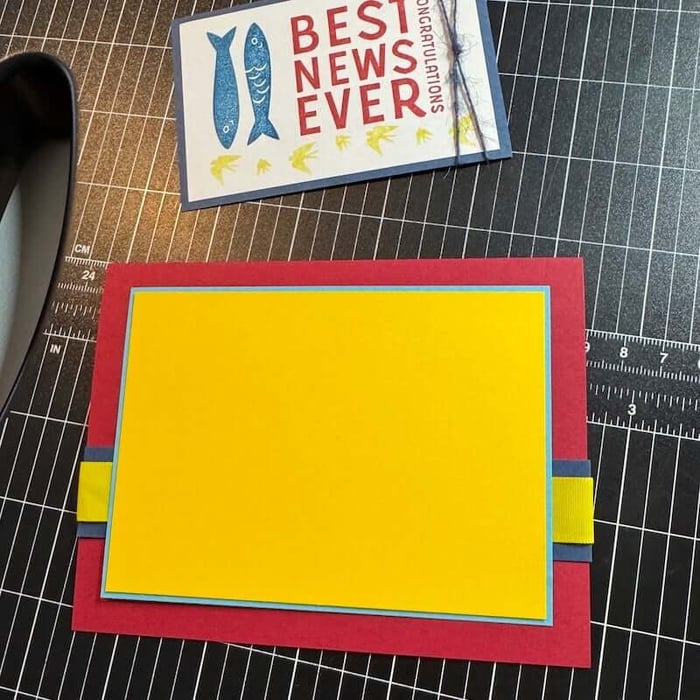
Top with layered mats and the stamped panel to complete the card.

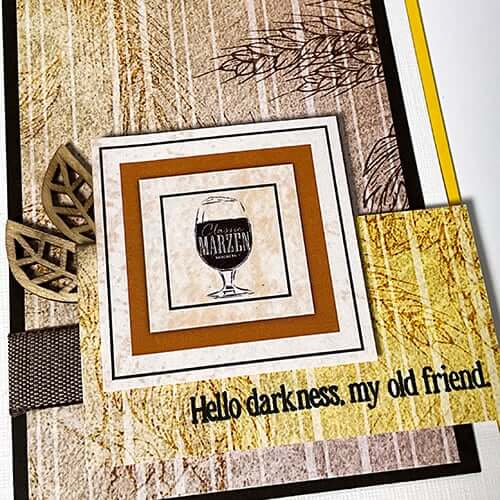
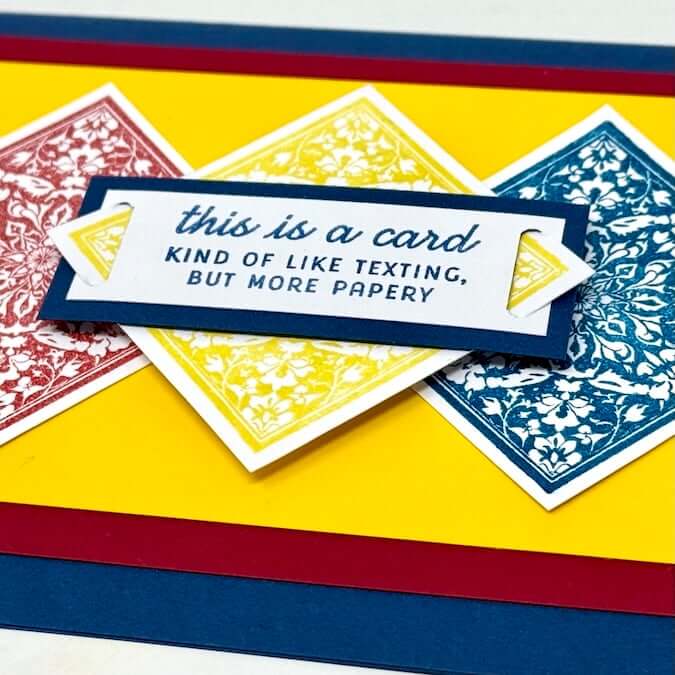
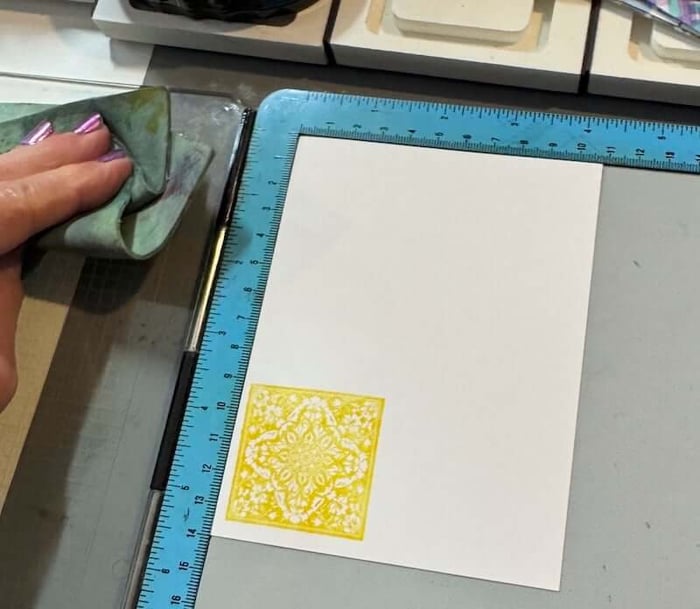
Card 5
Place a 4x5-1/4" white panel into a stamping platform. Add the small tile image to the panel in Yellow Ink.
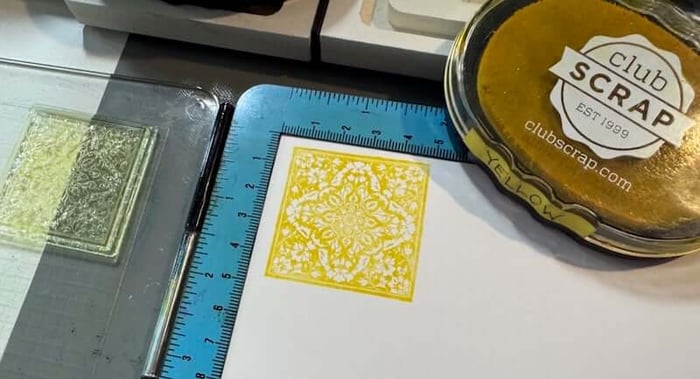
Rotate the panel 90 degrees. Clean the stamp with a lint-free cloth.
Apply Red Ink to the image; stamp onto the white panel.
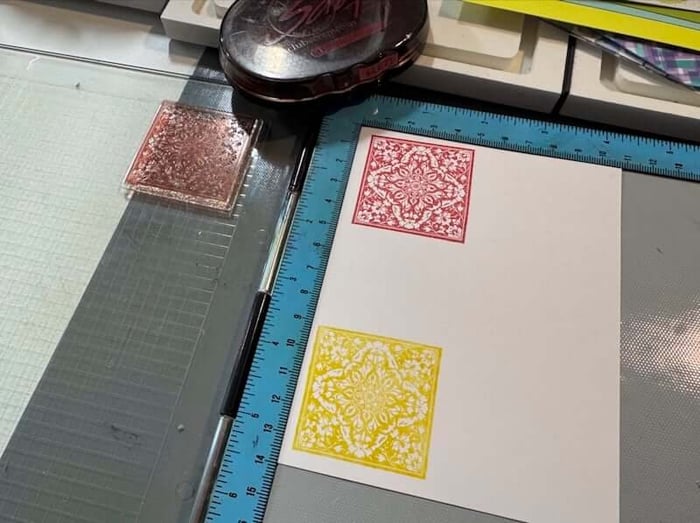
Rotate the panel another 90 degrees. Clean the stamp, ink with Sapphire and stamp onto the white panel.

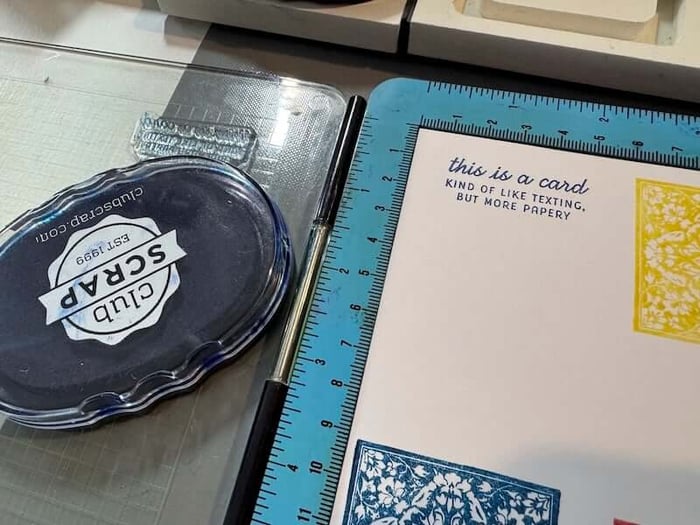
Rotate the panel for the final time, 90 degrees. Stamp the sentiment with Sapphire Ink.
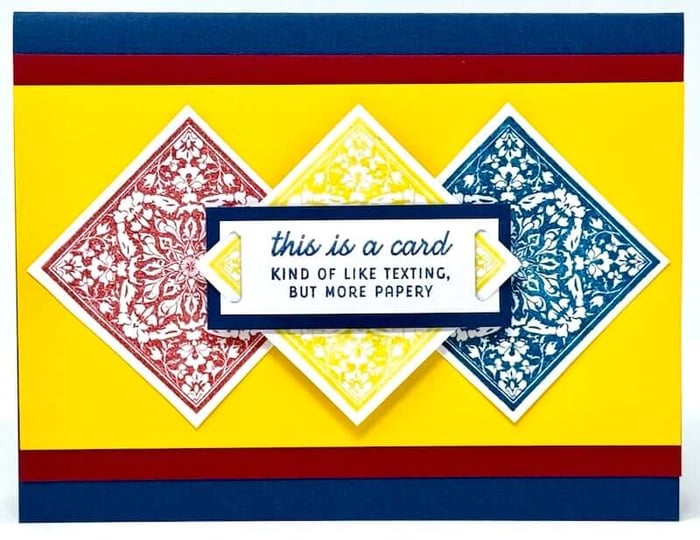
Remove the panel from the platform and fussy cut the three tiles with scissors.
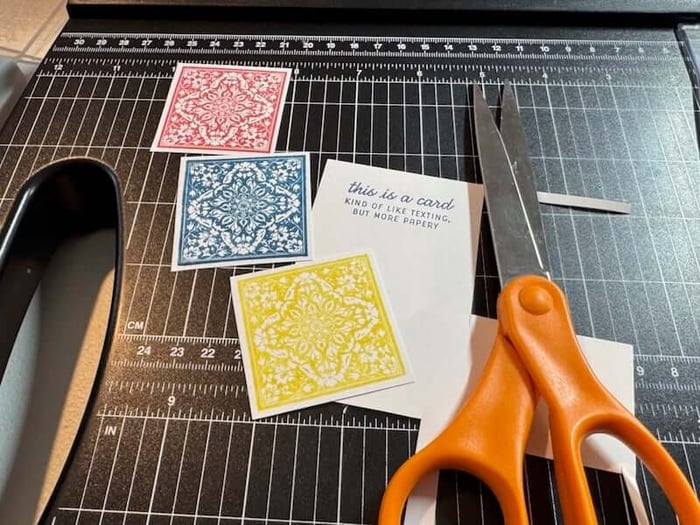
Trim the sentiment, mat with Blue. Cut each end of the sentiment panel with a Slot Punch as shown.
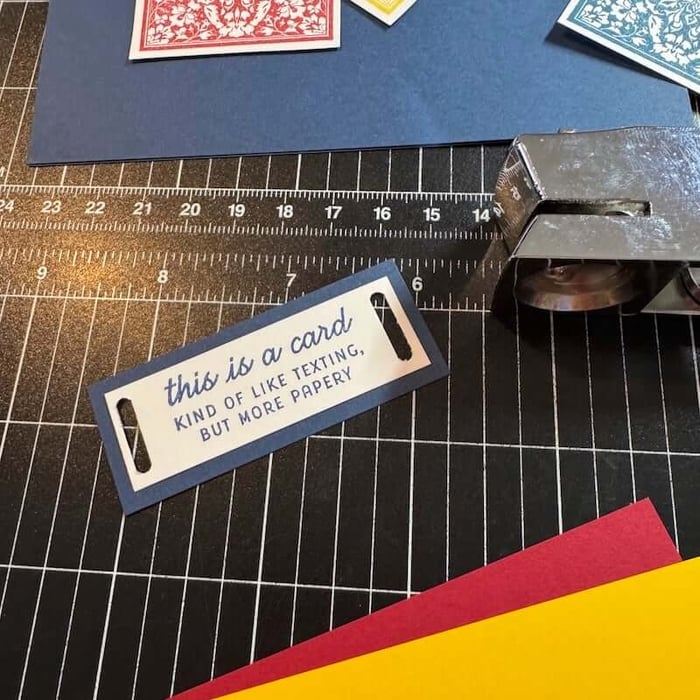
Rotate the Yellow tile to form a diamond shape. Insert the two ends into the slots.

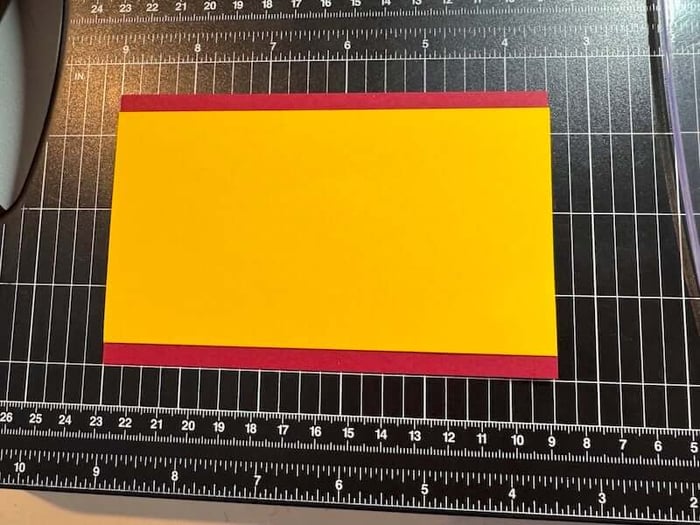
Mat a 3x5-1/2 Yellow with a 3-1/2x5-1/2" Red panel.
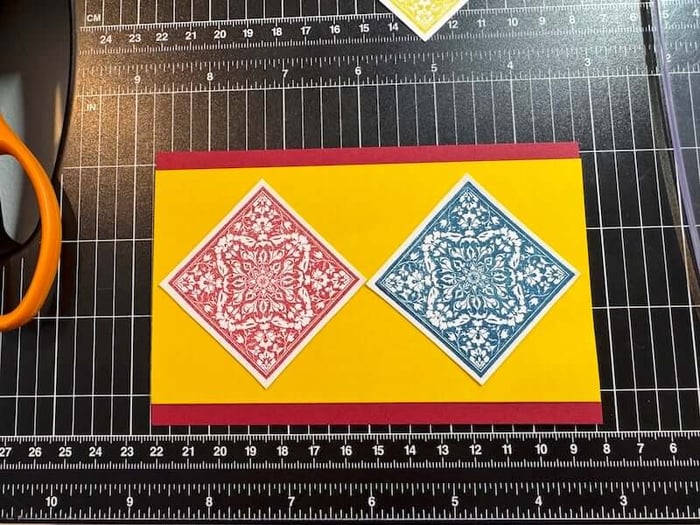
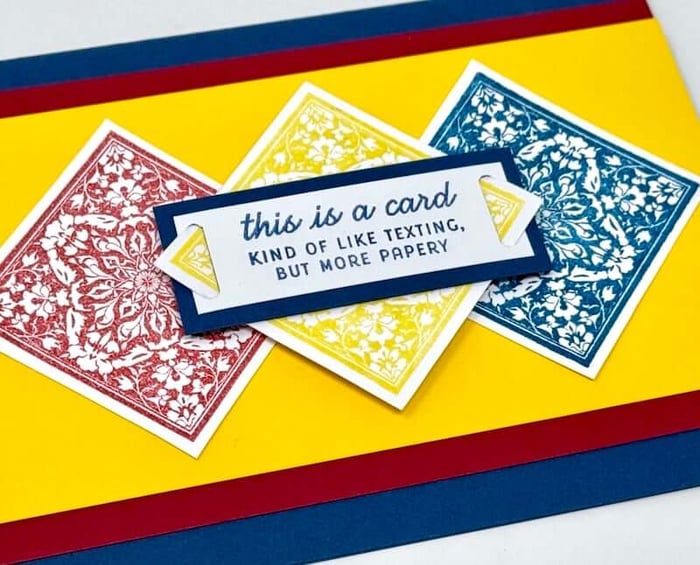
Add the Red and Sapphire tiles to the layered panels.
Adhere onto a folded Blue card base. Add foam adhesive to the back of the Yellow tile and center it over the Red and Sapphire squares to complete the card.
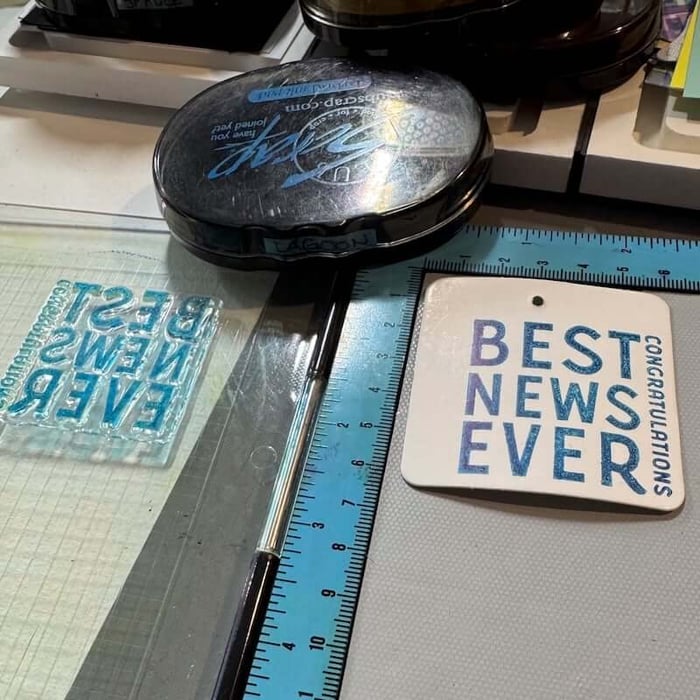
Card 6
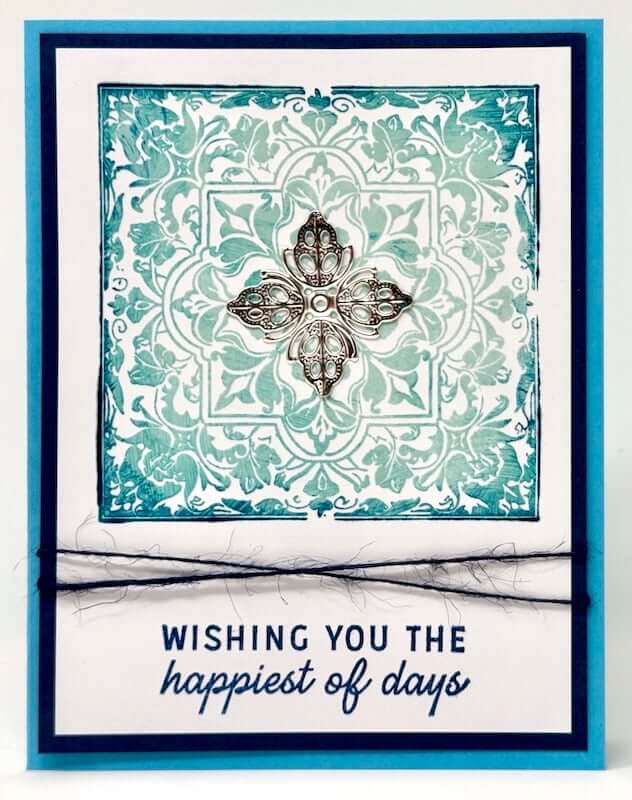
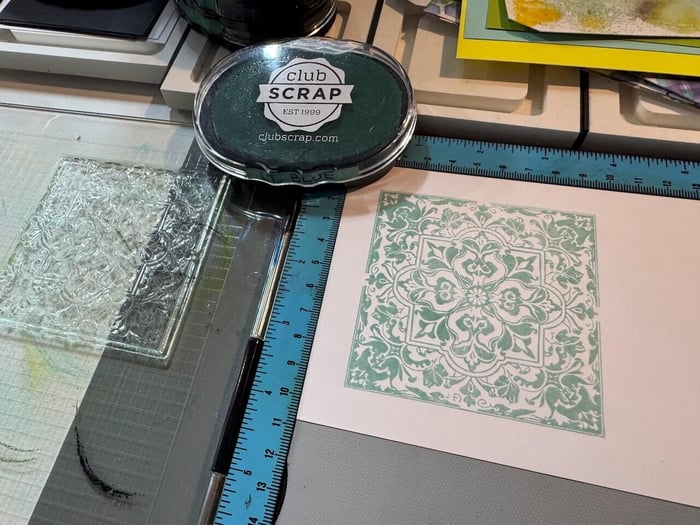
Mount the large tile image onto the lid of a stamp positioning tool. Tap lightly with Lt. Blue Ink; stamp onto a white panel.
Apply Ocean ink to the perimeter of the image and stamp again to create a multi-colored image.
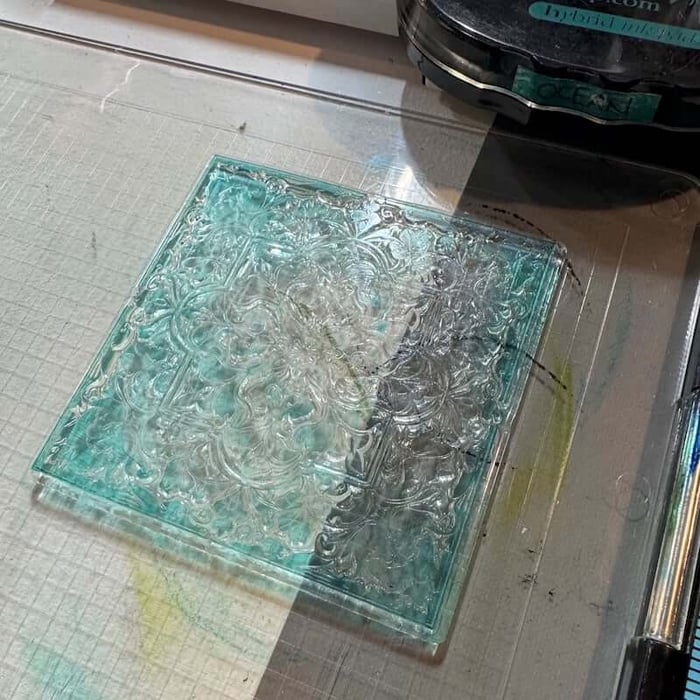
Repeat the technique with Lagoon Ink, but this time concentrate the color around the outside edge only.
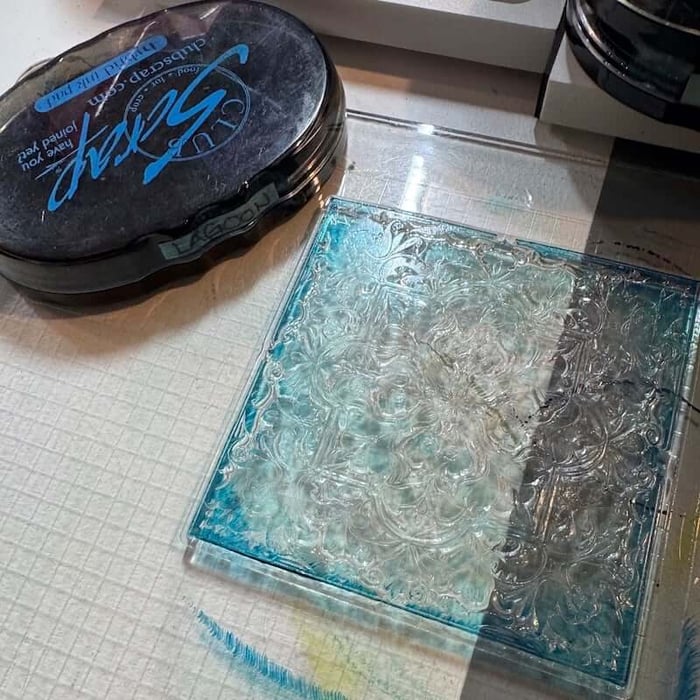
The result: a multicolored tile image.
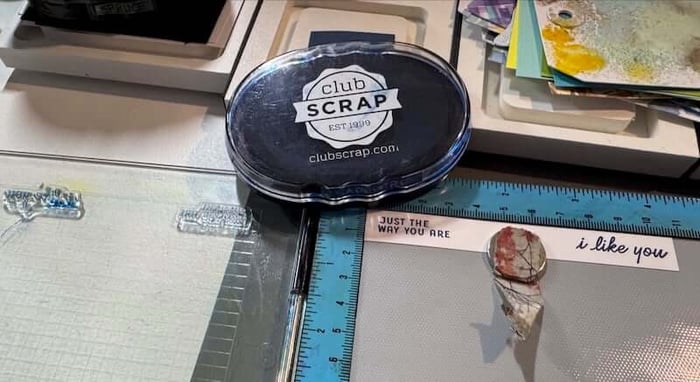
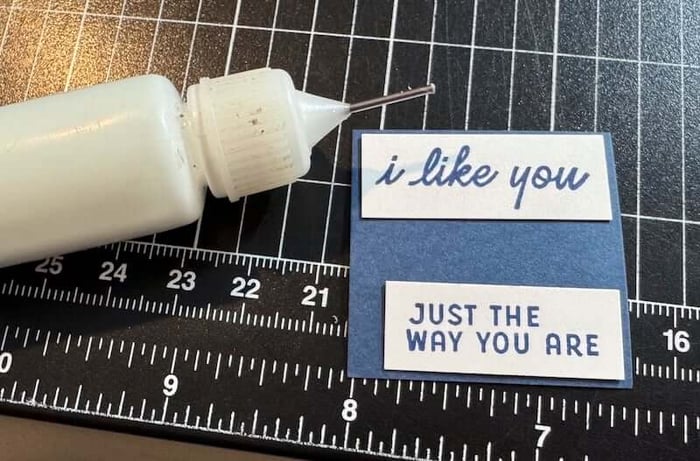
Stamp the sentiment with Sapphire Ink.
Add the panel to a Blue mat. Cut two 6" lengths of jute.
Cross the jute under the sentiment and secure the ends on the back of the Blue mat with clear tape.
Add Bookbinding Glue dispensed from a Needle-tipped Applicator on the back of the small sliver medallion.
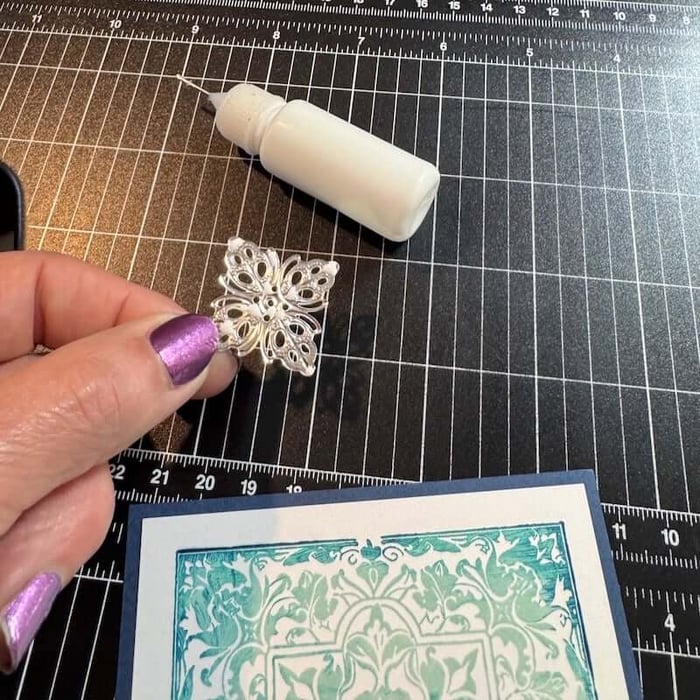
Add to the center of the tile image to complete the card.

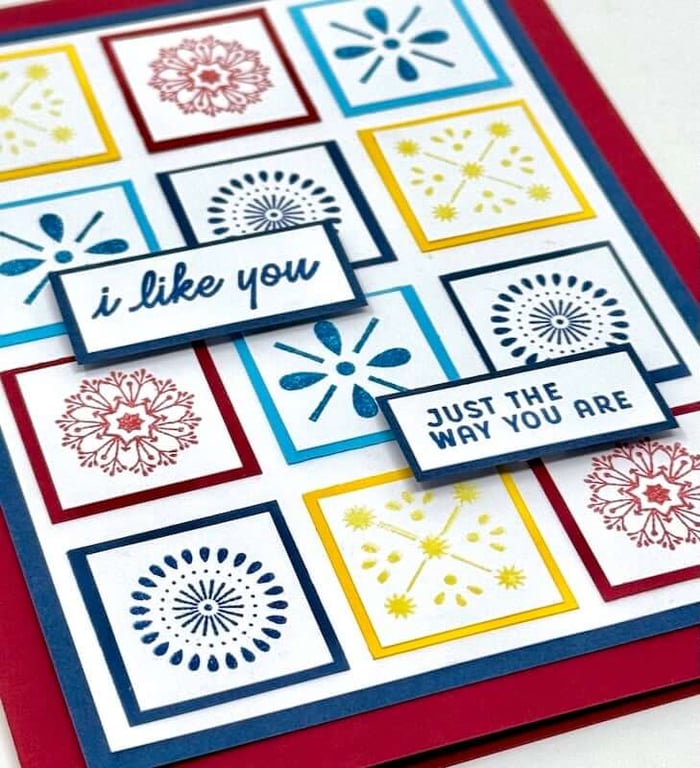
Card 7
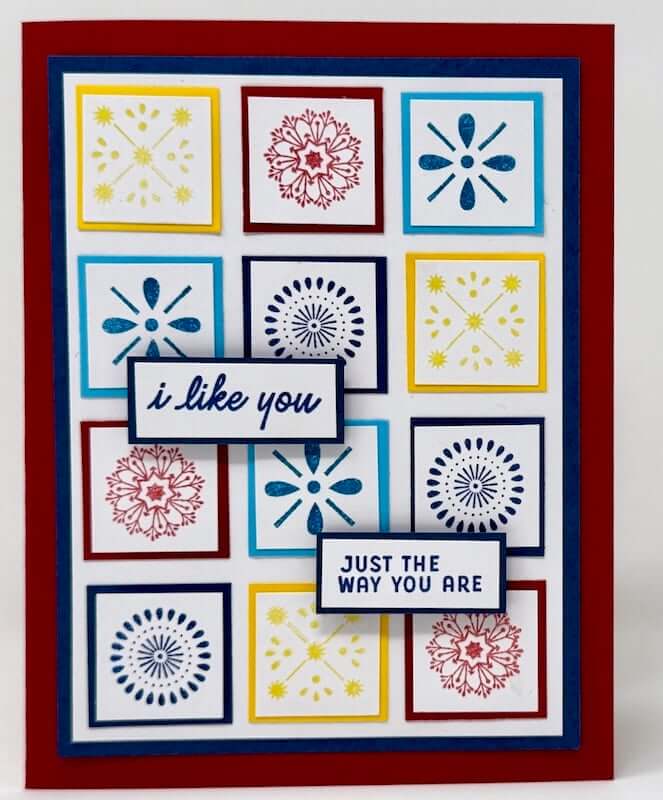
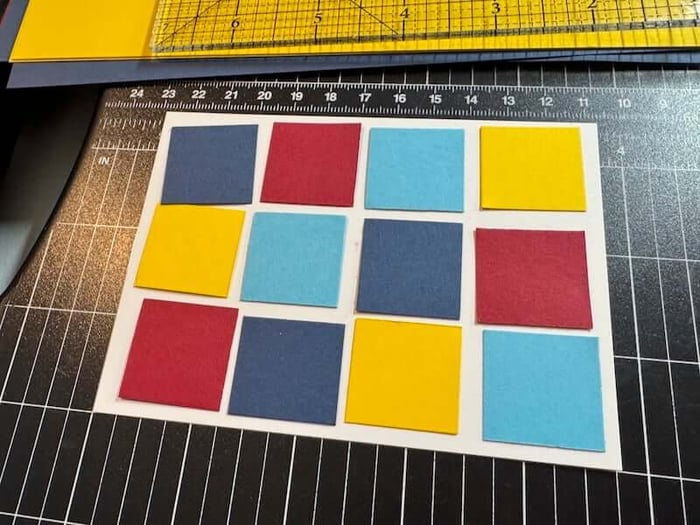
Trim three 1" squares of Aqua, Red, Blue and Yellow.
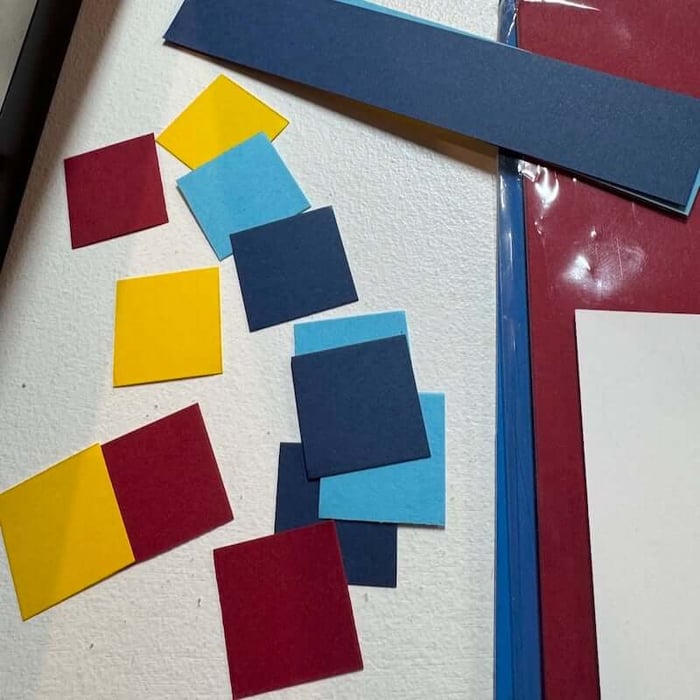
Arrange the squares as shown on a 3-1/2x4-3/4" white panel.
Stamp the small tile shapes in Yellow, Red, Sapphire, and Lagoon Inks onto 3/4" strips of white paper. Cut these into 3/4" squares.
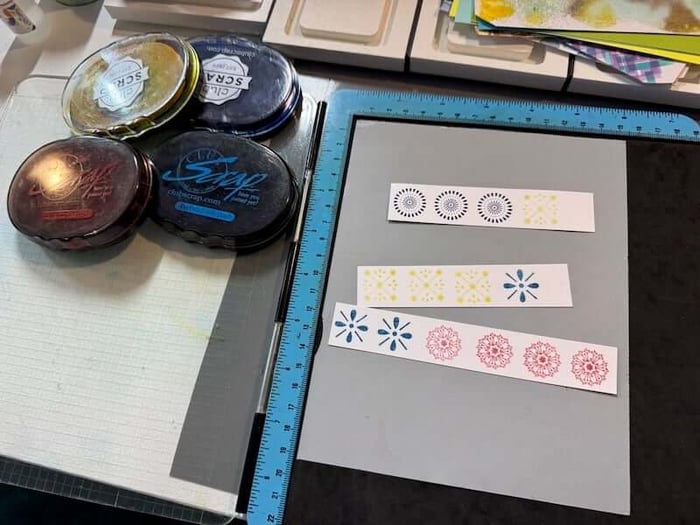
Match the stamped images to their coordinating paper color squares and adhere with Bookbinding Glue dispensed from a Needle-tipped Applicator.
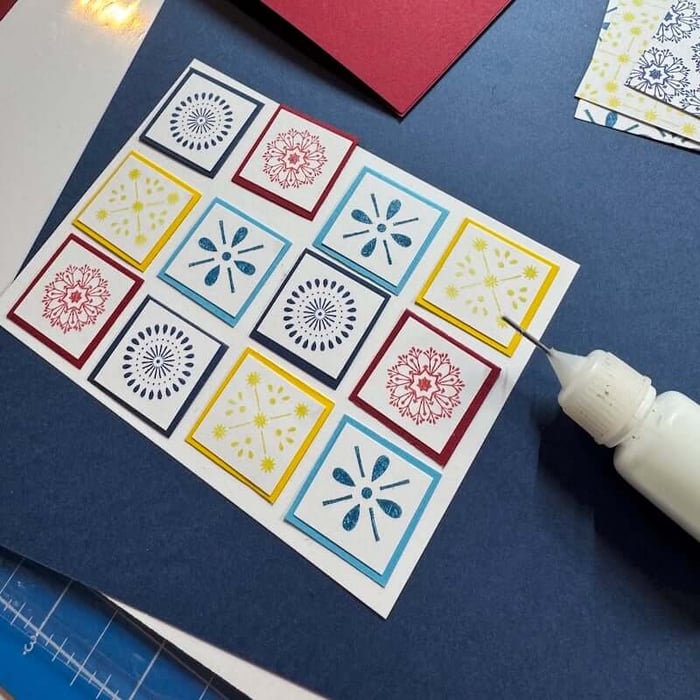
Stamp the sentiments with Sapphire Ink.
Trim each sentiment and adhere on a Blue mat.
Add dimensional foam adhesive to the back of each sentiment to complete the card.
We'd love to see how you're using the Tunisian Tiles stamps, too!
We invite you to share your finished artwork on our Facebook Chat Group. Not a member of the group yet? Simply answer a few questions and we'll get your request processed in no time!

Happy stamping!
Tunisian Tiles Stamps

$9.63
$19.25
Our premium clear photopolymer stamps are ready to use; no prep is required. The stamp sheet measures 6x8" and includes 18 individual images and phrases. Deeply etched for high-quality impressionsClear substrate for easy positioning and accurate stampingNon-yellowing and durableApply ink;… Read More