Are you taking full advantage of the vast amount of creative inspiration available at Club Scrap? You can access instructions to hundreds of page and card kits on the blog under the “How to” tab. Not to mention the wealth of information available right here on this very blog!
With a few adjustments to the Vintage Botany Club Stamp Card instructions, I created 10 cards with gift box from the Photo Booth page kit!

Since the instructions are written for 8.5 x 11 papers, trimming each 12x12 will yield 8 bonus cards!
PHOTO BOOTH CARDS
Begin by trimming each 12x12 at 8.5". Trim the 8.5 x 12" horizontally at 11". Set aside two 8.5 x 11" papers to use for your box base and lid. From there, simply follow the assembly line card making instructions with the ten remaining 8.5 x 11" papers to make ten A2 cards.
CARD #1
Emboss panel with embossing folder. Trim stamped sentiment to fit wood frame and adhere.

CARD #2
Cut green panel using a stitched frame die. Stamp quote onto panel and trim. Wrap ribbon around paper strip. Add photo turns and Nuvo drops.

CARD #3
Stamp quote and ink edges. Layer paper strips. Tie ribbon around widest strip. Finish with Nuvo drops.

CARD #4
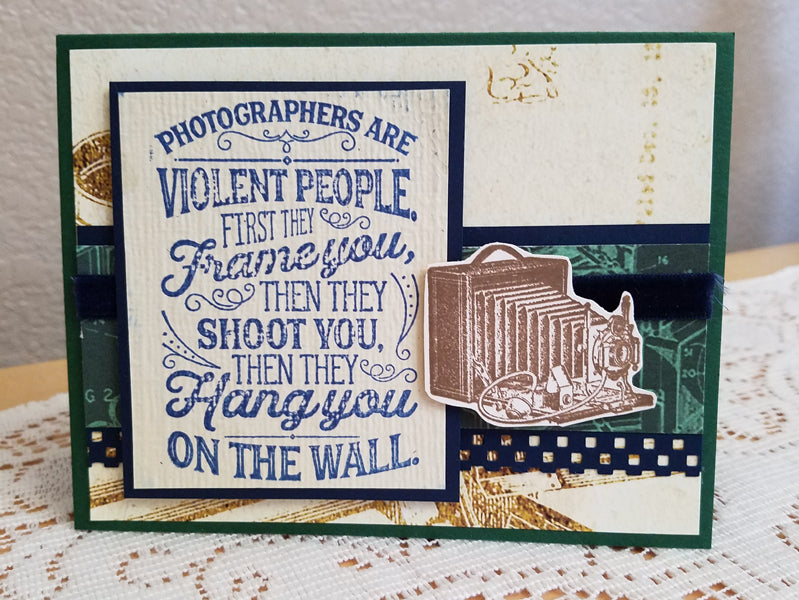
Stamp sentiment onto ivory panel in blue. Ink camera image with Earth hybrid, fussy cut. Punch border strip with a decorative edge punch. Adhere ribbon to top portion of layered paper strips. Use dimensional adhesive to attach camera.
CARD #5
Stamp quote onto glassine envelope with StazOn. Create a tag and place in envelope. Die cut paper flags. Trim edge of ribbon to match. Add photo turn.

CARD #6
Stamp quote on glassine envelope with StazOn. Create a three part bow from burgundy ribbon.

CARD #7
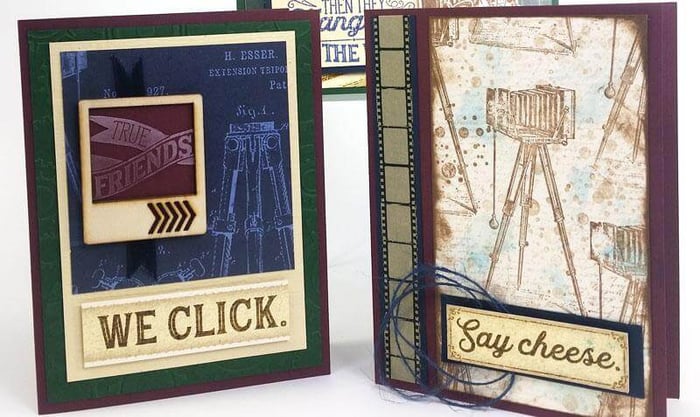
Using an embossing folder, emboss background panel. Staple ribbon to Cutapart. Trim the word “Friends” from a stamped quote and place behind book plate.

CARD #8
Create a collage background with stamped images. Distress edges with ink. Add film strip washi tape. Trim “Say Cheese” from Cutapart. Loop twine and adhere with dimensional adhesive.

CARD #9
Staple ribbon to stamped panel. Texture emboss paper strip. Rub Earth hybrid ink onto wood frame.

CARD #10
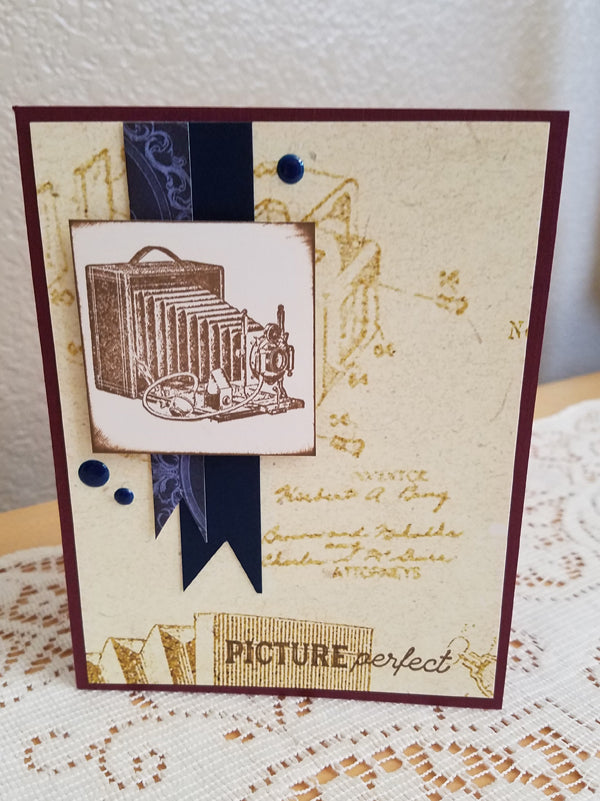
Trim edges of ribbon and paper strip to create flags. Stamp camera and ink edges. Stamp quote on bottom.
BONUS CARDS
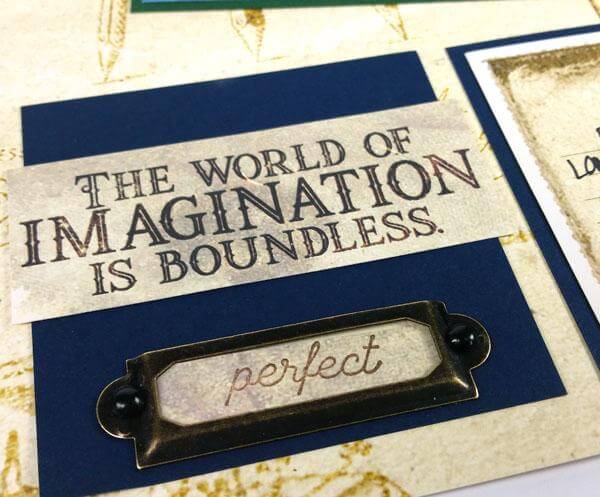
Select four 3.5 x 12" papers. Score each horizontally at 6". Use decorative edge punch along border strip. Stamp quote on panel and place in envelope. Staple ribbon to envelope. Stamp “perfect” on paper scrap and place behind book plate.

Use a stitched square die to create ivory stamped panel. Attach ribbon with a staple. Apply washi tape to right side. Die cut flag strip and adhere behind sentiment. Add Nuvo drops.

Apply border and ribbon strips diagonally. Stamp camera using the second stamping on the sentiment panel. Add sentiment. Round corners with a punch and ink edges. Add Nuvo drops.

Trim Cutapart sentiment and mat. Add photo turns to bottom right.

EASEL CARDS
Trim the remaining four 3.5 x 12" pieces horizontally at 10. Score horizontally at 5 and 8". Stamp quote on glassine envelope with StazOn. Add photo turns to bottom of envelope. Adhere film strip washi tape to bottom panel.

Create collage background and stamp sentiment. Trim edge of ribbon. Tie twine in bow through button and adhere. Add second sentiment to bottom of easel card.

Using an embossing folder, emboss card panels. Distress edges of Cutapart. Stamp “perfect” and trim to fit bronze frame.

Using an embossing folder, emboss tan panel. Use oval die to trim Cutapart. Loop twine and adhere behind sentiment using foam adhesive. Die cut a simple sentiment if desired.

BOX ASSEMBLY
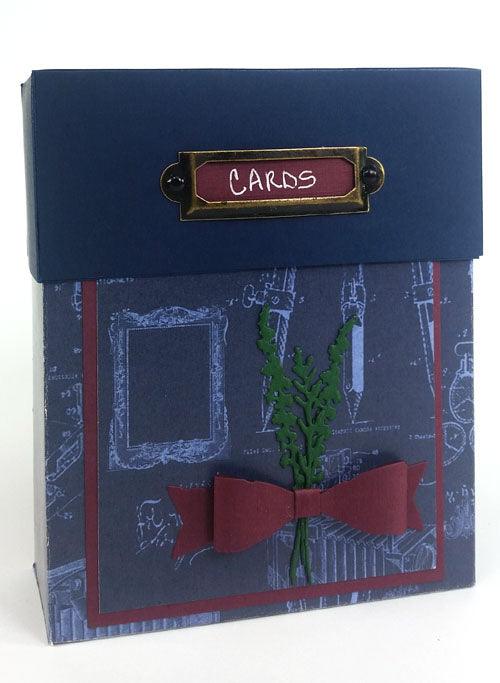
I didn't notice the direction of the printed artwork on the paper before scoring, so my box had the images upside down. To resolve this, I created matted panels from left over papers and added them to the front and back sides of the box.

Attach bronze frame with brads. Hand write title. Decorate with die cut ribbon and sprigs of greenery.
I hope I've demonstrated the incredible card making potential of Club Scrap's page kits. Don't be afraid to give it a try!
![]()
