
I've got a few cardmaking tips for the Vintage Botany Club Stamp collection. Create a set of ten cards and a lovely vertical storage box with a lid. It will be perfect for gift giving!
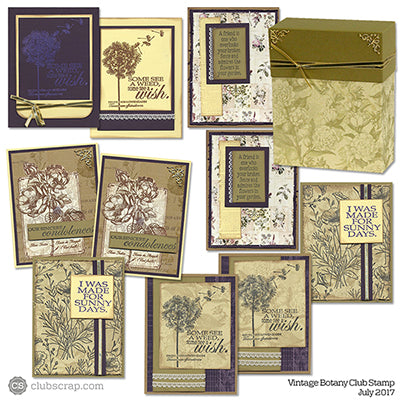
Download and carefully follow the paper trimming and scoring instructions to create the card bases, panels, and box shown below.
Vintage Botany Club Stamp Instructions
Cardmaking Tips
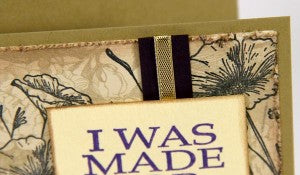
Cards 1 & 2

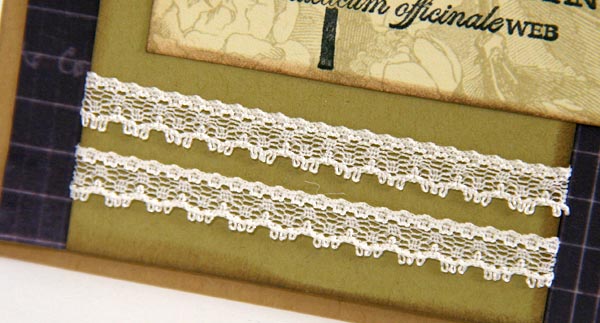
Stretch two pieces of the dainty lace across the Dk. Green panel and tape the ends onto the back. Ink the edges of the panels with CS® Earth ink.
Cards 3 & 4
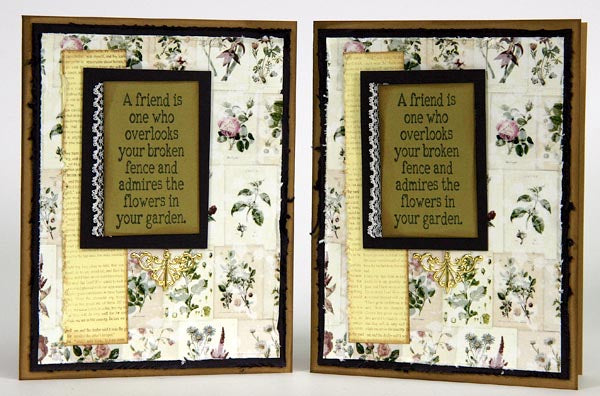
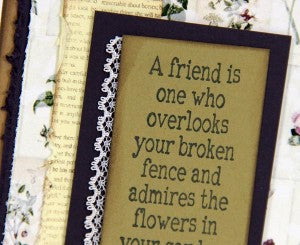
Trim a length of lace to match the height of the stamped Dk. Green panel. Apply a thin line of Bookbinding Glue to the left edge of the panel and press onto the lace. Nest onto the Purple panel. Stamp the Yellow strip with a "text noise" image from a previous collection. (I used the text from the Literature Art Nouveau stamp set.)
Fray the edges of the Purple and Quad Print panels with a paper distressing tool.

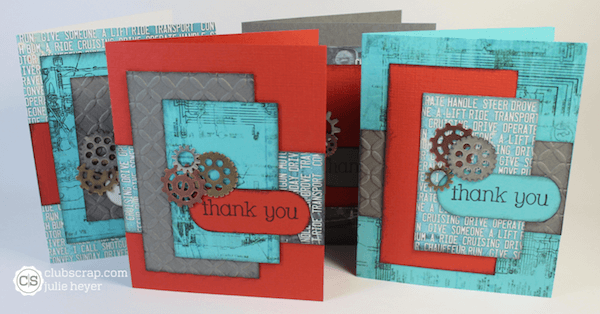
Cards 5 & 6
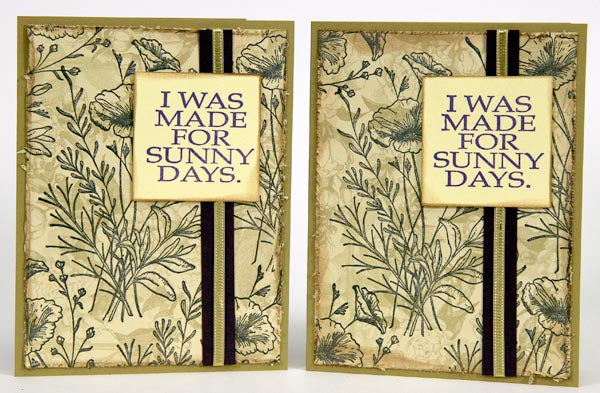
Wrap the .5x5.25" Purple strip with thin metallic gold ribbon. Adhere the stamped sentiment with foam adhesive circles.
Cards 7 & 8
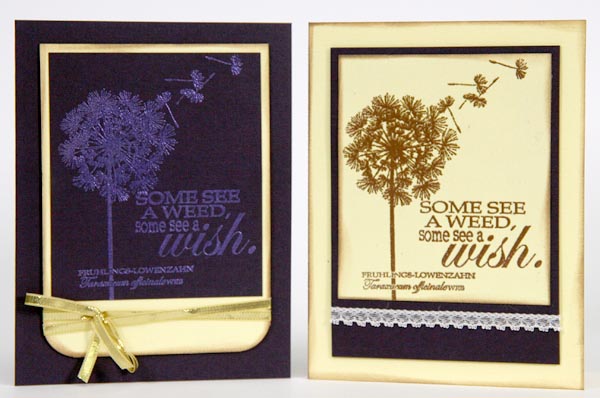
Stamp and emboss the dandelion image and sentiment onto the card panels in a contrasting color. We used Ranger's "Violet Embossing Pearl" for the Purple panel for a gorgeous glimmer, and metallic copper power for the Ivory card panel.

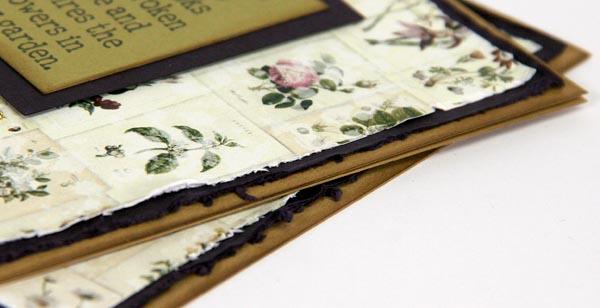
Cards 9 & 10
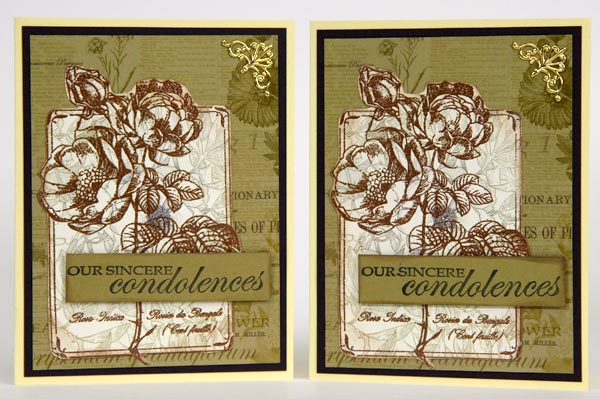
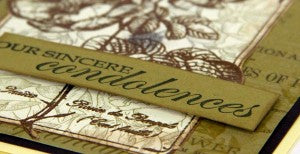
Stamp and emboss the rose image onto the Quad Print panels. Trim around the frame and image with a detail scissors. Ink edges to hide cutting imperfections. Glue the Gold Accent Charms to the upper right corners of the cards.
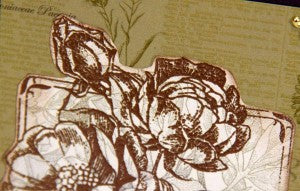
The condolences sentiment is on the Vintage Botany Greeting UM sheet. Stamp onto the Dk. Green strip and adhere with foam adhesive.
Box with Lid
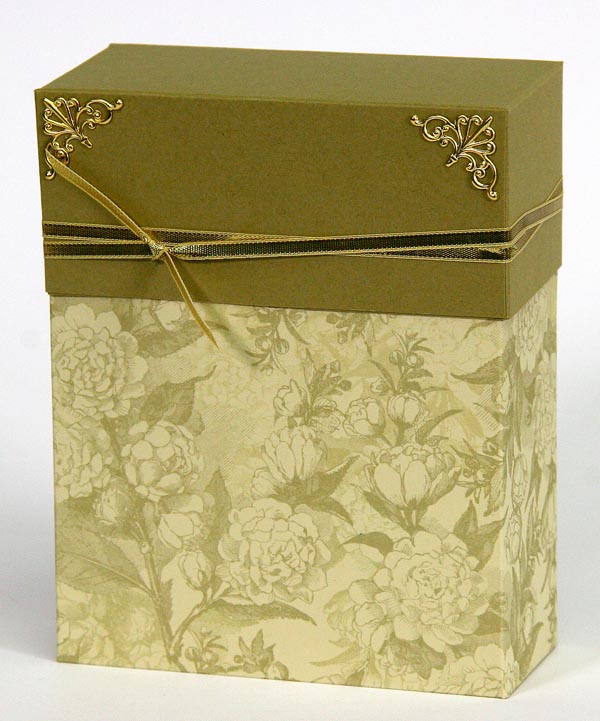
Tie gold ribbon around the box lid and add a gold accent charm to the upper left and right corners.
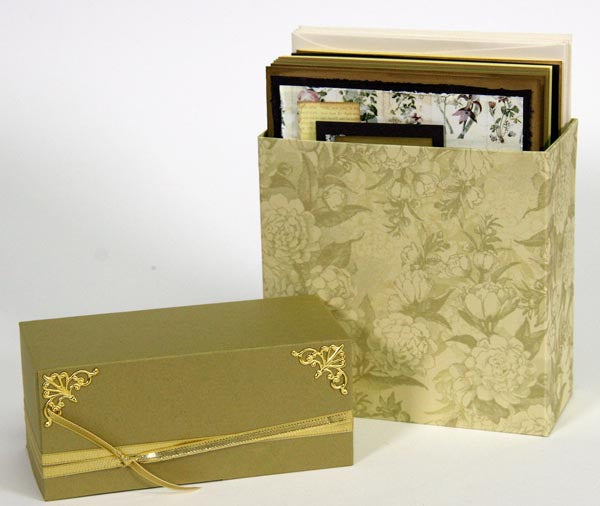
When making the box base, fold and glue the 1/2" flap along the top edge of the box panels. Fold along all remaining score lines and nest the two halves of the box base together. Glue the side walls first, so the box can lay flat. Next, fold in one long flap to form the bottom. Glue two short tabs onto the long flap, and finish by gluing the remaining long flap to create a sturdy base for the box. Load the box with your handmade cards and ten envelopes from your stash, and give it to someone dear to you, if you can part with it!
Tricia