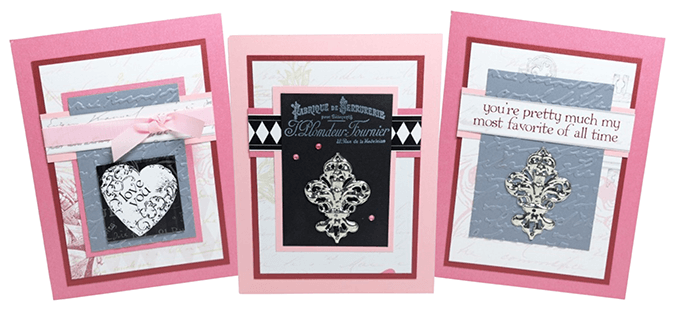

Create beautiful cards with simple techniques and the Take Flight Stamps.
Take Flight Stamps

Cards featuring Take Flight Stamps
(The finished size of each card is 4.25x5.5", unless otherwise noted.)
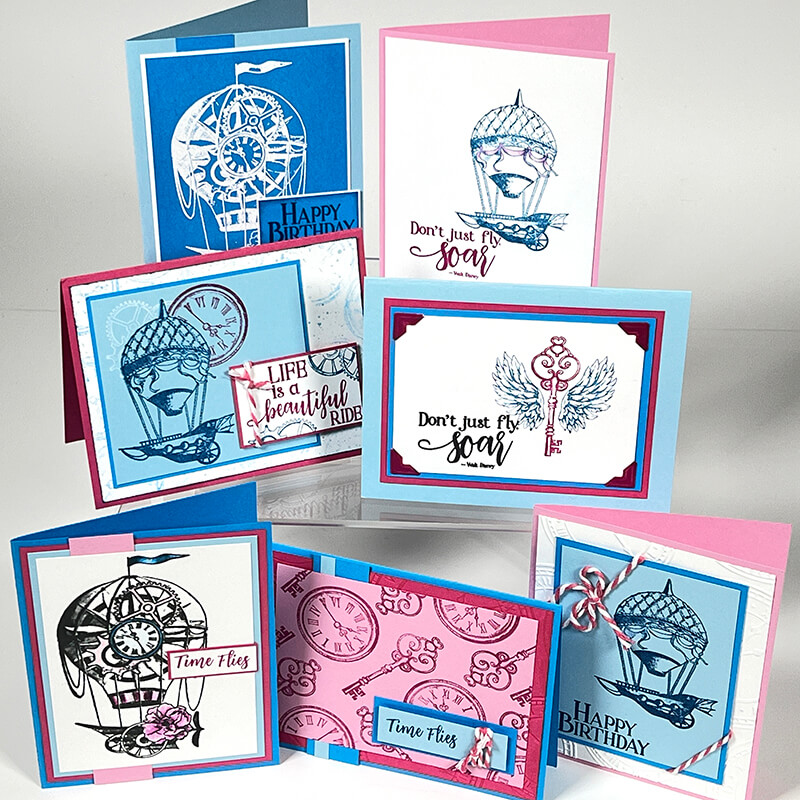
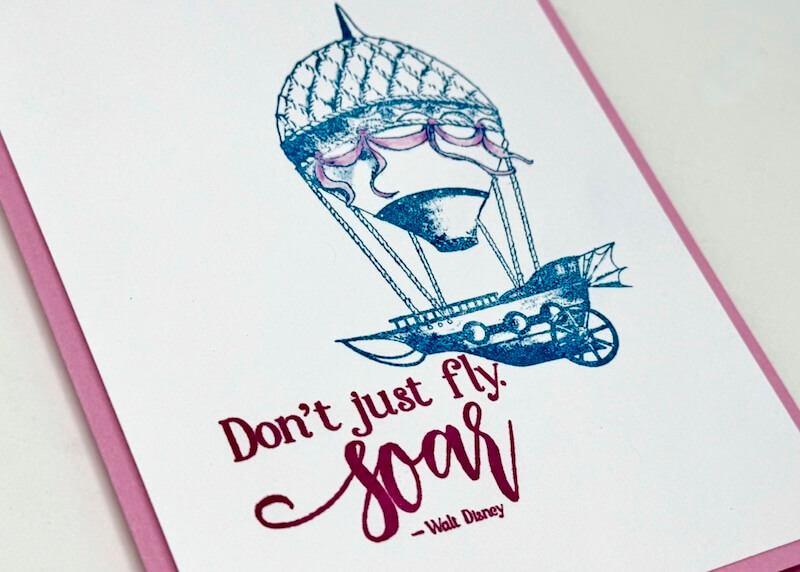
Card 1
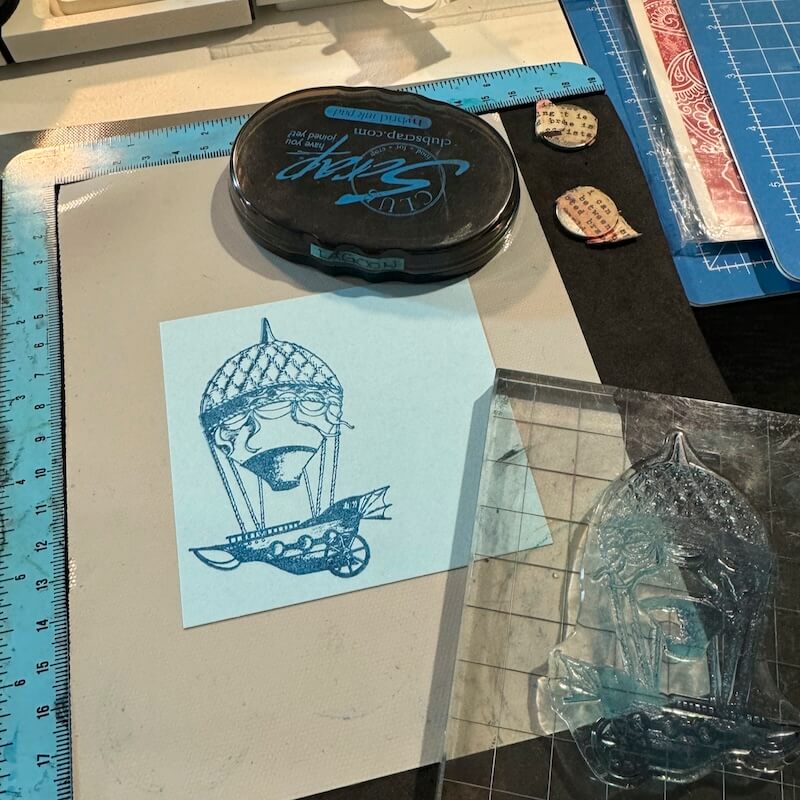
Add the small balloon stamp to a white panel with Lagoon Ink.
Stamp a sentiment next to the balloon image with Fuchsia Ink.
Add pink colored pencils to the ribbon on the balloon image.
Adhere the white panel to a folded Lt. Pink card base.
Card 2
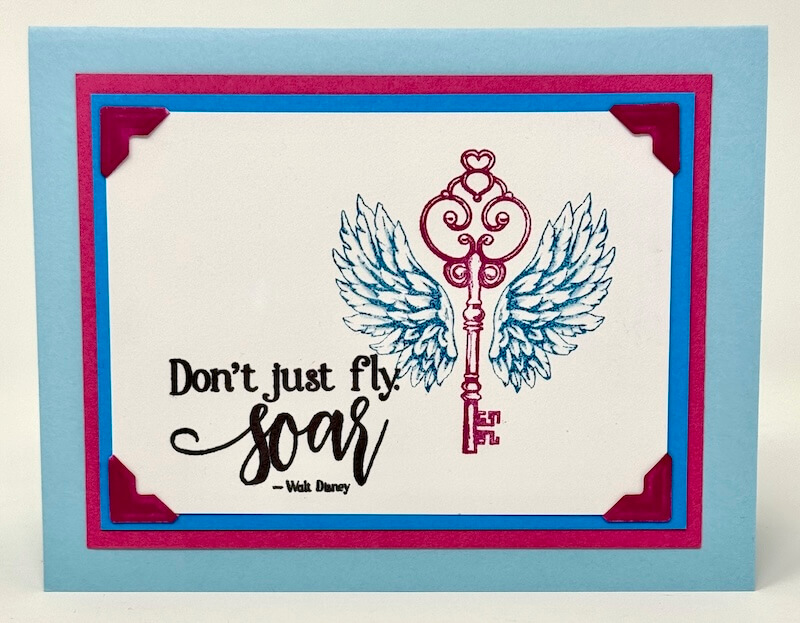
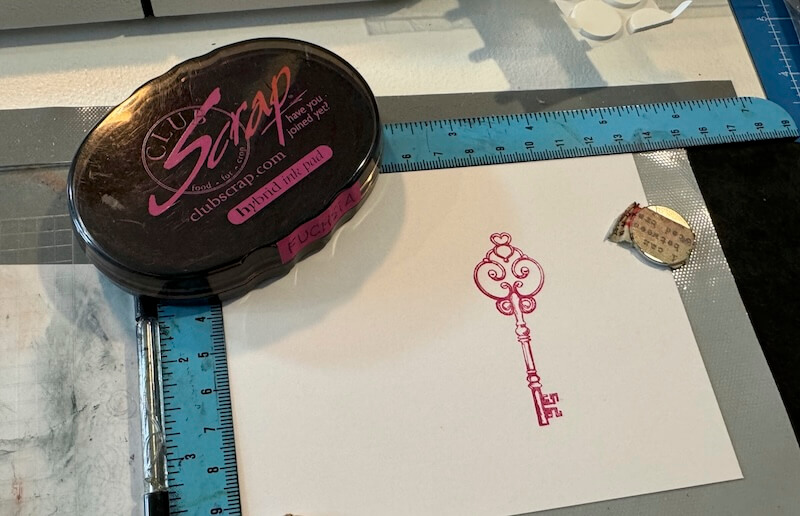
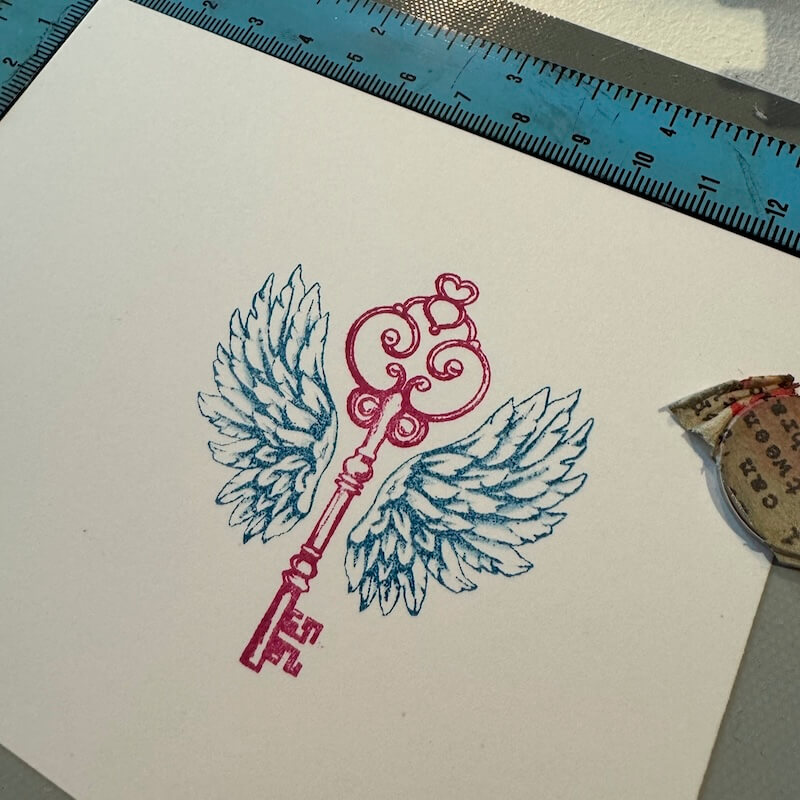
Add the key image to a white panel with Fuchsia Ink.
Position the wings next to the image and pick them up with the lid of a stamping platform.
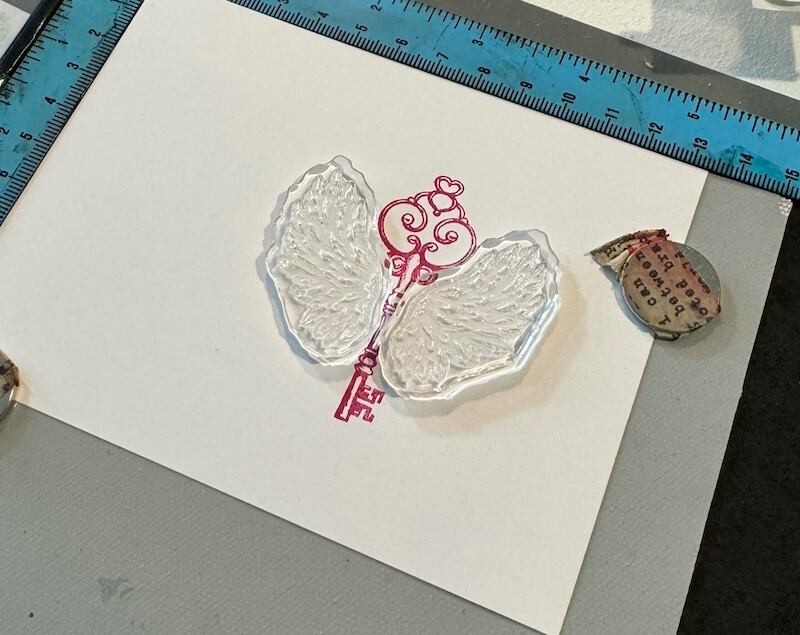
Apply Lagoon Ink to the wings.

Stamp the wings onto the white panel.
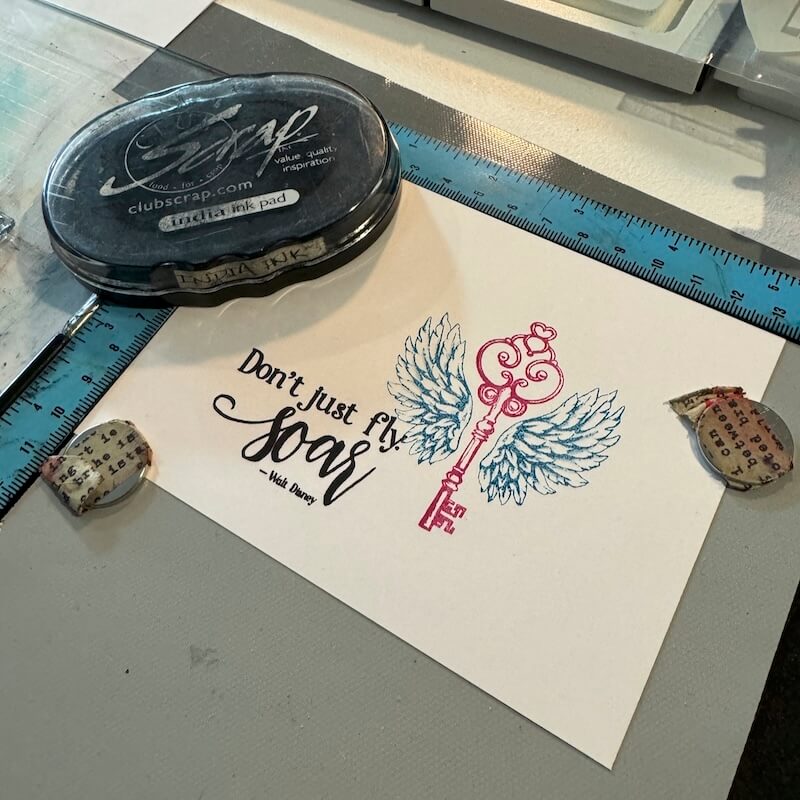
Stamp the sentiment with India Ink.
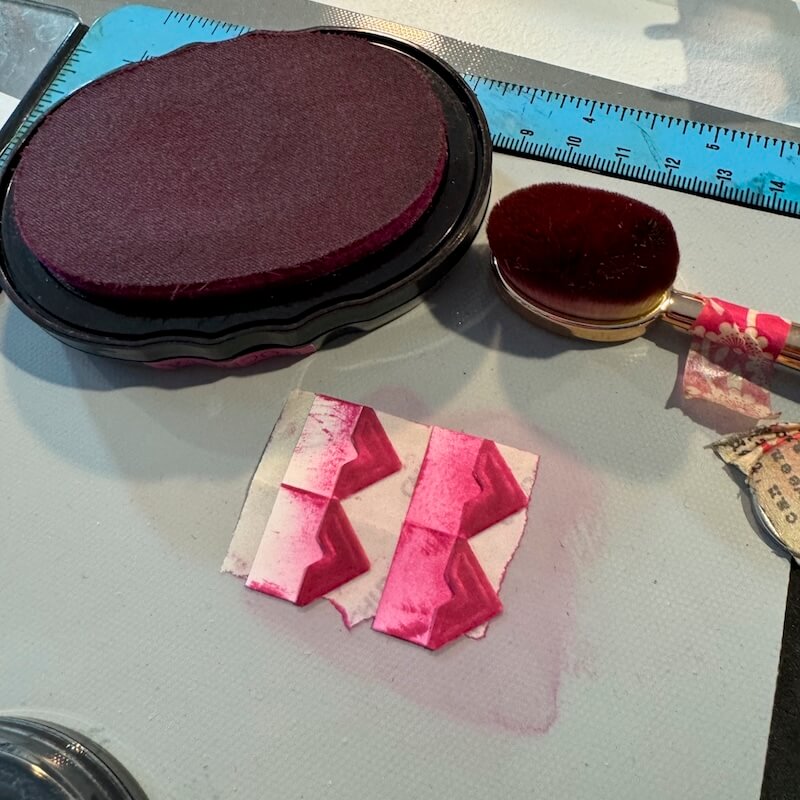
Gather four white photo corners. "Colorize" them by applying Fuchsia Ink directly onto the surface.
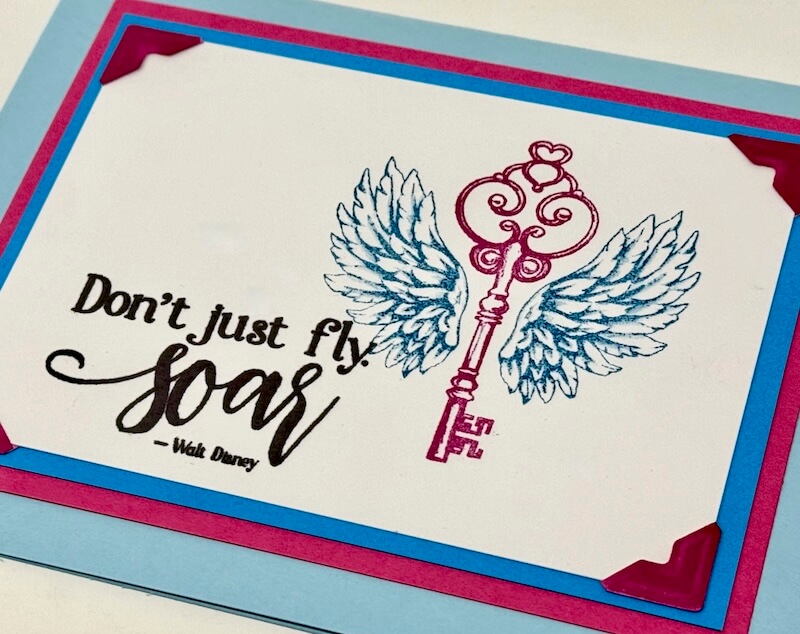
Tuck the edges of the white panel into the photo corners and nest onto Dk. Blue and Dk. Pink mats. Add the panels to a Lt. Blue folded card base.
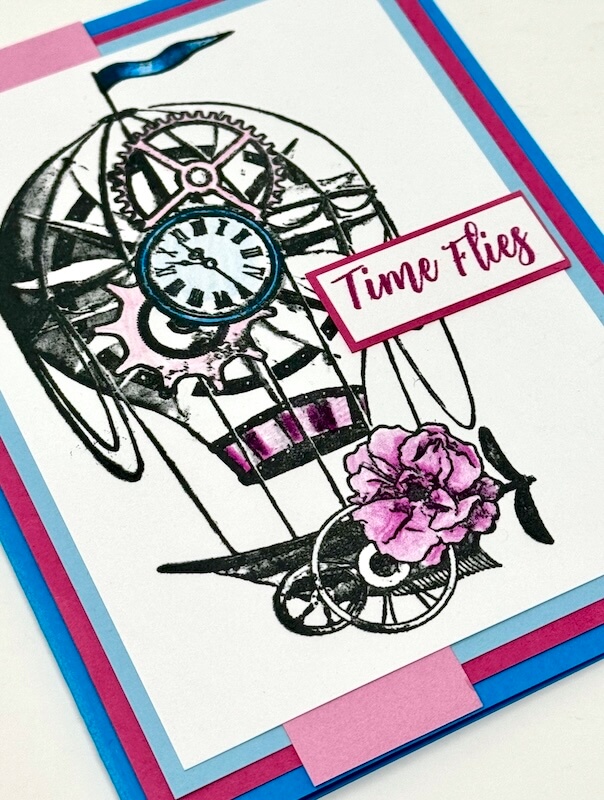
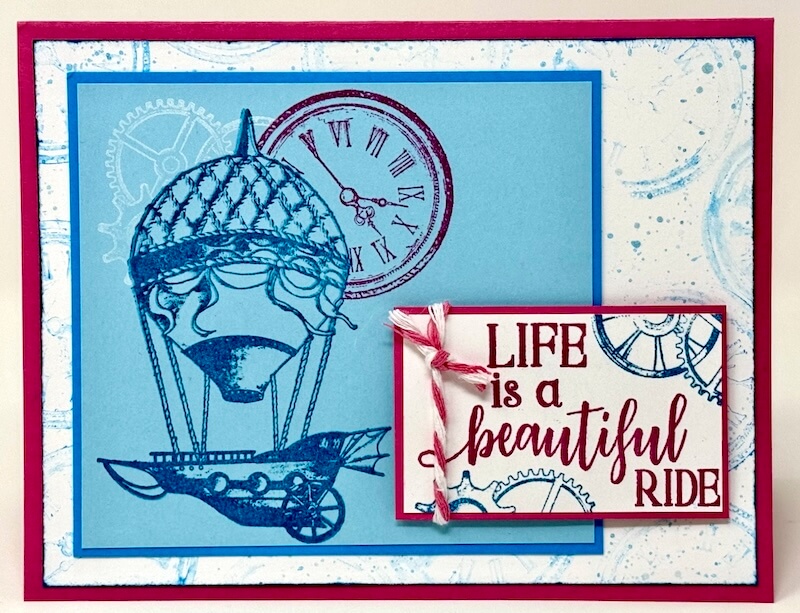
Card 3
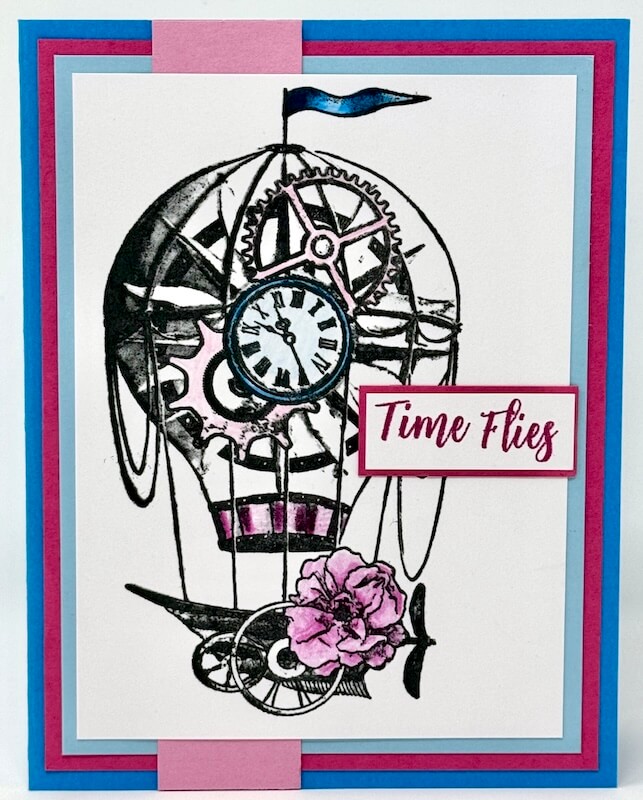
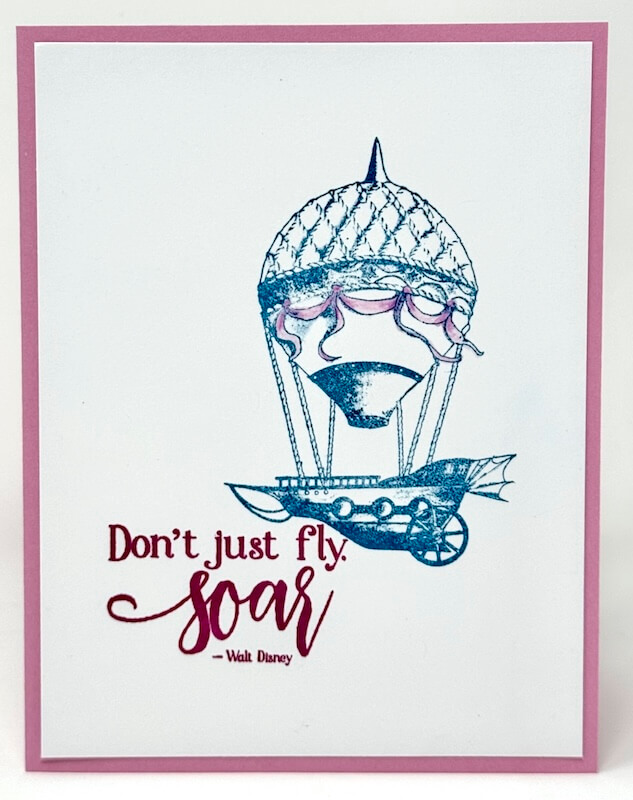
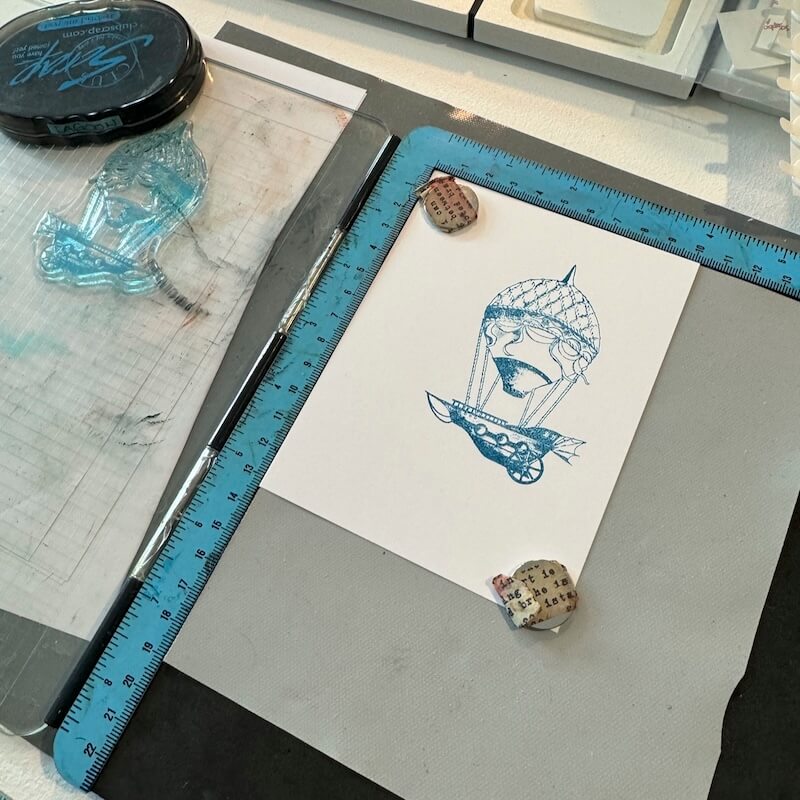
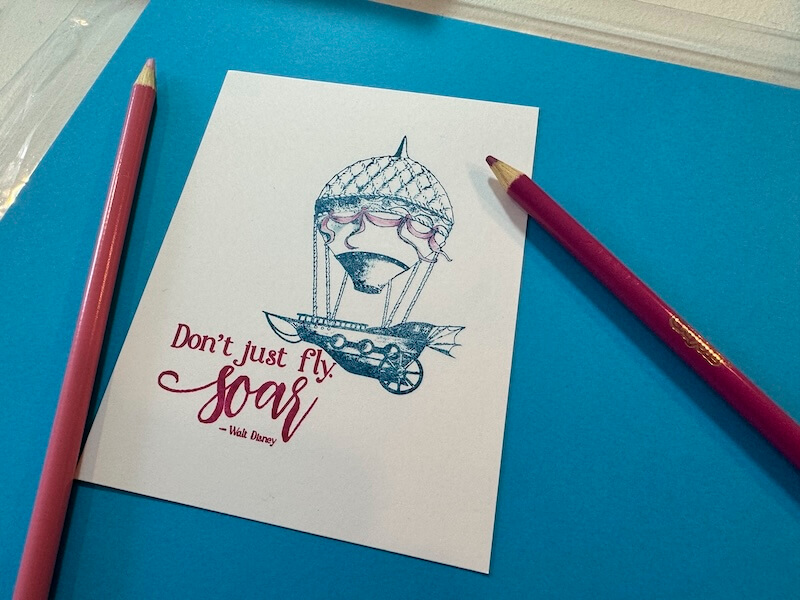
Stamp the large balloon image onto a white panel with India Ink. Add coordinating hues to the image with colored pencils.
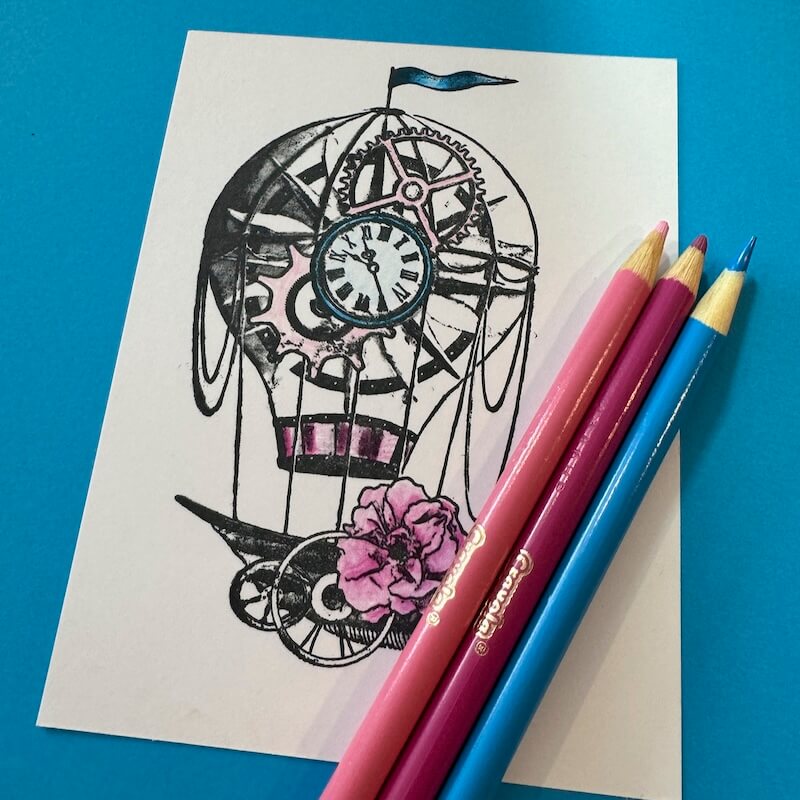
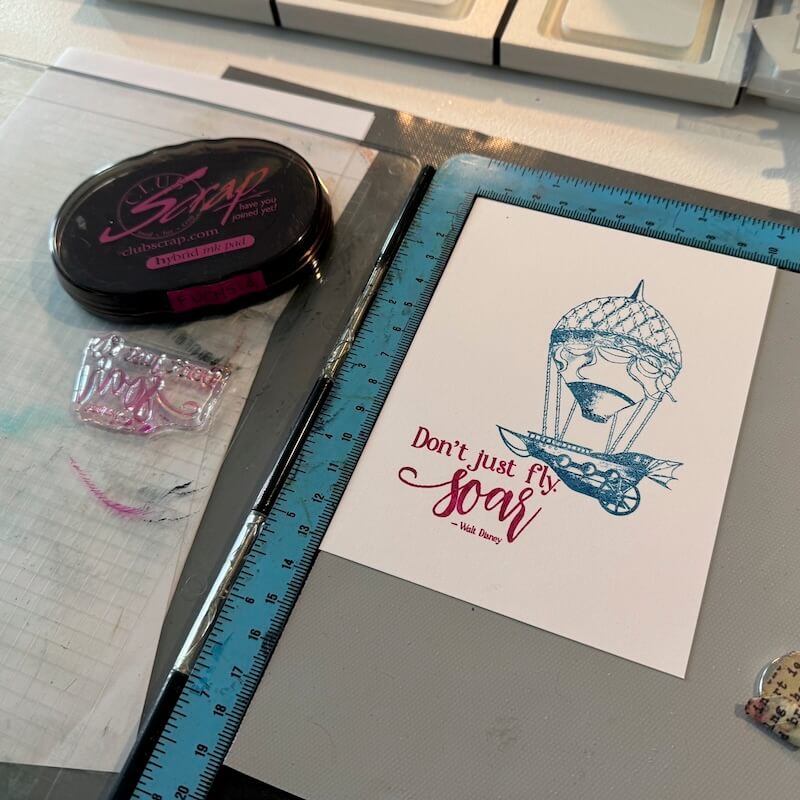
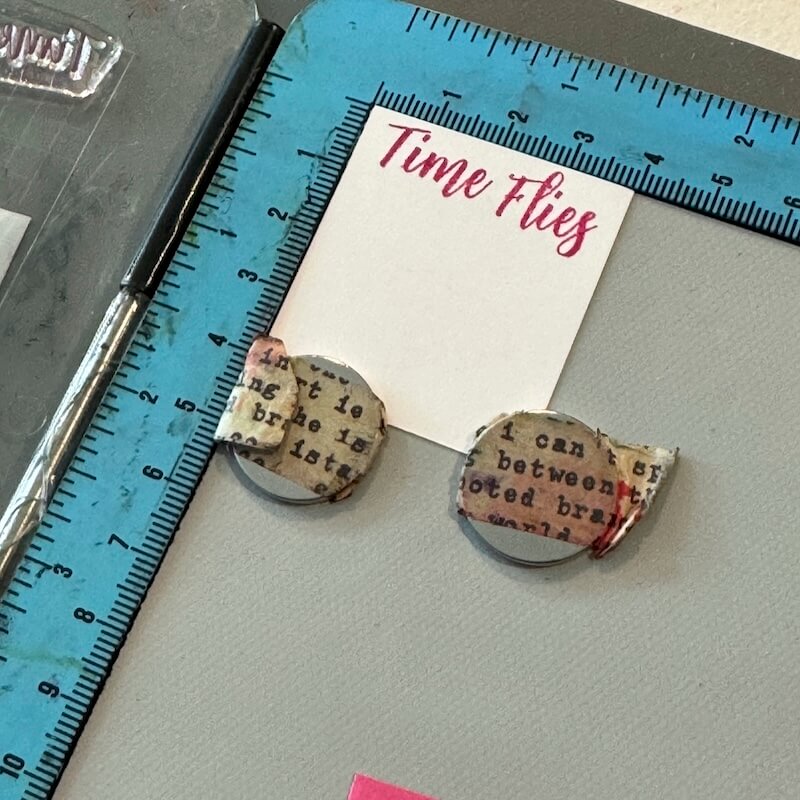
Stamp a sentiment in Fuchsia Ink.
Trim and mat the sentiment. Adhere to the right side of the white panel. Mat with Lt. Blue and Dk. Pink panels topped with a Lt. Pink anchoring strip; adhere to a Dk. Blue folded card base.
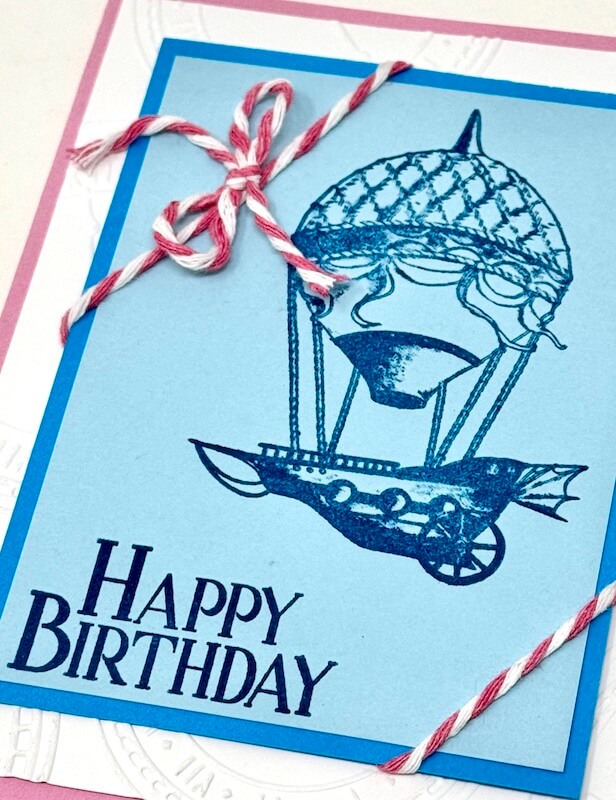
Card 4
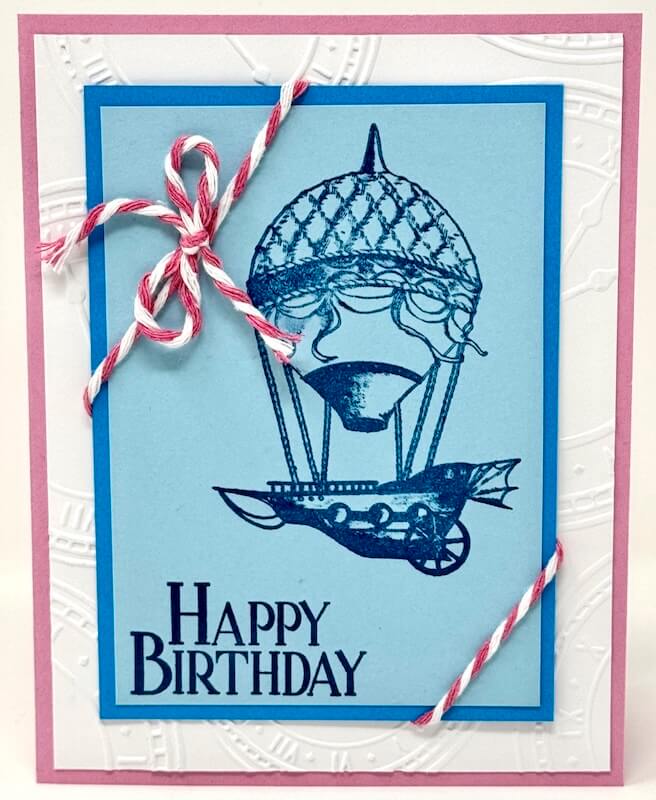
Stamp the small balloon and sentiment onto a Lt. Blue panel with Lagoon Ink. Nest the stamped panel onto a Dk. Blue mat.
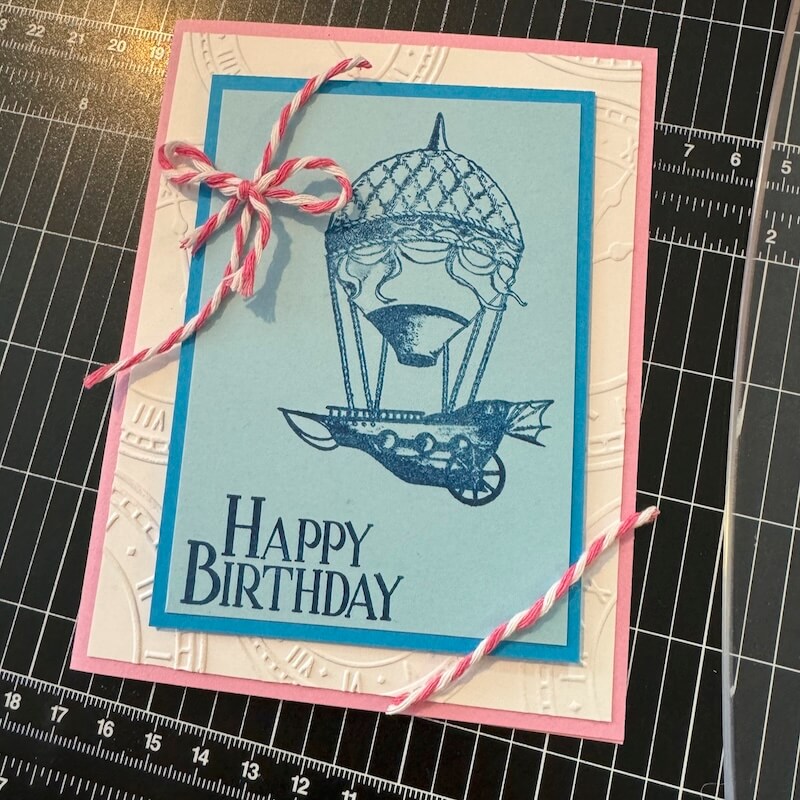
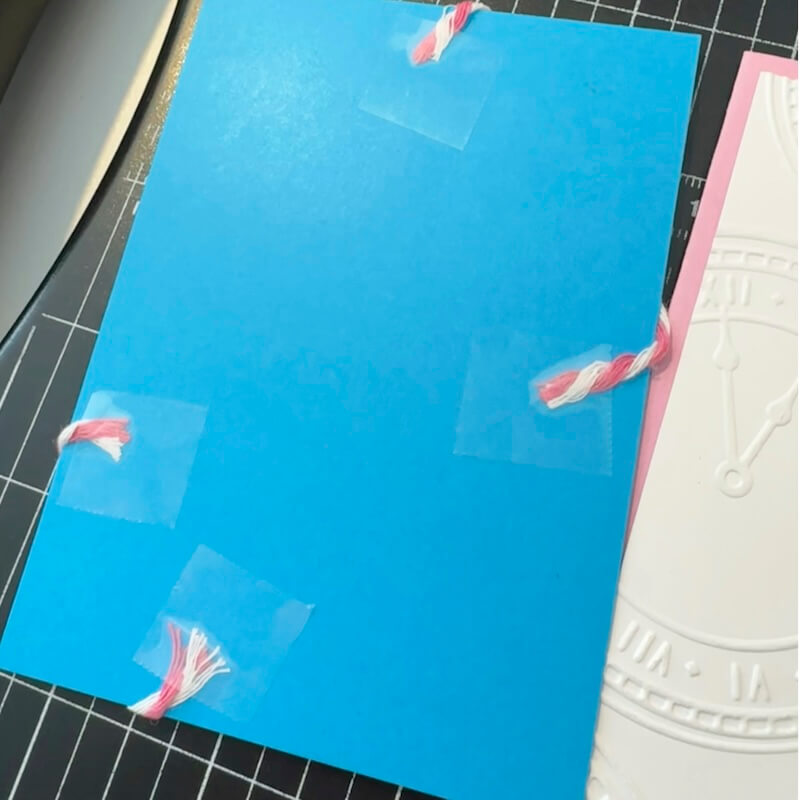
Wrap the ends of pink baker's twine around the corners of the panel. Adhere to the back of the Dk. Blue panel with clear tape.
Add texture to a white panel with an embossing folder. Nest the stamped panel on top and adhere to a Lt. Pink card base.
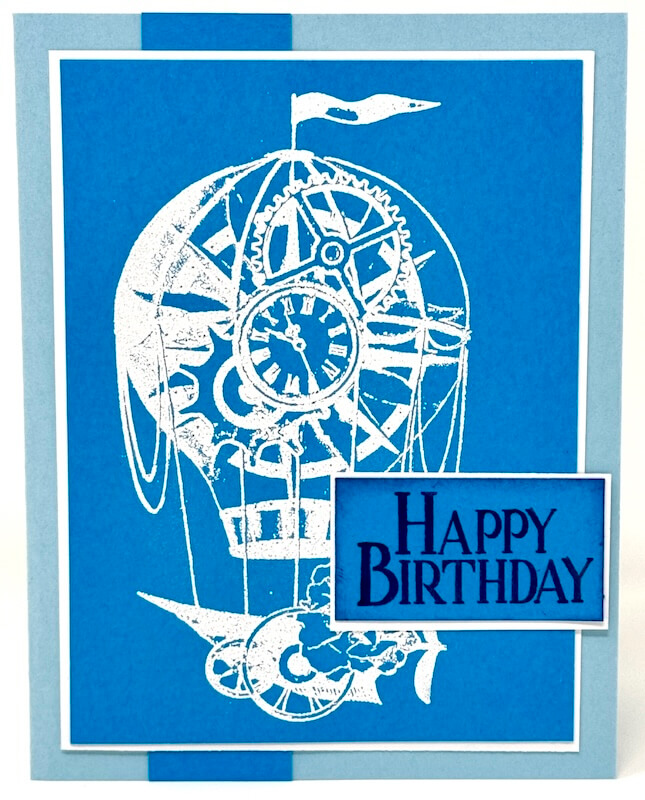
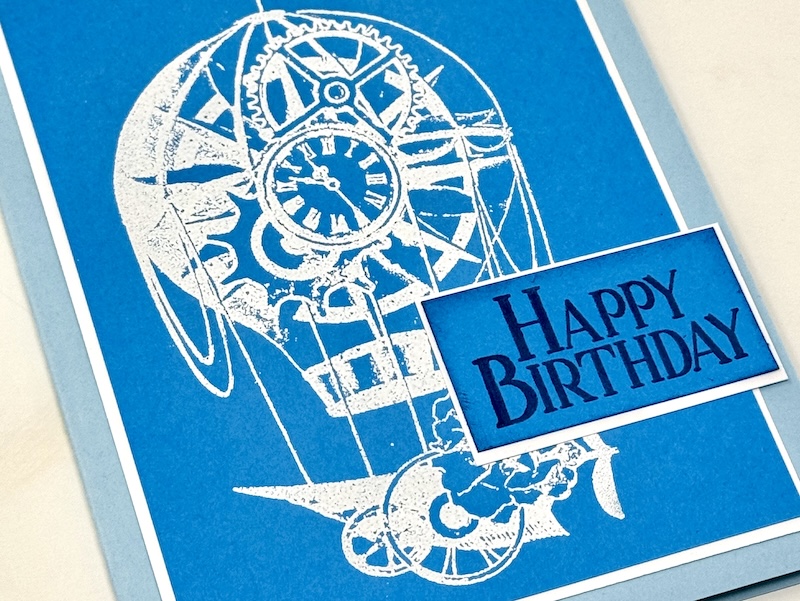
Card 5
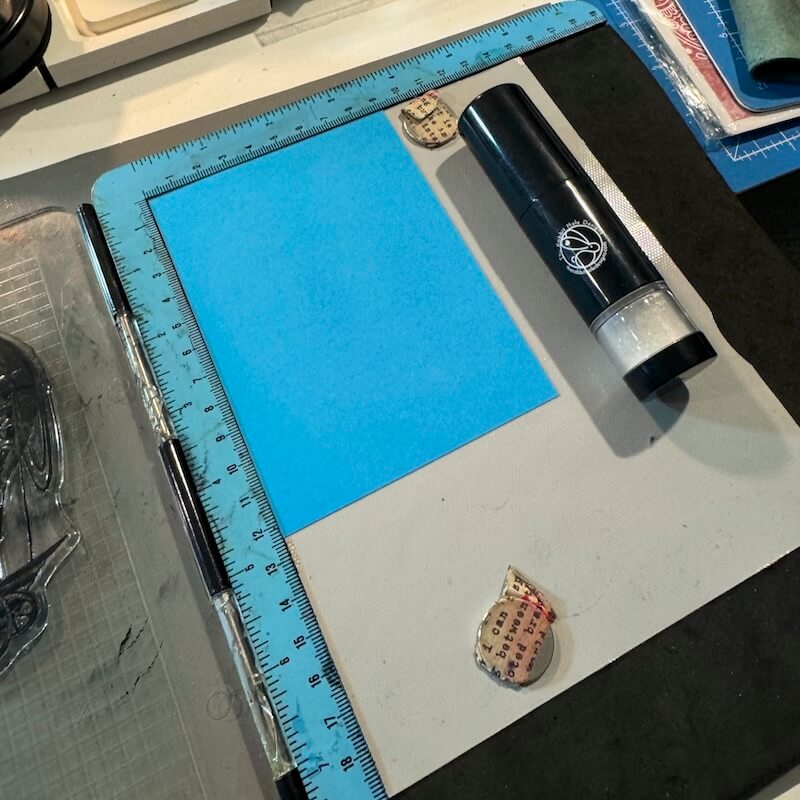
Place a Dk. Blue panel into a stamping platform; dust with anti-static powder.
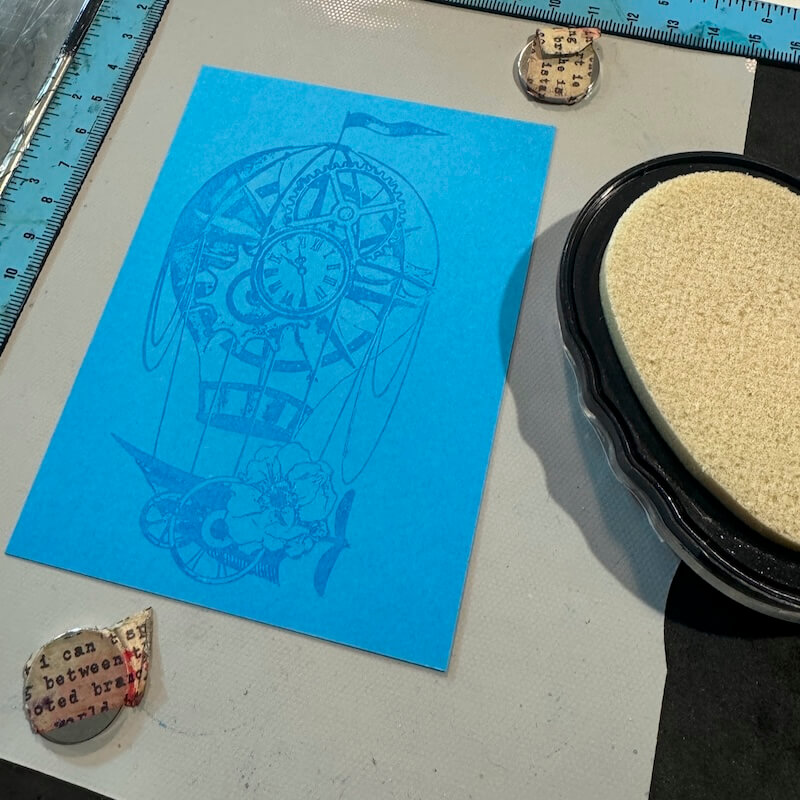
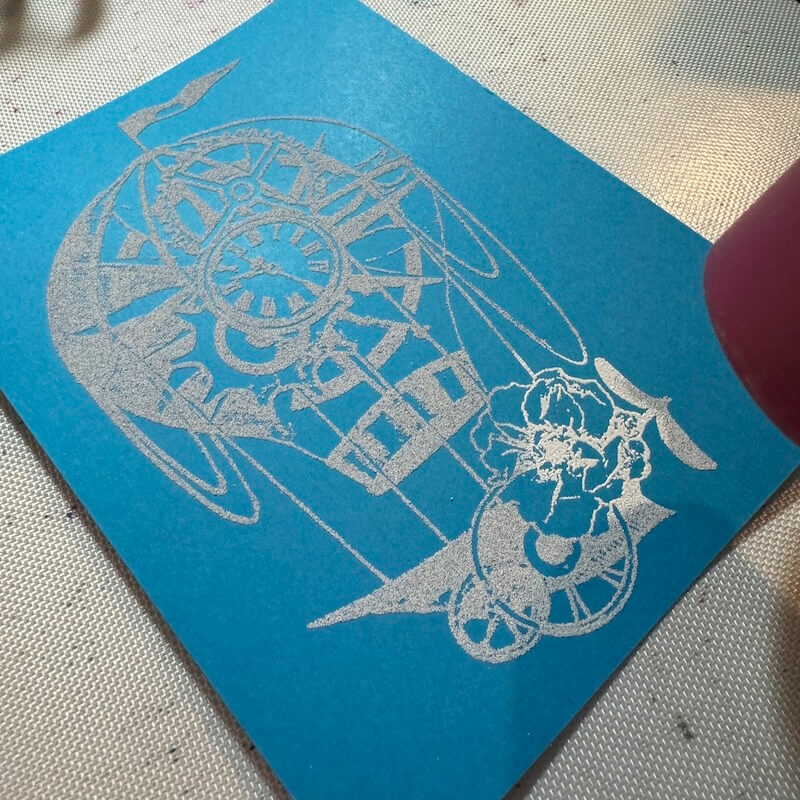
Stamp the large balloon image with Watermark Ink onto the panel.
Cover the watermark image with white embossing powder in a tray or over a piece of scrap paper.
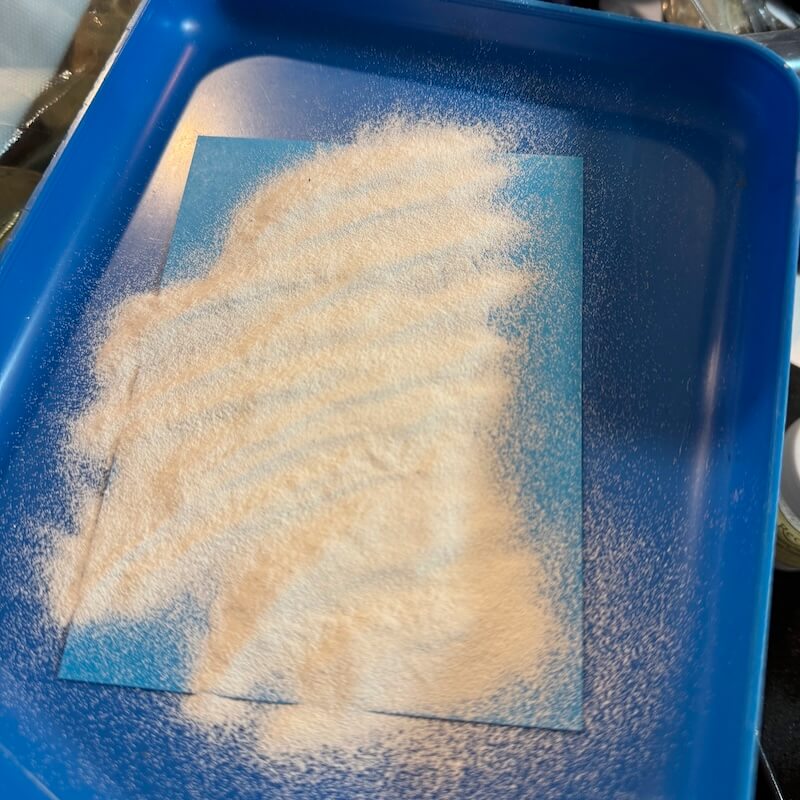
Tap off the excess powder to reveal the image. Pour the powder from the tray back in to the embossing powder jar.
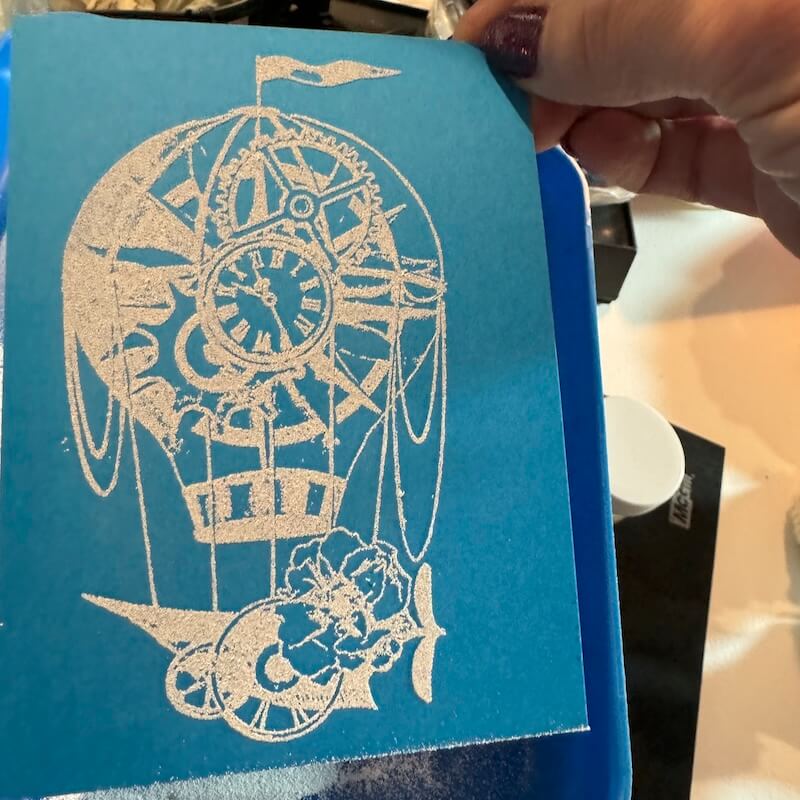
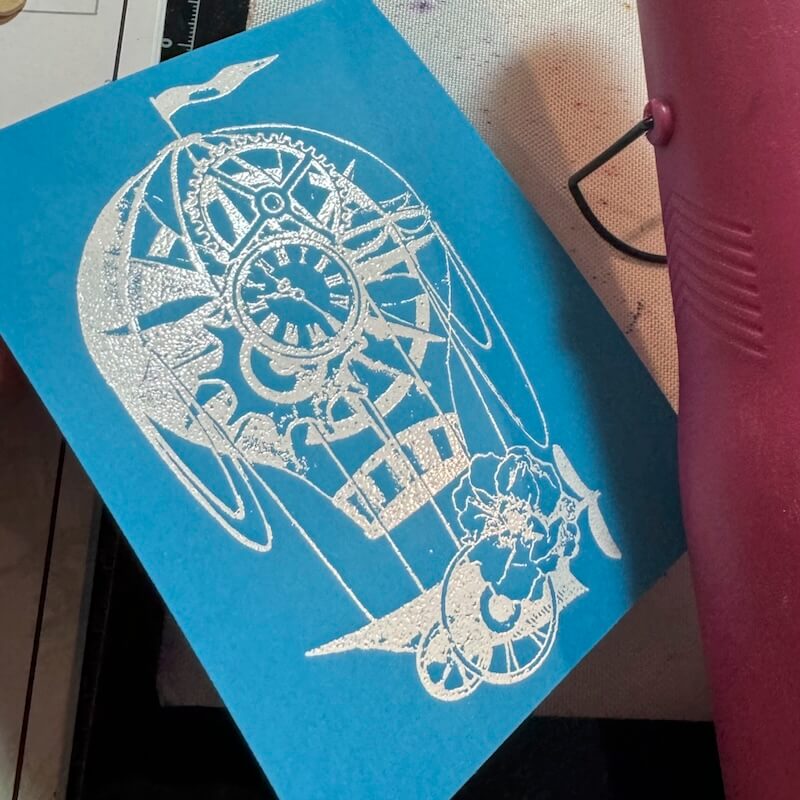
Melt the powder with a heat tool.
Continue to heat the image until all of the powder has melted and appears shiny.
Stamp a sentiment and wings with Lagoon Ink onto a white panel. Adhere to the inside the card.
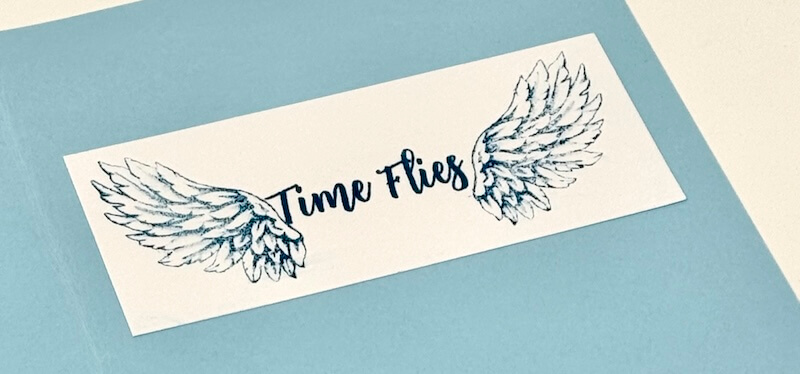
Stamp "Happy Birthday" in Lagoon Ink onto Dk. Blue. Crop the sentiment and mat with white. Adhere to the stamped panel to complete the card.
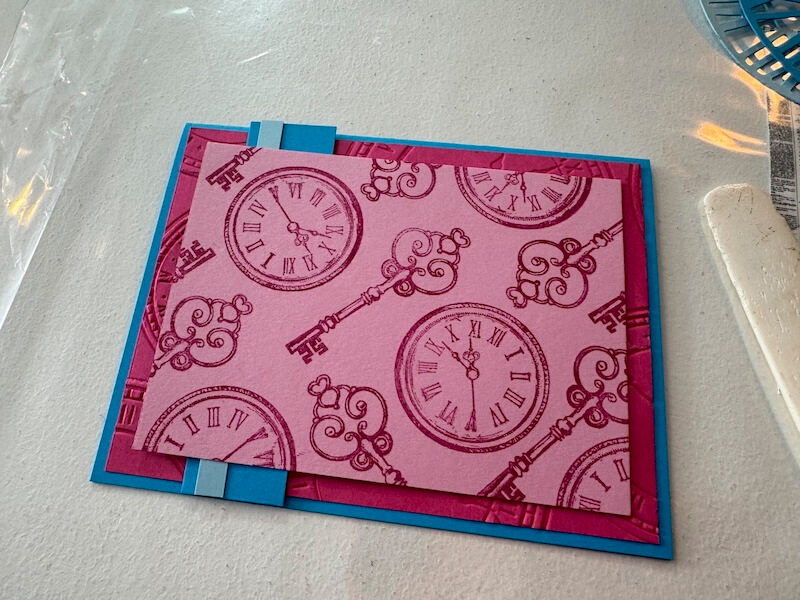
Card 6
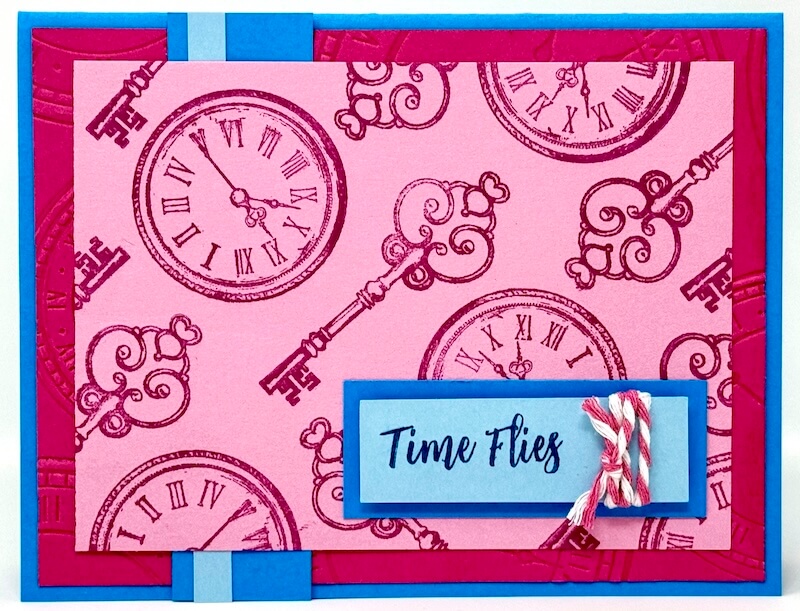
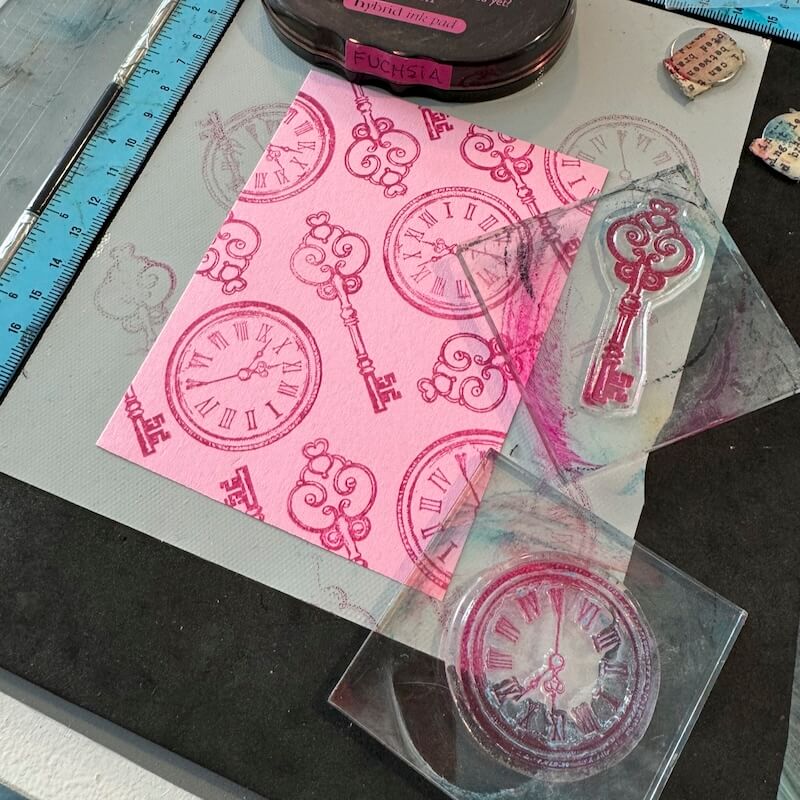
Stamp a Lt. Pink panel with the key and clock images in Fuchsia Ink.
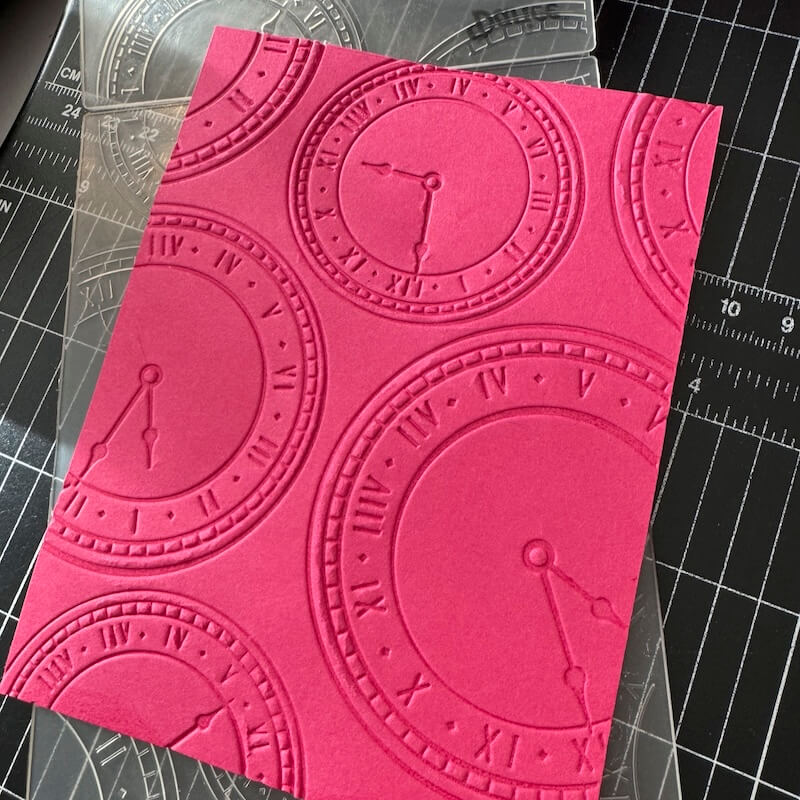
Add texture to a Dk. Pink panel with a clock embossing folder.
Add layered paper strips to the left side of the embossed panel. Nest the stamped panel onto the embossed panel.
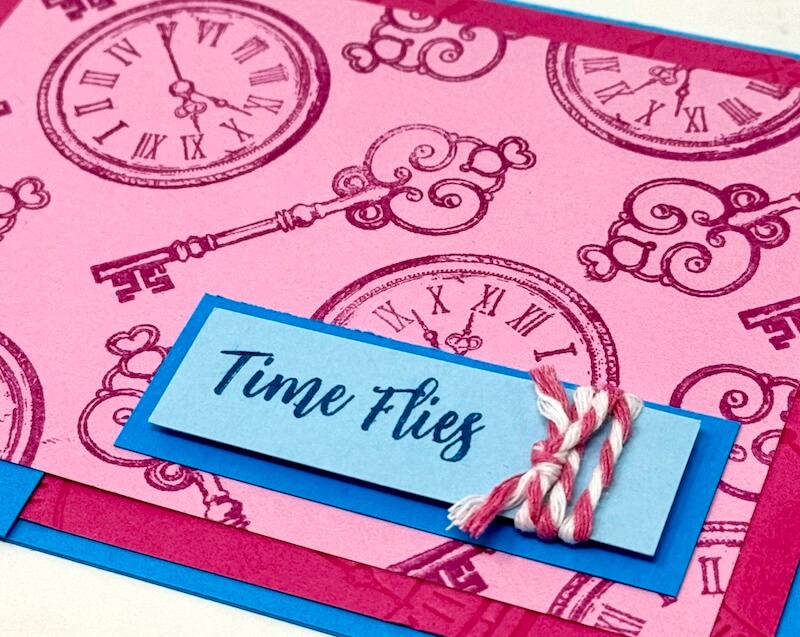
Stamp the sentiment in Lagoon Ink onto a small Lt. Blue scrap.

Trim the sentiment and wrap with baker's twine. Adhere to a Dk. Blue mat with Foam Adhesive Circles.
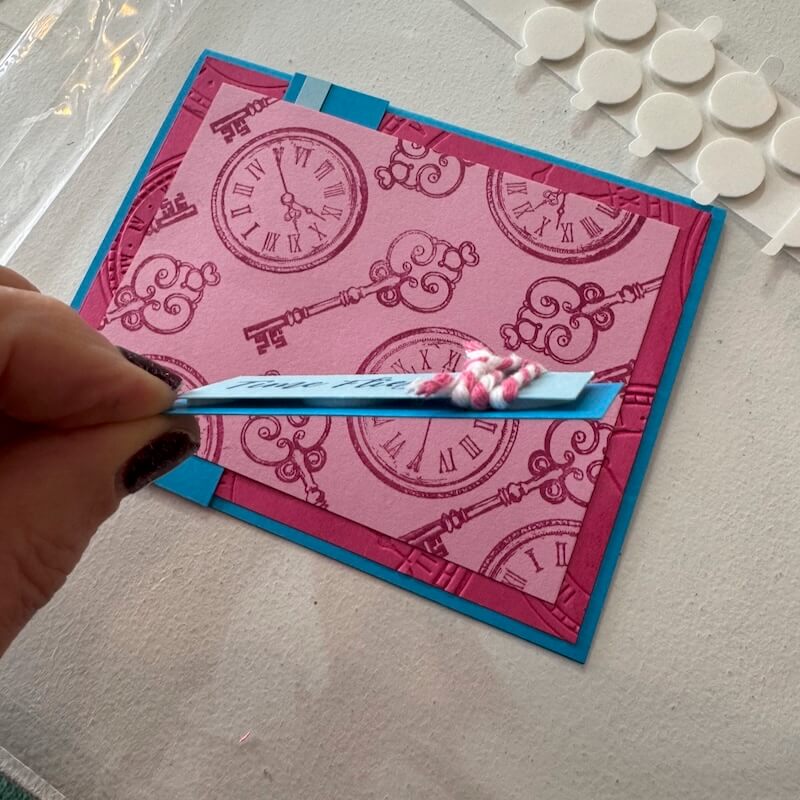
Adhere the sentiment to the bottom corner to complete the card.
Card 7
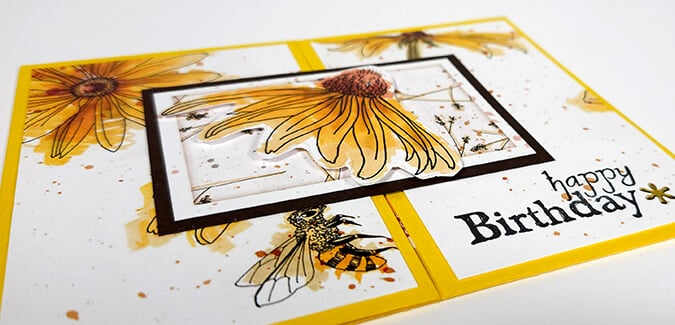
Mist the clock image lightly with water. Scribble watercolor crayon onto the stamp's surface.
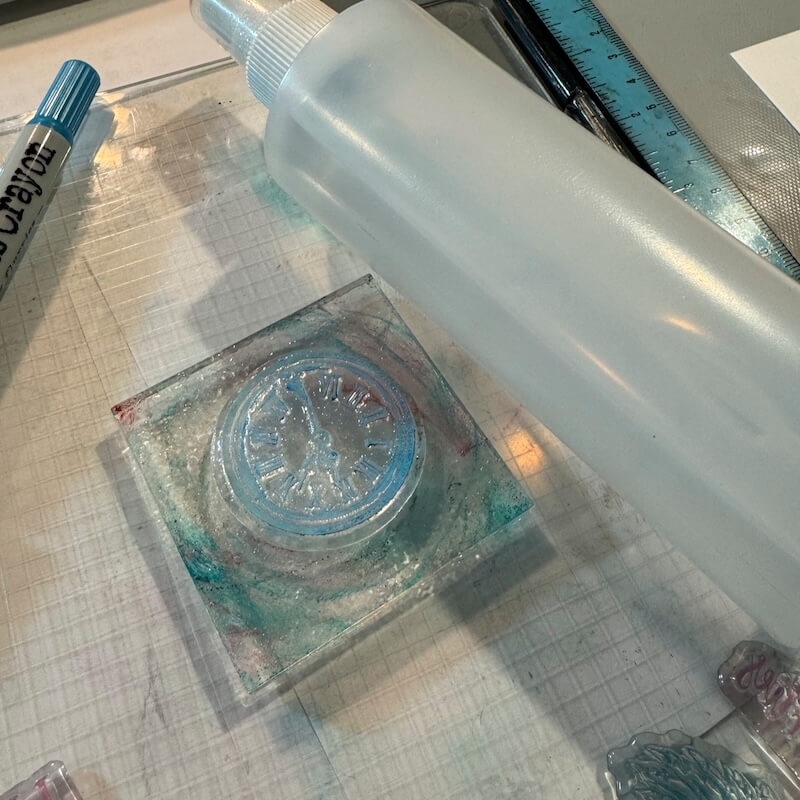
Spritz again lightly with water and transfer the image to a white panel. Continue to reactivate the watercolor remaining on the stamp by spritzing with water before each new impression. (I was able to get at least four impressions from each color application using this method.)
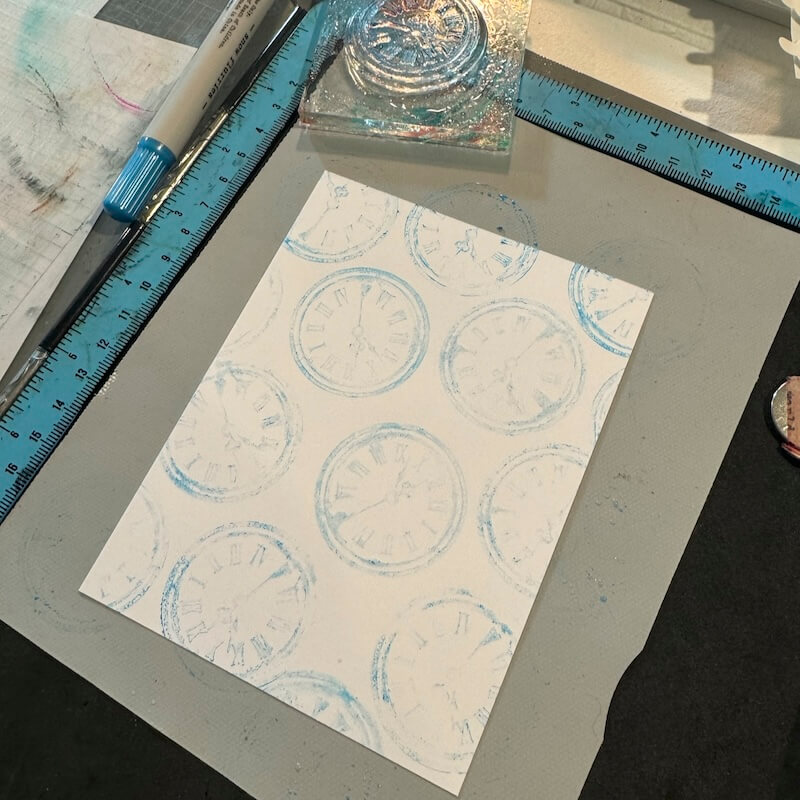
Continue to add images until the entire panel is covered.
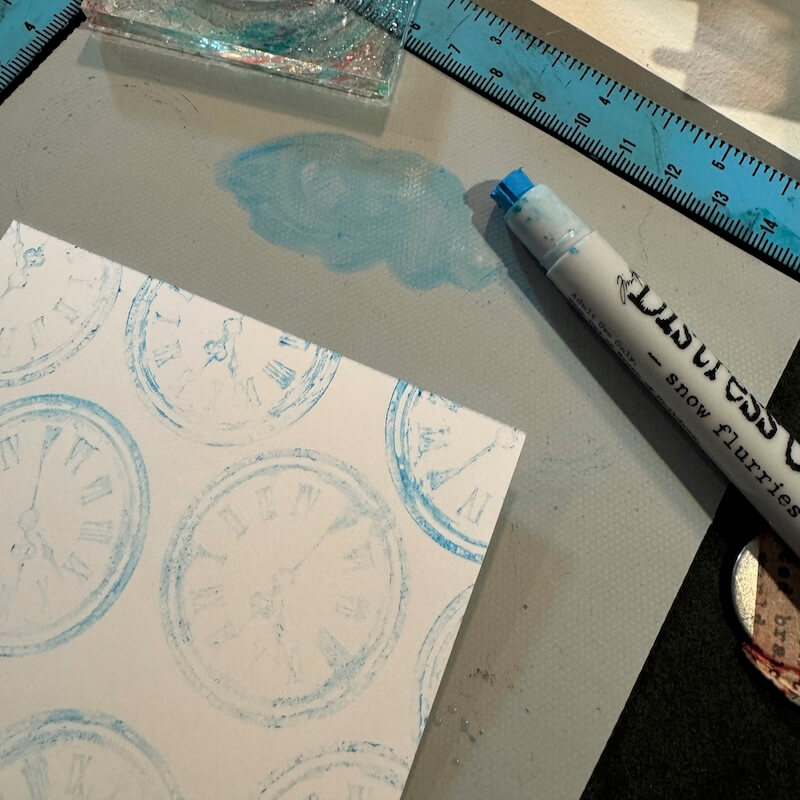
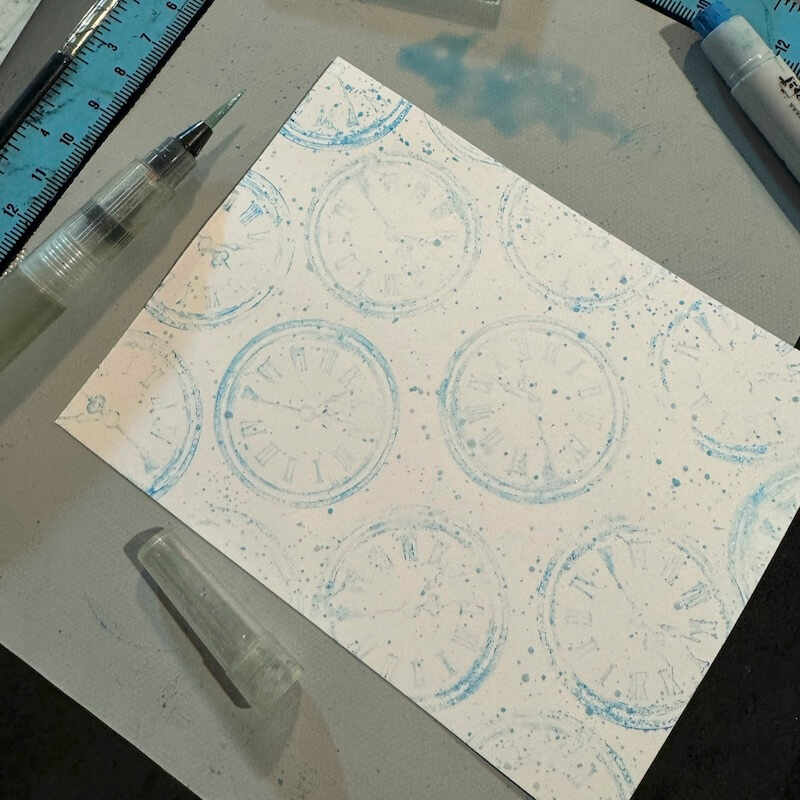
Scribble watercolor crayon onto a non-porous surface. Dip a wet paint brush into the crayon to pick up the color. Lightly tap the brush over the stamped panel to create a speckled background. Set the panel aside to dry.
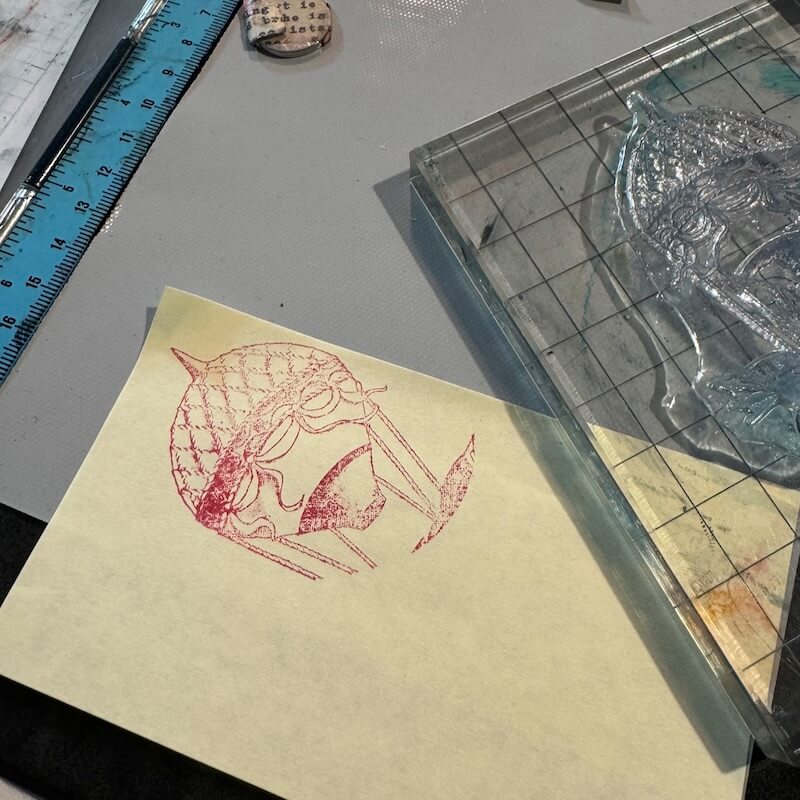
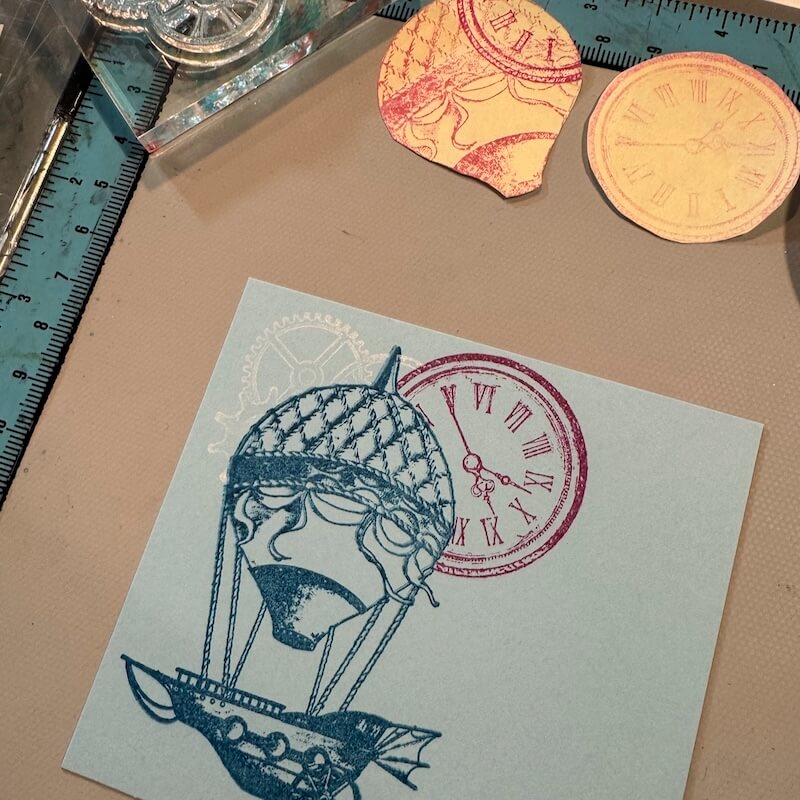
Stamp the small balloon image onto a Lt. Blue panel with Lagoon Ink.
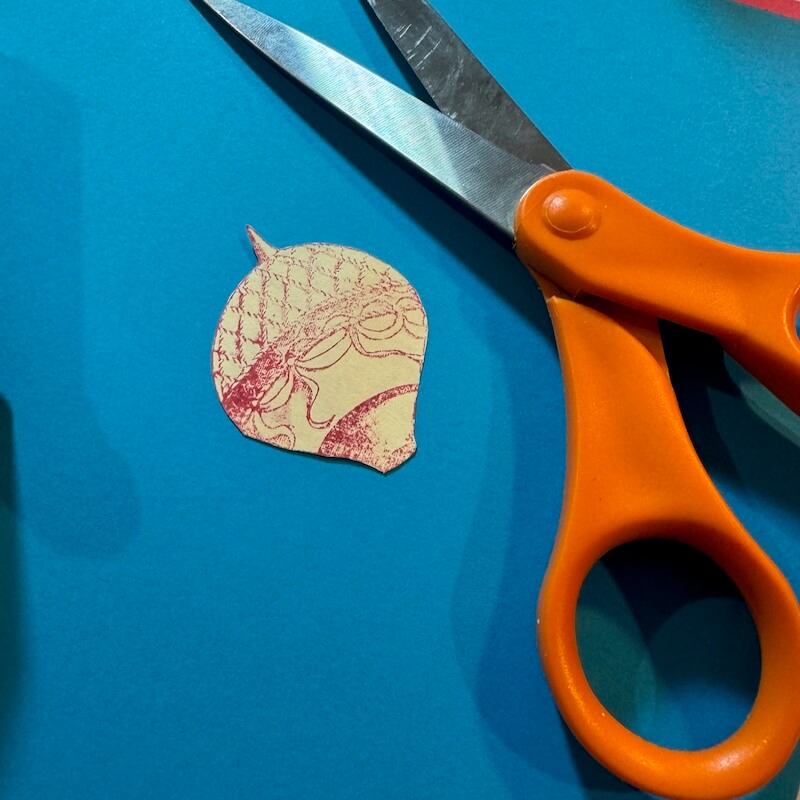
Stamp the same image onto a sticky note, making sure that a portion of the image lands on the end with the adhesive.
Fussy cut the image to create a mask.
Position the mask over the balloon image. Stamp the clock over the masked balloon with Fuchsia Ink.
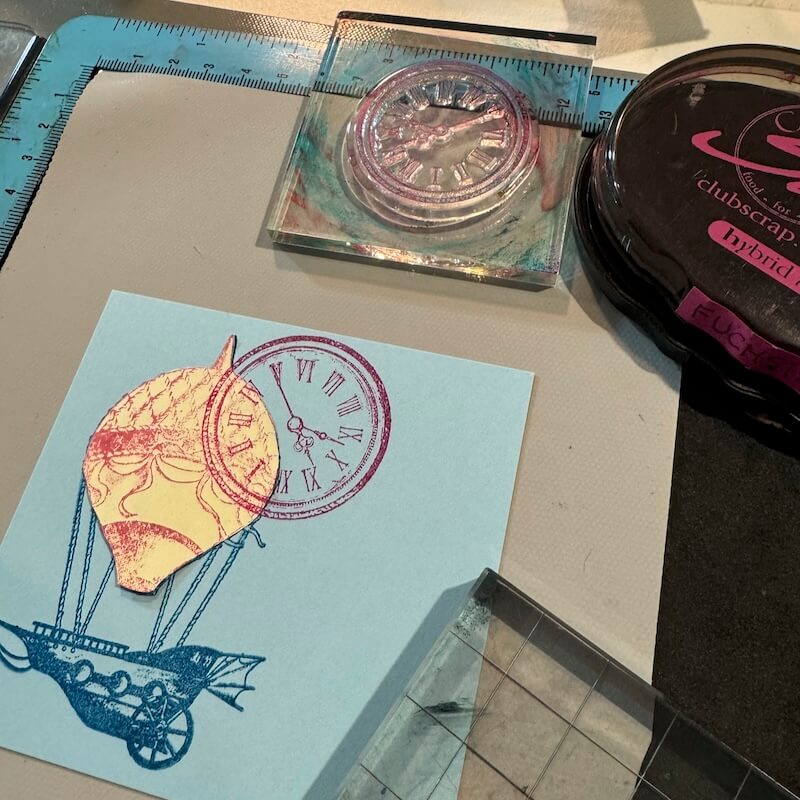
Create a mask for the clock in the same manner as above. Place the clock mask over the image and stamp the gears over the balloon and clock images with White Pigment Ink.
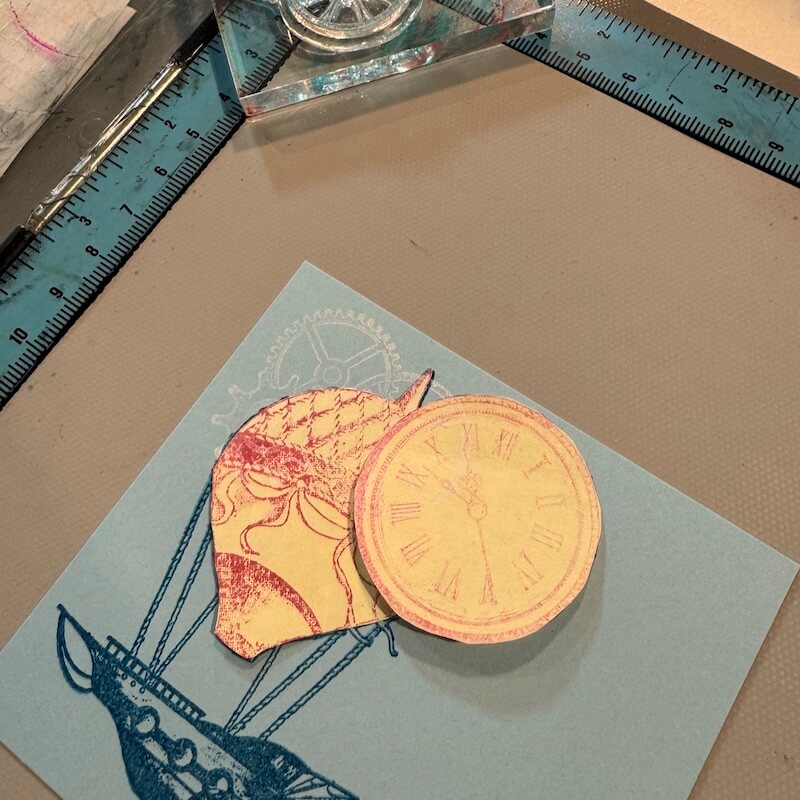
Remove the masks to reveal the collage.
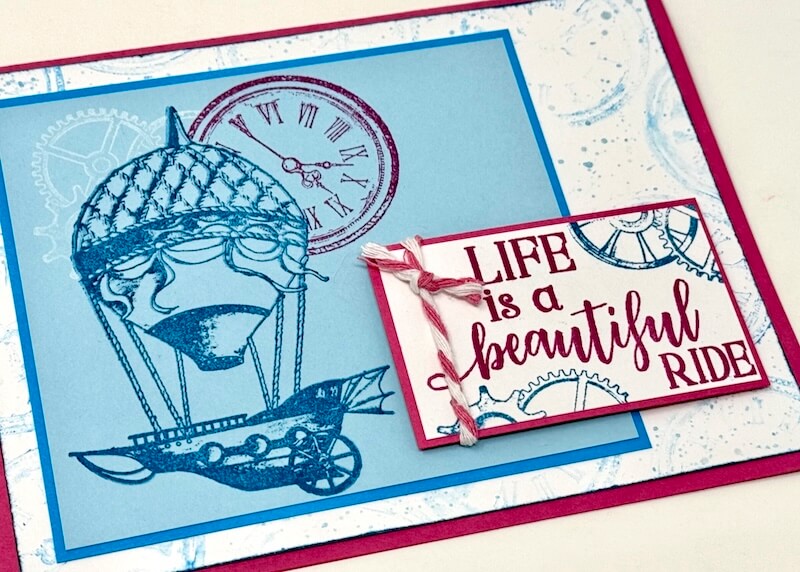
Nest the collaged panel onto a Dk. Blue mat. Adhere to the left side of the now-dry watercolor background panel. Stamp a sentiment (Fuchsia) and gears (Lagoon) onto a white panel. Mat with Lt. Pink. Wrap the nested sentiment with baker's twine.

Apply Foam Adhesive Circles to the back of the sentiment panel and adhere to the front of the card.
I hope you enjoyed this tour of my card samples featuring the Take Flight Stamps. We'd love to see what you're creating with these stamps as well! We invite you to share your finished projects on the Club Scrap Chat Group on Facebook. Not a member of our group? Simply answer a few questions and we'll get your request accepted in no time!
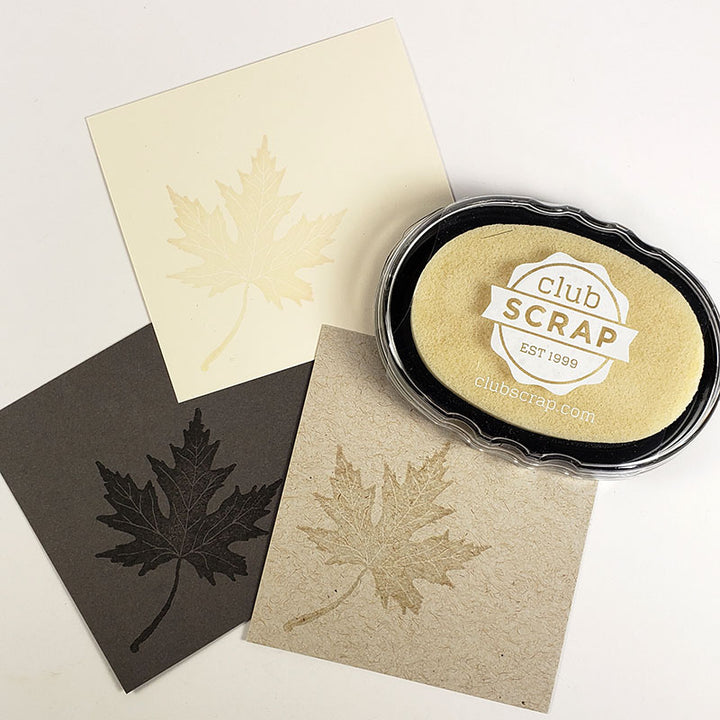
CS Hybrid Ink Pads

$6.35
Exclusively Club Scrap®, this hybrid craft ink combines the most exceptional ingredients of both pigments and dyes for a fine, crisp, fast-drying image! Don't forget to stock up on the coordinating re-inkers. Each ink pad sold separately. Please select the… Read More
India Ink Pad
$7.50
Club Scrap's India Ink is a deep black, super-quick drying dye ink formula for use with watercolors, markers, stamping, scrapbooking and much more. We love how fast it dries so that you can get to work without a smudge!… Read More
White Pigment Ink Pad
$7.20
Club Scrap's pigment craft ink offers an exceptional formula, providing for multi-surface versatility as well as remarkable detail when embossing. The bright white ink loaded into this nice 'n juicy pad will last a long time. Re-inkers also sold separately.… Read More
CS Watermark Ink Pad
$6.40
This clear ink creates a "watermark" effect on all kinds of papers. Ideal for use with embossing powders and for resist techniques. Create watermark or light shadow images on uncoated card stock Use for Batik-like dye ink resist effects on… Read More