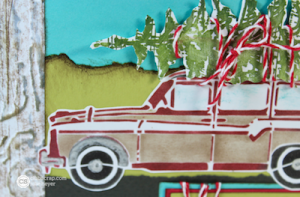
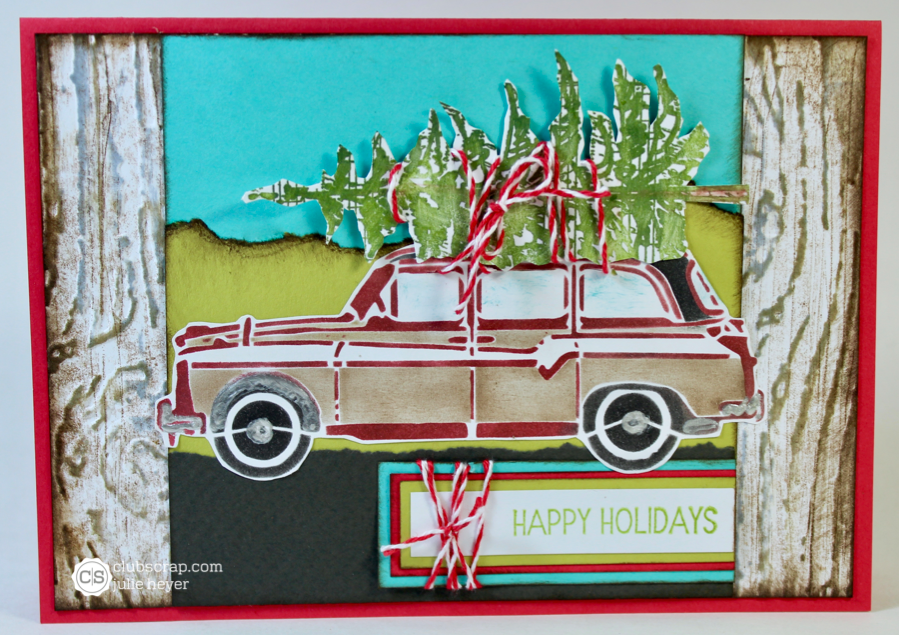
A Christmas tree gets a lift on this adorable stenciled car from the Retreat 2017 What a Ride collection.
Stenciled Car Holiday Card -
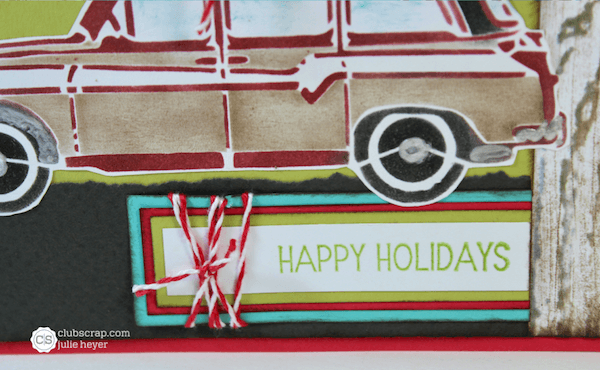
Stencil the What a Ride car image onto white paper with CS® Earth, Ruby and Onyx hybrid inks. Add a hint of color to the windows with a light blue pencil. Add "chrome" bumpers, hub caps and fenders with Platinum Liquid Pearls. Fussy cut the image and set aside.


Stamp the vintage Club Scrap holiday collage onto Scandinavia White paper with a combination of CS® Spruce and Leaf hybrid inks. Add color to the trunk with a brown marker. Fussy cut the tree with scissors making sure to trim off some of the tree branches on the left side of the image.
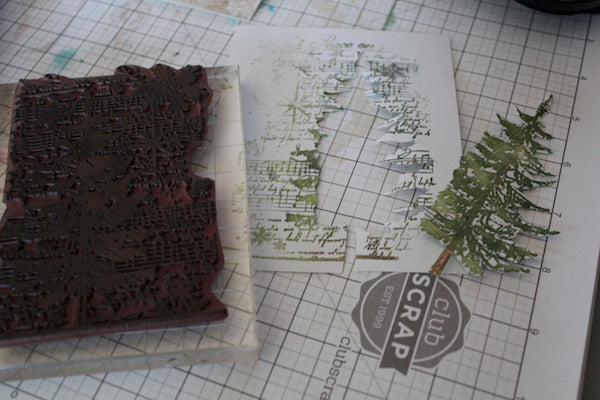
Cover the flat side of an acrylic block with Earth ink. Drag a crumpled piece of paper across the wet ink to create lines. Lay a piece of white paper onto the inked block and burnish. Repeat as many times as needed to create the desired depth of color.

Place the paper into a wood grain embossing folder and emboss. You may need to emboss each end of the paper separately because of its length.

Apply Frayed Burlap and Weathered Wood Distress inks to the raised surface of the embossed paper.

Spritz with water to activate the inks and dry with a heat tool. Trim the panel to 4-3/4x6-3/4" and distress the edges with Earth ink. Adhere to a 5x7" Scandinavia Red folded card base.

Tear the edges of Scandinavia Brown and Green papers to create a road and hillsides. Layer onto Blue for the sky and adhere to the front of the wood grain panel.


Make slits in the car along the tops of the windows with a craft knife and cutting mat.

Cut a 12" length of baker's twine. Insert one end of the twine inside the front window of the car, leaving a 3" tail. Tie the tree onto the roof of the car.


Stamp the Scandinavian Holiday greeting onto a white panel with Leaf ink and layer with coordinating paper panels. Wrap a piece of baker's twine around the sentiment and adhere to the card.

Let's take a look at the completed card.
Visit these posts for more holiday card ideas.
Digital Hybrid Holiday Card with Ron
Shades of Winter Stamped Berries Cards
Watercolor Christmas Stamped Cards
Bokeh Technique Cards with Lisa
Happy Crafting!
 Julie
Julie
