
As I mentioned last week, I'm in love with the Flexi Planner project. I can’t stop making them . . . I've made at least five already!
While scrapping at Silver Birch Ranch, I wondered aloud about using folding board for the covers. Tricia encouraged me to give it a try. The results are gorgeous!

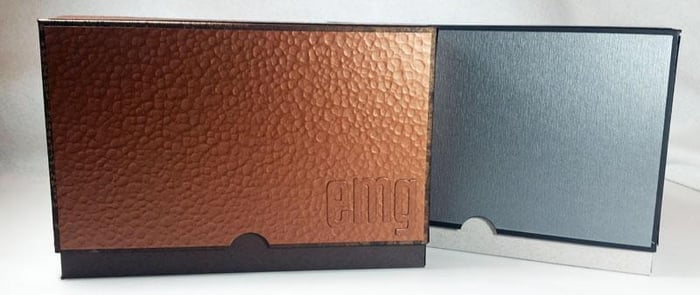
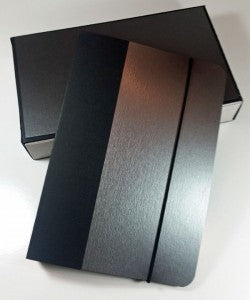
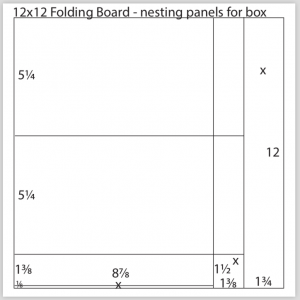
Folding board is available in two colors: Hammered Copper and Brushed Stainless Steel. Tricia was kind enough to sketch out a handy cutting diagram to create the pieces needed to supplement the project kits. You'll need three sheets of folding board per planner project. Instructions and diagrams are available at the bottom of this post.
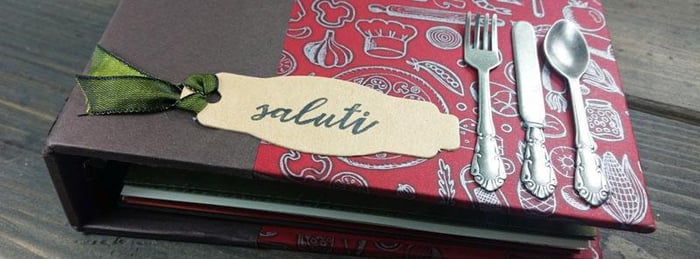
FOLDING BOARD FLEXI PLANNERS
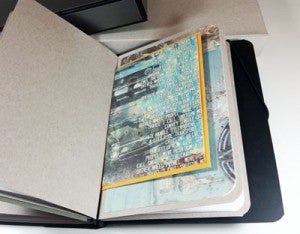
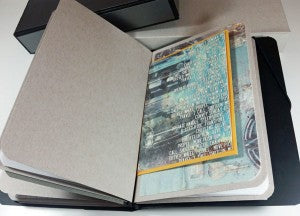
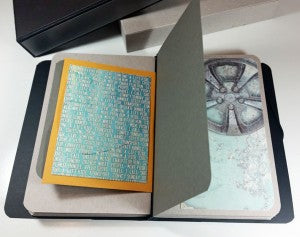
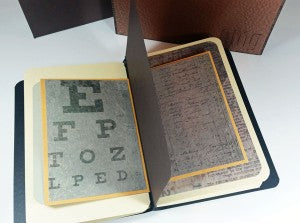
BRUSHED STAINLESS STEEL + COOL TONES PLANNER
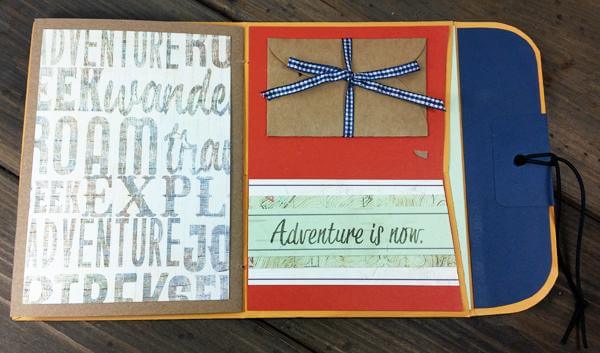
Embellish inside pages with mats trimmed from Creative License 12x12 and 8.5x11 prints.

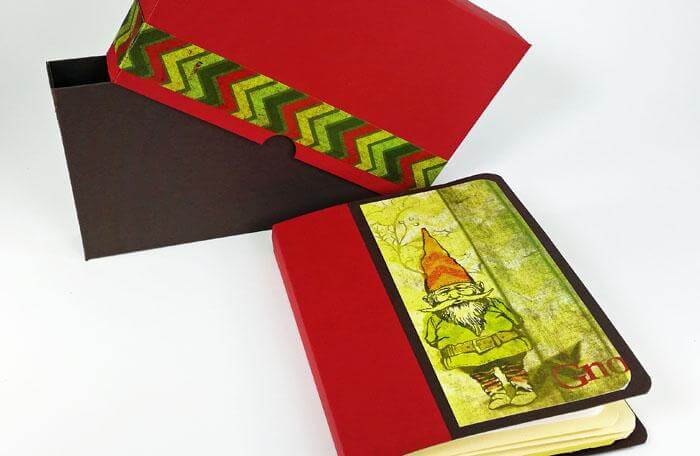
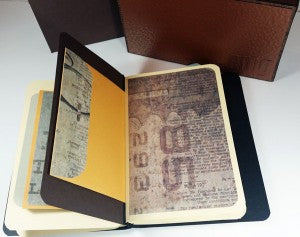
HAMMERED COPPER + WARM TONES PLANNER

Embellish inside pages with mats trimmed from the Nice to See You paper pack.

If you haven't purchased a Flexi Planner yet, I strongly encourage you give it a try. Warning: Making them can be addictive! Just ask my friend Taryn, she's made fourteen so far as holiday gifts!
FOLDING BOARD FLEXI PLANNER INSTRUCTIONS
Gather:
- (3) 12x12 Folding Board
- Flexi Planner kit
- Flexi Planner instructions PDF
Begin by trimming each piece of folding board using the instructions below. Trim one 12x12 Folding board at 10-1/4 and 8-7/8”. Cut the 8-7/8x12 horizontally at 11-7/8, 10-1/2 and 5-1/4”. Trim the 1-3/8x12 horizontally at 10-1/2 and 5-1/4”.
Place one 12x12 Folding board into the trimmer with the grain dipping easily from left to right; cut at 7.25”. Trim the 7.25x12 horizontally at 8.75”. Repeat for a second sheet to create the second cover.

Follow the Trim, Score and Punch instructions from PDF, substituting two folding board outside covers for the outside covers included in the kit. (You can use these pieces for another project, or to further embellish your planner.)
Complete the Planner Assembly instructions. Follow the instructions for Box Assembly. Add folding board nesting panels.
Enjoy!