Create a dozen inventive greeting cards with the Steamworks Card Kit! (Envelopes included!)
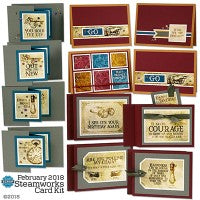
Steamworks Card Kit
SET A
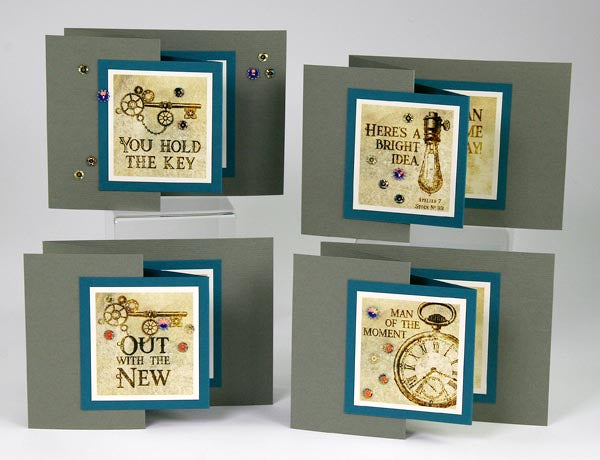
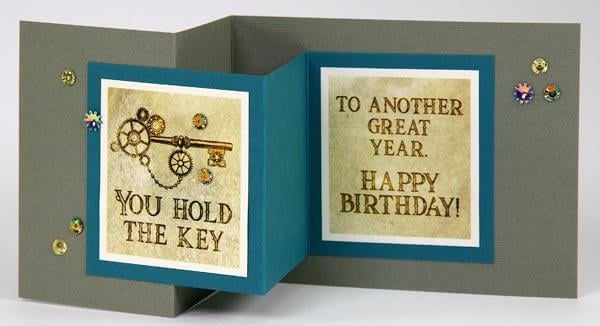
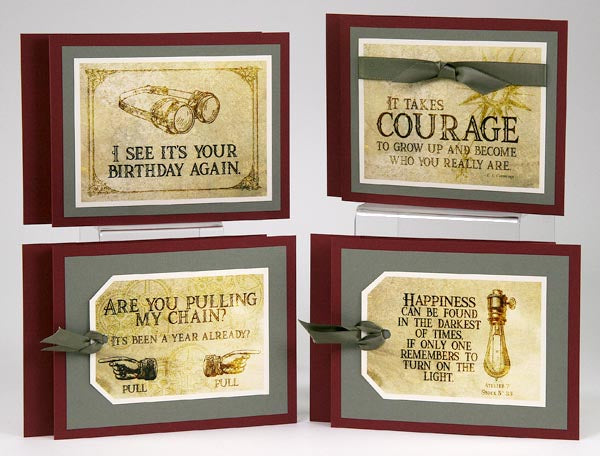
I adore the simplicity of assembly of these double "Z" fold cards. Adhere the back of the tri-folded Teal panel to the center of the Green card base Attach the left edge of top fold of the Teal panel to the front flap of the Green card.(If you purchased the card kit, tune in to my helpful video tutorial for assembly tips!)

SET B
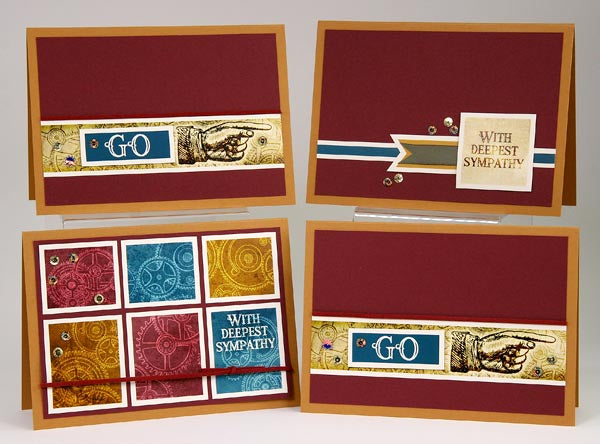
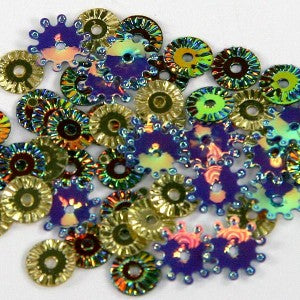
The card kit includes a bag of these adorable "gear" sequins. I thought these were perfect for cards because of their size and low profile. Apply a dot of bookbinding glue to the card and place the sequin onto the glue with tweezers. Set it aside to dry completely.
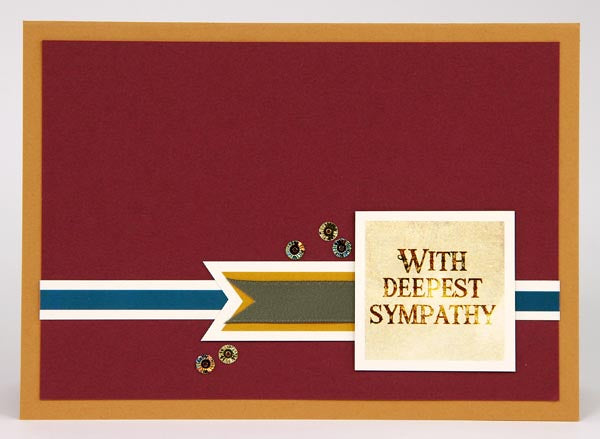
I love how elegant they look when placed near the decorative elements on this sympathy card.
SET C
It seemed appropriate to have some sort of mechanical card structure in the Steamworks kit. If you've never made a "wiper card" before, you'll be surprised by how easy it is! Just follow along with your written and video instructions, and be sure to have one of our grid rulers on hand. The 45-degree angle is used to create a 1/2" triangle on the pop-up panel.

Pull outward on the left and right edges of the card, and the little green panel pops up!
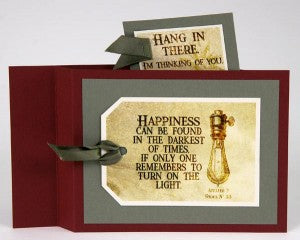
The card lays perfectly flat for mailing with the pop-up hidden between the front and back Brick panels.

If you're a member or have purchased the Steamworks card kit, watch for the link to your video tutorial to be included in your email. It should look like this:

Have fun constructing your cards!
Tricia

P.S. If you're still trying to figure out the latest updates to our club memberships, please don't hesitate to give us a call or send an email. We're happy to help you find the best kit combination for you!
