It's time for some Sprouts Stamps inspiration!
Each month I have the unique opportunity to be the first to work with the stamps. In our design cycle, the stamps are the first item Jacqueline creates, and that is when our final vision for the collection takes hold.
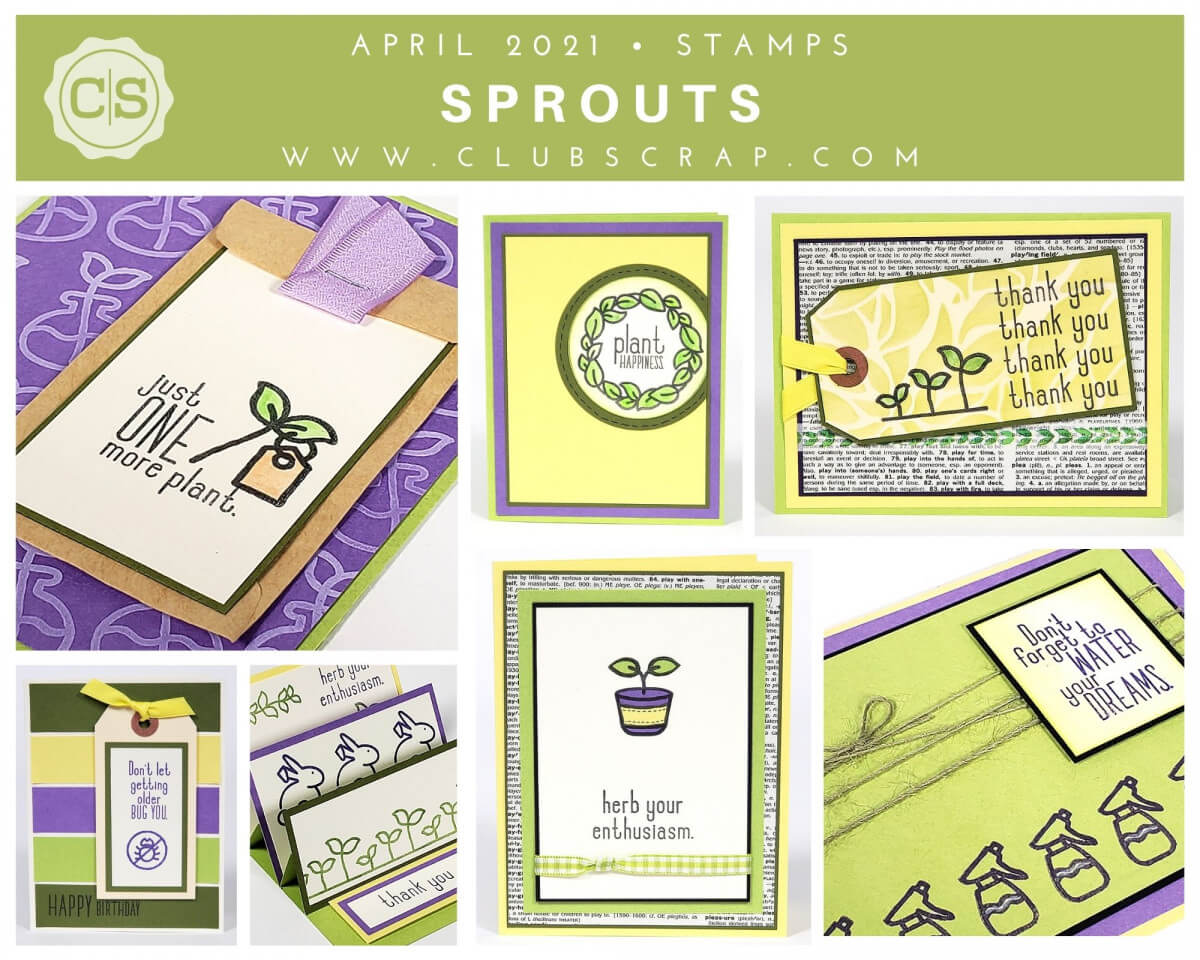
Let's take a closer look at the first cards off the "assembly line." I was just getting warmed up, but I had to move on to other pressing deadlines . . .
Card 1
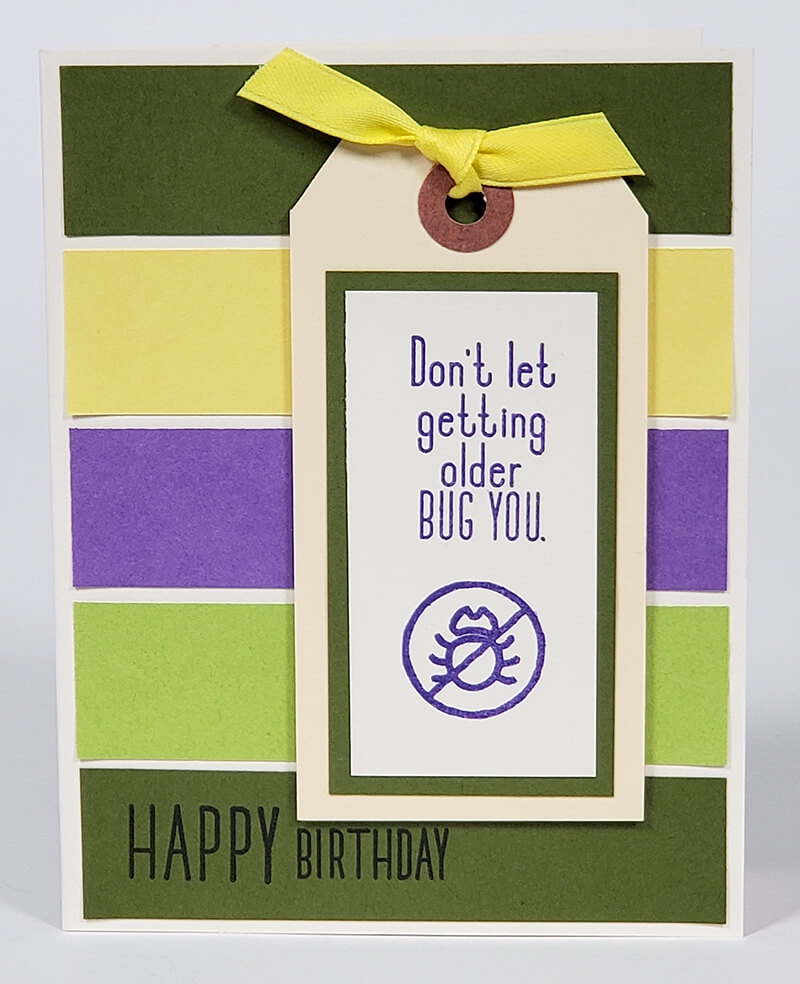
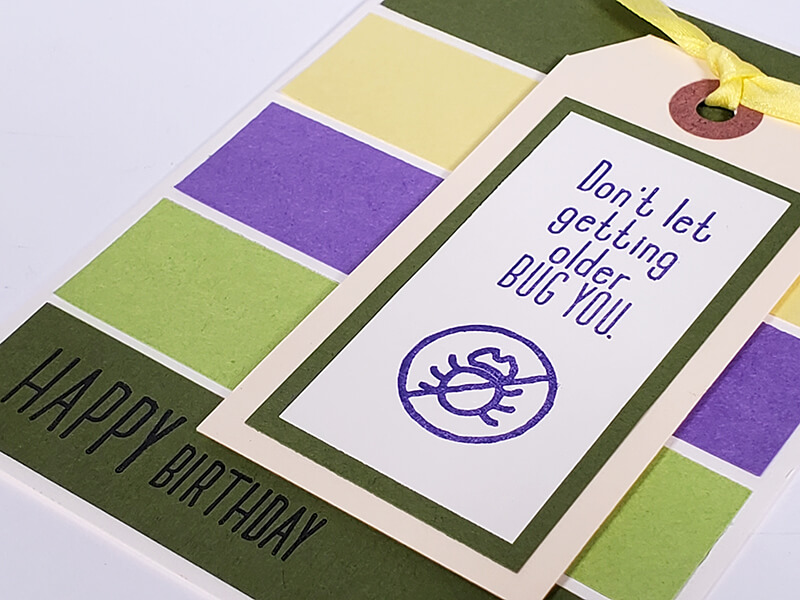
This adorable card background is easy to replicate with a POP (Pack of Panels). Simply cut assorted five 1x4" strips and layer onto a 4.25x5.5" folded card base. Stamp the "happy" and "birthday" sentiments onto the bottom strip with India Black ink. Stamp the bug and sentiment onto a panel with Amethyst Ink and adhere to a manila shipping tag topped with yellow ribbon. Adhere to the card with foam adhesive.
Card 2
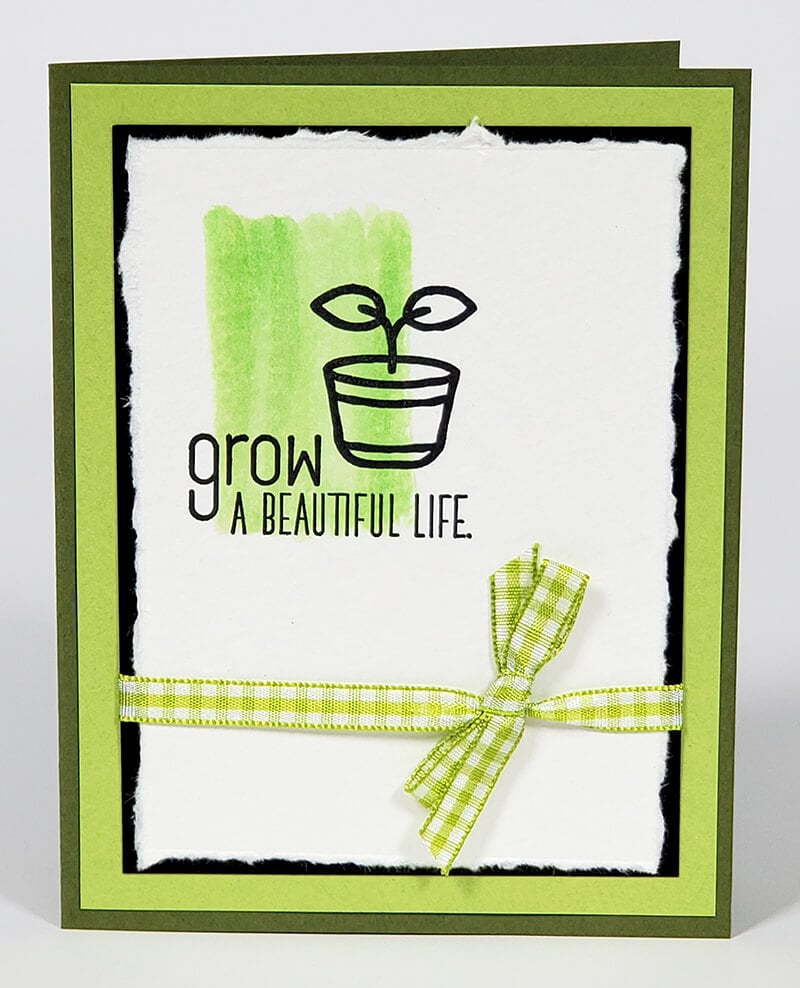
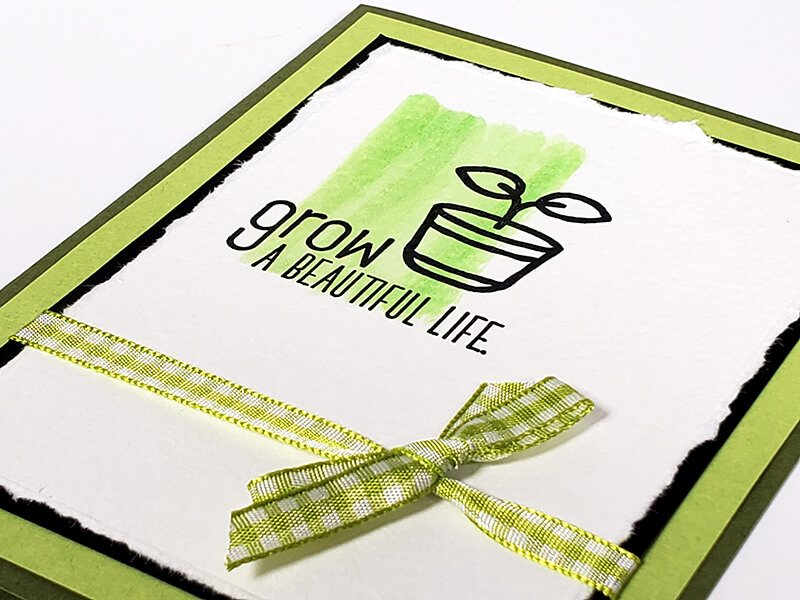
Brush a swath of light green watercolor onto the upper left corner of a watercolor or standard cover weight panel. Tear away the edges with the help of a grid ruler and allow the panel to dry. Stamp the sentiment and image with India Black ink and a positioning tool to achieve a rich, deep impression. Nest the panel onto a black mat, wrap with gingham ribbon, and layer onto a Lt. Green panel and Dk. Green card base.
Card 3
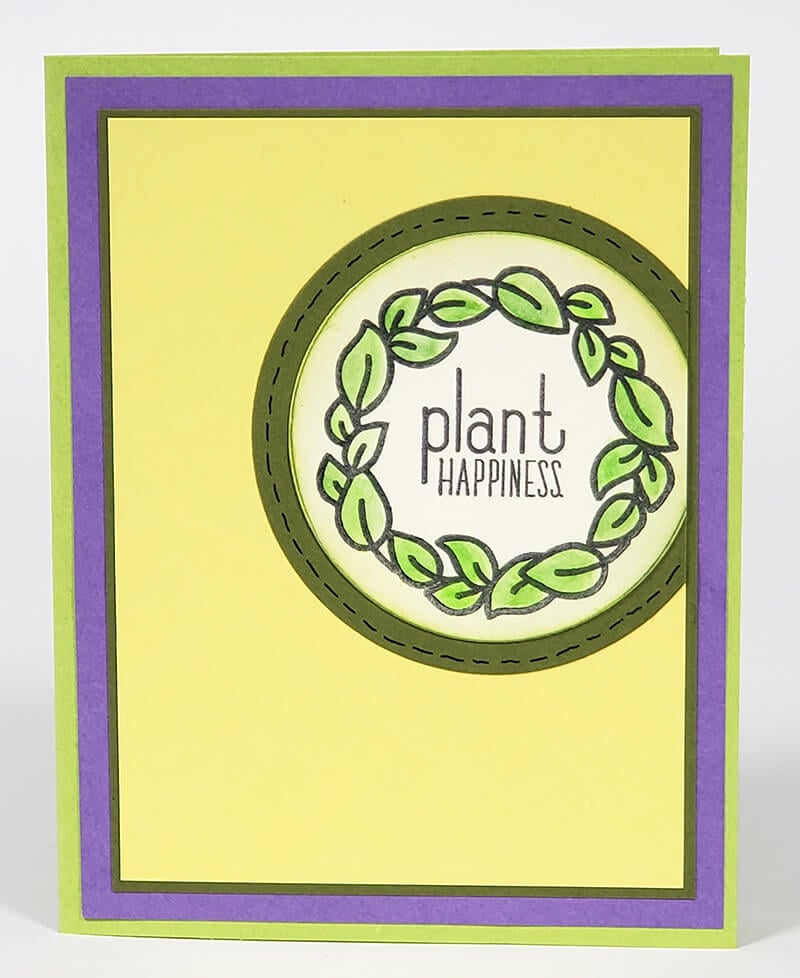
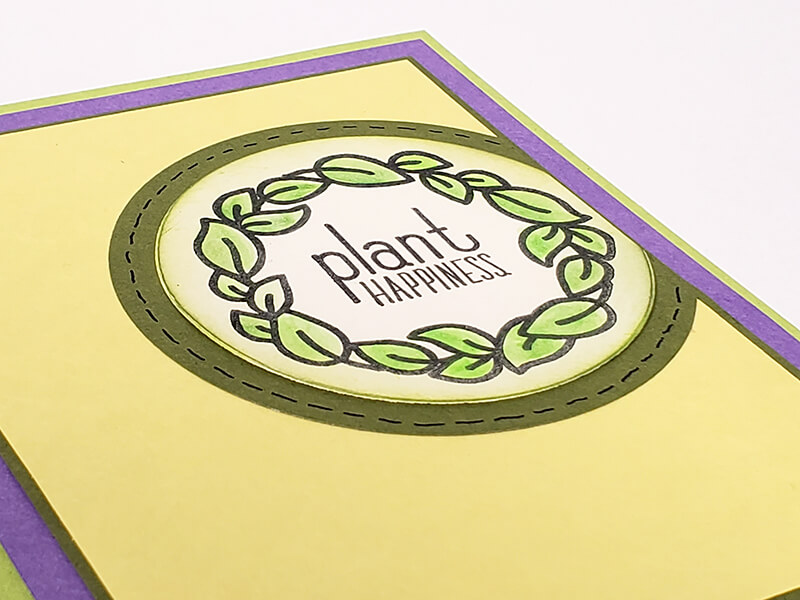
The "plant happiness" text is designed to fit perfectly within the leafy wreath. To create this simple card, stamp the wreath onto an Ivory panel, add the sentiment, and cut with a 2.5" circle die. Color the wreath with colored pencils and layer onto a 2" Dk. Green circle. Add a faux stitching line to the edge of the circle with a black fine-tipped pen. Cut the right edge of the layered circle with a trimmer and position the straight edge onto the right side of one of the card panels.
Card 4
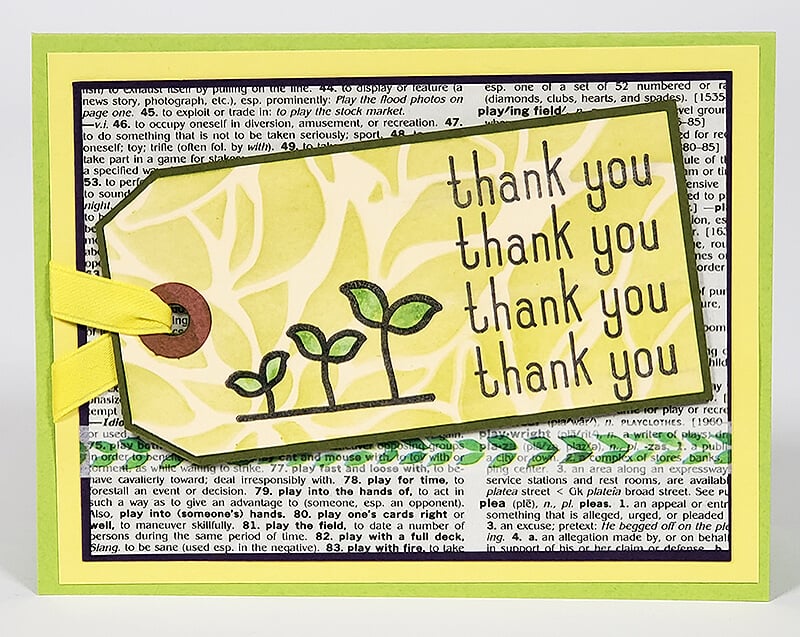
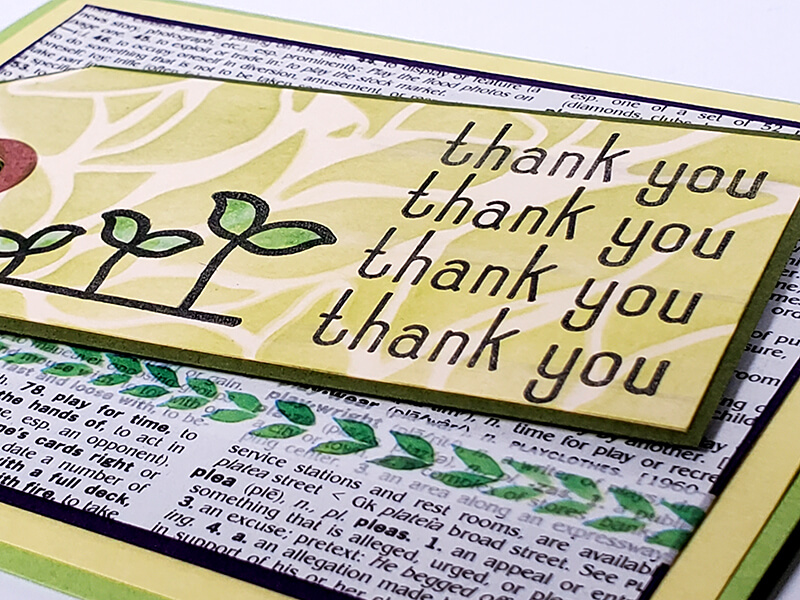
Use the special release Dahlia stencil to add a soft background to a manila tag. Stamp with the triple sprout image and "thank you" sentiments. Up-cycle an old dictionary page for one of the layered panels, and anchor with washi tape. Check out the clever, lump-free ribbon attachment. Simply thread the ribbon through the hole on the tag and wrap the ends around to the back of the card panel.
Card 5
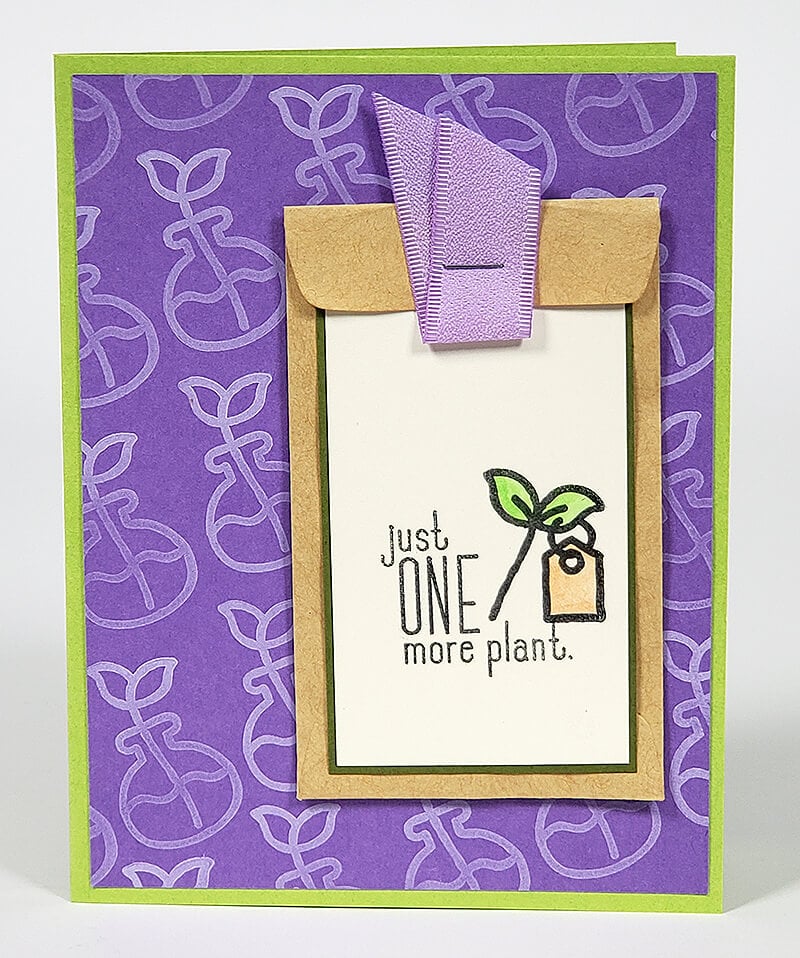
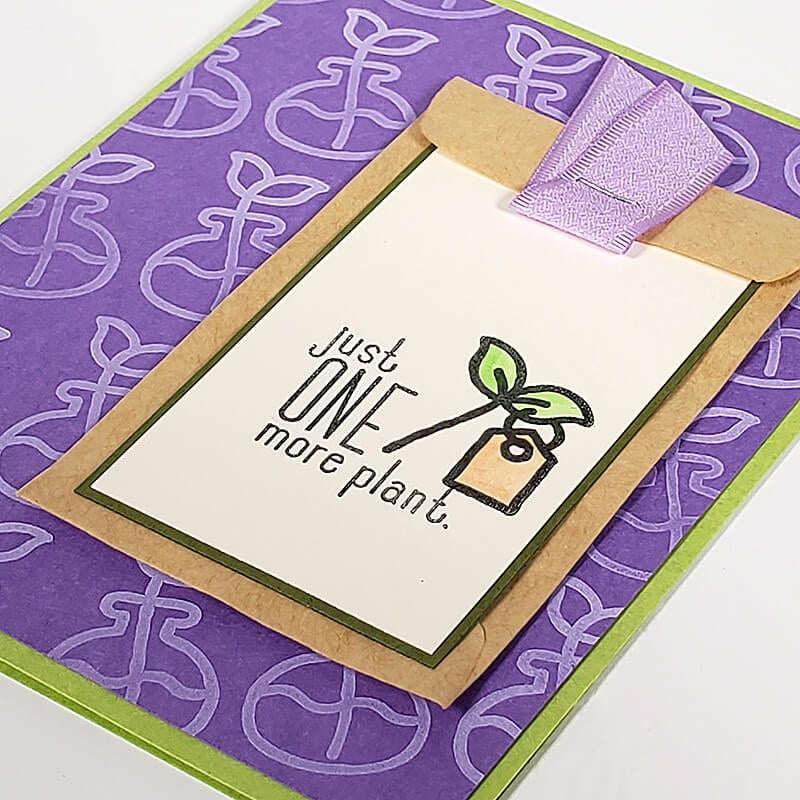
Stamp the sprout/vase image repeatedly onto a Purple panel with white pigment ink. This method works well when images are stamped at an angle, in a staggered, brick-like pattern. Stamp the sentiment and image onto a nested Ivory panel sized to fit onto a Kraft seed packet and staple the flap with ribbon.
Card 6
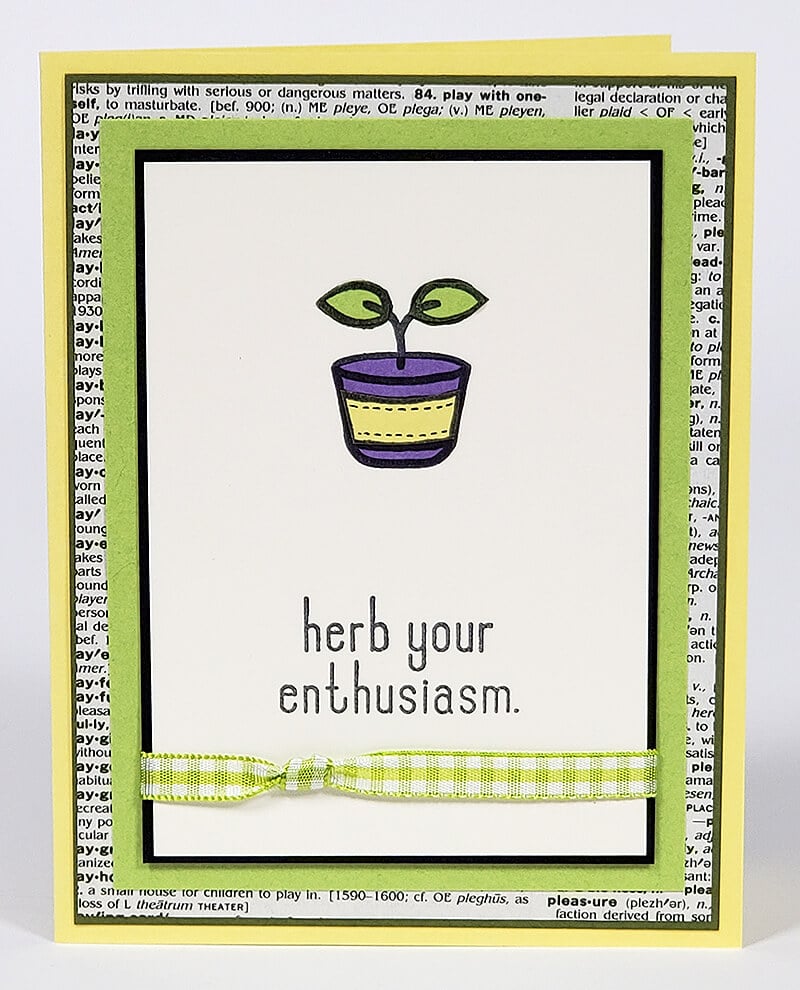
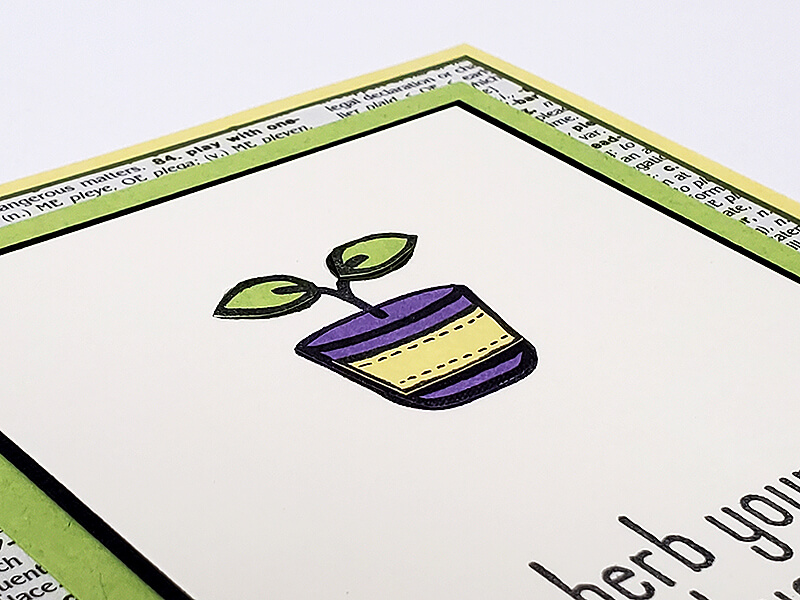
If I'm allowed to choose favorites, this is one of them. So simple and elegant! Simply stamp the flower in pot image onto an Ivory panel with black ink, and then onto a Purple, Lt. Green, and Yellow scrap. Cut each portion of the stamped image from the colored papers and adhere to the card. Add your own stitching lines with a black pen. Tie a simple knot into the gingham ribbon and wrap around the card panel.
Card 7
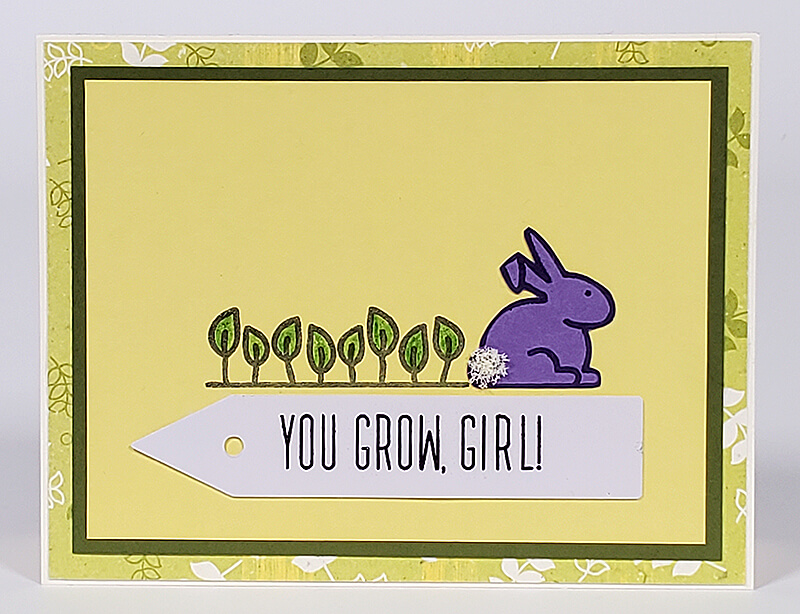
Wait, wait. THIS is my favorite. Just look at that adorable li'l bunny! Stamp onto purple paper and trim the image. Once layered onto the stamped yellow panel, add a small amount of bookbinding glue to the tail and top with cotton, felt, or Flower-Soft. Stamp a sentiment onto the plant tag with Staz-On ink for best results.

Card 8
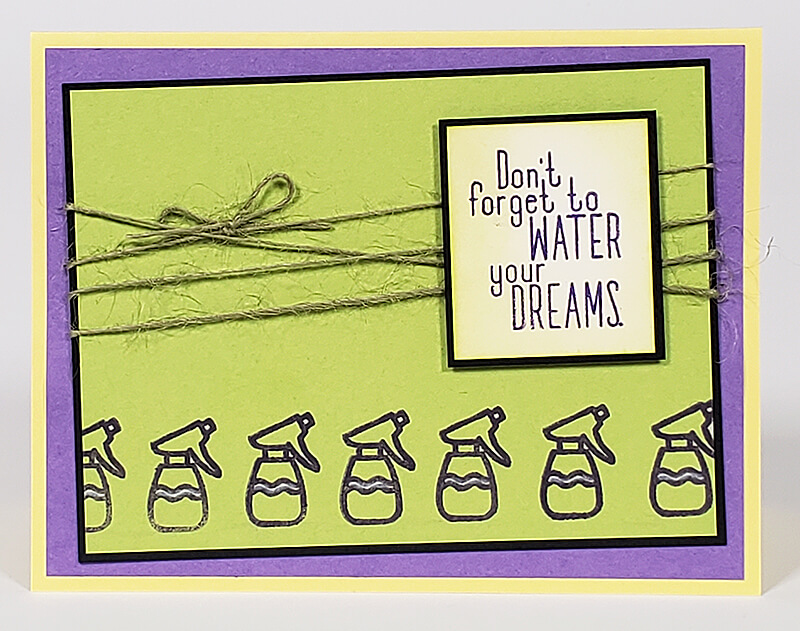
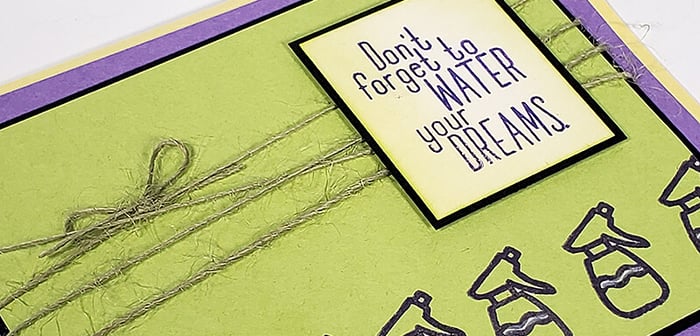
Stamp a row of water spray bottles across the bottom of a Lt. Green panel. Wrap the upper half with several layers of jute and tie end in a small bow. Layer the stamped sentiment over the jute with foam adhesive circles.
Card 9
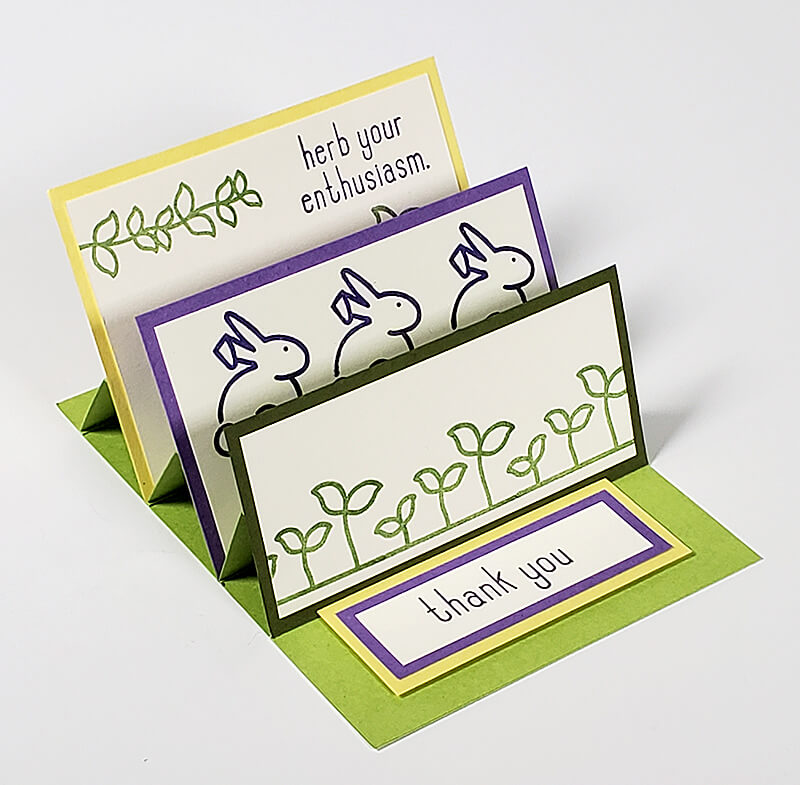
Lastly, this triple easel card was featured in a recent virtual expo. Learn more about how to create a batch of four of these dimensional cards when you watch the video below.
Looking for the stamps or inks used in these cards? Click on the easy shopping links below. Be sure to post your handmade card inspiration on our private Facebook Chat Group. See you there!
Tricia
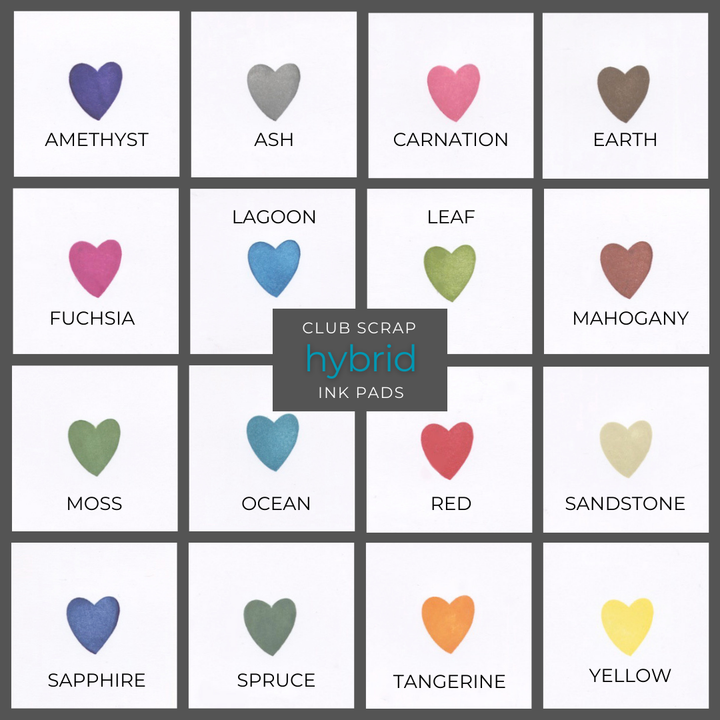
CS Hybrid Ink Pads
$6.35
Exclusively Club Scrap®, this hybrid craft ink combines the most exceptional ingredients of both pigments and dyes for a fine, crisp, fast-drying image! Don't forget to stock up on the coordinating re-inkers. Each ink pad sold separately. Please select the… Read More
