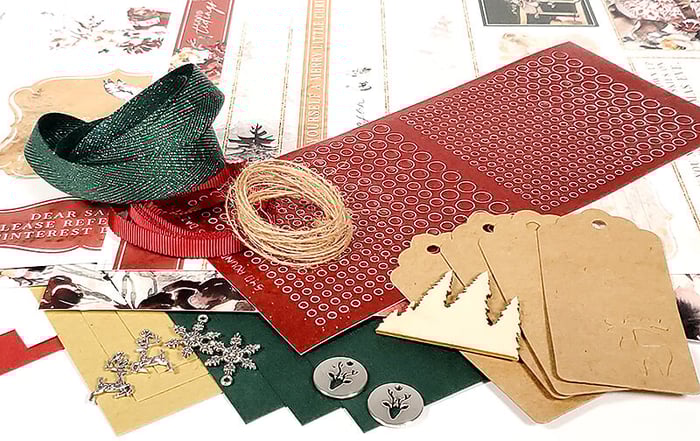
When I first started working with August's Fairytale collection, the images screamed Halloween to me. I sent Tricia a quick text, and next thing you know we’re discussing color combinations, sentiments and embellishments for the new Spellbound collection!
Spellbound Cards
To replicate my Spellbound project, purchase and download Deluxe Card Formula 7. This formula is designed to create twelve cards and two "purses" (or in my case, Trick or Treat bags) using any Club Scrap kit. (Shop Club Scrap's full selection of downloadable card formulas available in the online store.)
Follow the trimming instructions using the following paper assignments: (2) Black Plain - A, (2) Dragon Print - B, (2) Light Orange - C, (2) Dark Orange - D, (2) Purple - E, and (2) Ivory Plain - F.
After cutting all the papers, I tried matching the panels with their card bases per the instructions. It didn't take long before I felt limited by this process. Instead, I combined all of the panels and started from scratch, mixing and matching along the way.
Card 1 & 2
Add texture to the dark orange card base using an embossing folder (Sizzix). Die cut a circle from light orange. Stamp tree image (Falling Leaves) in India ink; ink edges. (It looks like an evil eyeball if you turn it sideways!) Punch a hole into the top of the tag and add purple ribbon. Apply Dazzles dots.
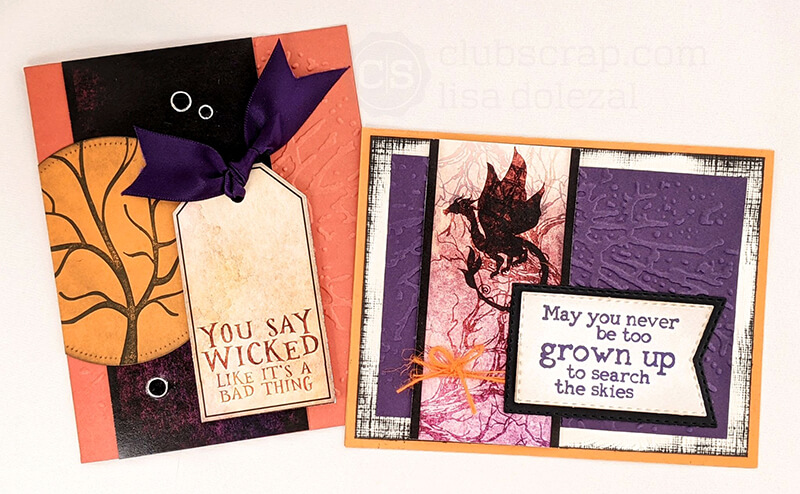
Ink the edges of the ivory panel to highlight the texture. Use a folder to emboss the purple panel. Trim dragon cutapart border strip; wrap with orange twine. Die cut black folding board and stamped sentiment into nesting banner shapes.
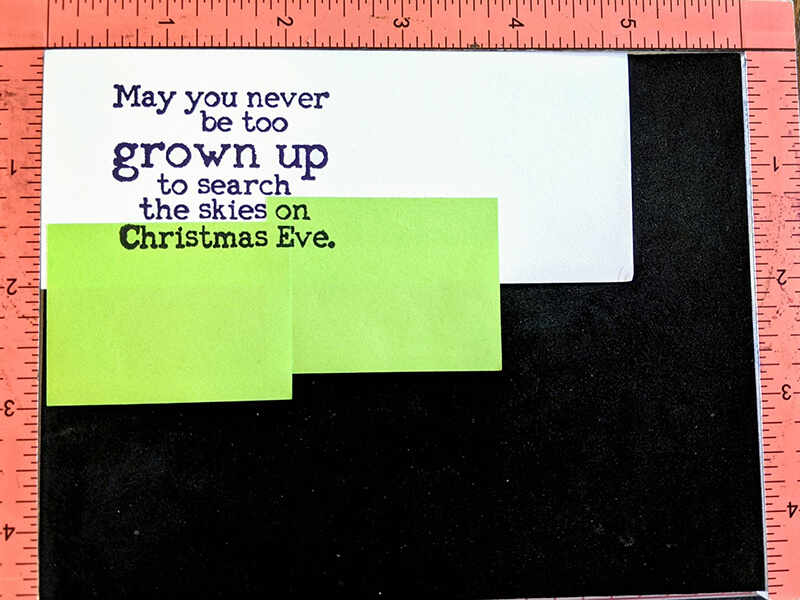
To create a custom sentiment, use sticky notes to carefully mask select areas of the Holiday Mail stamp, as shown below.
Card 3 & 4
To create interesting backgrounds, spray several purple panels with Krylon Webbing spray.

To "age" the ivory panel on the left, apply Onyx ink using an ink applicator brush. Top with a purple "webbed" panel. Distress the edges of the cutapart sentiment; adhere using foam adhesive for dimension. Trim paper and ribbon scraps into banner shapes. Add Dazzle stickers.
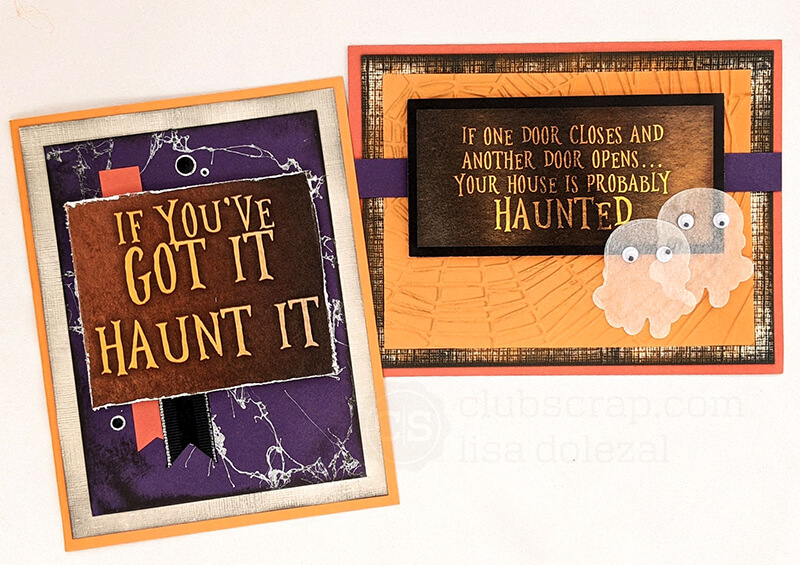
For the card on the right, ink the ivory texture panel using a blend of Earth, Onyx and Tangerine inks. Emboss the light orange panel with spider web folder (Cuttlebug). Die cut ghosts from glassine envelopes and adhere googly eyes for a fun touch.
Card 5 & 6
Use a Corner Chomper to round the corners of a "webbed" purple panel. Mat with ivory plain. Apply Dazzle dots to a light orange strip. Use a circle die to trim the cutapart and top with a glassine die cut ghost (see above).
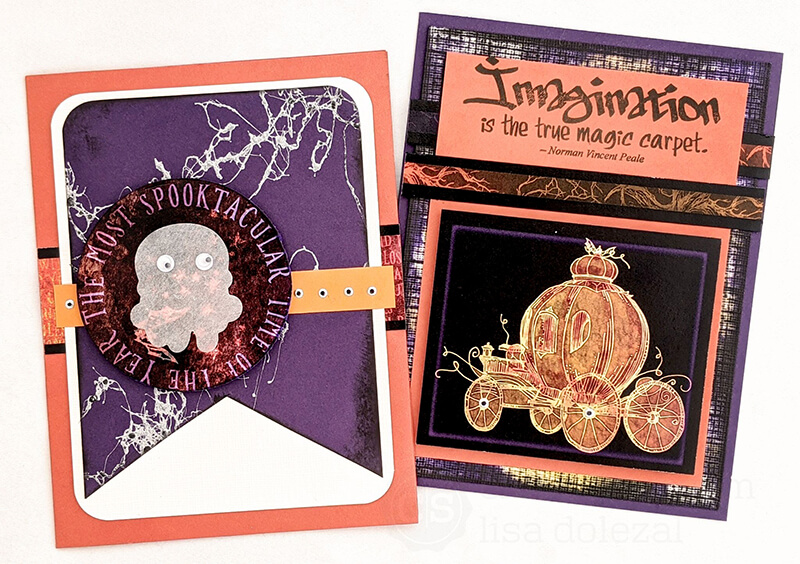
On the right, ink an ivory panel with a blend of Onyx, Yellow, and Amethyst inks. Stamp sentiment onto the dark orange panel using India ink (Graffiti). Add Dazzle dots to the wheels of the pumpkin carriage cutapart.
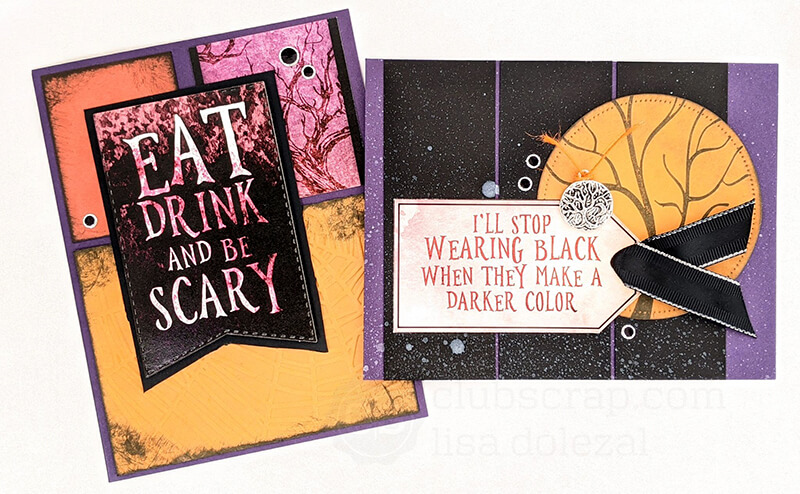
Card 7 & 8
To create the background panel on the left, apply Onyx ink to highlight the texture. Spritz with Cantaloupe Stipple Mist and let dry.
Use an embossing folder to add texture to the purple panel. Die cut the light orange panel into a banner shape. Tie black ribbon to the top of the dragon cutapart strip, matted with black. Add an orange twine bow to top of the silver dragon charm and adhere using CS® Bookbinding Glue.
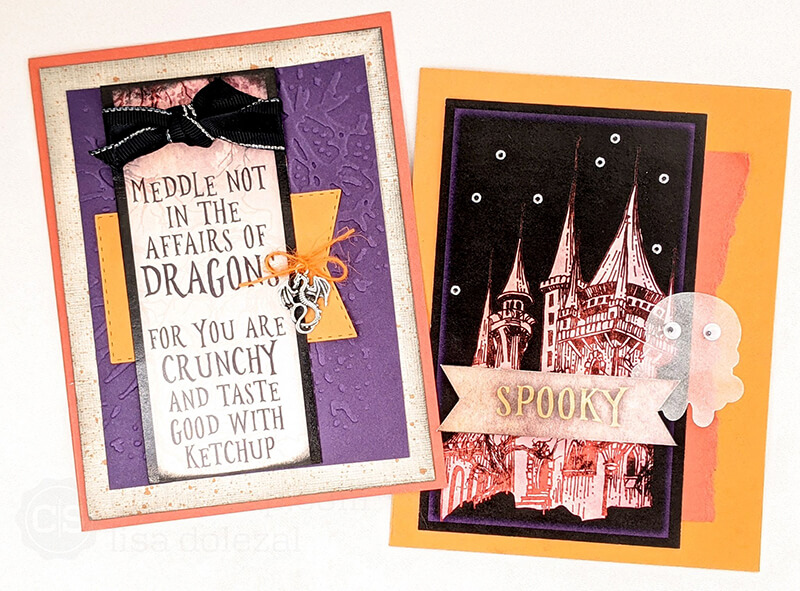
Tear edge of the dark orange panel and tuck behind castle cutapart. Use scissors to cut notches in both ends of the "spooky" cutapart sentiment; adhere with dimensional foam adhesive. Top with die cut glassine ghost. Apply Dazzles to create a "starry night" effect.
Card 9 & 10
Trim one yellow panel to 3x4" and add texture with an embossing folder. Trim one black and one dark orange 1.75x2.25" panel; ink edges in black. Use a nesting banner die to trim the cutapart sentiment and folding board mat. Add Dazzles stickers.
Adhere three black strips to the card base and spray with Opaque White Stipple Mist. Use a die to cut a light orange circle; stamp with Falling Leaves tree image. Punch a hole into the cutapart tag; thread with black ribbon. Adhere tree charm using Bookbinding Glue. Apply Dazzles as a finishing touch.
Card 11 & 12
Cut two triangles from the dark orange panels; add texture using an embossing folder. Highlight the edges and raised areas using Onyx ink. Tie black ribbon onto the left edge of the die cut sentiment. Top with silver dragon charm.
For the card on the right, spritz the yellow card base with Slate Stipple Mist.
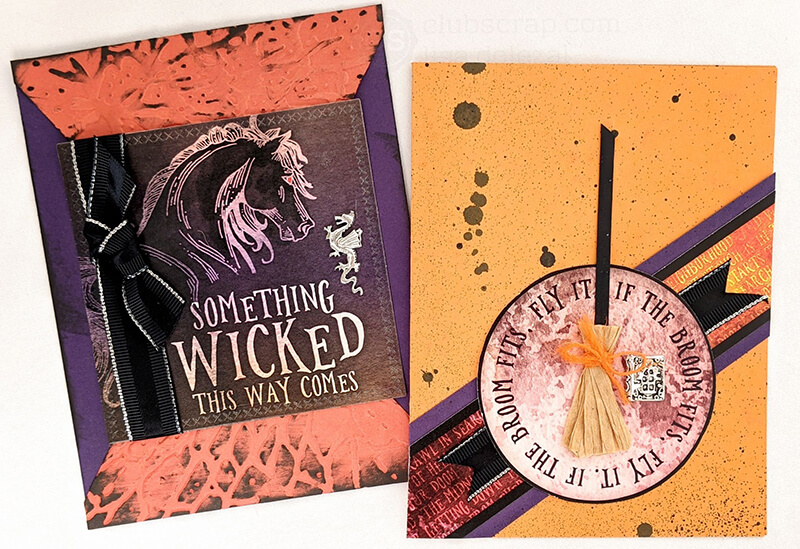
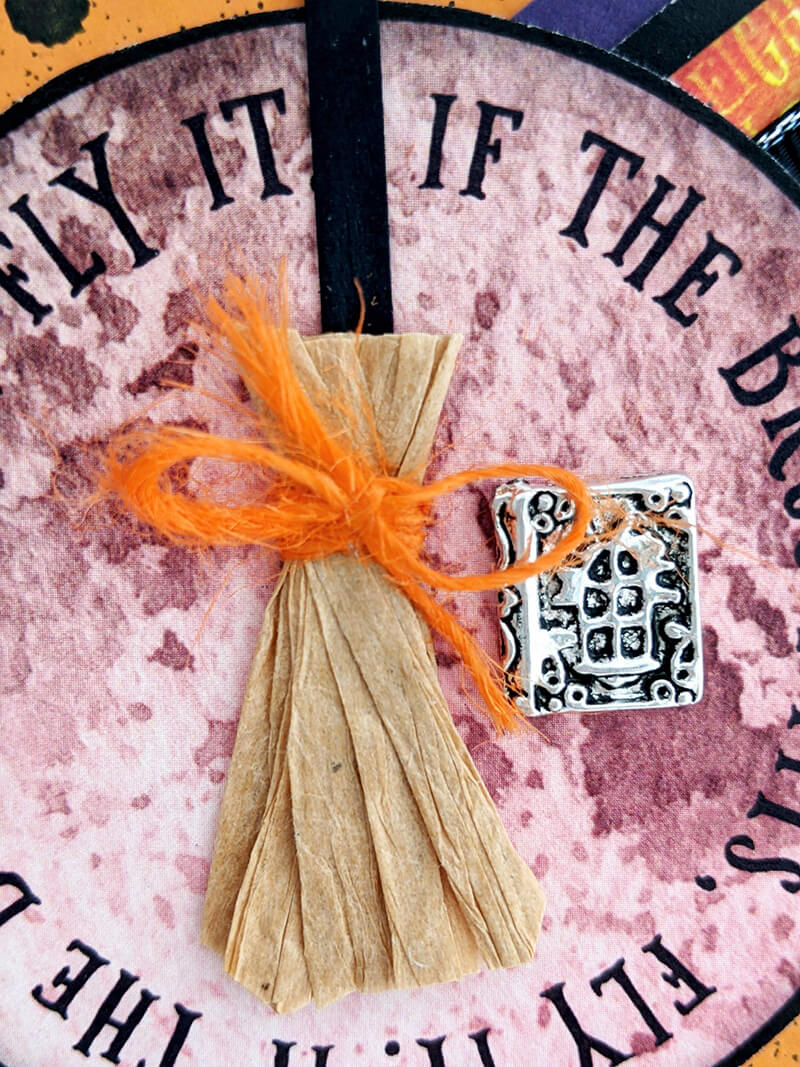
To create broom embellishment: Tie a bundle of raffia with twine; trim ends. Use Bookbinding Glue to adhere a strip of black folding board to the back of the raffia bundle. Attach the broom embellishment and charm to the cutapart sentiment.
Spellbound Treat Bags
Follow the instructions download to assemble the treat bags (aka: purses) using the remaining papers.

It's been such an honor to be a part of this collection. I can't wait to see what you create using the Spellbound Page kit!
Deluxe Card Formula 7
$5.50
Transform any card kit into a pair of gift purses with handles and twelve 4.25 x 5.5" cards. The formula requires a total of eleven sheets of 12×12" paper. Makes a great gift for your favorite hostess, teacher or college… Read More
CS Hybrid Ink Pads

$6.35
Exclusively Club Scrap®, this hybrid craft ink combines the most exceptional ingredients of both pigments and dyes for a fine, crisp, fast-drying image! Don't forget to stock up on the coordinating re-inkers. Each ink pad sold separately. Please select the… Read More
CS Hybrid Ink Pads
$6.35
Exclusively Club Scrap®, this hybrid craft ink combines the most exceptional ingredients of both pigments and dyes for a fine, crisp, fast-drying image! Don't forget to stock up on the coordinating re-inkers. Each ink pad sold separately. Please select the… Read More
Ink Applicator Brush
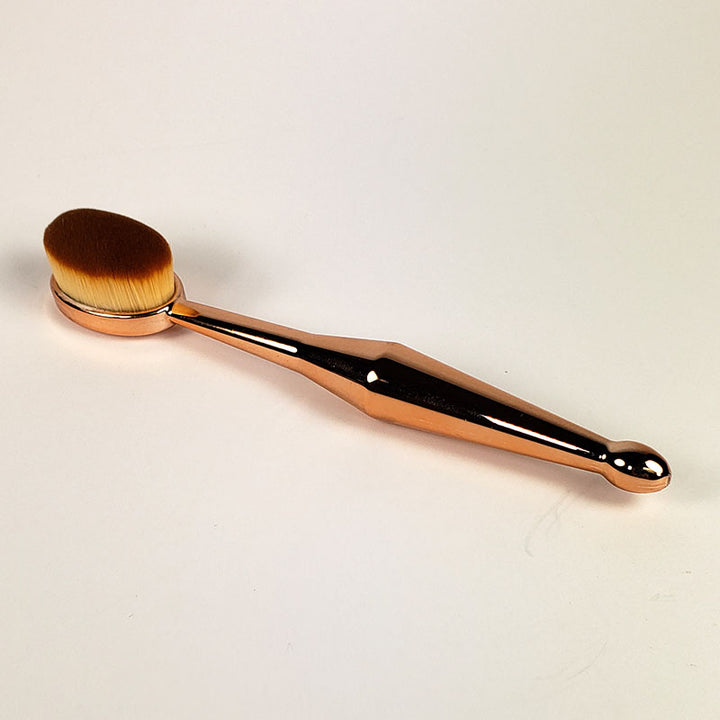
$5.50
Apply and blend inks quickly and easily with this fine-bristled brush. Pair with our hybrid inks and stencils to achieve soft, beautiful results! Features: Measures 5.75" overall 1.5" oval brush head on a 4.25" rose-gold handle Collect one for each… Read More