
Create gorgeous holiday cards with the Woodland Christmas Stamps. I had fun experimenting with some classic techniques while playing with this stamp set.
Woodland Christmas Stamps

The artwork in this collection takes us back to nature in a fun and fanciful way. Don't you love the reindeer wearing a sweater? How cute is that?!
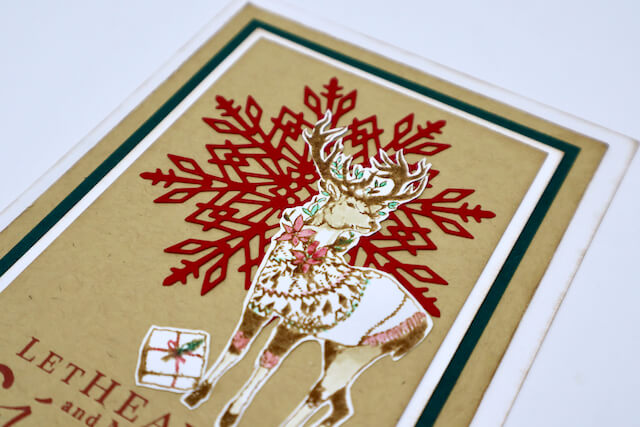
Card 1
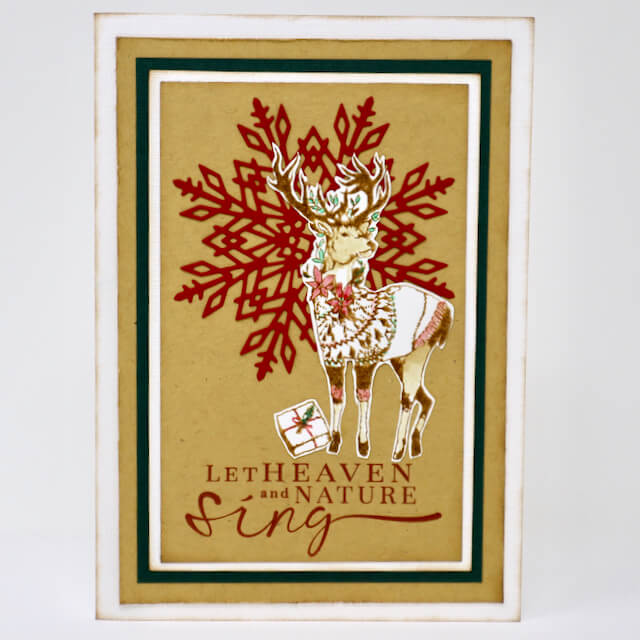
Add Gathered Twigs Distress Ink to the reindeer image. Spritz lightly with water and stamp on water color paper. Apply red and green details with a water brush and coordinating Distress Ink colors (Festive Berries and Rustic Wilderness). Repeat with the small gift image. Fussy cut and add them to the front of the card paired with a die cut red snowflake.
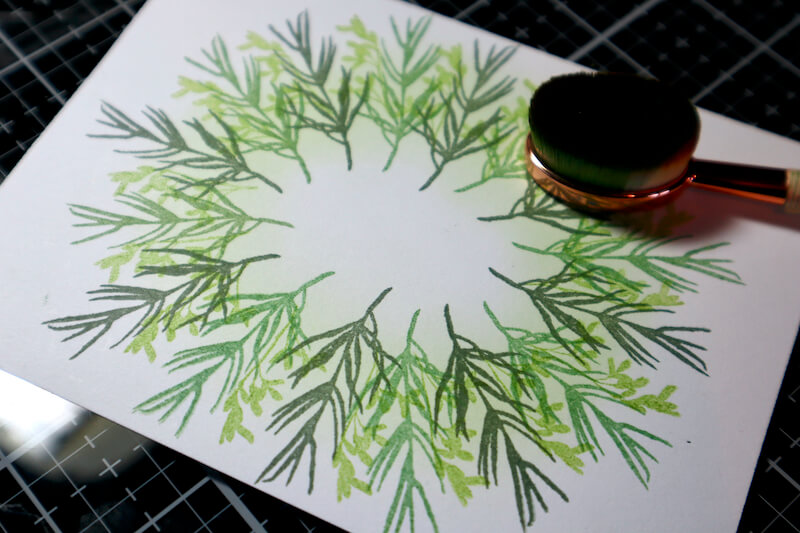
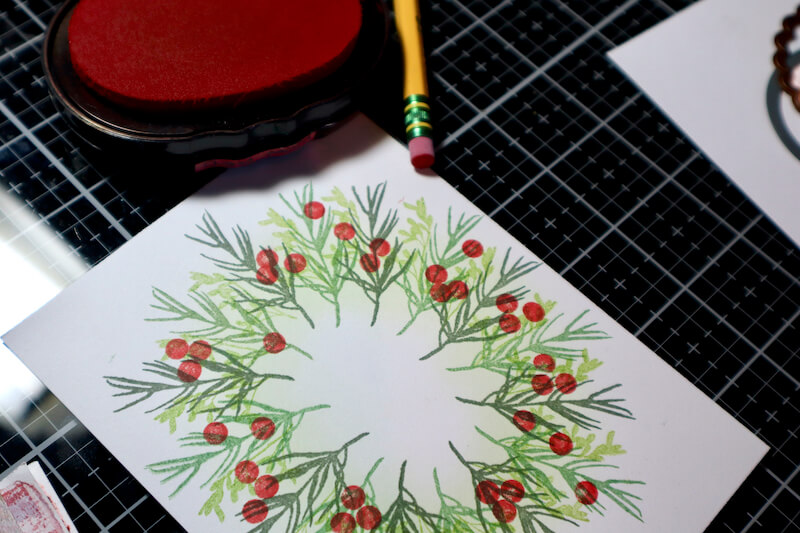
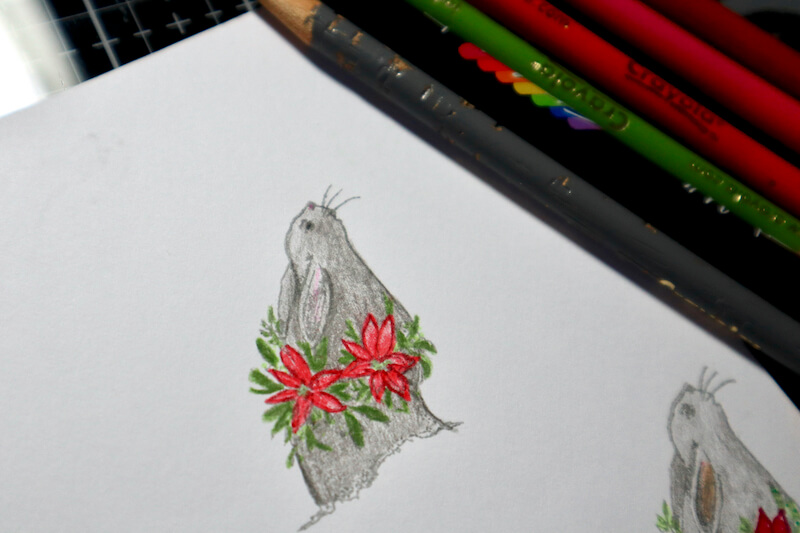
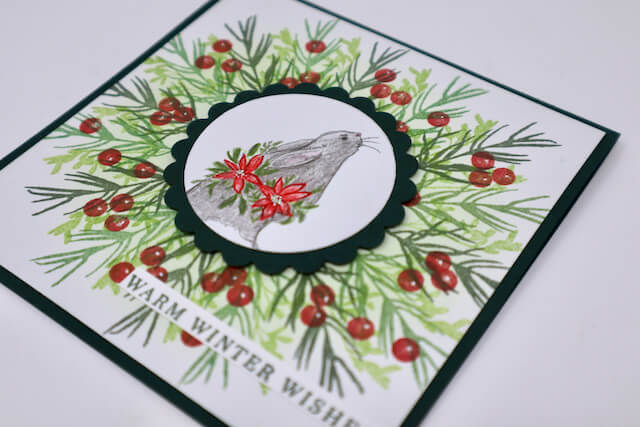
Card 2

Stamp the bough and branch images with Spruce, Moss, and Leaf Inks to form a wreath shape.
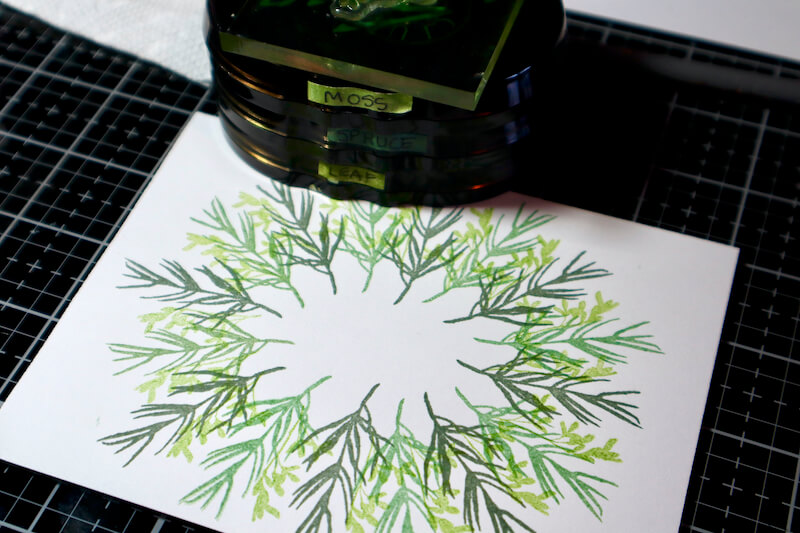
Apply additional color to the wreath with an Ink Applicator Brush.
Stamp the berries with a pencil eraser and Red Ink. Create a highlight on each berry with a white gel pen.
Stamp the adorable bunny on white paper with Ash Ink. Add details with colored pencils. Die cut and add to the front of the card paired with a stamped sentiment.
Card 3
Apply Lagoon ink to a white panel with an Ink Applicator Brush. Add Rustic Wilderness Distress Ink to the pine tree images and spritz with water. Stamp the image several times over the background to create a hillside scene. Die cut a large snowflake and remove it from a second white panel. Adhere foam adhesive circles to the back of the panel and lay the snowflake opening over the stamped scenery.
Card 4
Adhere the tree image to a stamping platform. Add Spruce Ink to the tree above the bow and stamp on a white panel. Open the platform and add Ash Ink to the bottom portion of the image. Add details to the remaining areas with colored pencils. I was inspired by a card I saw on Pinterest and couldn't wait to recreate it.
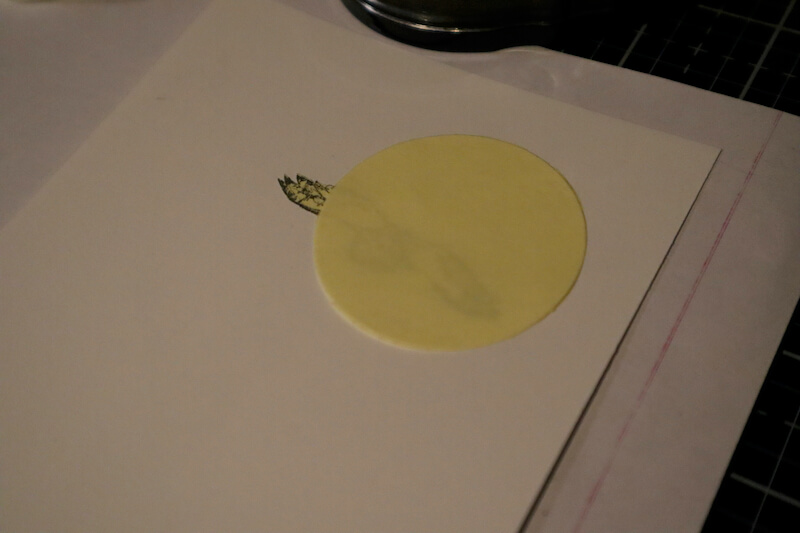
Card 5
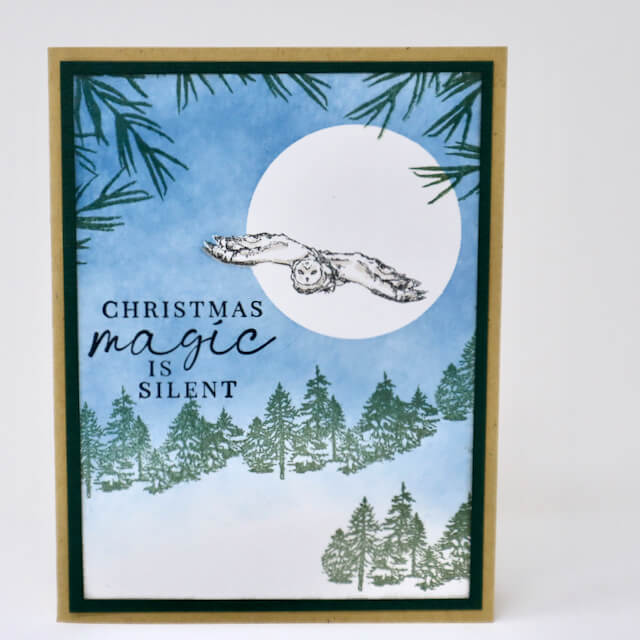
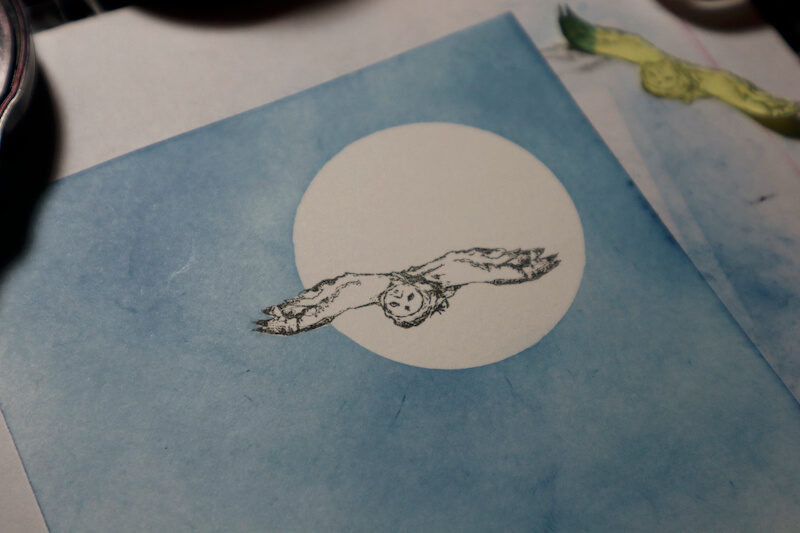
Add the owl image to a white panel in India Ink. Stamp the owl on a Post-It note and fussy cut to create a mask. Lay the mask over the stamped owl. Cover it with a piece of Post-It Note paper trimmed into a circle.
Apply Sapphire Ink over the owl and circle masks with an Ink Applicator Brush. Leave an area of white space at the bottom of the panel.
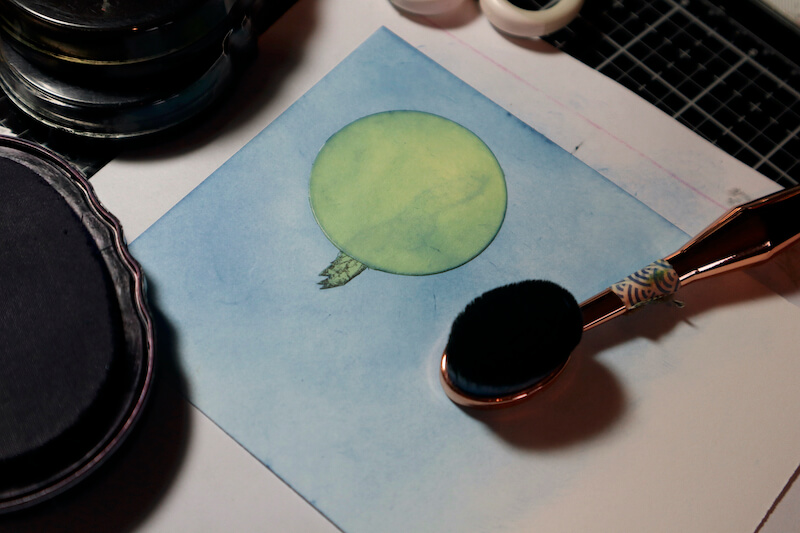
Remove the masks to reveal the image.
Add the pine trees to the bottom of the panel with Spruce Ink and a sentiment in India Ink.

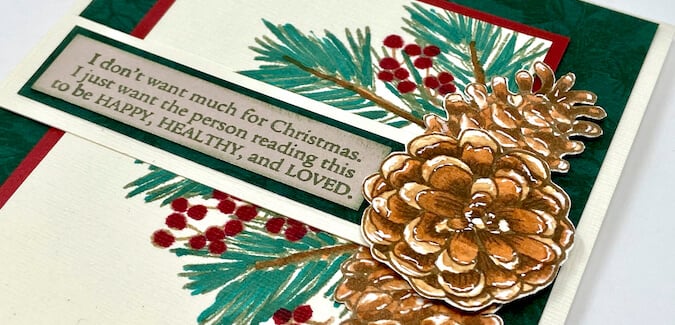
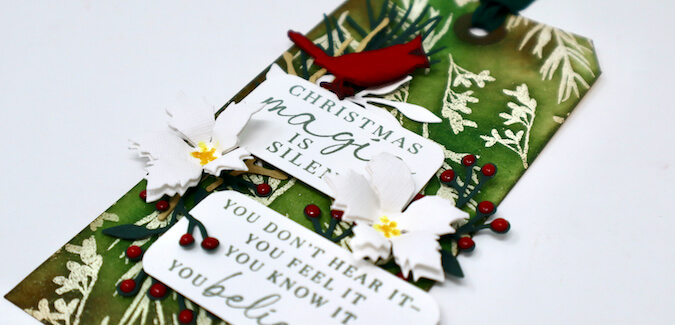
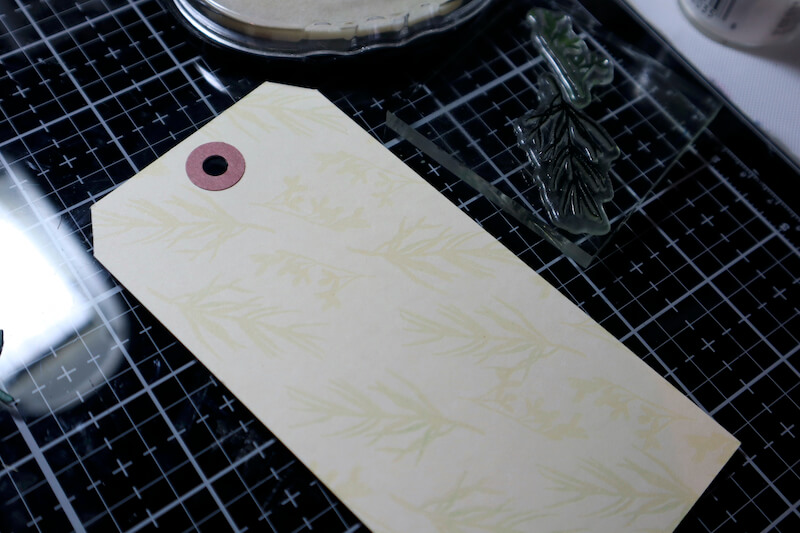
Jumbo Tag
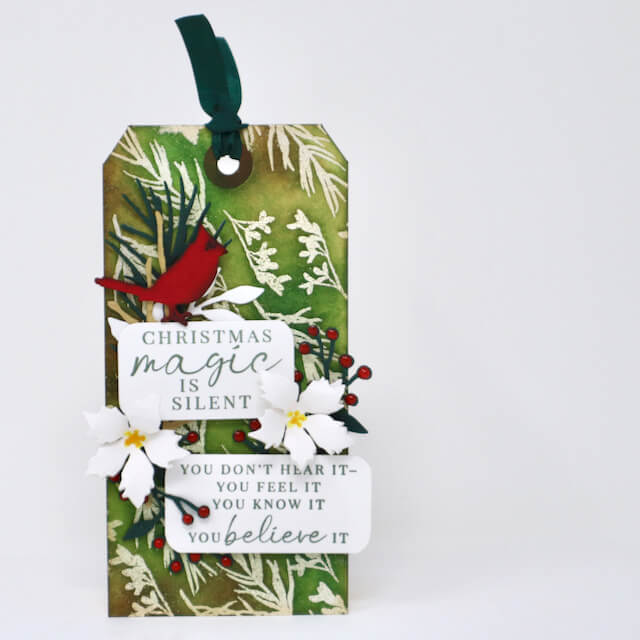
Add the bough and branches images to a jumbo manila tag with clear embossing ink.
Cover the wet ink with white embossing powder.
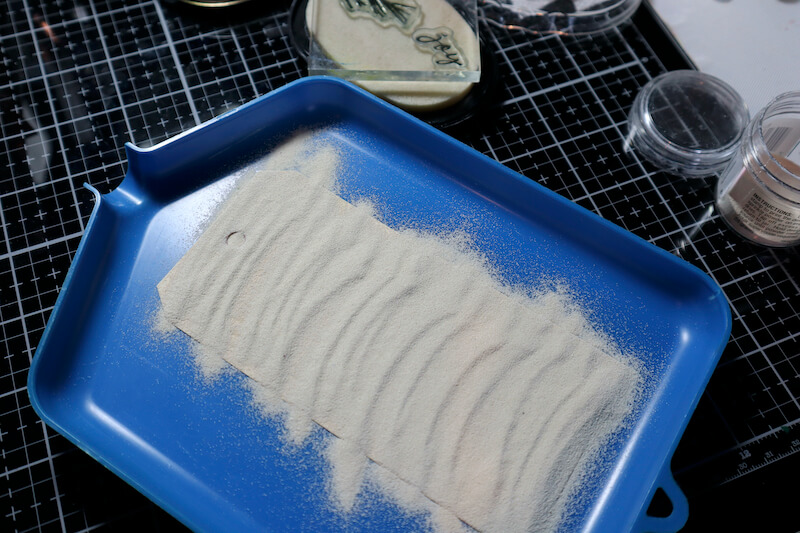
Tap off the excess powder and heat set to melt.
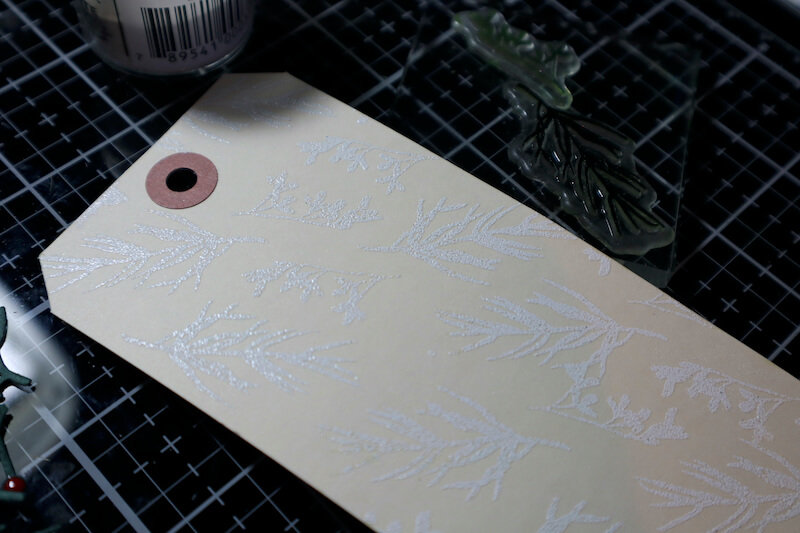
Apply inks (Rustic Wilderness and Gathered Twigs Distress) with Ink Applicator Brushes over the embossed areas.
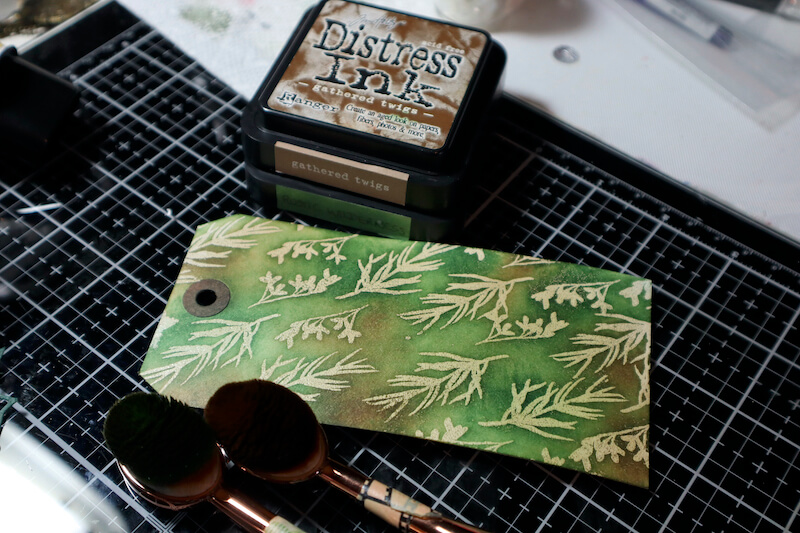
Remove any excess ink with a cloth to reveal the resist.
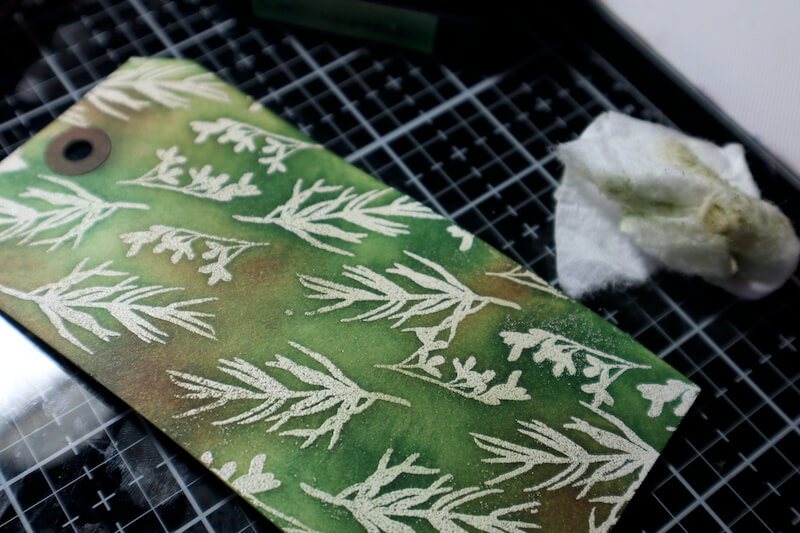
Embellish the tag with die cuts and stamped sentiments.

I hope you enjoyed this tour of my Woodland Christmas creations. Happy holiday crafting!

CS Hybrid Ink Pads

$6.35
Exclusively Club Scrap®, this hybrid craft ink combines the most exceptional ingredients of both pigments and dyes for a fine, crisp, fast-drying image! Don't forget to stock up on the coordinating re-inkers. Each ink pad sold separately. Please select the… Read More
Ink Applicator Brush
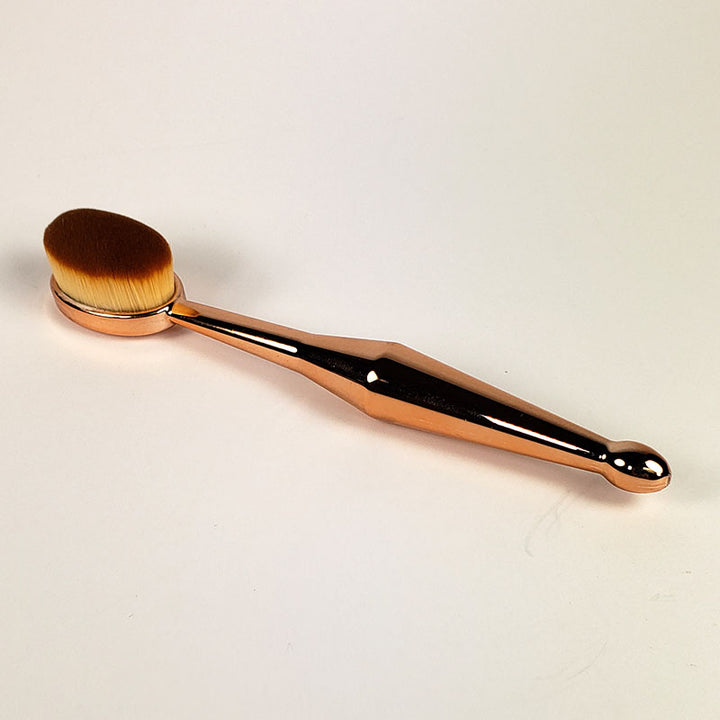
$5.50
Apply and blend inks quickly and easily with this fine-bristled brush. Pair with our hybrid inks and stencils to achieve soft, beautiful results! Features: Measures 5.75" overall 1.5" oval brush head on a 4.25" rose-gold handle Collect one for each… Read More
Foam Adhesive Circles
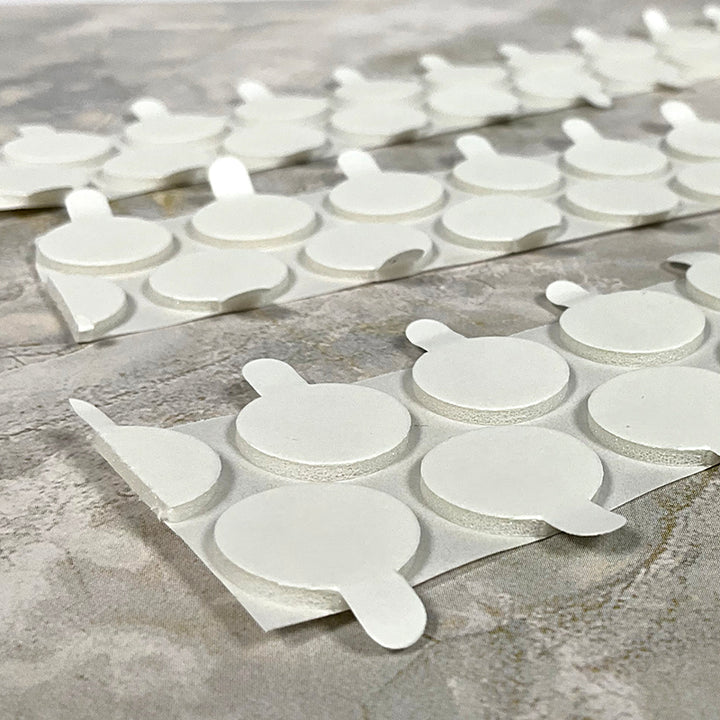
$3.30
Self-adhesive foam rounds for adding dimension to your projects. Each circle measures approximately 5/8" diameter. Package of 60.… Read More