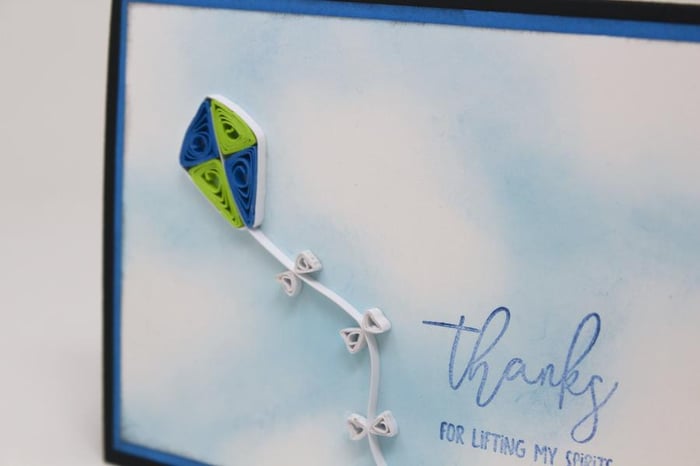
Create an adorable quilled kite embellishment for the front of any card, page, or project. I found a lot of inspiration on Pinterest and some great tutorials to help guide me through the process. Practice makes perfect when mastering this simple rolled paper art form.

Quilled Kite Tutorial
Cut 1/8" strips of Fly A Kite Blue and Lt. Green panels with the 12-inch Paper Trimmer. For best results, confirm the grain direction of the paper dips easily from top to bottom when placed in the trimmer.


Insert the end of a paper strip into a quilling tool (this one was included with a flower die set from Sizzix). Don't have one of these tools on hand? A bookbinding needle or round toothpick will work just fine.


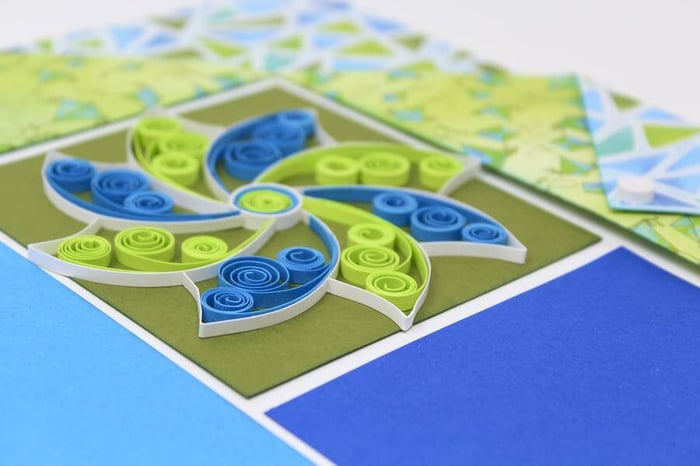
Wind the paper around the tool to form a circle.

Create two larger and two smaller circles, one in each color. Add a dot of Bookbinding Glue dispensed from a Needle-tipped Applicator to the end of the strip to hold the spiral in place.

Pinch each circle as shown to form right triangle shapes.
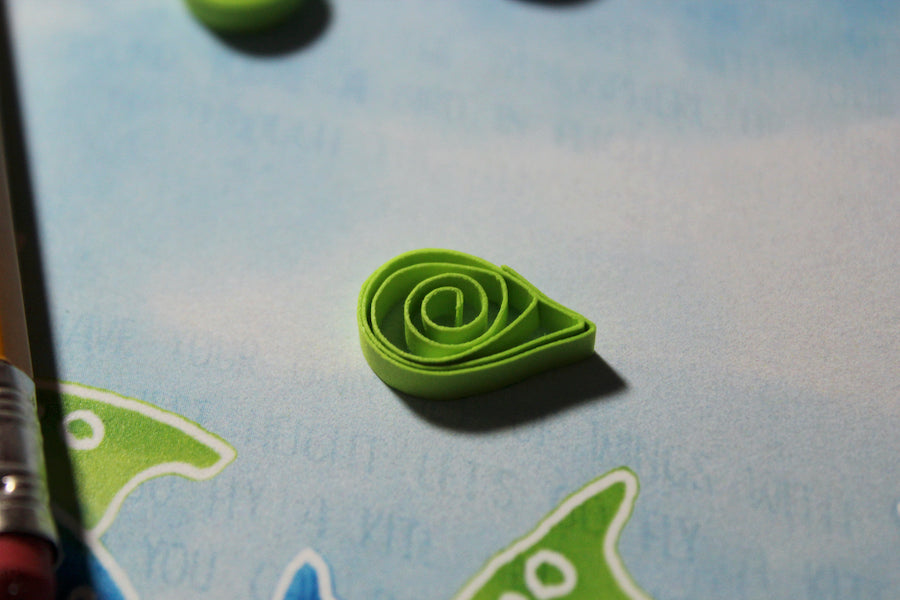


Add Tumbled Glass Distress Oxide ink to a 3-3/4x5" white panel with an Ink Applicator Brush.

Add the Fly A Kite sentiment onto the panel with Sapphire ink.

Cut a white strip for the kite string and six 1-1/2" strips for the bows. Roll each of the six white strips into tiny circles and then pinch to form triangles. Wrap another white strip around the kite shape for added detail. Adhere the pieces onto the cloud background with Bookbinding Glue. Tip: Spread a thin layer of glue onto a flat surface. Dip the quilled pieces into the glue and then carefully place onto the panel. This will prevent excess adhesive on your finished project.

Let's take another look at the finished card.

Join me on the Club Scrap Chat Group for a Facebook Live quilling demonstration today, 5/21/2020 at 3:30 PM CT. Not a member of the group? Simply answer two questions and we will make sure you are added in a snap!
Don't worry if you miss me live, all of the videos are saved to the group for viewing at your leisure.
Julie
