Y’all know I love making cards! It made my heart happy to see all the comments and personal messages from the Club Scrap members requesting card instructions for the Plaid About You collection. I am mostly caught up with scrapbooking my monthly kits. (**GASP**) However, I also purchase nearly EVERY special edition page kit, too. Quite often I create just one two-page spread with the special releases, then make cards from the remaining papers. The hardest part is choosing what card formula to use!
Plaid About You Cards

After a bit of deliberation, I selected the Fairytale Card Kit instructions. In my opinion, this formula works well with most page kits for several reasons: The Z-Fold card style is perfect for border strips, the gate fold cards can accommodate many larger cutaparts, and the color-blocked style card lets you show off the gorgeous prints.
Choosing a Card Formula and Prep
To recreate my cards, gather the following:
Fairytale Card Kit Instructions
Plaid About You Page Kit
(12) A2 Envelopes
12” Paper Trimmer
3x14" Grid Ruler
Bone Folder
Scor-Pal 1/8s
Bookbinding Glue
Needle-tipped Applicator
Adhesive and Tape
Scissors
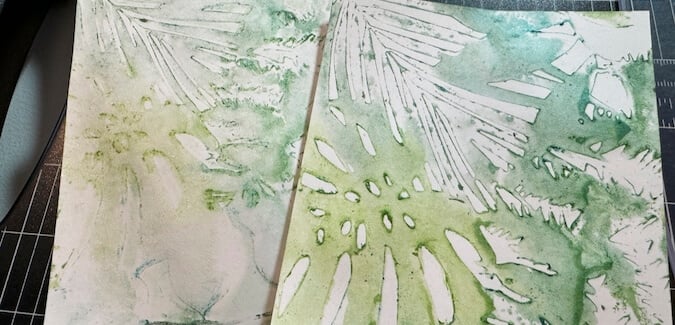
Begin by trimming and scoring ten sheets of paper, using the following paper assignments:
Blue = Lt. Green
Purple = Kraft
Pink = Burgundy
Aqua = Dk. Green
Card Print = (1) each of Dk. Plaid and Lt. Plaid Print
Once all trimming and scoring is complete, follow the assembly instructions for each set. Deal out the card bases and panels. Trim the cutaparts using the artwork as your guide; pair them with the card styles that fit them best. Follow the finished card photos provided in the instructions as inspiration for dry-fitting and assembly.
Are you ready for a closer look at the finished cards?
Set A - Z-Fold Cards
Nest trimmed border strip cutaparts onto the Z-folded strips. For the narrow strips, I added Gold Thin Line Dazzles (Kintsugi 12.20) for interest.
Add texture to each plain panel with an embossing folder. Create interlocking "chain links" of ribbon and adhere to the top of the printed panel. Add die cuts from your stash and embellish with gold Dazzle stickers.
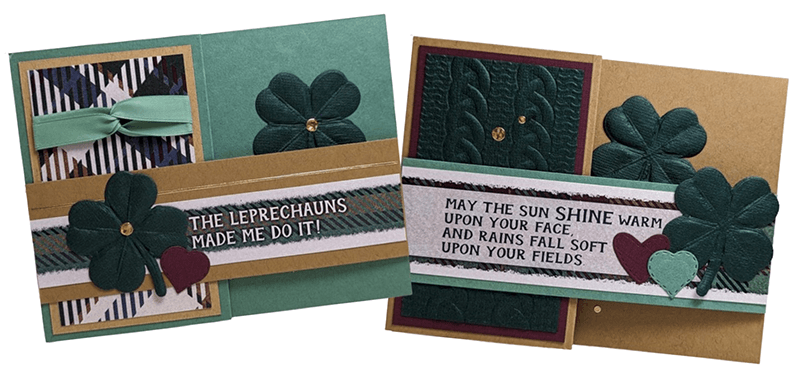
Set B - Gate Fold Cards
Add texture to all of the plain side panels with an embossing folder. Adhere to the front flaps.
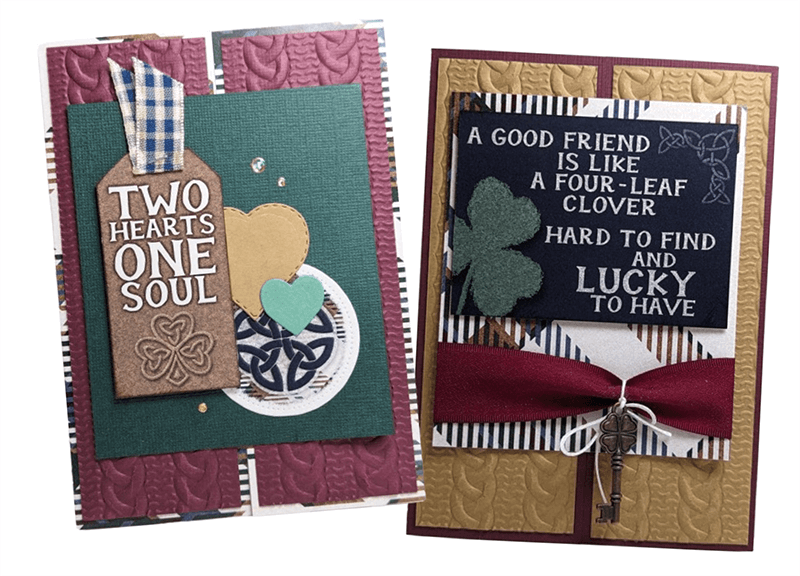
For the card on the left, staple a ribbon to the top of the tag. Die cut circle cutapart and group with heart-shapes die cut from scraps. Attach the front panel to the left side of the card only.
For the card on the right, run the wide burgundy ribbon across the bottom of the large printed panel and adhere to the back left side with tape (so your taped ends don’t show when the card is open). Hang the key charm from the ribbon with white waxed cord.
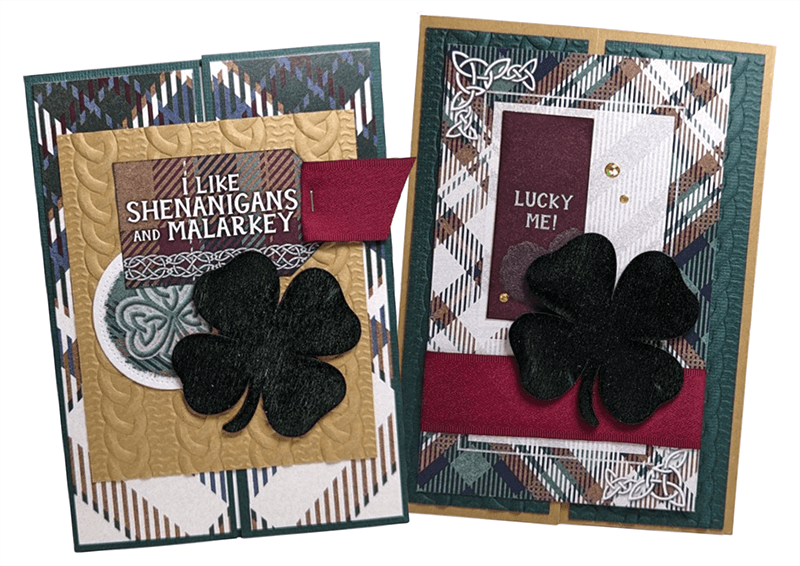
Apply Spruce ink directly onto the surface of the wood shamrocks; heat emboss with clear embossing powder.
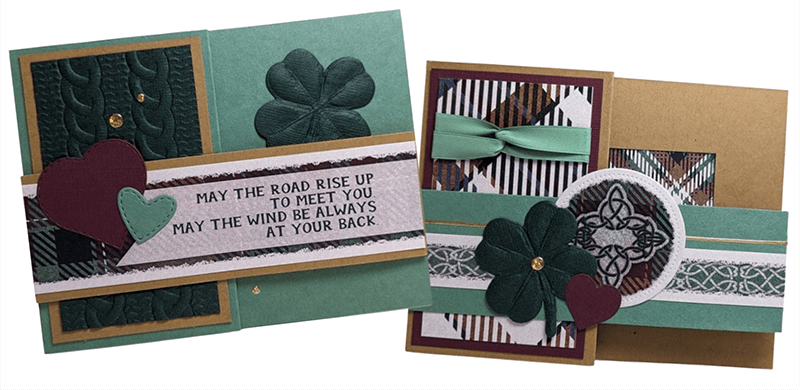
For the card on the left, staple burgundy ribbon to the side of the tag. Use a circle die to cut the round cutapart. Attach the larger front panel to the left side of the card only.
For the card on the right, run a length of wide burgundy ribbon across the bottom of the large panel and adhere to the back left side. Adhere a shamrock woodcut to the front panel of each card.
Set C - 5 x 7 Color Block Cards
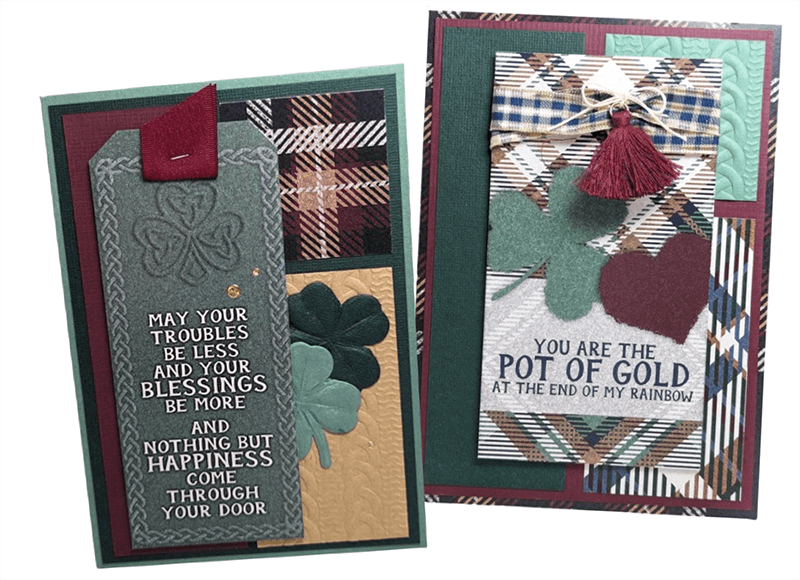
Add texture to the smaller plain panels (I didn’t have an embossing folder large enough for the bigger panel) with an embossing folder.
For the card on the left, staple a ribbon to the top of the tag. Use die cuts from scraps to embellish. Create a ribbon chain and tape to the back of the large cutapart. Thread waxed cord through the mini tassel and tie to ribbon chain.
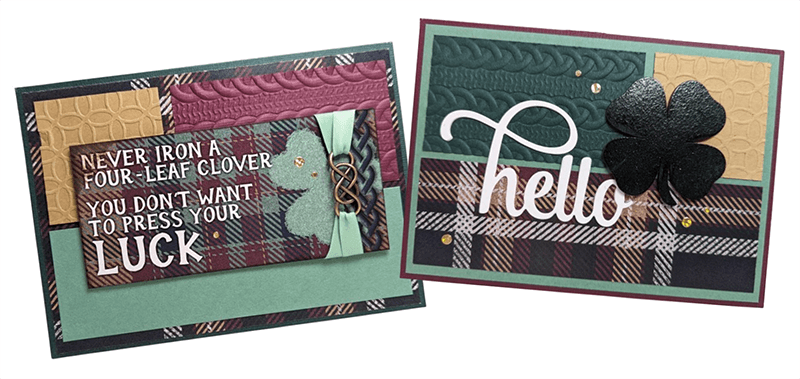
Add texture to the smaller plain panels with an embossing folder. Thread ribbon through each end of the double infinity charm and tape to the back of the sentiment. Using Spruce ink, cover the wood shamrock and heat emboss with clear embossing powder. Adhere to the front panel. Use gold Dazzle stickers to embellish.
I hope you’re inspired to create Plaid About You cards from your Page Kit. The possibilities are endless when you recycle the Card Kit Instructions from past collections.
As always, we love to see what you are creating - especially with this gorgeous collection. We invite you to share your finished pages, cards and other paper crafting projects on the Club Scrap Chat Facebook group.
Scor-Pal 1/8's
$38.83
An essential paper crafting tool for making cards, invitations, envelopes, boxes and more. Features: Quick and easy to use Accurate and precise folds Light and portable 12x12 scoring surface every 1/8th inch… Read More