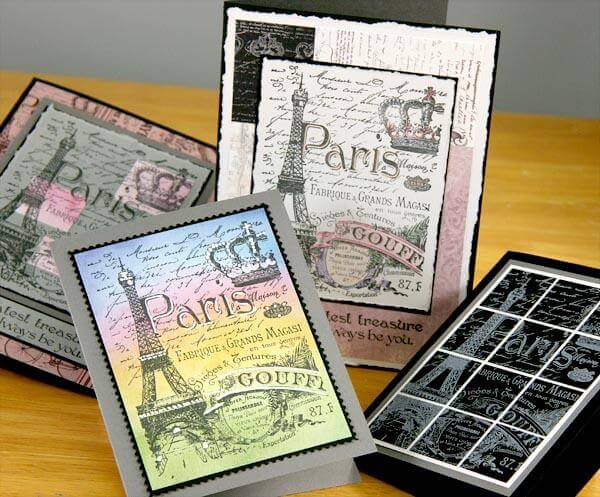
The Paris Flea Market Club Stamp kit includes an 8.5x11 sheet of White Die Cuts. The inclusion of that sheet allowed the remaining twelve 8.5x11 papers to make a whopping fourteen cards!
Check 'em out . . .
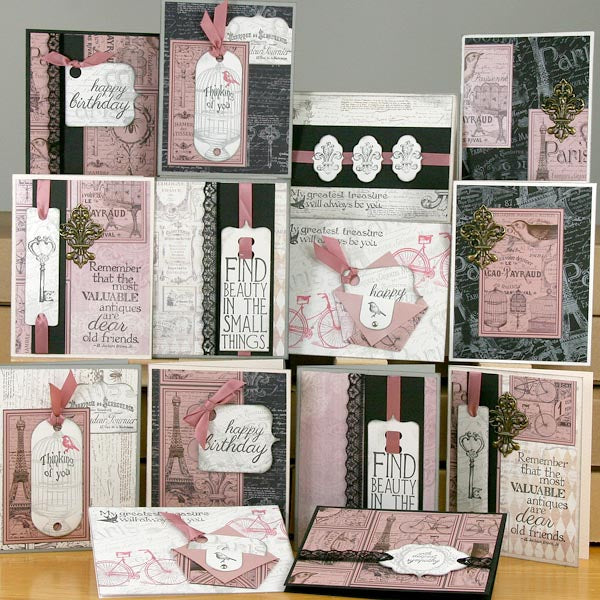
Click on the link below to download the paper trimming instructions, and consult the images and notes below for assembly tips.
March 2016 Club Stamp Instructions
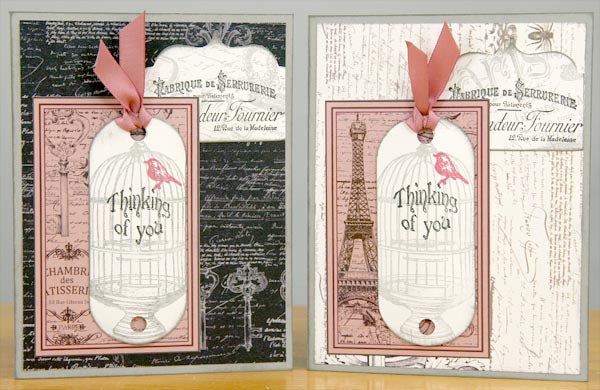
CARDS 1-2
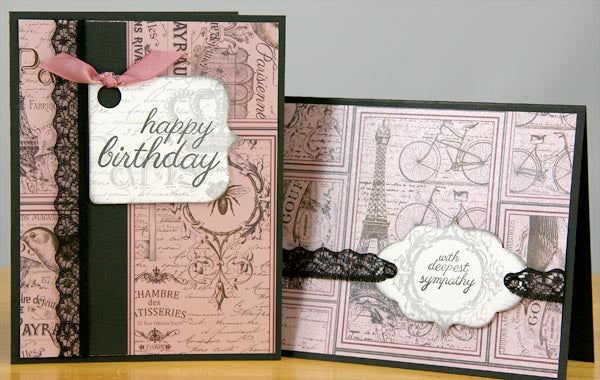
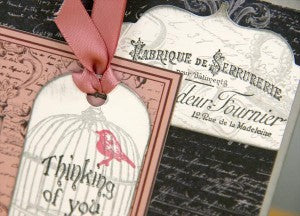
Stamp the White Die Cuts with a combination of Ash ink for the background and India Black ink in the foreground. The images on this tag are from the Greeting UM sheet. If you do not have the stamps in your stash, substitute with sentiments you have on hand.

CARDS 3-4
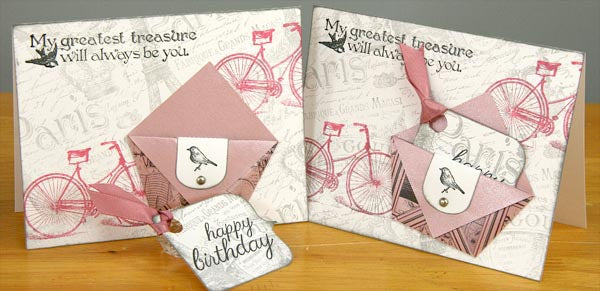
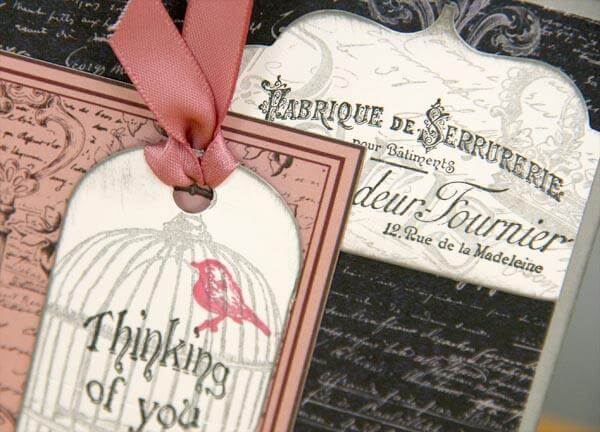
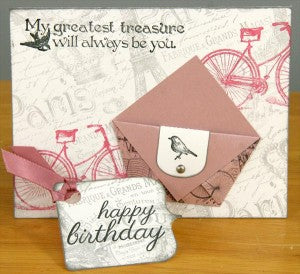
Make two origami pockets from the 4.25x4.25" Pink Print by following these simple folding instructions. Secure the small die cut tag with the little birdie onto the pocket with a brad. Add ribbon to the stamped tag and drop into the pocket. Stamp assorted images from the UM sheet onto the White card base with Ash, Carnation and India Black inks.
CARDS 5-6
Slice the right edge of the die cut tag to remove the hole; align the straight edge of the tag onto the 4x5.25" panel.
CARDS 7-8
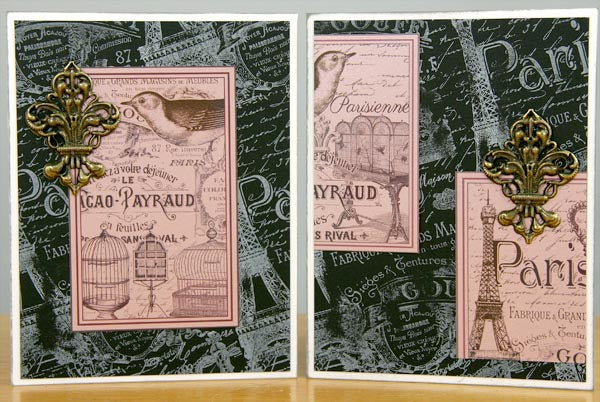
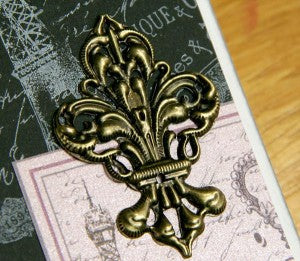
The artwork on the 8.5x11 Pink Print offers many opportunities for embellishing. Here, stamp the large collage image onto the 4x5.25" Black panel with White Pigment ink. Add the Pink Print art elements, and adhere the bronze Fleur de lis Charm with a CS® Glue Pen.
CARDS 9-10
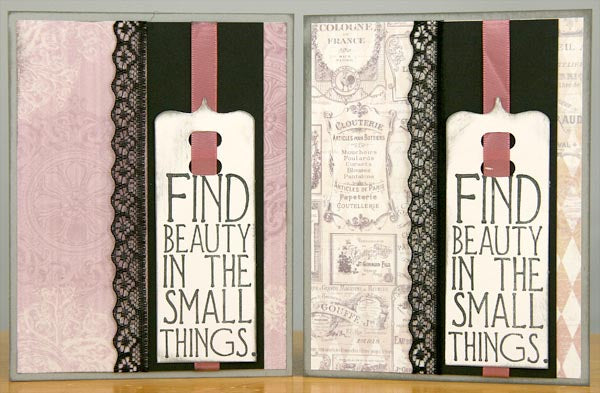
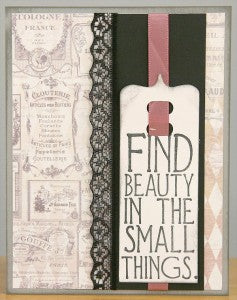
Trim the large 1.5x8" White die cut tag horizontally at 4" and stamp with the "find beauty" greeting. Thread pink satin ribbon through the top of the tag and layer onto the 1.75x5.25" Black strip. Finish with a strip of black lace. (The style of lace in your kit may vary.)
CARDS 11-12
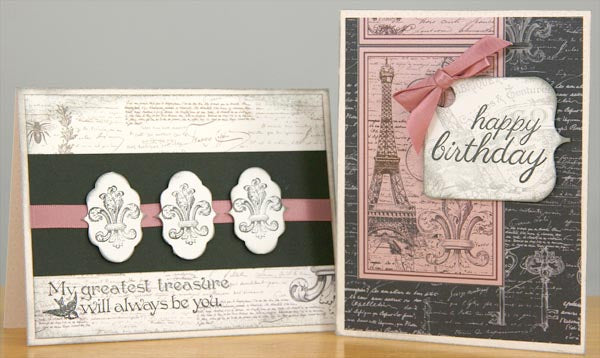
Stamp the die cut tags with the large collage image from the UM sheet in Ash ink to add interest to the background. Top with ribbon and layer onto the card panel with Foam Adhesive Circles.

CARDS 13-14
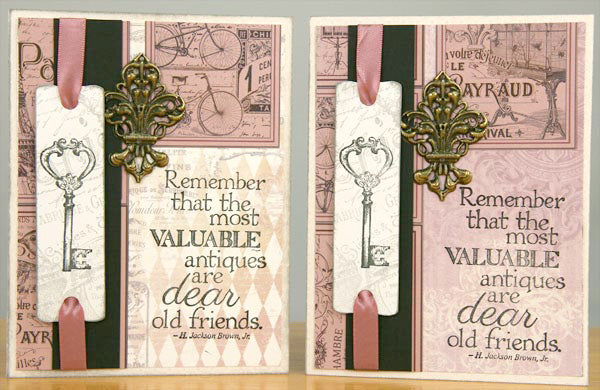
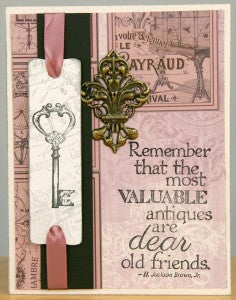
Adhere the 1-5/8x5-/14" Pink Print strips to the left edge of the card panels and cover the seam with a 1x5.25" Black strip. If you're very careful, the key image can be separated from the "valuable" quote on the UM sheet. Stamp the key onto the die cut tag, and the quote onto the lower right corner of the panel. Attach the tag with foam adhesive.
Whether you choose to follow these card assembly instructions or follow your own creative muse, we hope you are inspired by the Paris Flea Market Club Stamp collection. Click HERE to learn more about the Club Stamp membership!
Tricia

