Gather a variety of foliage dies, punches and stamped images to create embellishments for the Paper Sprouts Technique Challenge.

Paper Sprouts Techniques
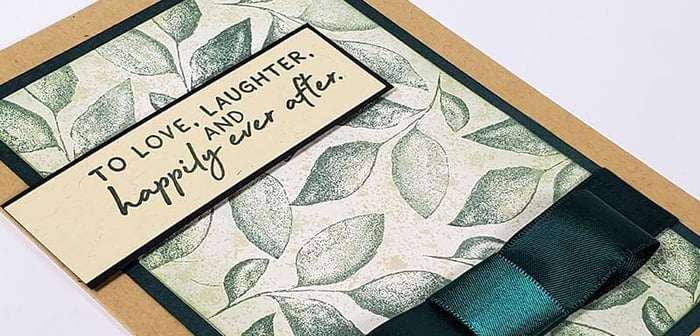
Die Cuts - Julie's Sprouts Card
Select papers from the Sprouts collection and cut with a selection of foliage dies.

Add the leafy wreath to a yellow panel with Spruce Ink. Color each leaf with green and yellow pencils. Stamp the sentiment onto the center of the image and fussy cut with a craft knife. Adhere the foliage onto an argyle background with Bookbinding Glue dispensed from a Needle-tipped Applicator. Add foam adhesive circles to the back of the wreath and position over the foliage to complete the card.

Stamped and Fussy Cut - Julie's Sprouts Artist Trading Card
Add Distress and Distress Oxide inks to a watercolor paper panel.

Spritz the inks with water to create a mottled texture.

Stamp the sprigs onto the inked panel with Spruce Ink.

Fussy cut the images with scissors or a craft knife.


Add the potted sprouts to the front of an Artist Trading Card.

Paper Punched - Lisa's Card
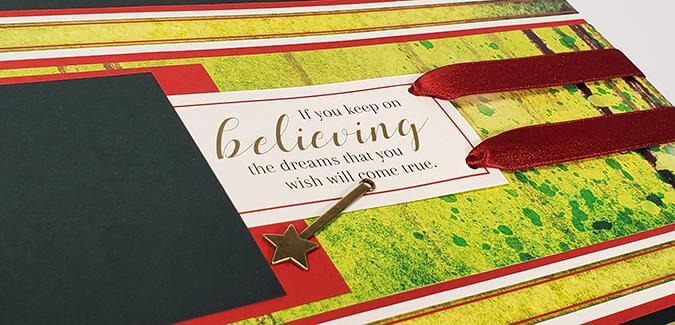
Cut multiple sprigs with a Martha Stewart paper punch. Adhere the foliage into the shape of a wreath to embellish a card paired with the perfect sentiment from the Orchard collection.

Now, it’s your turn! Create artwork with the Paper Sprouts technique shared here, or create your own. Visit the Facebook Chat Group 04/21 Technique Challenge post to upload completed artwork in the comments section. Not a chat group member? Answer a few simple questions, and we will accept your request in no time!
Lisa and Julie