
This is where we break out the Orchard details! Learn more about all of the things you may not notice in our printed instructions as you make the cards and layouts:

Orchard Details: Deluxe Layouts
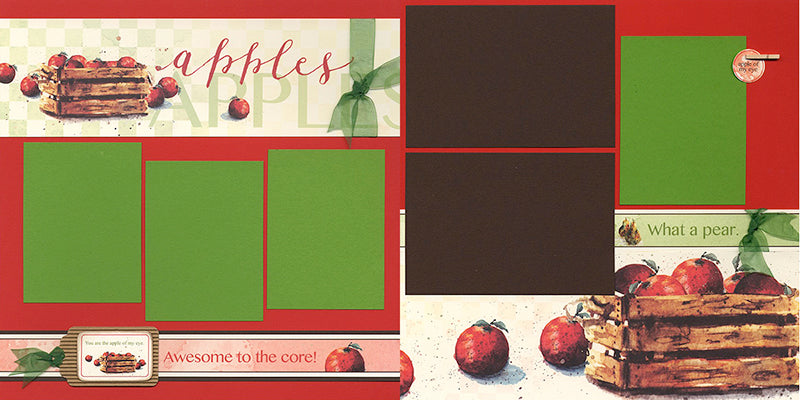
LAYOUTS 1 & 2

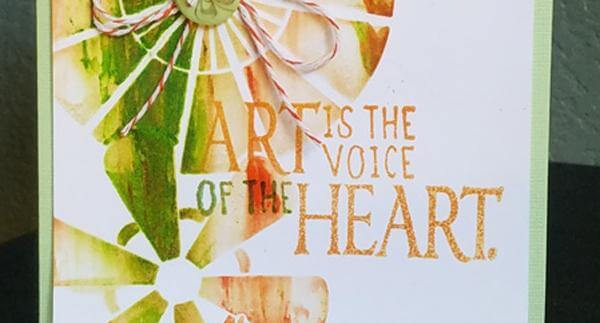
The calligraphy script on this month's stencil is gorgeous when added to the upper right corner of this layout. Apply Earth ink with a CS® Ink Applicator. If necessary, cover the area surrounding the stencil to avoid unwanted stray marks.

Jacqueline designed an entire row of 1" circles of artwork on the Ivory Cutaparts. Punch them out and adhere to the inside of bronze flattened bottle cap. Top with one of the epoxy stickers included in the kit.

LAYOUTS 3 & 4
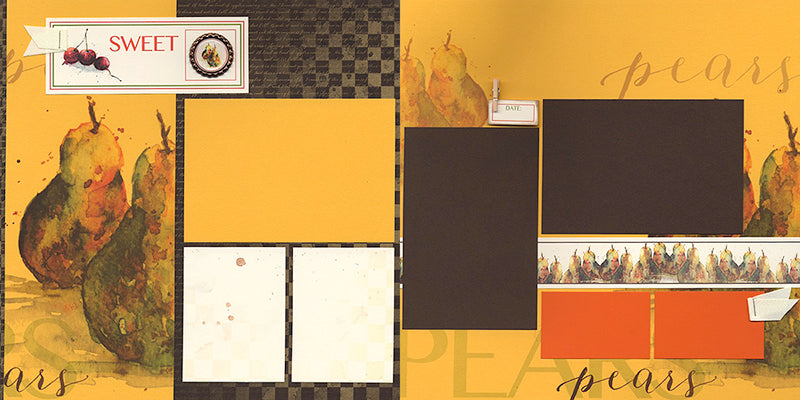
Attach the tiny "date" cutapart to the right side of the layout with a miniature clothespin.

LAYOUTS 5 & 6

Make two pieces of "faux ribbon" from a .5x11" strip cut from the Red print. Cut the piece into two uneven lengths and cut a "v" shape into each end. Adhere to the layout and top with a flattened bottle cap.

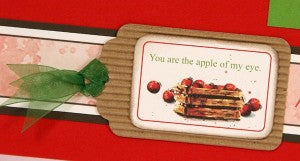
Nest the "squeeze the day" Ivory cutapart onto a corrugate tag topped with red crinkled silk ribbon. Add a brown raffia bow to the metal rimmed tag and layer onto the page with foam adhesive circles.

LAYOUTS 7 & 8

Cut the word "sweet!" from the 1" circle, shade the edges with Earth ink, and tuck behind a flattened bottle cap.

The overlay stencil contains two elements to create the wood texture.
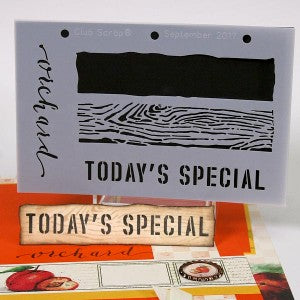
Place the open shape in the desired position. Apply a light shade of Earth ink to the outside perimeter of the shape by making gentle, sweeping motions with an ink applicator. Next, move the stencil to nest the wood texture over the shape, and apply a darker shade of ink. Finally, add the desired word over the wood texture and apply the heaviest shade of ink.

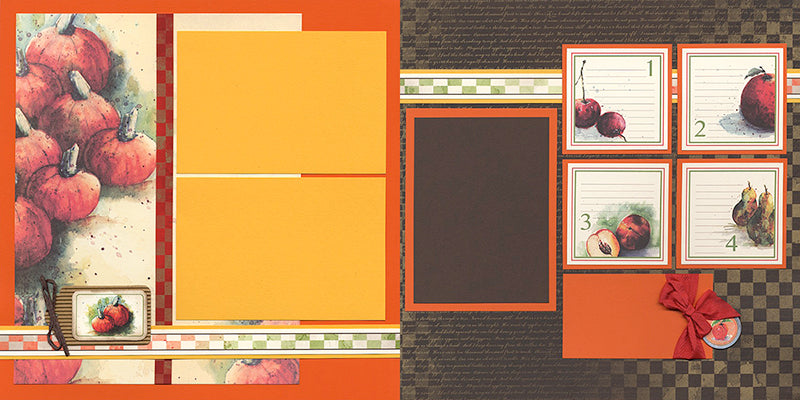
LAYOUTS 9 & 10

Nest the Ivory cutapart onto an Orange photo mat and tie a bow with the green chiffon ribbon. Remember, if you have a lot of photos, simply nest a photo onto the cutapart.

Staple a folded piece of herringbone ribbon to the top corner of the cutapart and finish with a 1" punched circle nested in a flattened bottle cap.

LAYOUTS 11 & 12
Round the corners and ink the edges of the Ivory ctuapart and nest onto a ribbon-topped corrugated tag.
Remove the metal spring from the mini clothespin and simply glue to the 1" punched circle. This will lower the height profile of the clothespin.

LAYOUTS 13 & 14
Can you tell I'm a big fan of this gorgeous red ribbon? Use the rest of what's left in your kit to tie a small bow onto the long, narrow Orange photo mat and finish with a 1" punched circle nested onto a metal rimmed tag.

Orchard Details: Greetings to Go Cards
SET A

I love the structure of this card set! The 5.5x8.5" Red card base is scored twice to create a narrow flap on the front of the card. Top each flap with an Ivory cutapart nested onto a Brown mat. The red gingham ribbon provides the perfect finishing touch!

SET B
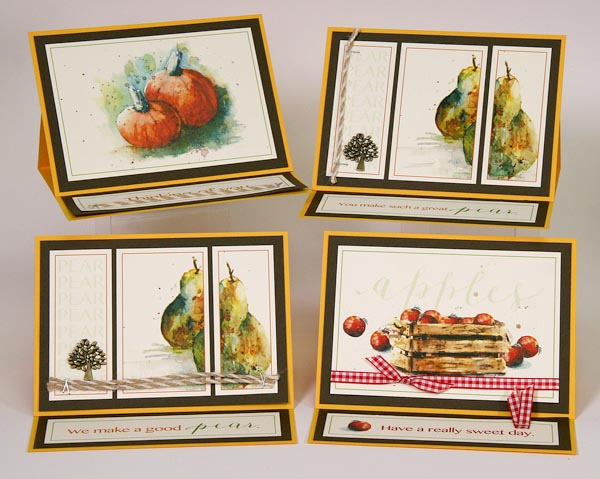
This clever tent card stands up on its own when the front panel is tucked against the artwork on the inside of the card. Be careful to apply adhesive only to the bottom scored area of the front card flap to allow the panel to pop up.

SET C

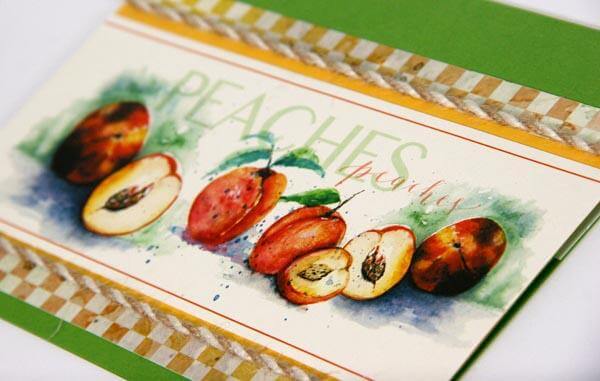
I love the sweet simplicity of this final card set. I chose not to wrap the braided jute around the card to avoid bulk. Simply cut the cord to match the length of the card, run a thin line of CS® Bookbinding Glue along the edge of the cutapart, and place the cord onto the glue.

If you have a wire cutter handy, clip the loop from the top of the adorable tree charm. Cut a 1.25" circle from one of the extra printed pieces on the Ivory cutaparts. Glue the charm onto the circle.

I'm always amazed by the "body of work" on display when I put together this overview. It takes a wonderful team to make a harvest like this happen, and for that, I am truly grateful!
Need to set up a membership to get the best value for this collection? We're happy to help!
Tricia