The Guest Artist for the Literature Greetings to Go is club member Nancy Young. Her cards were so interactive and fun, photos just didn't do them justice. Tricia filmed this short video tour of Nancy's cards.
Below, Nancy shares details and tips for making the cards. Take it away, Nancy!
It was an honor to be chosen to make the Greetings to Go cards this month. It was quite fun to get the supplies in the mail not knowing what to expect. I love the colors of this kit, very rich and autumnal. I took full use of all the supplies provided, mostly just adding an embossing folder here and there and a few small embellishments from my stash.

SET A: 3.5 x 4.75” DARK KRAFT CARDS
This set of cards stumped me at first. I don’t have Tricia’s math smarticles! I couldn’t figure out how to fold them – so I came up with a few of my own ideas. Finally, when the Greetings to Go instructions were available, I saw where she was going with these!
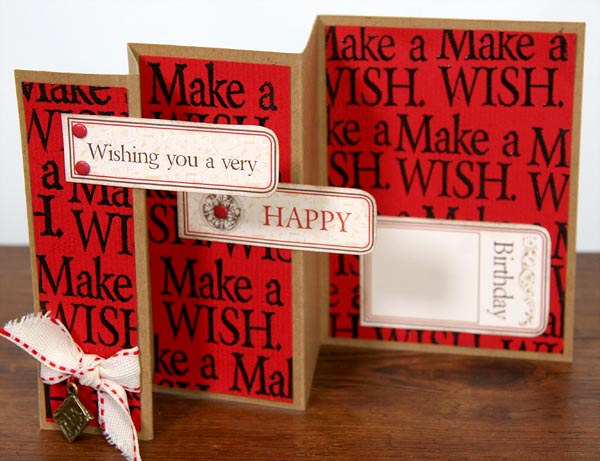
This card follows Tricia’s scoring directions, but I added some heat-embossed stamping to jazz it up a bit.
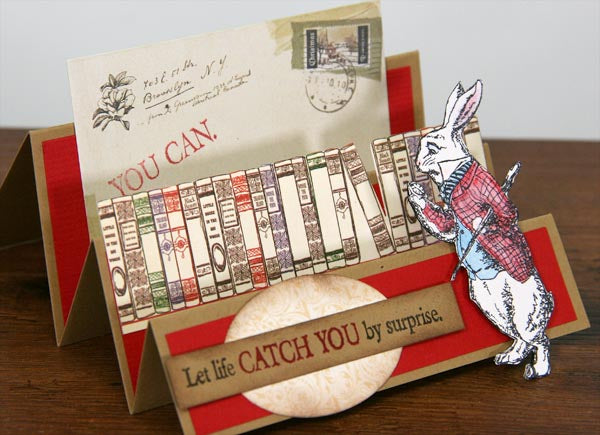
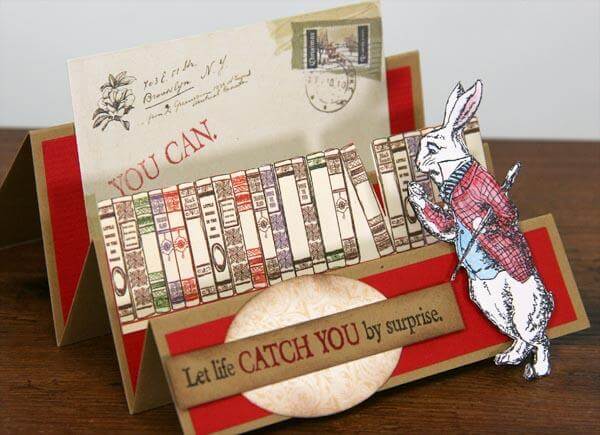
Here, I created a little stair-step card. The back step features a Mini Vintage Envelope (from the Embellishment Pack); the row of books is fussy-cut from the Embellishment Cutaparts.
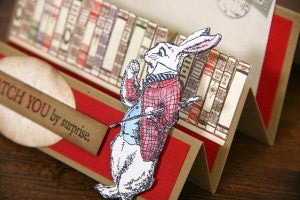
For the front step, I stamped the collage image from the Jumbo UM stamps, trimmed out the white rabbit, and colored him with watercolors.
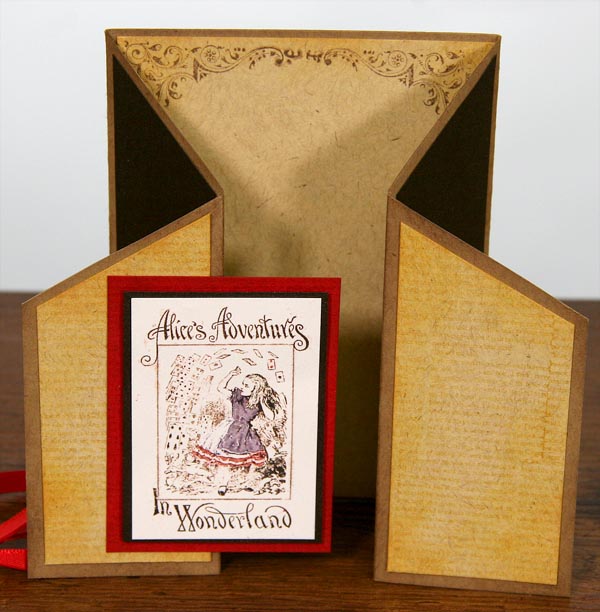
This simple card is a "slanted" take on a gatefold card.
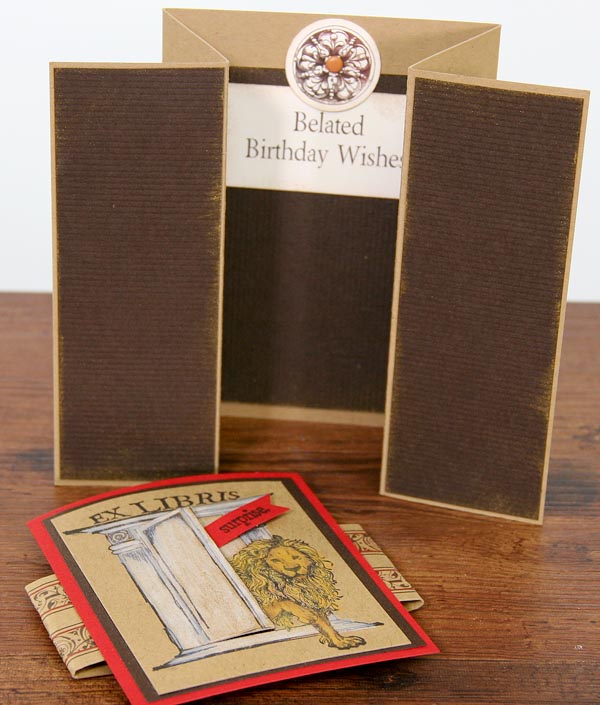
Here's another gate fold card. I created a belly band closure with the Art Nouveau lion image on top. He is colored with colored pencils. I used a craft knife to cut the door so it opens.
SET B: 4.25 x 5.5" LIGHT KRAFT CARDS
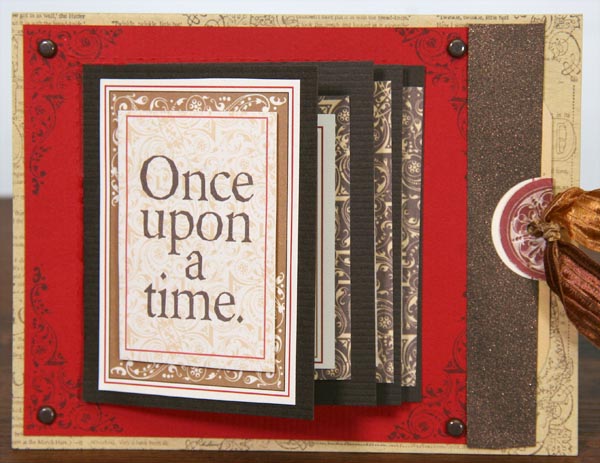
I had the idea to do some sort of waterfall card when I saw all the Greetings to Go Cutaparts. You can do a search on Google to find plenty of ideas for this type of card.

Making a waterfall card requires a bit of measuring, but they can be fun to put together!
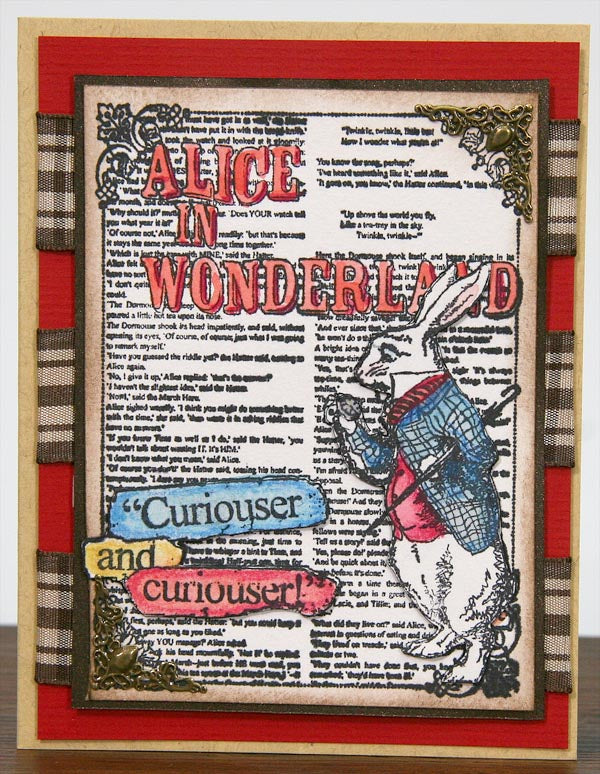
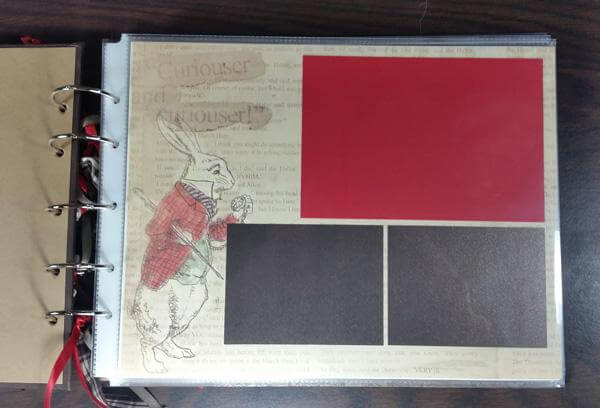
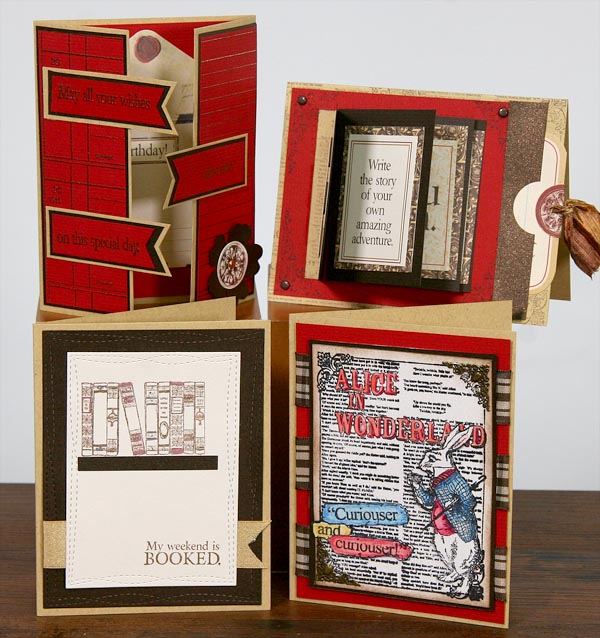
For this card, I stamped the collage image (Jumbo UM ) three times in black ink. I trimmed the rabbit and the "curiouser" elements from two of the stamped panels and colored one set with watercolors.
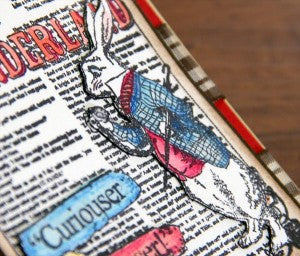
The fussy-cut rabbit and "curiouser" elements were stacked and adhered to the full collage image (colored version on top) to add dimension without the use of pop dots.
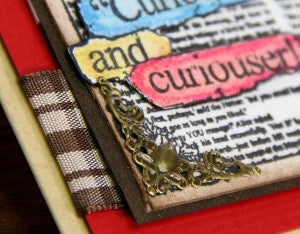
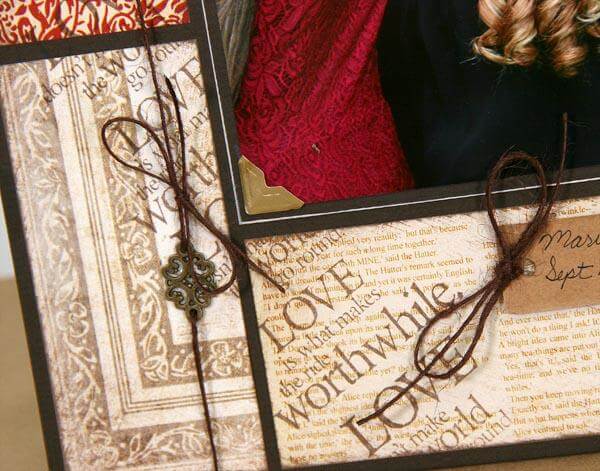
A bit of ribbon behind the focal image and two decorative metal corners finish it off.
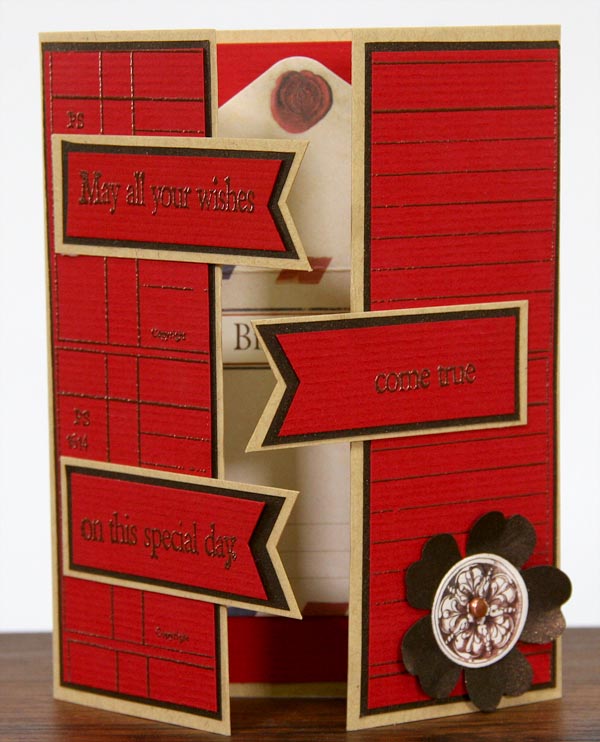
This card was scored to create a simple gate fold. The side panels were stamped and heat-embossed. I added three layered banners to the front of the card for interest.
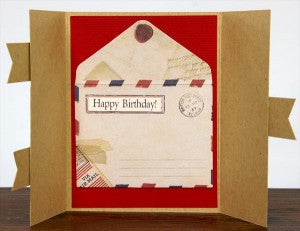
A Mini Vintage Envelope was added to the inside with a "Happy Birthday" Cutapart.
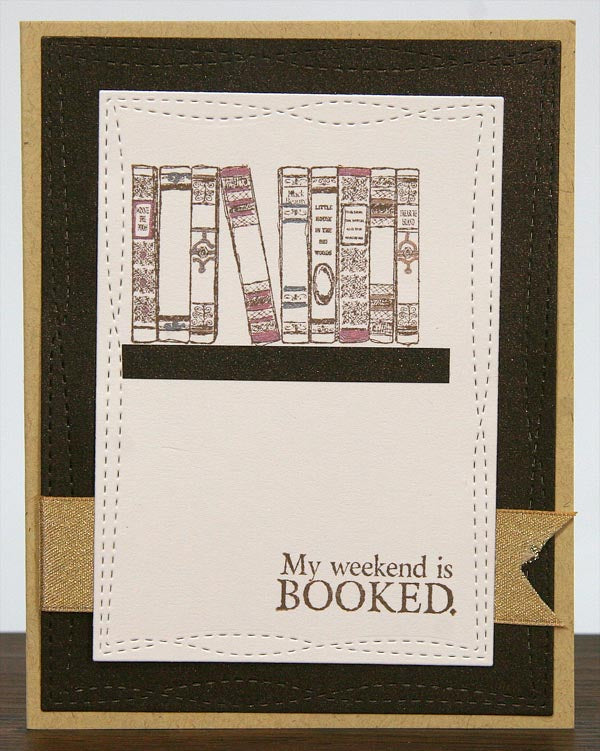
I used a strip of the Bronze Plain to create a faux bookshelf for the row of books from the Jumbo UM stamps.
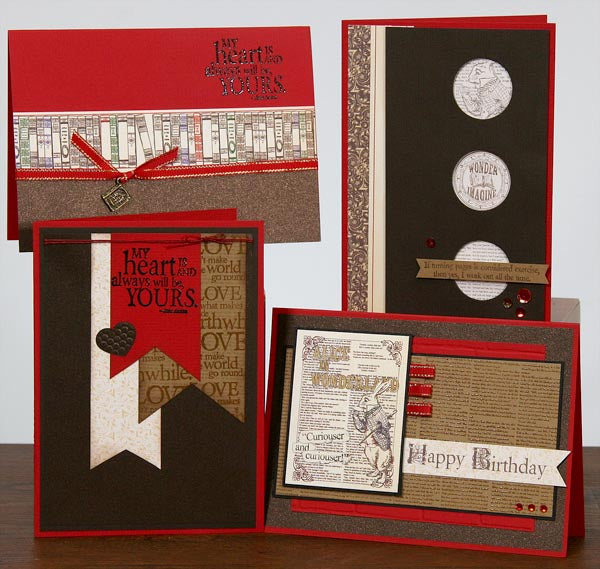
SET C: 5 x 7” RED CARDS
For the 5x7" cards, I tried a few ideas that have been in my head for a while.
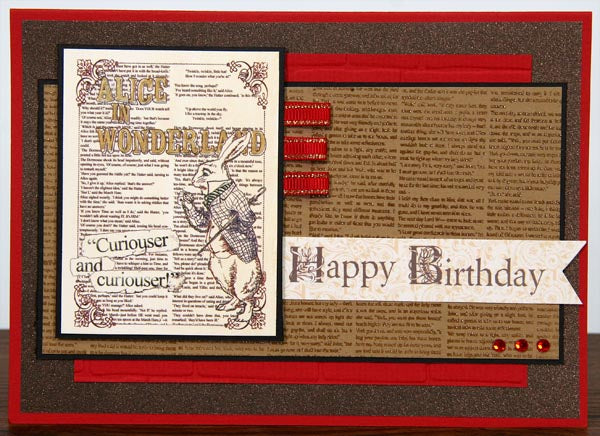
The Happy Birthday card is pretty basic, with a stamped background panel.
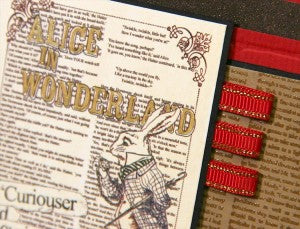
I used Gold Wink of Stella on the “Alice in Wonderland” Greetings to Go Cutapart.

The banner card features a small heart run through an embossing folder. The Kraft banner is heat-embossed with clear EP, then stamped with the text stamp (Art Nouveau UM). The sentiment on the Red banner (Greeting UM) is heat-embossed with Black EP.
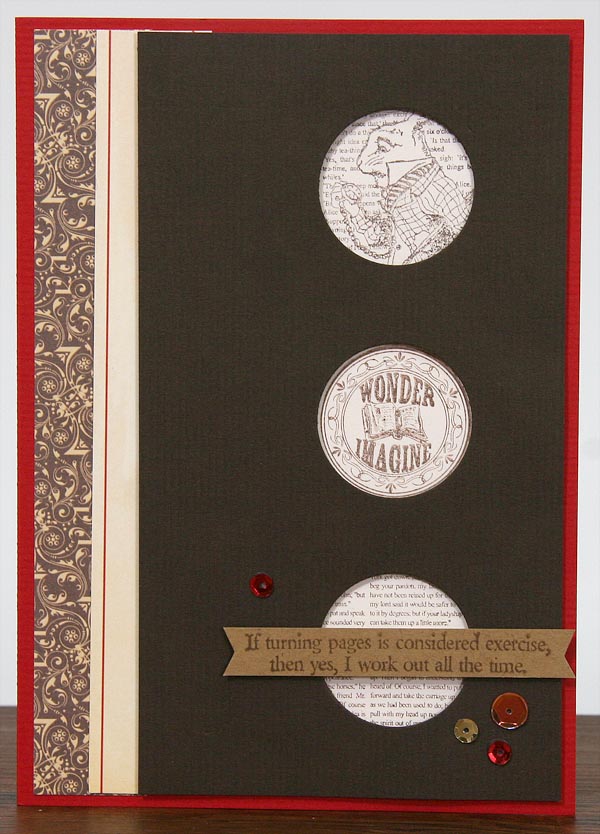
For the next two cards, I was going for a "clean and simple" look.
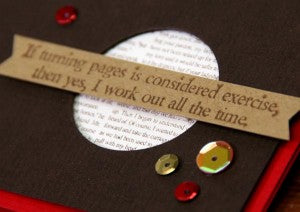
This card features three punched circles to allow the stamped Ivory panel to peek through.

I kept this one clean and simple as well. The "row of books" Cutapart is layered onto Red and Bronze panels, and the gold and red ribbon is tied with a single Embellishment Pack Book Charm.
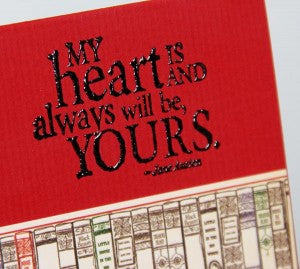
A bit of texture comes from the heat-embossed sentiment. I really enjoyed challenging myself with this collection. Perhaps my creations will give you some ideas to try with your own kit!
Nancy (aka: youngnancy)

