Each month we invite a member to play with the card kit and come up with their own take on the designs. The Mumbai guest artist is Janet Pirkle.
For each set of four cards, Janet folded two cards according to the instructions and the other two differently. Let's take a closer look!
SET A: YELLOW GATE FOLD CARDS
Create a pocket-shaped panel from HPOPs. Add accents to the pocket with a white gel pen. Adhere to belly band.
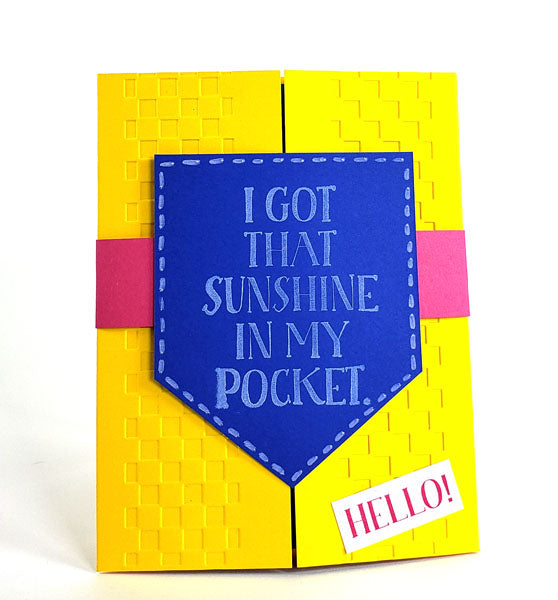
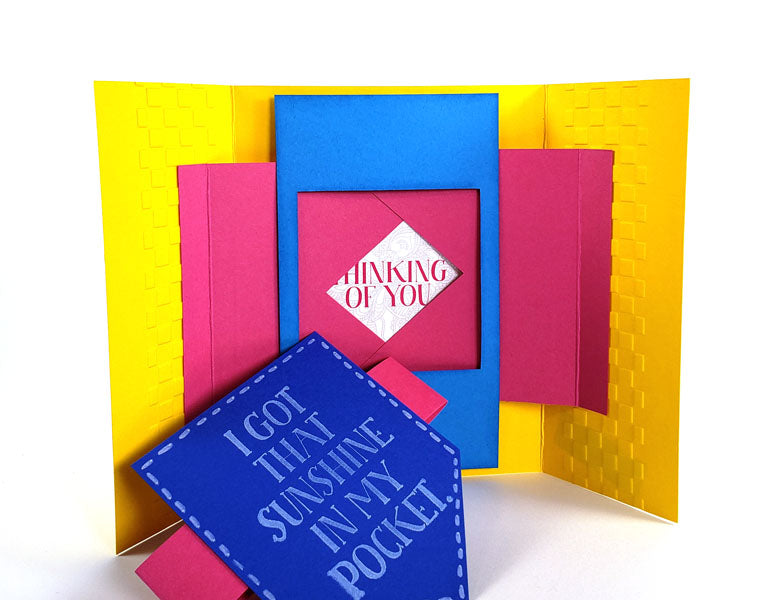
Fold yellow card base according to instructions. Add texture to the flaps using an embossing folder. (Make sure you emboss before you add the inside mechanism!)
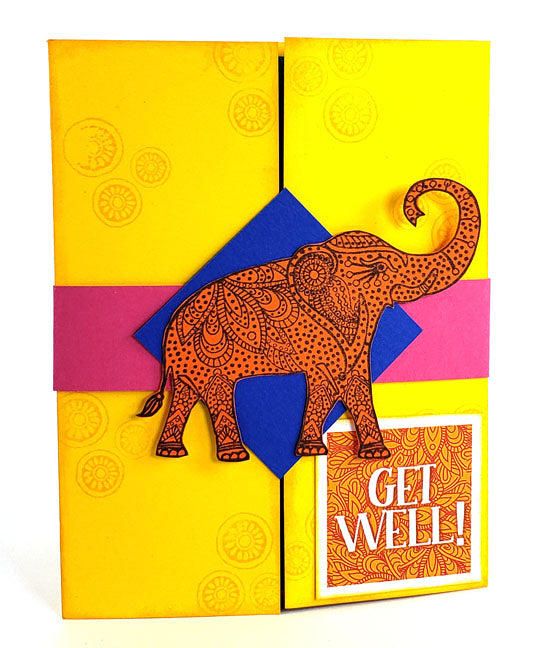
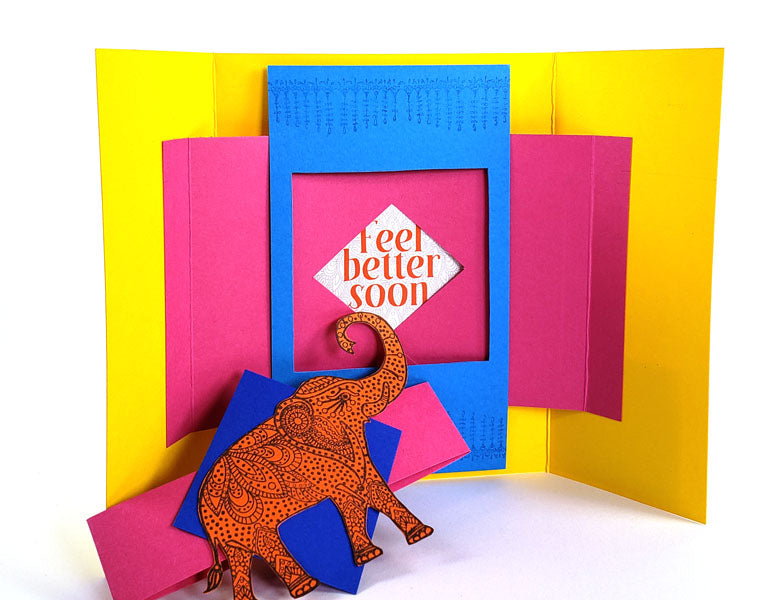
Stamp and trim the elephant image onto orange. Trim and attach to the belly band. Fold yellow card base according to instructions. Stamp the small image in Tangerine ink to create background.
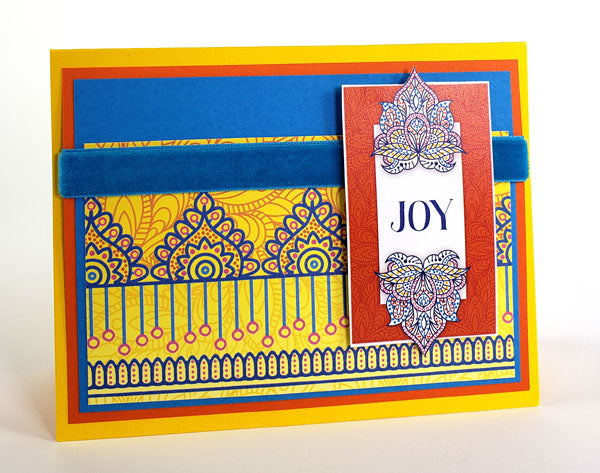
Fold yellow card base in half. Trim a panel from a 12x12 White Border Print. Fussy cut around the Joy cutapart so the detailed artwork extends past the frame. Add velvet ribbon.
Fold yellow card base in half. Reach wayyyy down deep into your stash and find your embossing powder. (These stamps look awesome embossed!) Stamp floral image onto smooth white card stock using Parchment pigment ink. (The Parchment color makes it much easier to see where you've already stamped!) Sprinkle with fine detail black EP, heat set. Spray panel with Sunflower Stipple Mist.
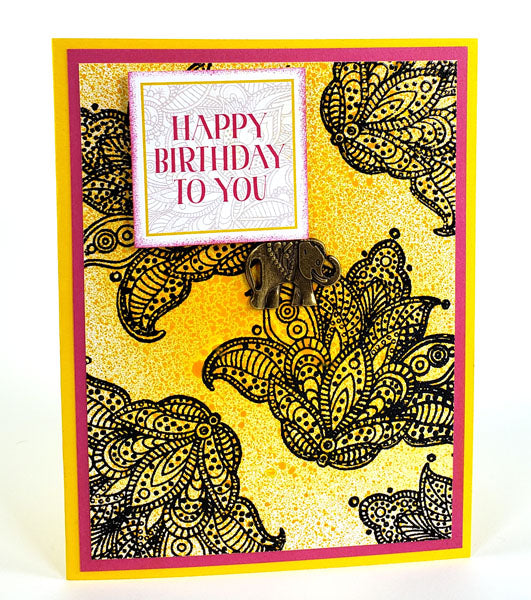
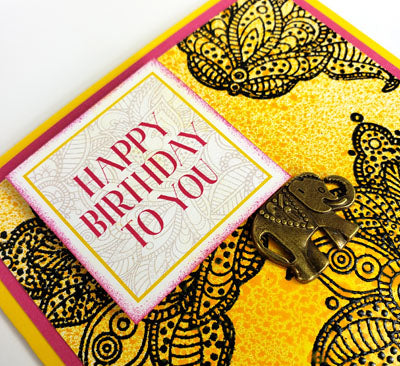
Trim and adhere panel. Embellish with the cute elephant charm and cutapart sentiment attached with foam adhesive for dimension.
SET B: PINK STAND-UP CARDS
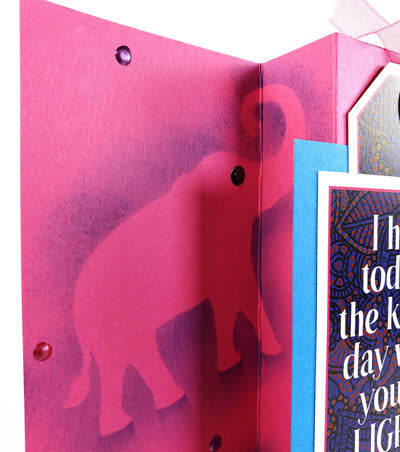
Create several masks of the elephant image; temporarily attach to card base. Apply ink around mask to create outlines.

Fold card base according to instructions. Add the sentiment with the pocket along with some Nuvo drops as accents.
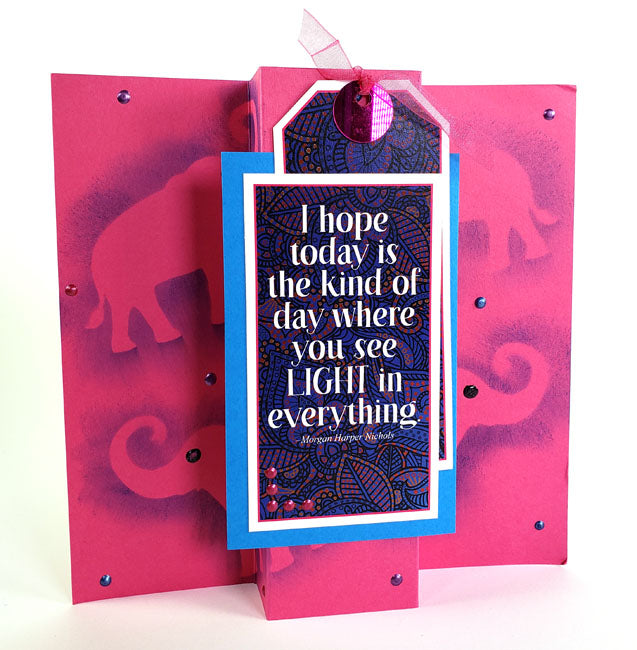
Give your elephants eyes if you want them to look a little creepy like mine.
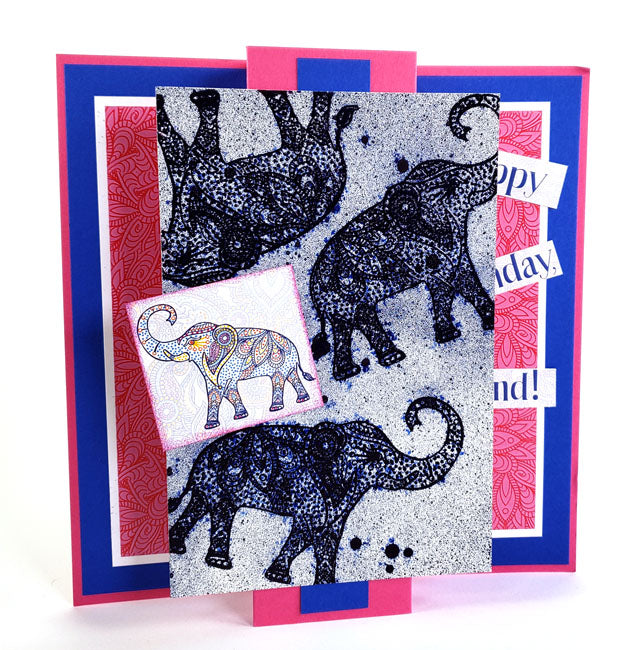
Fold pink card base according to instructions. Stamp elephants onto smooth white panels using Parchment pigment ink. Heat emboss with black EP. Spray panel lightly with water, then Indigo Stipple Mist. (Be careful to protect your work surface, and your phone. Don’t spray your phone like I did.) Add cutapart embellishments.
Score card base horizontally at 5". Cut an inch off the short side of the pink paper. Use preprinted strips to bridge the gap creating a 5x7 card.

Stamp images onto blue panels using Sapphire ink. Add cutapart sentiment.
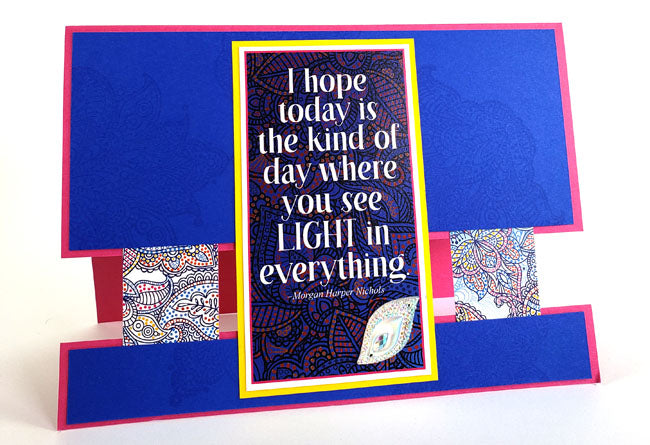
Score pink card base horizontally at 5". Trim pink cutapart to fit the exposed area on the side. Stamp images in Sapphire ink on the blue panel. Add Nuvo drops for interest. Add sequins and tag.

SET C: BLUE STEP-UP CARDS
Score and fold blue card base according to instructions. The jumbo stamp image fits this card card panel perfectly! Add yellow ribbon (from the page kit) and a fussy cut sentiment (to cover over where my stamp abilities failed me, ha ha!)

Just remember if you are terrible at stamping (me) you can always cover it with an embellishment!
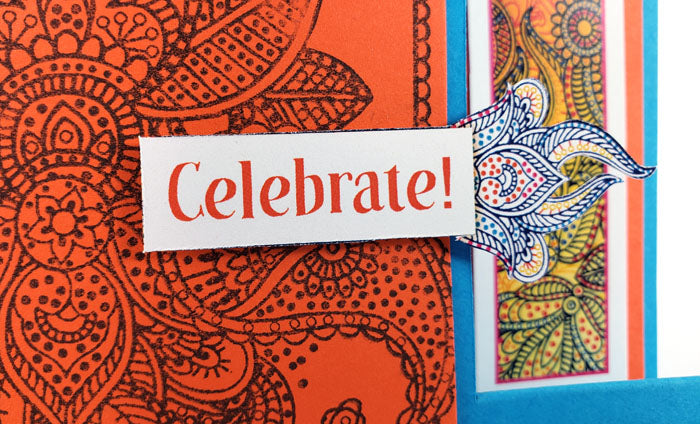
Score and fold blue card base according to instructions. Use an embossing folder to add texture to the orange panels. Apply Sapphire ink to highlight raised areas.
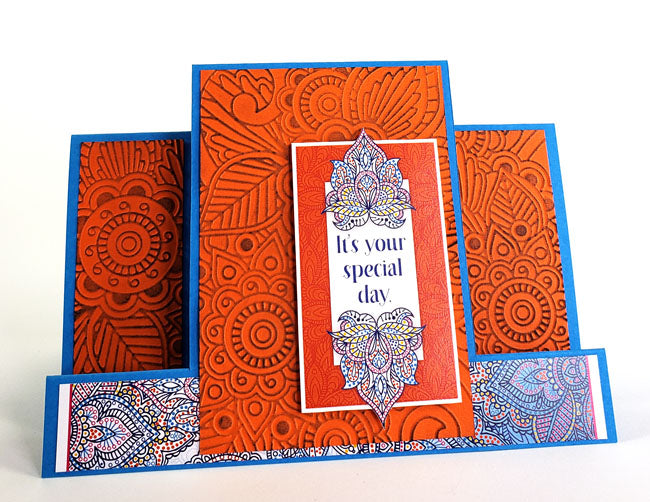
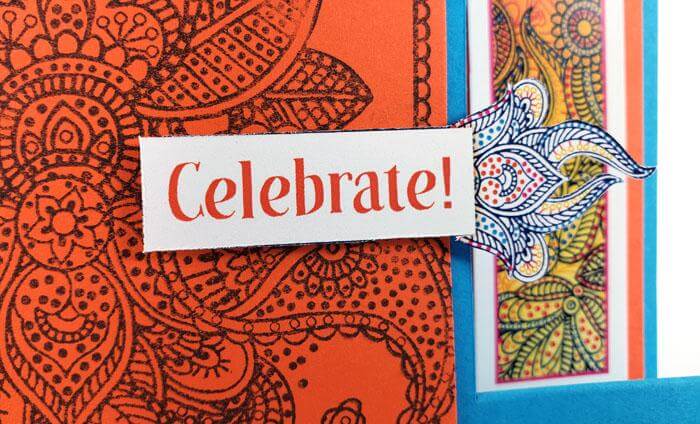
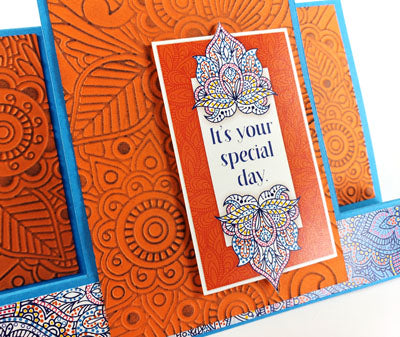
Fussy cut around the "special day" cutapart so the detailed artwork extends past the frame.
Fold a blue card base in half. Stamp the flower image onto orange paper with Fuchsia ink and trim. Cut "stems" from unused printed cutaparts.
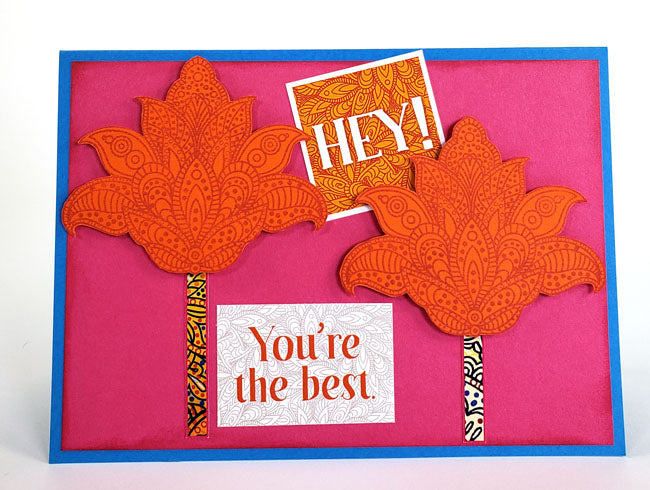
Mount the flowers with foam adhesive for added dimension.

Fold a blue card base in half. Stamp elephant image three times across the bottom of a yellow panel. Apply a mask over each stamped elephant. Spritz panel with Leaf Green Stipple Mist. Remove masks. Attach sequin "lamps" and draw a “string” to hang them above the elephants.

We hope Janet's unique creations inspire you to make your cards your own!
