Create even more cards with the Photo Booth Stamps and Page Kit paired with an array of mixed media and stamping techniques!
More Cards with Photo Booth
Card 1

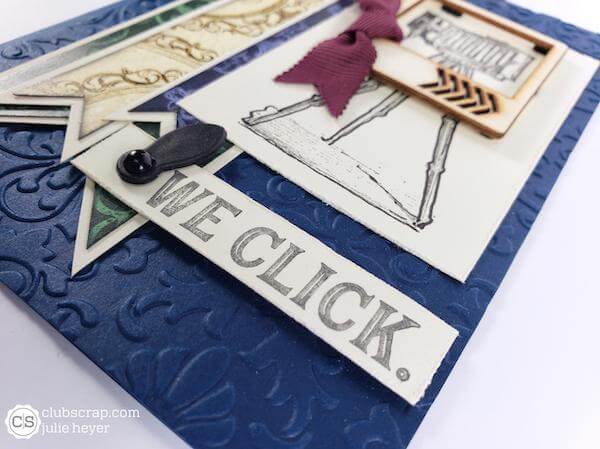
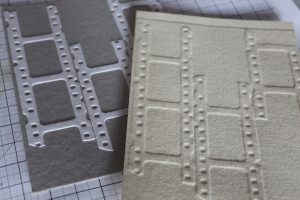
Add interest to the torn Ivory Texture panel with a homemade embossing plate.
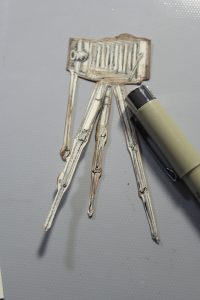
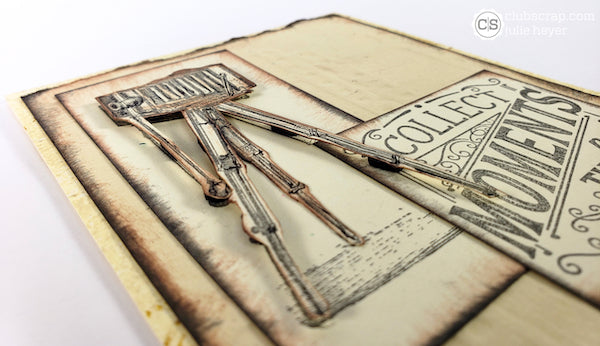
Stamp the tripod camera onto two panels. Add color with pencils and fussy cut the first image.
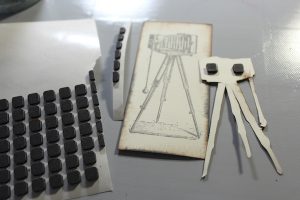
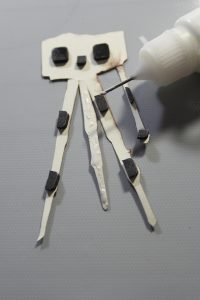
Adhere 3-D foam squares to the back of the camera and layer over the second stamped panel. To create the illusion of depth, tack the back leg of the tripod directly to the panel with Bookbinding Glue dispensed from a Needle-tipped Applicator.
Card 2
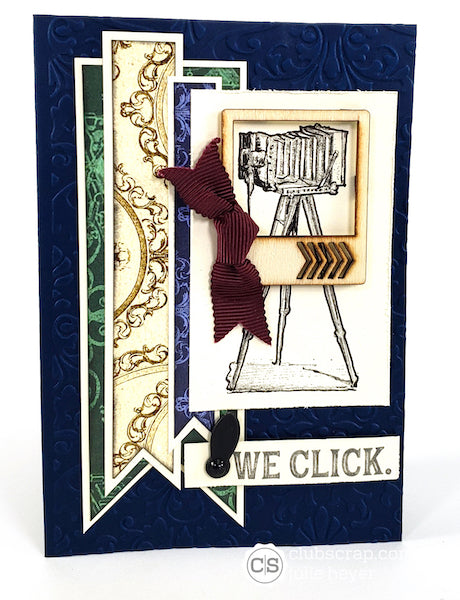
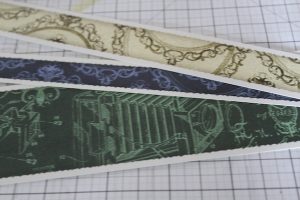
Trim the border strips into banners. Layer with white paper and glue to the front of a dry embossed card base.
Highlight the details of a stamped camera image with a fine point journal pen.
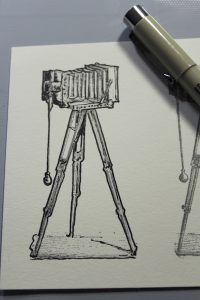
Complete the card with a piece of Wine ribbon tied to the Woodcut Frame embellishment.

Card 3
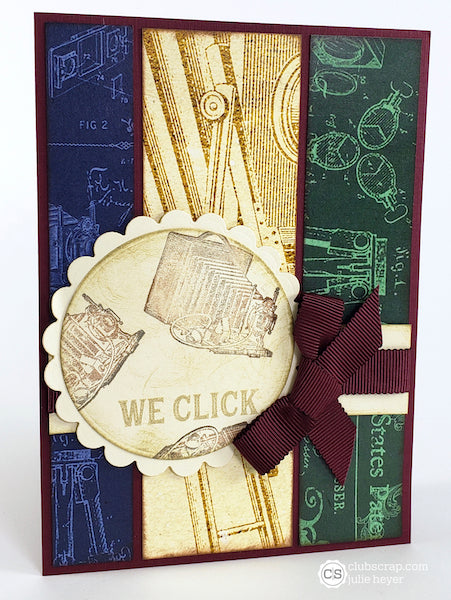
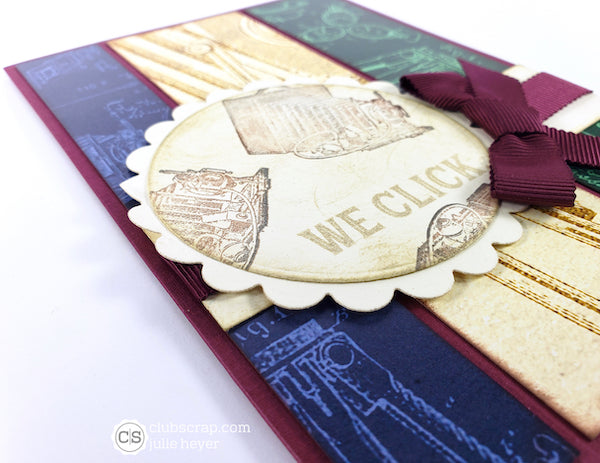
Trim the remaining pieces of border strips and an Ivory Print into long panels and adhere to the front of the Wine card base. Create a bow with the Wine ribbon to accompany the raised die-cut scalloped circle panel stamped with cameras and a sentiment.
Card 4
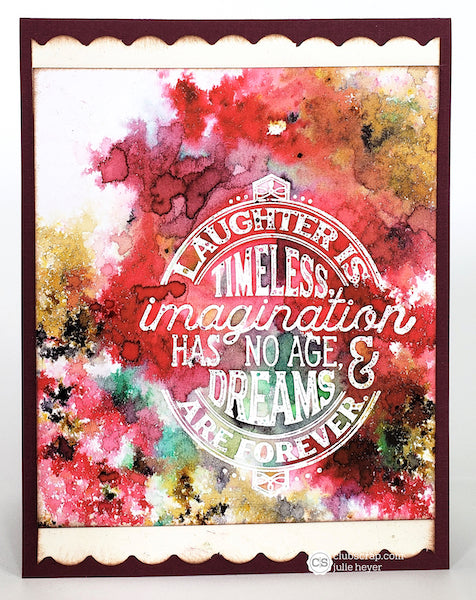
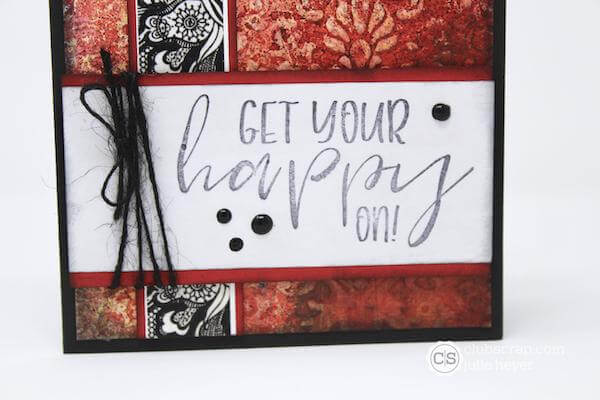
Stamp the sentiment onto a mixed media panel with Versamark ink, sprinkle with white embossing powder and heat set to melt. Sprinkle the panel with Color Burst Pigment Powders and spritz with water. Allow the panel to dry and add to the front of the Wine card base. Flank each end of the panel with punched border strips.
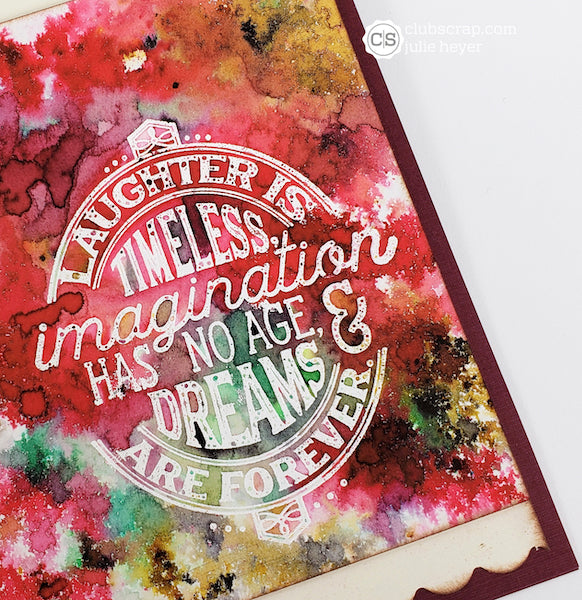
Card 5
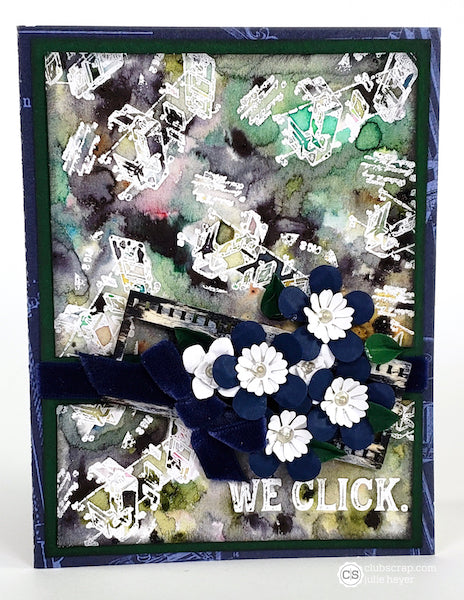
Create the same Color Burst Resist background with a different color palette. Add punched paper flowers, layered over a Woodcut Frame distressed with acrylic paints, and Navy Blue velvet ribbon tied in a bow.
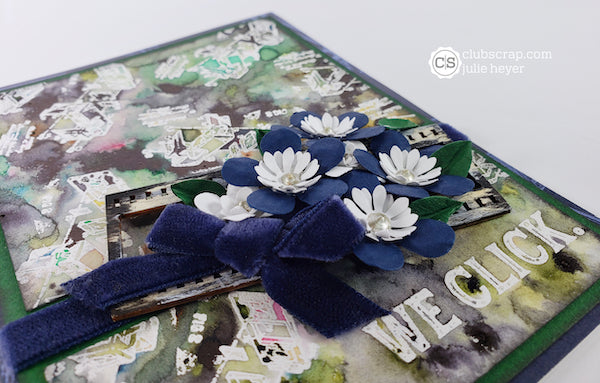
Card 6
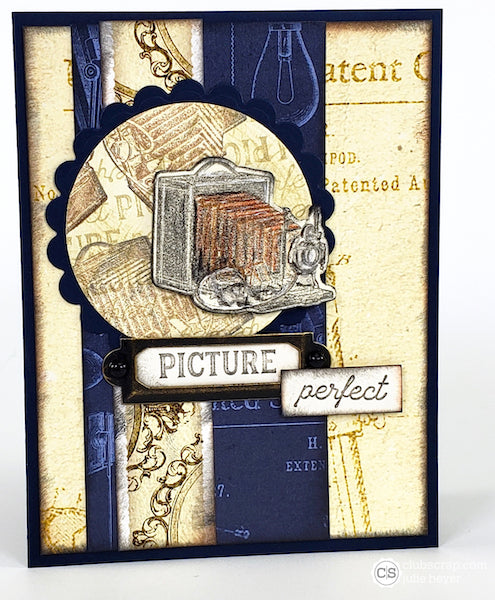
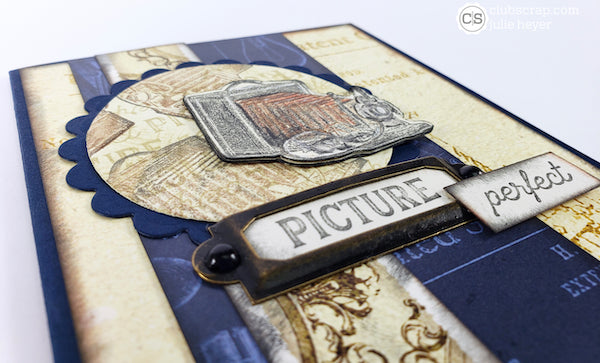
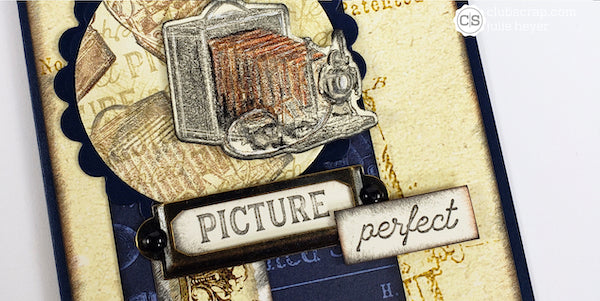
Fussy cut a camera colored with pencils and adhere to a stamped scalloped circle layered die-cut. Stamp and trim each word in the sentiment separately. Adhere the word "picture" behind a Brass Label and layer the word "perfect" in front, popped up with dimensional foam squares.
Card 7
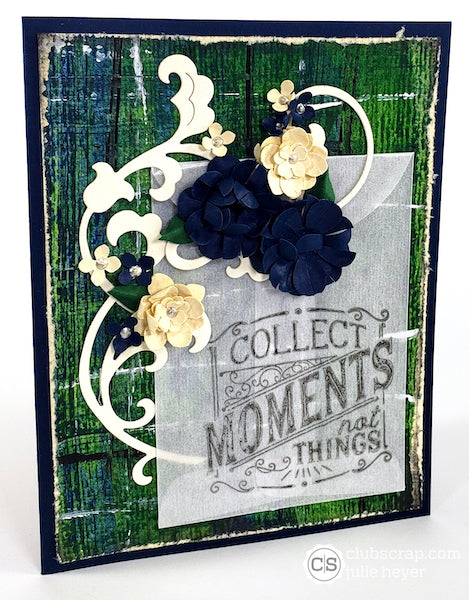
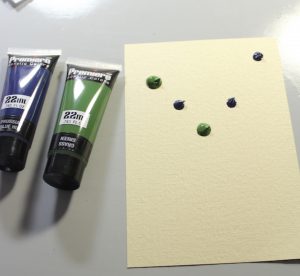
Create a whimsical background with acrylic paints. Dot the paint directly onto an Ivory Texture panel.
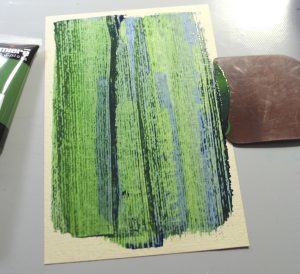
Pull the paint from the top of the panel to the bottom with a pan scraper tool.
Dip a clean edge of the tool into white and black acrylic paints and using the chisel edge, create hash marks in perpendicular lines across the panel.
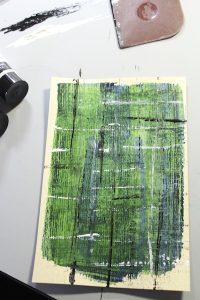
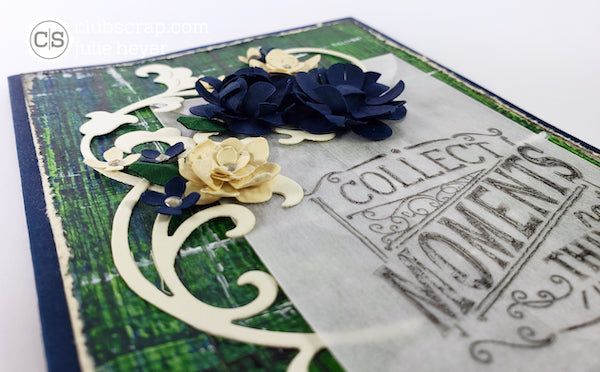
Allow the panel to dry, crop, distress the edges and add to the card base. Continue to embellish with a sentiment stamped onto a Glassine Envelope. Finish with punched paper flowers and die-cut flourishes.
Altered Tag
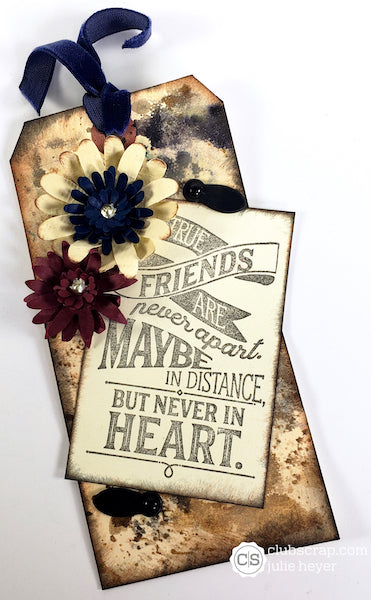
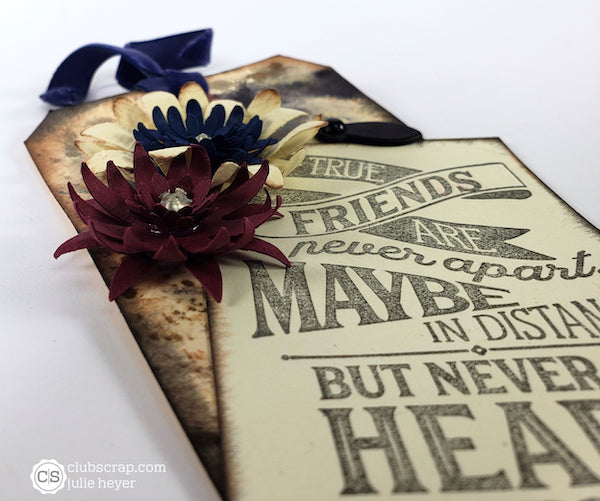
Pick up diluted Color Bursts from a craft sheet onto a shipping tag to created the mottled background. Allow the tag to dry. Embellish the tag with a simple stamped sentiment and punched paper flowers. The addition of Photo Turns and Velvet ribbon completes the look.
I hope you enjoyed the tour of my Photo Booth cards as much as I enjoyed making them! Get those fun stamp images while they last!
 Julie
Julie
