
The Let It Bee stamps offer tons of great options for cheerful cards!

Let It Bee Stamps
Let's take a look at the first cards made with my set. I can't wait to reproduce more!
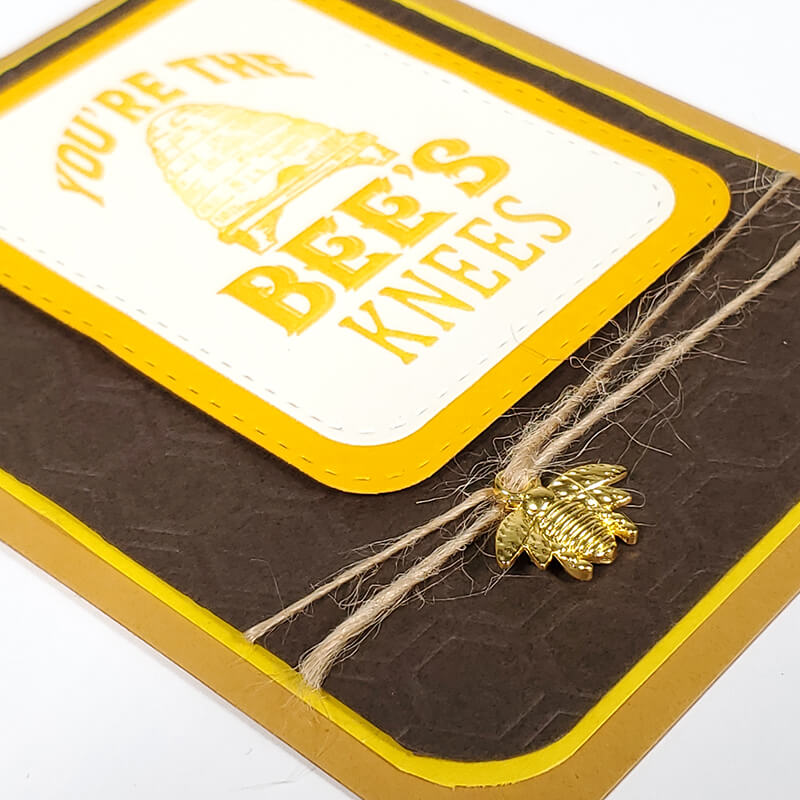
Card 1
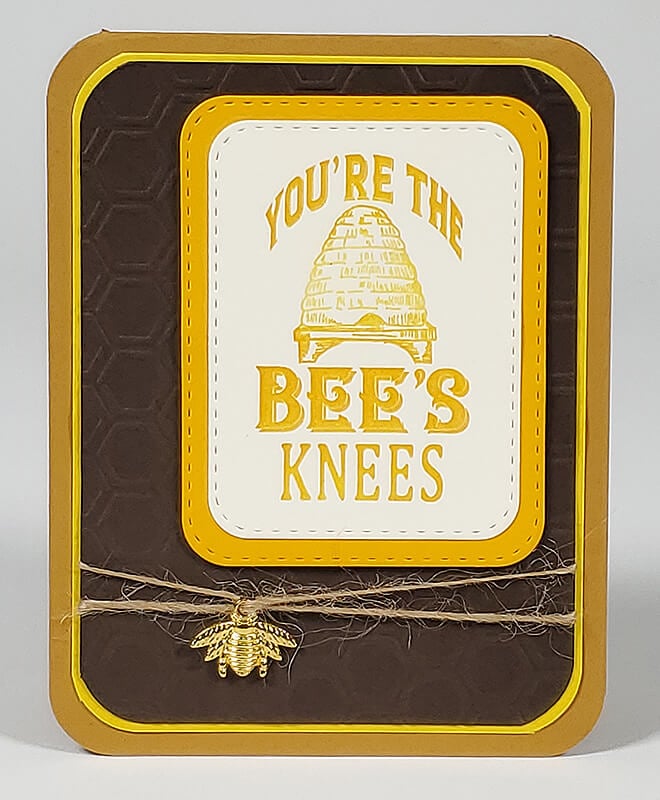
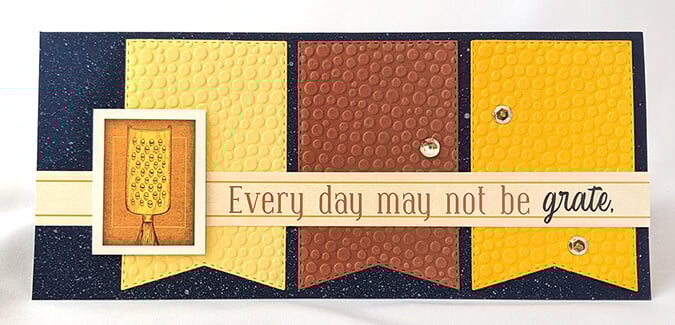
Ink the sentiment with Yellow, and stamp with a positioning platform. Add more Tangerine ink to the top and bottom portion of the image to intensify the color. Get busy with a corner chomper, and create several panels with colors from a POP (Pack of Panels.) Add texture to a Dk. Brown panel with an embossing folder and tie on a gold bee charm with jute.
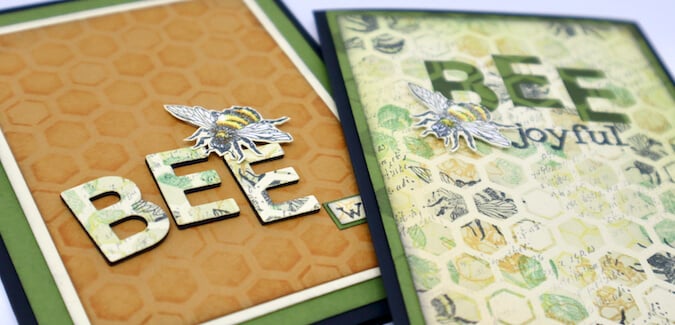
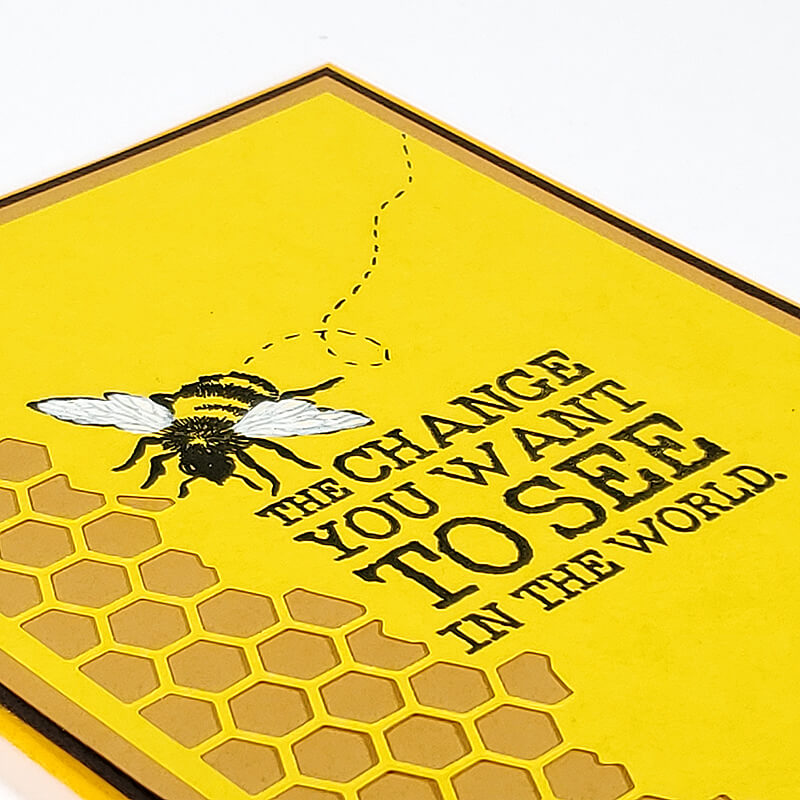
Card 2

Stamp the bee and sentiment with black ink. Add a little sparkle to the wings with a "wink of stella" or glitter pen. Draw dashes with a black pen to create a meandering bee trail. (I got lucky with a corner honeycomb die cut from my stash.)
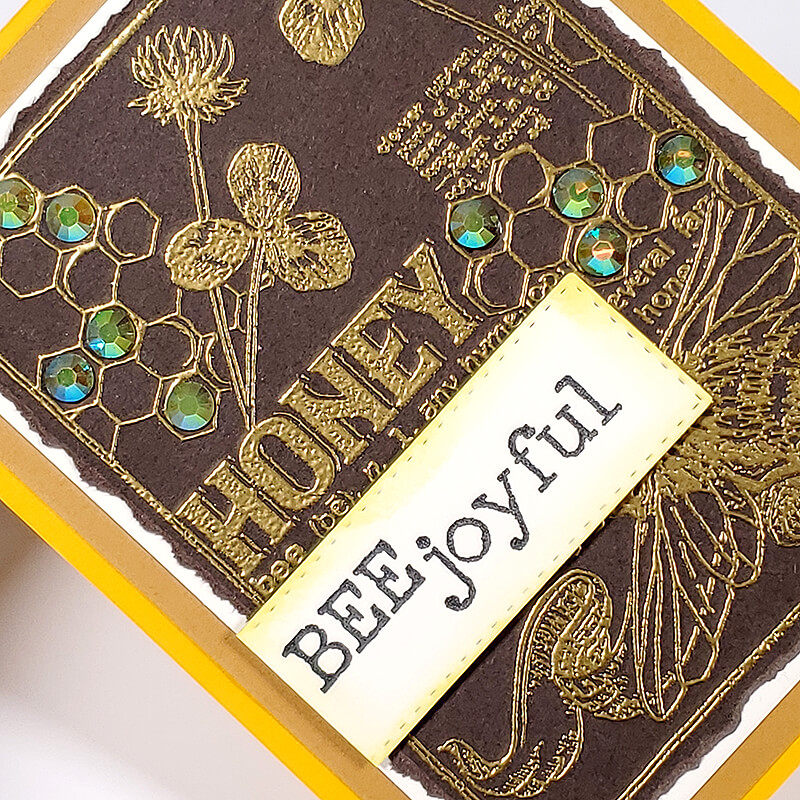
Card 3
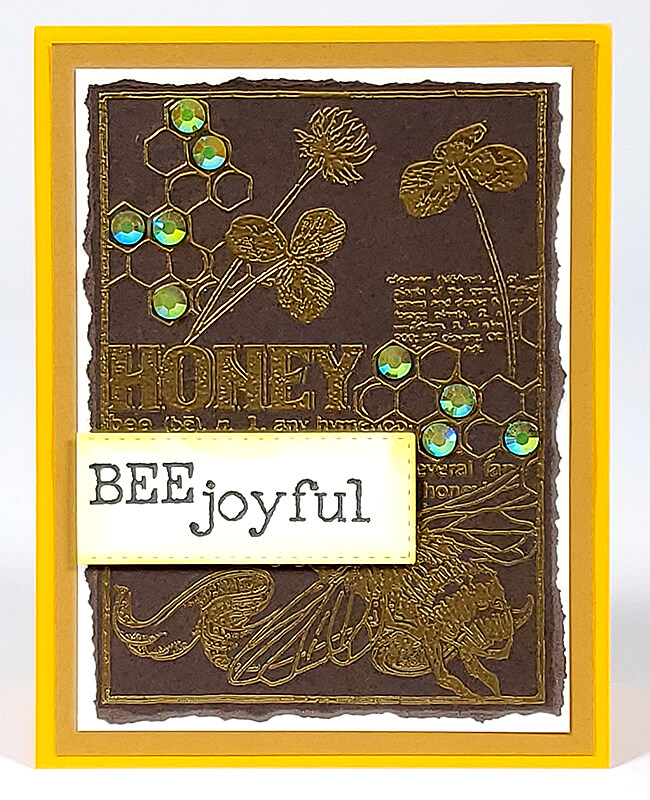
Stamp and emboss the large collage image with gold powder. Align a ruler with the edge of the image and tear away the perimeter. Nest onto several panels and a folded card base. Add a stamped sentiment with foam adhesive and finish with a smattering of yellow crystal gems.
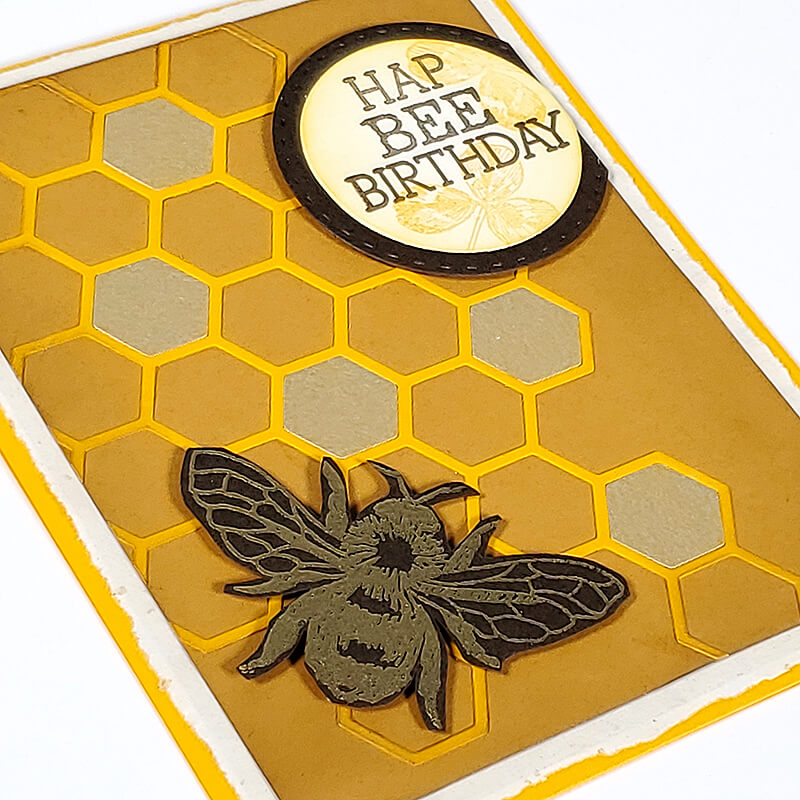
Card 4
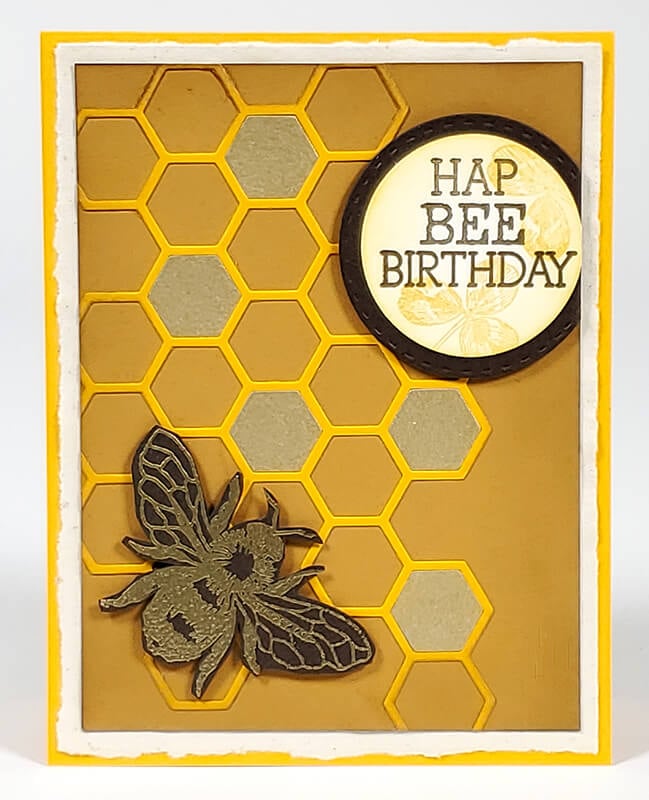
When Karen saw this card, she thought I'd found a bee-shaped die cut. Instead, simply stamp and emboss the image and take a moderate amount of time to fussy-cut with a detail scissors. If you happen to have nesting circular die cuts, stamp the clover and sentiment combination, cut into a circle and nest onto a slightly larger circle. Clip off the right edge with a paper trimmer and layer onto the right edge of a panel. I love that look! Karen loaned me her nifty honeycomb die cut for the background.
Card 5
I love this background! Mist the honeycomb stamp with water and add color with a watercolor crayon. Stamp directly onto an Ivory texture panel. Mist the stamp a second time with water, and stamp again. (This can be repeated until the color fades.) Allow the panel to dry completely. Use a stamp positioning platform to add the sentiment and bee with several impressions of black ink.

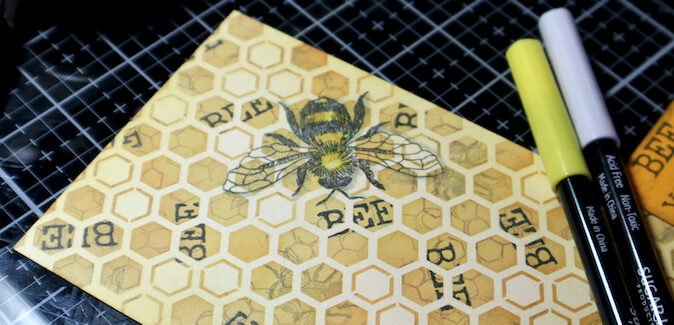
Card 6
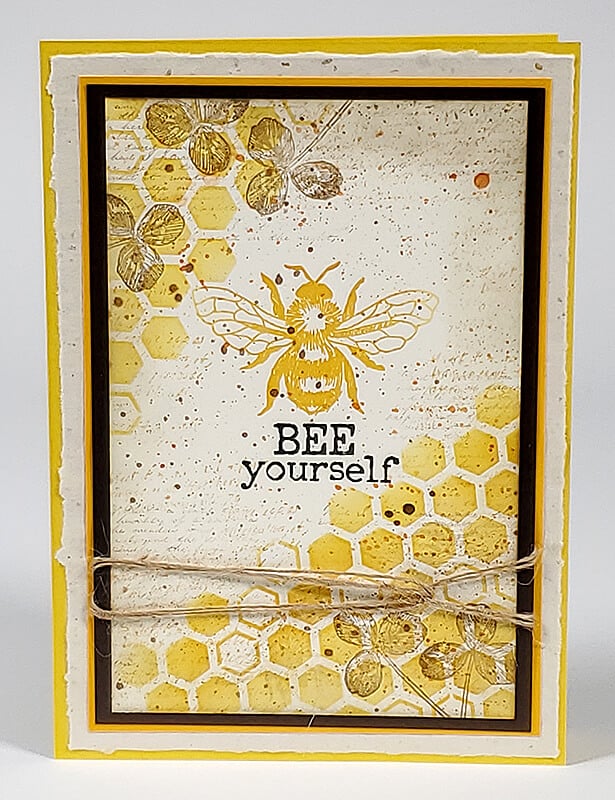
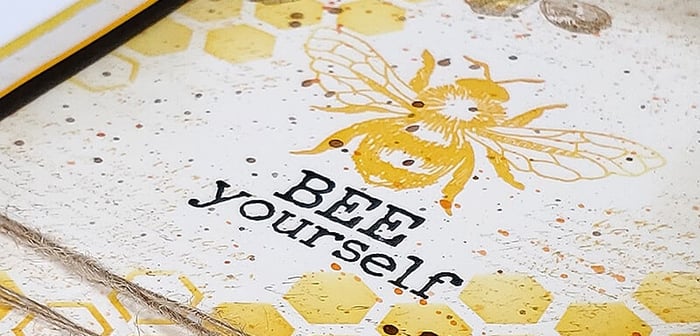
This art panel was fun and quite easy to create. Stencil the upper left and lower right corners of a 4x6" Ivory panel with the Honeycomb stencil and yellow ink. Stamp the large bee with yellow ink and add "Bee yourself" with black ink. Add a few clover images to the perimeter with Earth ink. Next, add your favorite "text noise" to the panel and splatter with watercolor. Allow the panel to dry and wrap with two loops of jute fiber.

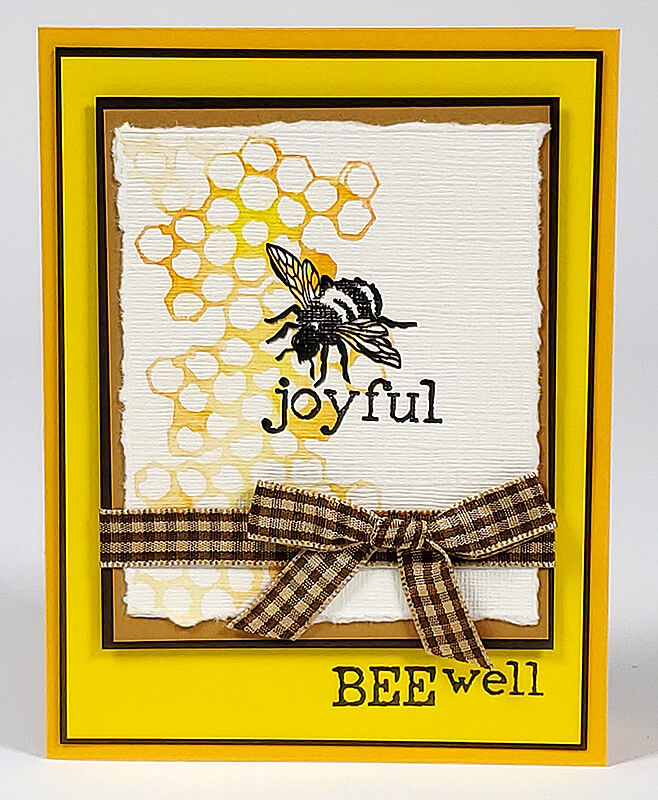
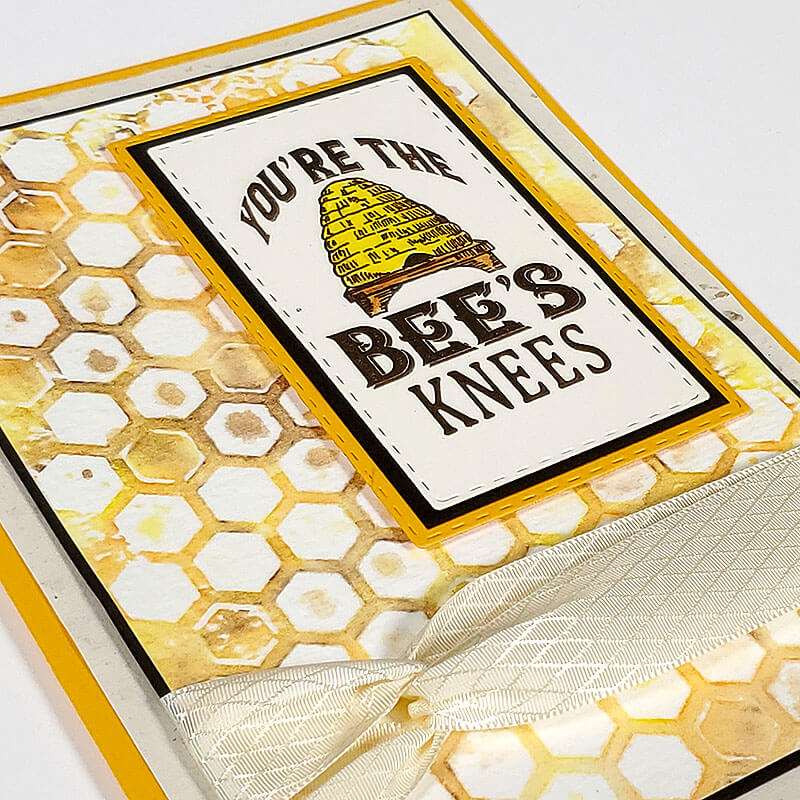
Card 7
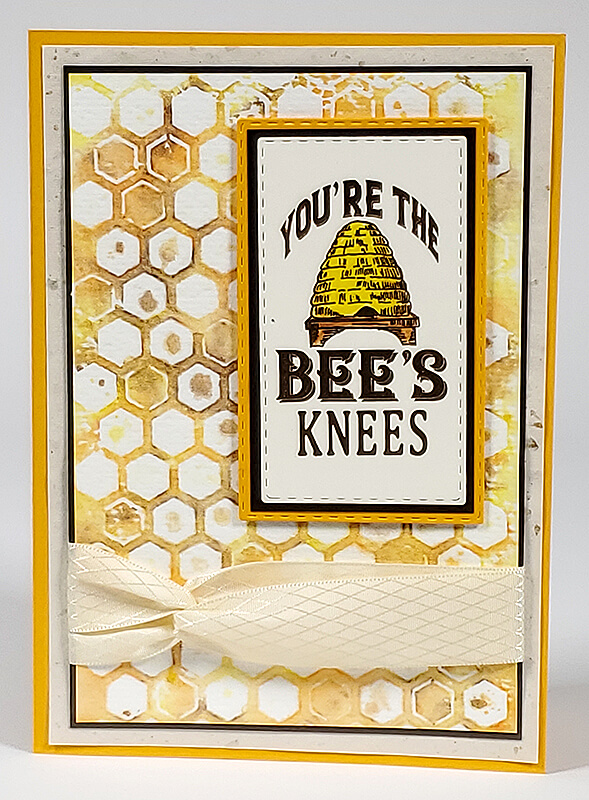
Here's another favorite stencil background technique. Place the stencil on a protected work surface and mist with water. Next, add watercolor to the stamp. (Inexpensive watercolor crayons work great!) Press a panel of watercolor paper onto the stencil. Lift, and set aside to dry completely or speed up the process with a heat tool. Add a stamped panel with foam adhesive, and finish with ribbon.
I hope you're able to set aside some time to get busy and play! As always, I love seeing the results of your creative time on our Club Scrap Chat group on Facebook.
See you there!
Tricia