
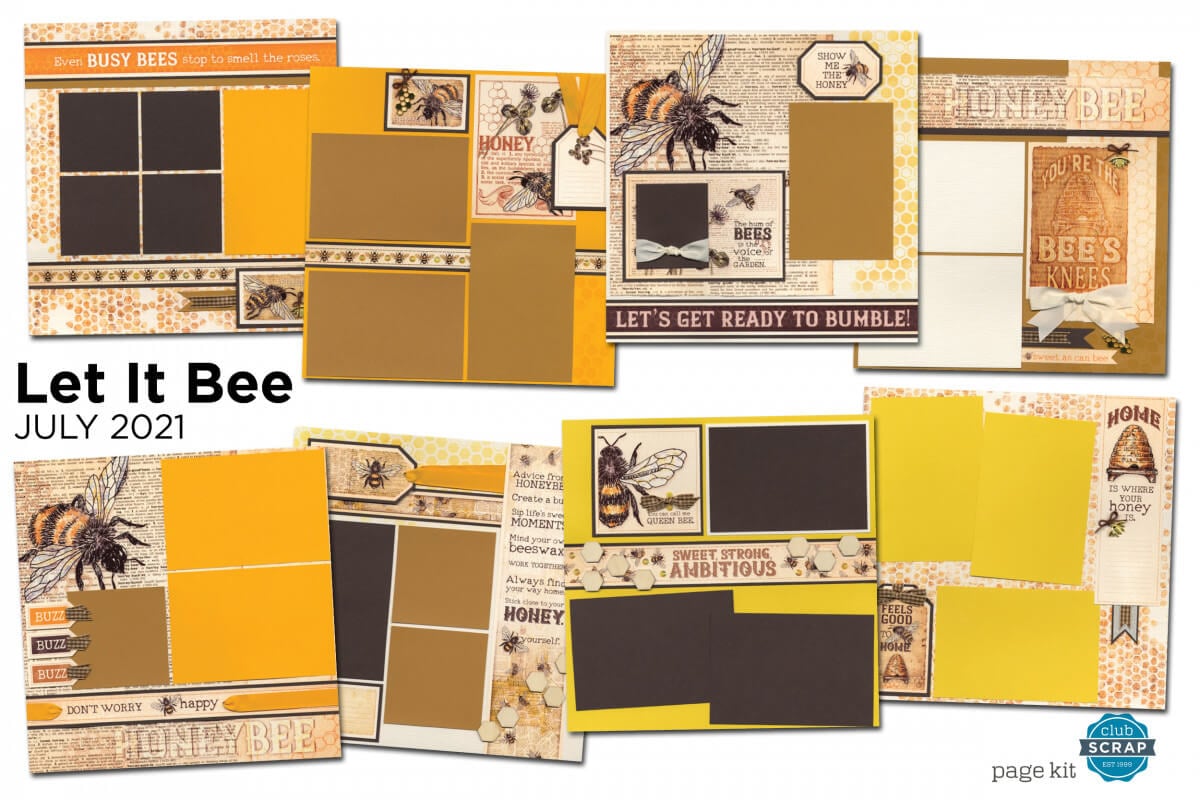
It's a great day to take a closer look at the Let It Bee Pages! Our July kit makes it possible to create eight bee-utiful layouts.
Just in case you haven't had a chance to see the entire collection, watch my unboxing video to preview the page kit, card kit, stamps, and more!
Let It Bee Pages
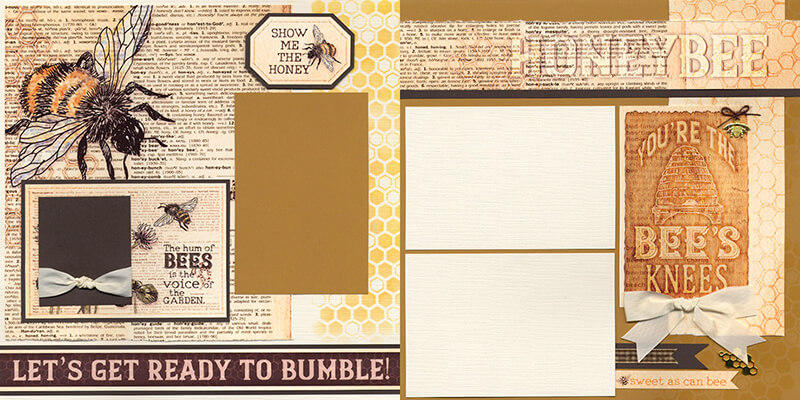
Layouts 1 & 2
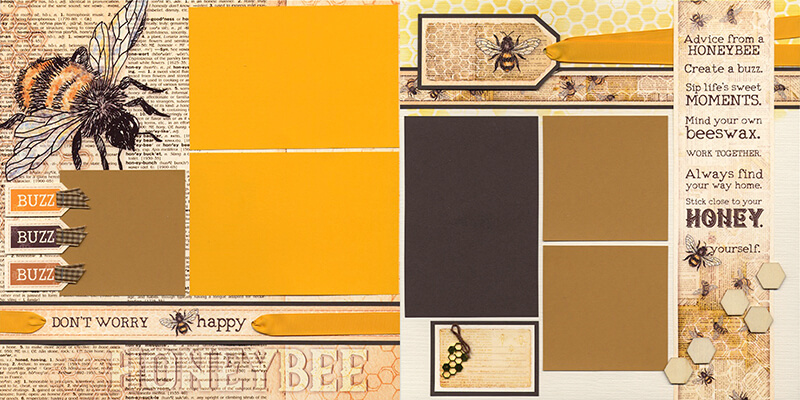
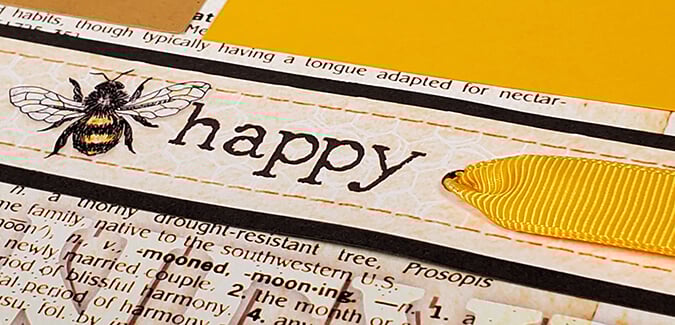
I'm up to my "ribbon tricks" again. Punch a hole on each side of the text printed on the title strip. Thread a piece of ribbon into the punched hold and tape the end on the back. Wrap the other end of the ribbon around the edge of the strip, and repeat the process for the other side. Avoid running the ribbon all the way behind the title to prevent excess bulk.

Layouts 3 & 4
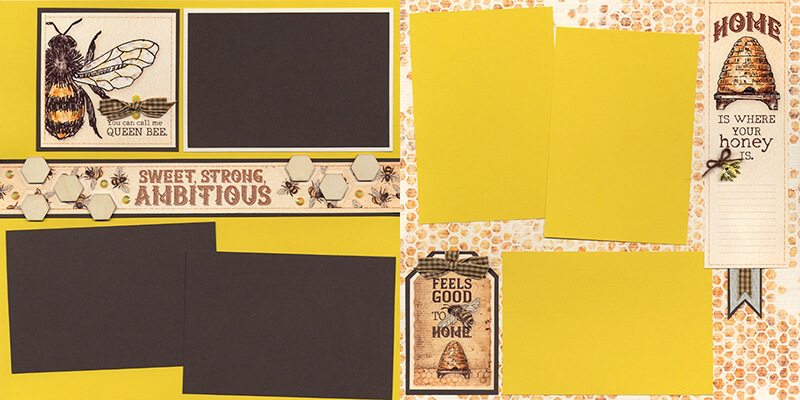
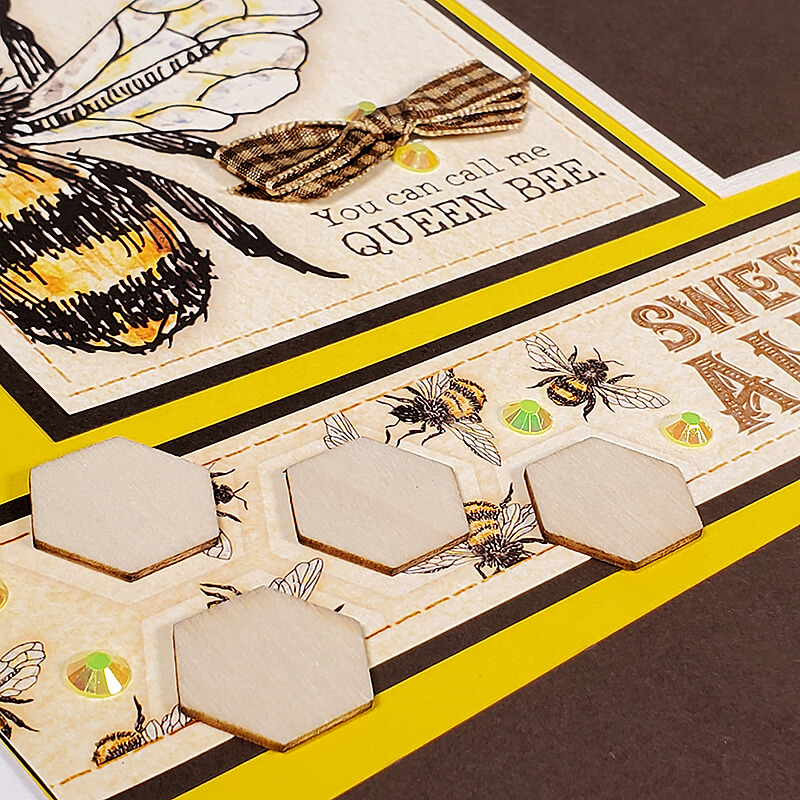
I love how Jacqueline designed hexagon shapes to help plan for ideal placement of the laser cut wood hexagons included in the kit. Once the page is completely assembled, adhere the tiles with CS® Bookbinding Glue and intersperse with yellow gems to add a bit of sparkle. Lastly, tie a basic bow with gingham ribbon, adhere to the "queen bee" cutapart and place a gem above and below the knot.
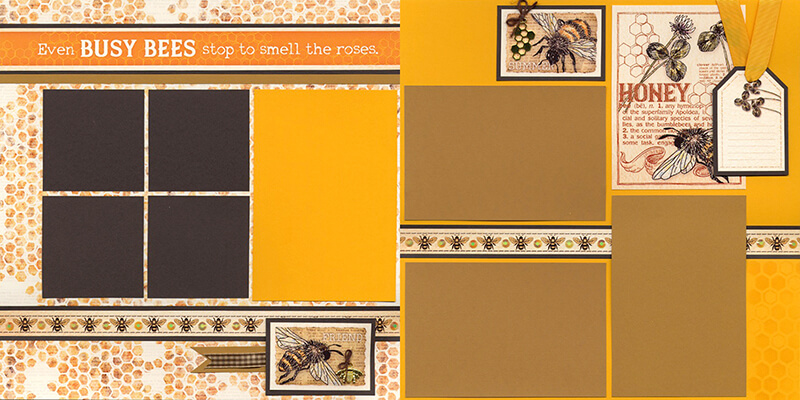
Layouts 5 & 6
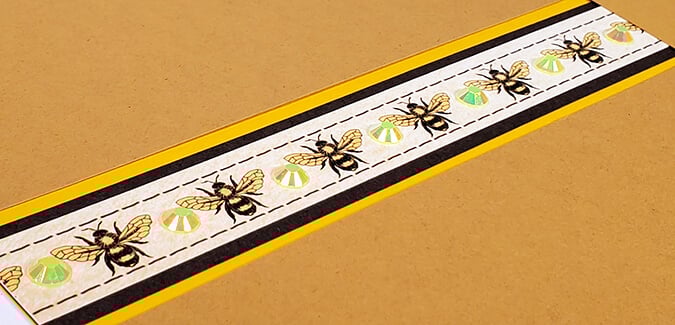
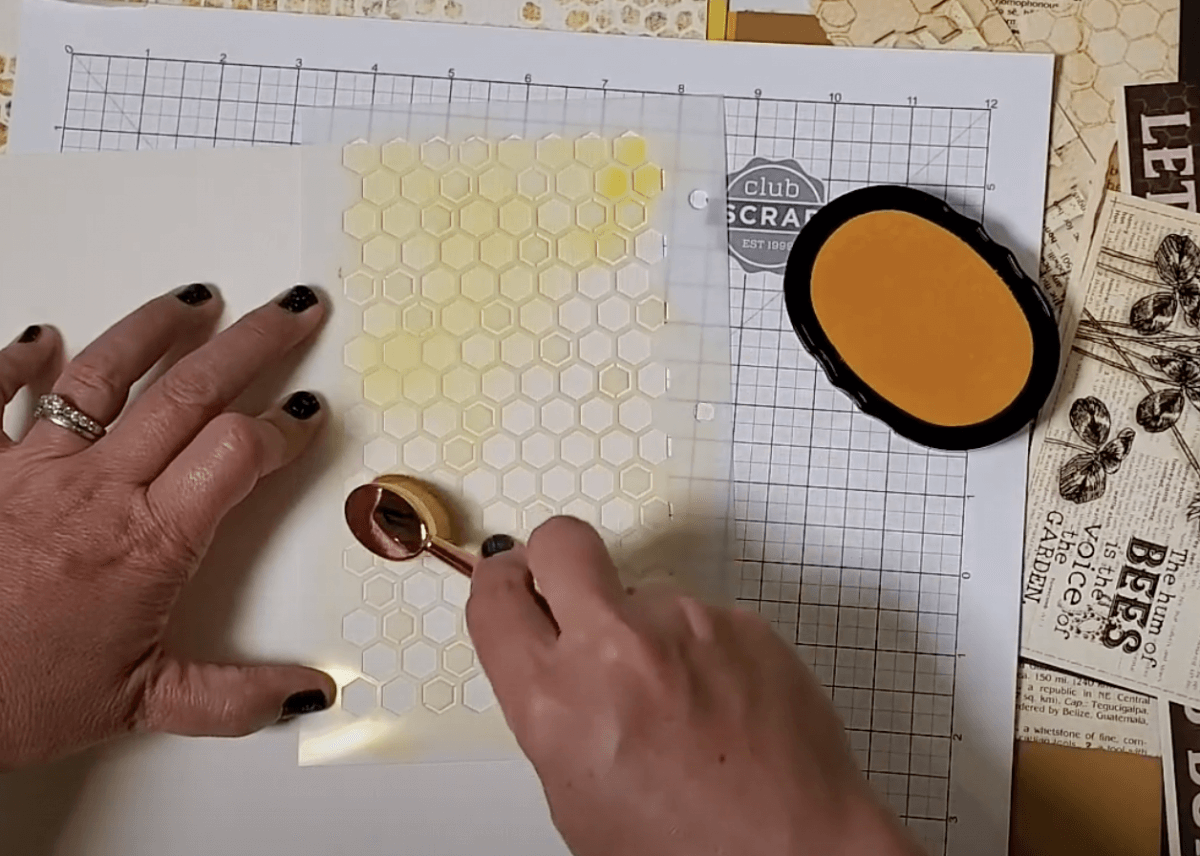
The stencil provides a sweet addition to the Ivory Linen paper used as a base for the left side of the double page spread. Simply place the edge of the stencil onto the right edge of the paper, keeping the binder ring holes off the page to avoid stray marks. Load an ink applicator brush with Yellow ink and apply to the stencil in a gentle circular motion. I'll demonstrate this technique in the workshop video, as well.
Layouts 7 & 8
I managed to complete all eight layouts with a minuscule number of scraps. To be precise . . . just four tiny triangles.

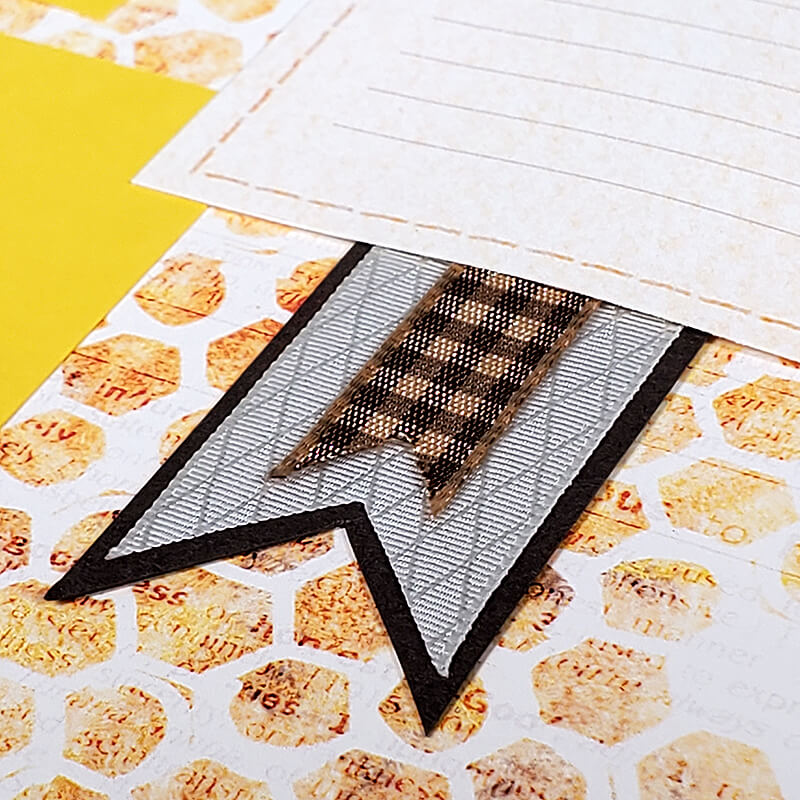
In a case where there is a small scrap of paper created during the trimming process, simply cut a triangle from one short edge, and tuck the piece behind a cutapart or photo mat. It provides a lovely spot for a photo caption. In this case, trim a piece of gingham ribbon in the same fashion and nest onto the scrap.

The same technique was used on layout 3 and 4 with two layers of ribbon on a small brown scrap. What a sweet addition!
Buzzing off, for now. I'll be back next week Tuesday with more fun details about the card kit. Have a safe and joyful holiday weekend!
Tricia

Ink Applicator Brush
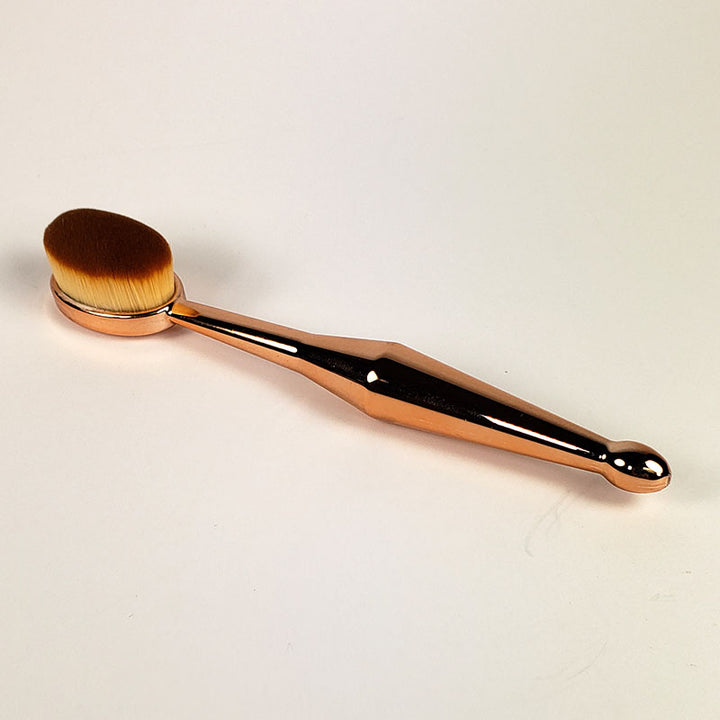
$5.50
Apply and blend inks quickly and easily with this fine-bristled brush. Pair with our hybrid inks and stencils to achieve soft, beautiful results! Features: Measures 5.75" overall 1.5" oval brush head on a 4.25" rose-gold handle Collect one for each… Read More
Bookbinding Glue 2 oz.
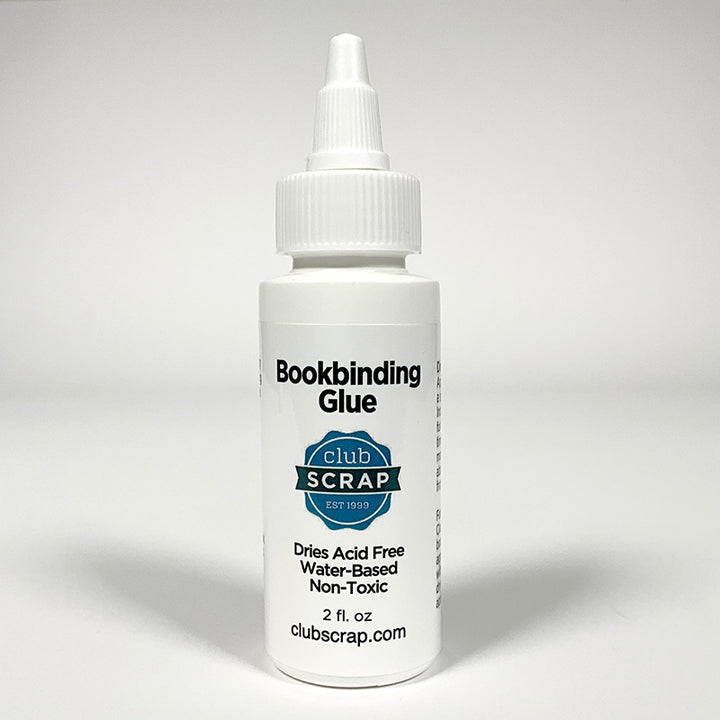
$6.55
Acid-free, quick drying, and easy to use for all of your bookbinding projects (and more). This is the one glue you MUST have in your stash! ***Please note: This product cannot freeze. We may not be able to ship this… Read More
Needle-tipped Applicator
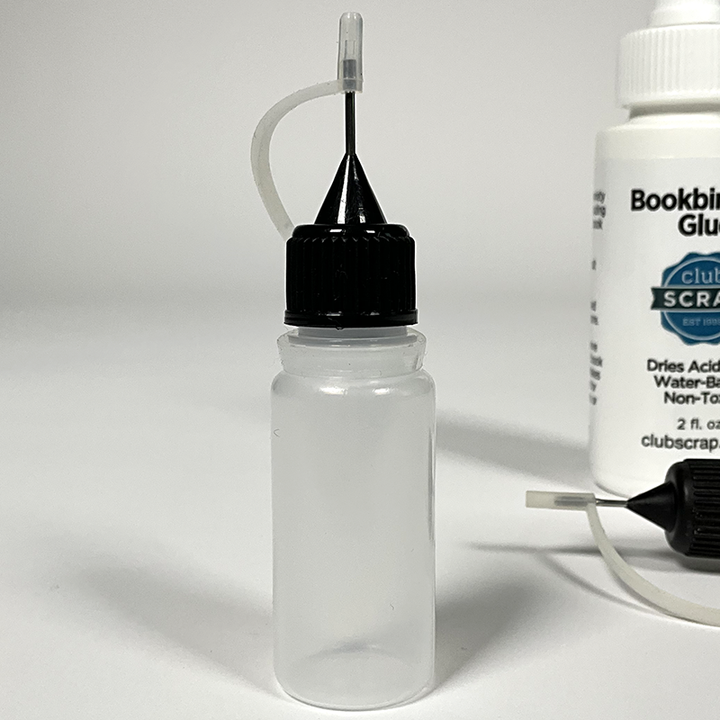
$2.15
Fill with our Bookbinding Glue for easy application on die cuts and other small embellishments. Super-fine tip resists clogging and delivers just the right amount of glue. Plastic bottle and lid with metal tip. Holds 10ml. Refillable.… Read More