
Let's take a closer look at the beautiful In Bloom Page Kit!

If you haven't viewed it already, take a few moments to look at the video preview of the pages you'll make if you follow our thorough assembly instructions.
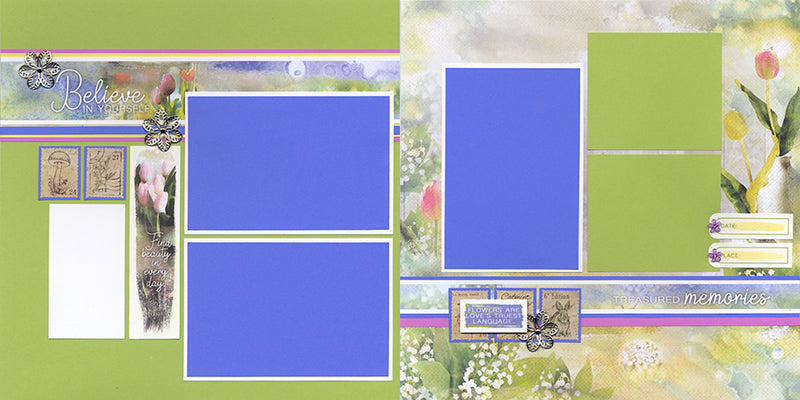
LAYOUTS 1 & 2

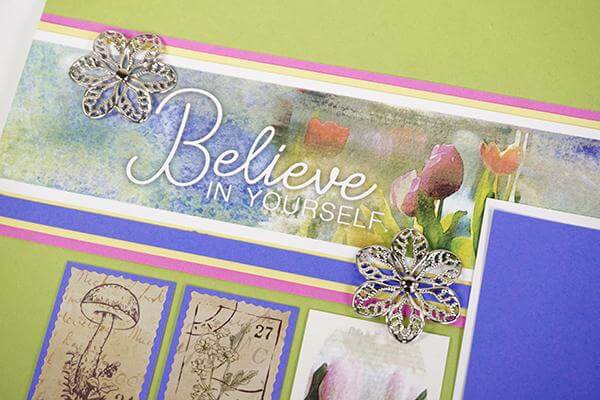
Cover the back of this little flower gem with CS® Bookbinding Glue and attach it to the circular spot on the page title. Nest two botanical postage stamp stickers to the mats you'll create during the paper trimming process.

Balance the lower right corner of the double page spread with a second gem and three more matted stickers.

LAYOUTS 3 & 4
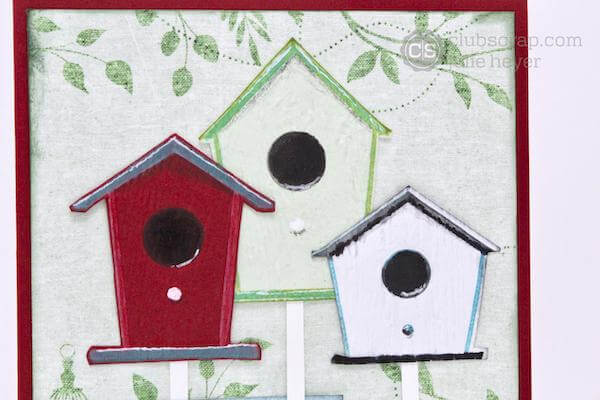
You'll love the flower-shaped charms in this collection. If you happen to have silver mini brads in your stash, thread one through the center hole to attach them to your layouts.

LAYOUTS 5 & 6

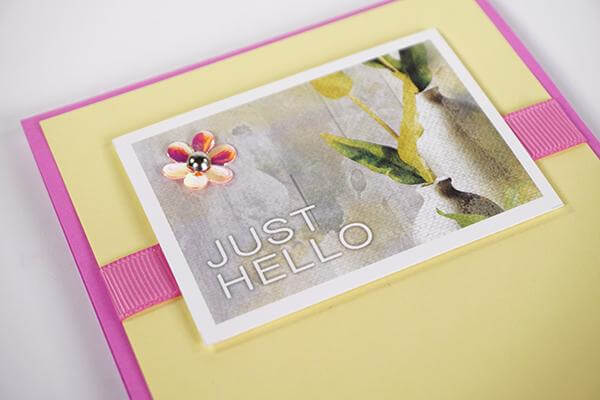
Check out the three gorgeous ribbons we've selected for this kit!

Trim three 2" lengths of the fuzzy-edged white grosgrain, fold in half, and staple to the top of three matted postage stickers.

Wrap the cutapart with the sheer pink ribbon and tie a bow. So sweet!

LAYOUTS 7 & 8

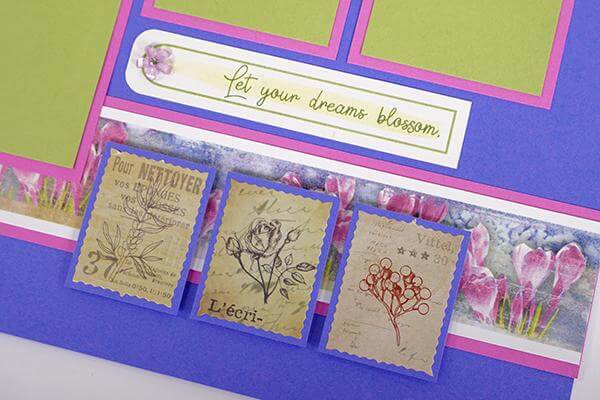
Tie the green ribbon around the cutapart and arrange three yellow flower gems on top of the journaling prompt. Arrange the cutaparts and photo mats on the gorgeous floral print.

If you haven't already, be sure you've made arrangements to be the proud owner of the In Bloom Page Kit!
Off to "count my blossoms!" Have a beautiful day.
Tricia