
You only need a few supplies on hand to create beautiful cards with the Golden Hour stamps. Read on to view the first handmade cards made with these images!

Card 1

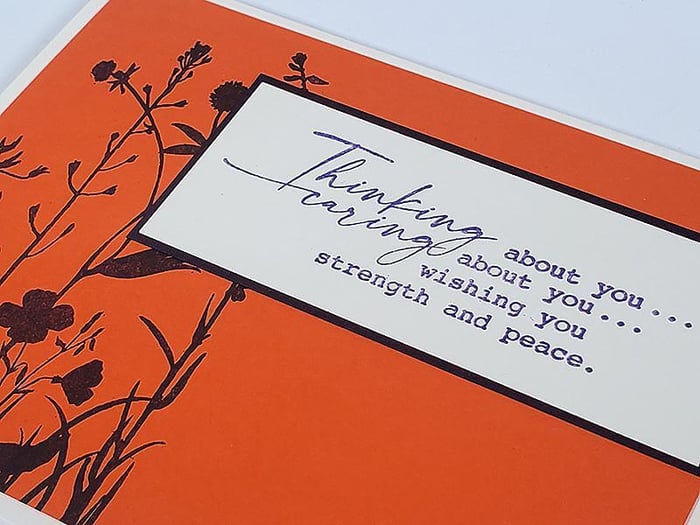
The opacity of Club Scrap's white pigment ink is perfect for stamping on dark papers. It's even better if you are using a stamp platform and can add a second layer for even more vivid contrast. Here, both images are stamped in white. Apply Pan Pastels to the floral silhouettes to give them a beautiful glow. Finish the card with two ribbon loops and layer onto a folded Lt. Orange card base.

Card 2

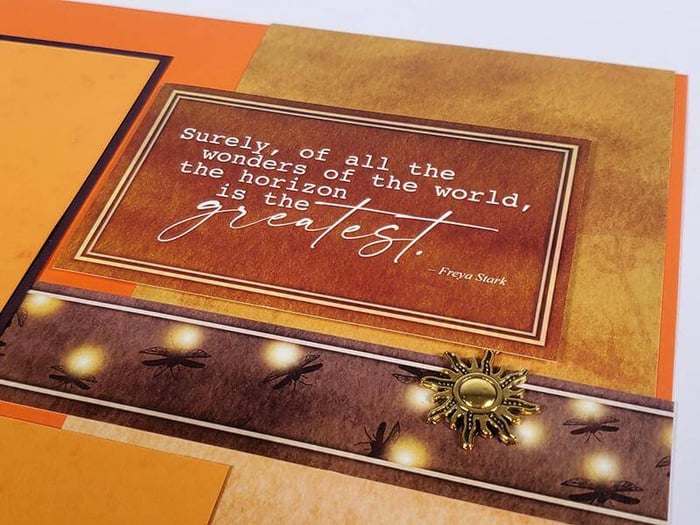
Stamp the sentiment onto an Ivory panel with India Black ink. Use an ink applicator brush to randomly add little spots of yellow ink to the panel. Stamp each spot with the firefly image.

Card 3
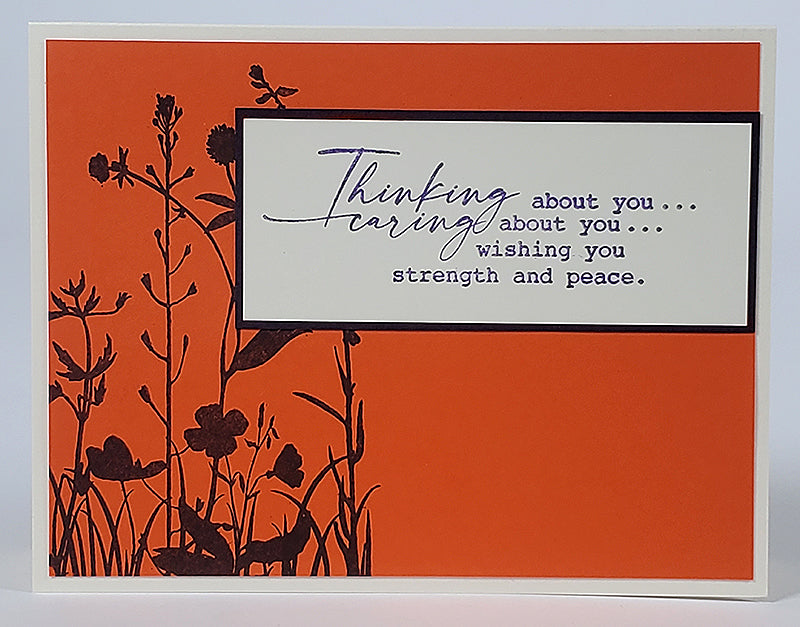
Stamp the sentiment onto an Ivory panel with Amethyst ink. Trim and nest onto a Purple panel. Stamp the wildflower image onto the left side of a Dk. Orange panel and layer onto an Ivory card base. Adhere the sentiment flush with the right edge of the Orange panel. This simple card is perfect for making multiples.

Card 4

Begin by punching or die cutting a circular shape from a Post-it Note or paper scrap. Place the circle onto an Ivory card panel, and apply assorted ink colors to the panel with an ink applicator brush. Use a circular motion to distribute the ink, starting with the lightest color first (Yellow) and blending with Tangerine and Red inks. Remove the mask and stamp the wildflower silhouette with black ink. Trim the inked panel to fit onto the card base. Stamp the sentiment onto a preserved scrap.

Card 5

Create a colorful background using the same inks and method described in card four. Stamp the sentiment and images, wrap with jute fiber, and nest onto several panels and a folded card base.

Card 6
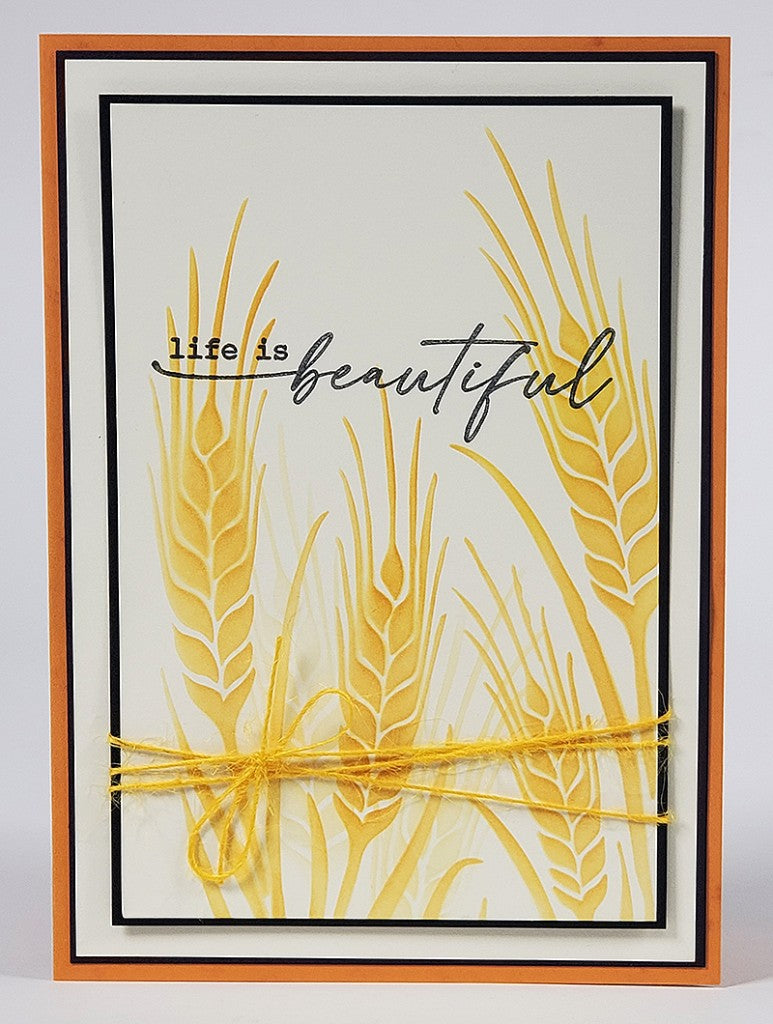
Create a background with the Wheat stencil and Yellow ink. The word "beautiful" comes with two add-on stamp options: "life is" and "you are". Both are designed to nest perfectly above the glyph of the letter "b."

Card 7

Use the same mask created for card four. Place the mask onto the right edge of the panel and add a glow of Yellow ink around the mask with an ink applicator brush. Stamp the sentiment and dragonfly with Amethyst ink.

Card 8

Add a line of Van Gogh washi tape to the bottom edge of a Yellow panel. Stencil a row of numbers above the tape, and finish with the stamped sentiment.

Whether you only have a few minutes or can relish in hours of creativity, the Golden Hour stamps will deliver endless options! Don't forget to share your stamped creations at the Club Scrap Facebook Chat Group!
Tricia