
I love the time of year when schedules return to "normal," the air is crisp, and the farmer's market is filled with pumpkins and mums. This stunning Garden Shed Lite kit is the best part of the season's harvest. Download the page assembly instructions and check out the tips below.
GARDEN SHED LITE KIT
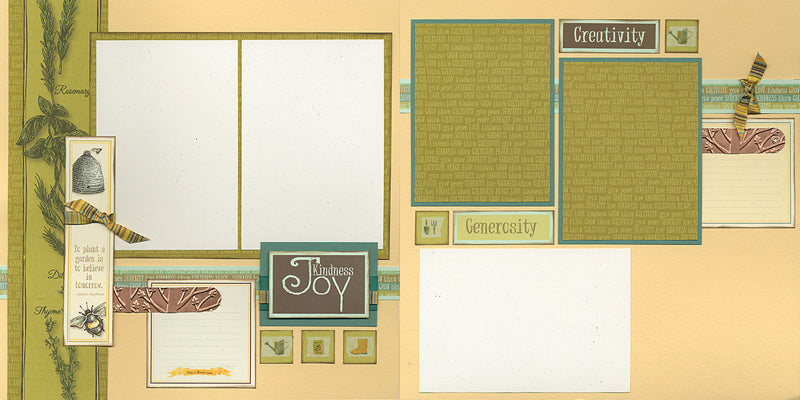
LAYOUTS 1 & 2
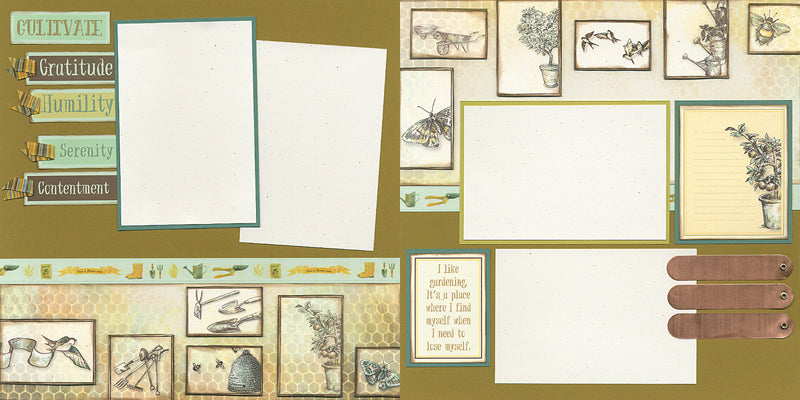
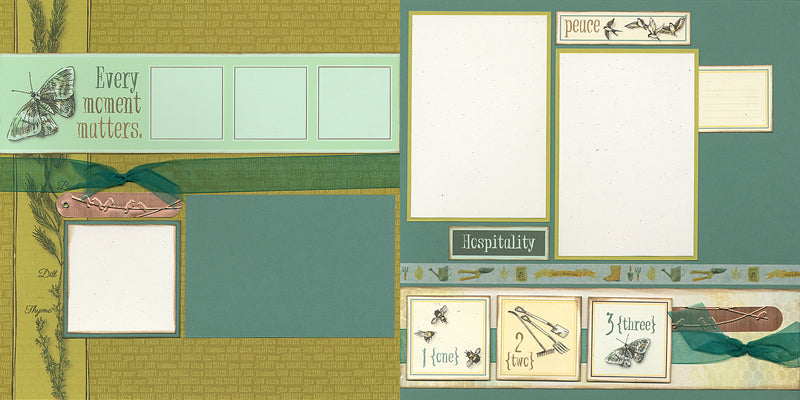
Trim a 2" length of striped grosgrain ribbon, fold in half, and attach to each word in the list with a mini stapler.

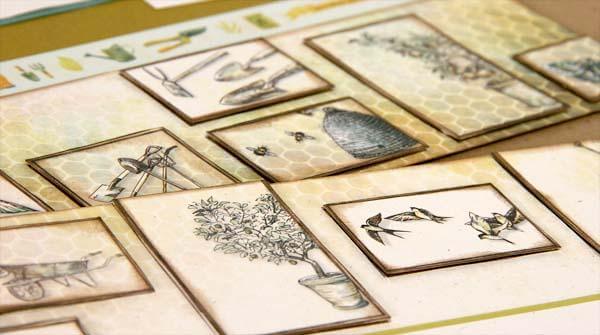
If you're in the mood, cut the individual frames from the 12x12 White Print with a craft knife and cutting mat. Age the edges of each frame with Earth ink and an Ink Applicator. Adhere the base of the White print to the layout and attach the frames with Foam Adhesive Circles.
LAYOUTS 3 & 4
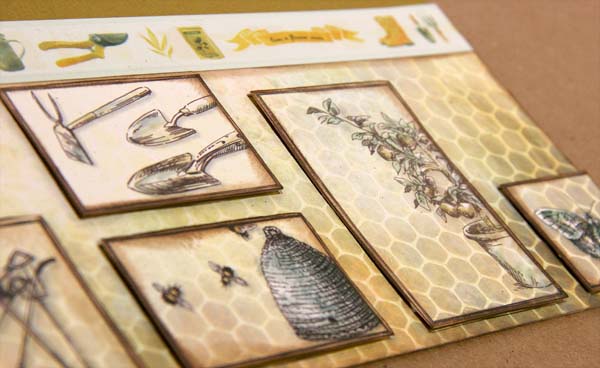
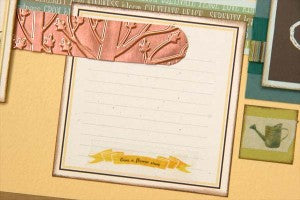
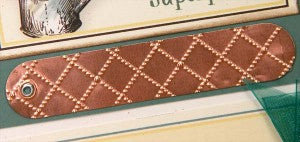
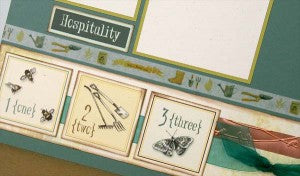
Run the copper plant tags through an embossing machine with your favorite textured embossing folders. It works beautifully! The little banner at the bottom of the White cutapart is torn from the washi tape included in the kit.
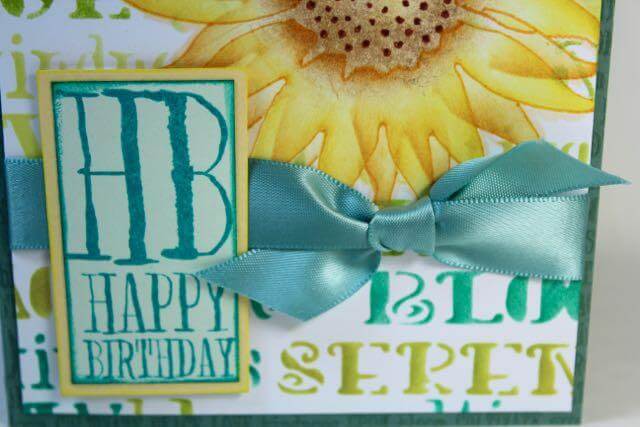
Create a double layer of ribbon on the Teal mat with the wide teal chiffon ribbon and narrow striped grosgrain. Adhere the "joy" cutapart with foam adhesive. Tear single images from the washi tape and adhere to the 1x1" Citron squares. (The Citron squares are used plain side up.)

LAYOUTS 5 & 6
The copper plant tags look fantastic with any textured embossing pattern.
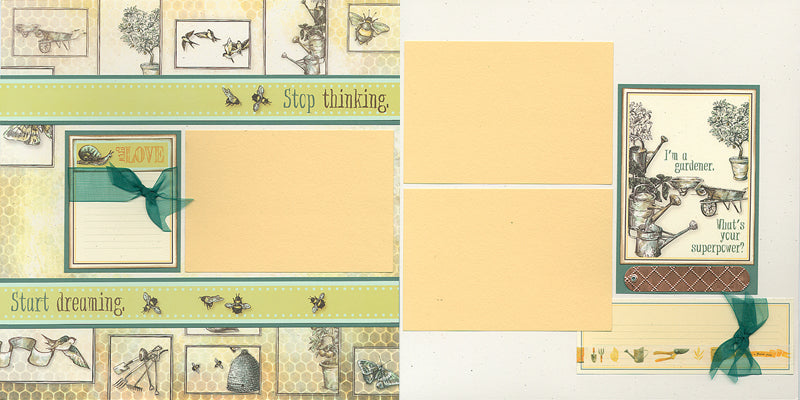
LAYOUTS 7 & 8
Add a strip of washi tape above the 3x12" white print to help anchor the right side of the layout.
Whether you do your own thing or follow the page assembly instructions to a tee, this kit is sure to be a versatile and useful addition to your stash!
Tricia