
The Fly a Kite Stamps include a series of fun kite images, a pinwheel, banner, and plenty of uplifting quotes for your stamping enjoyment!
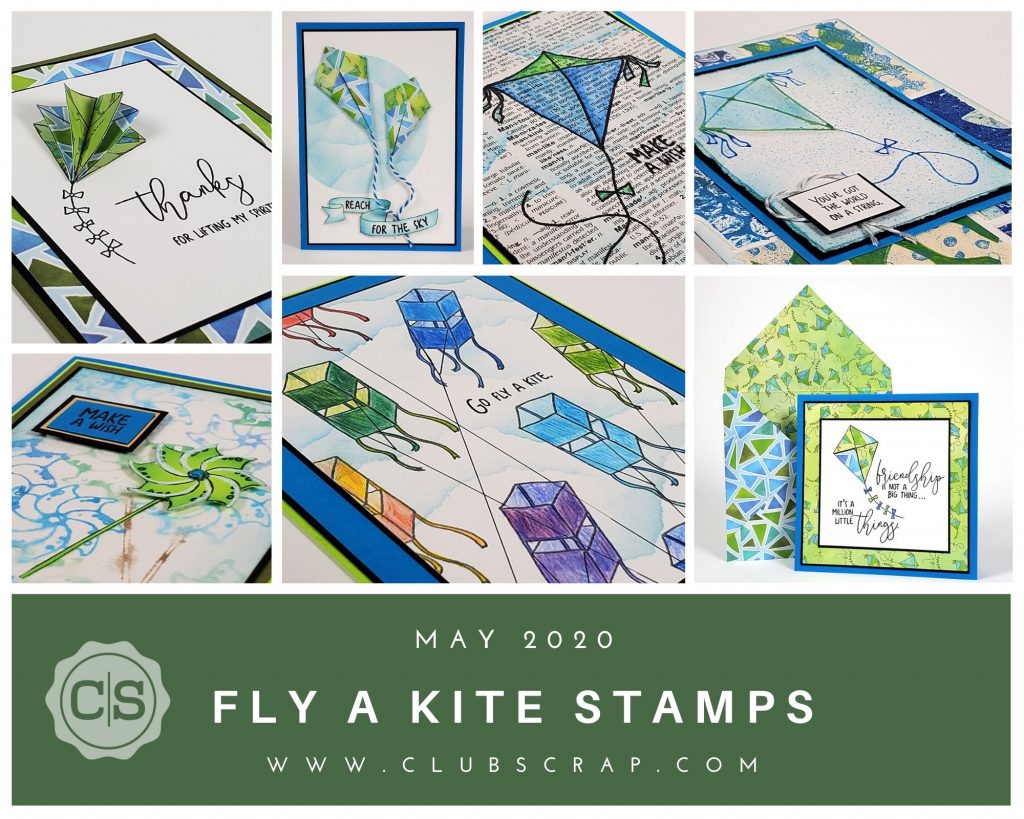
If you enjoy expanding the creative options of your page kit and card kit membership, the stamp sheet can be automatically included in your monthly shipment. Of course, you can select and order your favorite sheets while supplies last.
Fly a Kite Stamps
Card 1
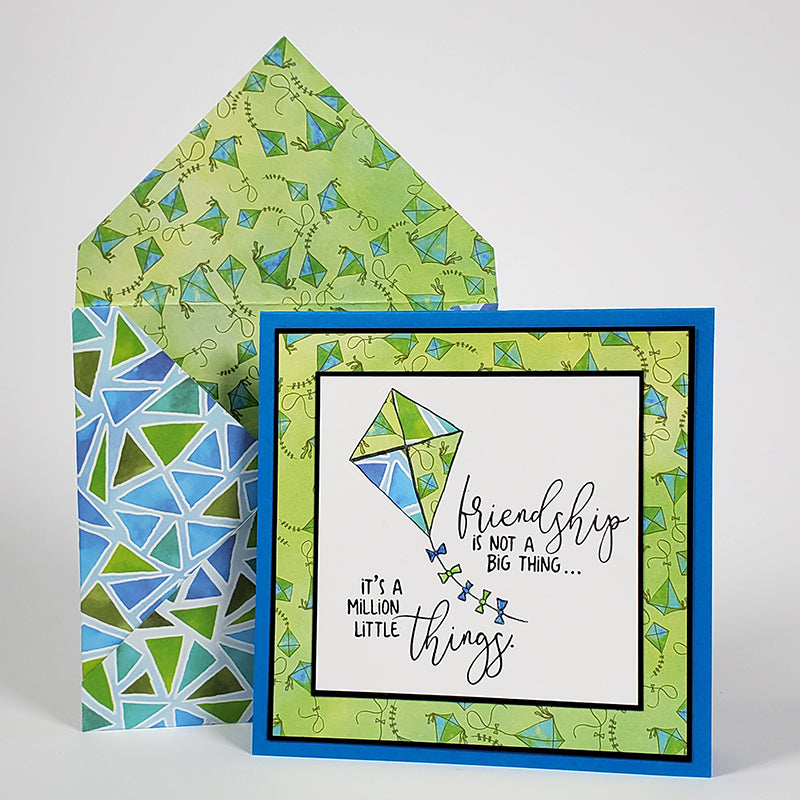
Stamp the kite onto a white panel with black ink. Stamp again onto each side of a duplex print. Trim the triangular shapes and adhere onto the original stamped kite. Add the two-part sentiment to each side of the kite string. Nest the square art panel onto several mats and a folded card base. Finally, make your own square envelope with the duplex print.

Card 2
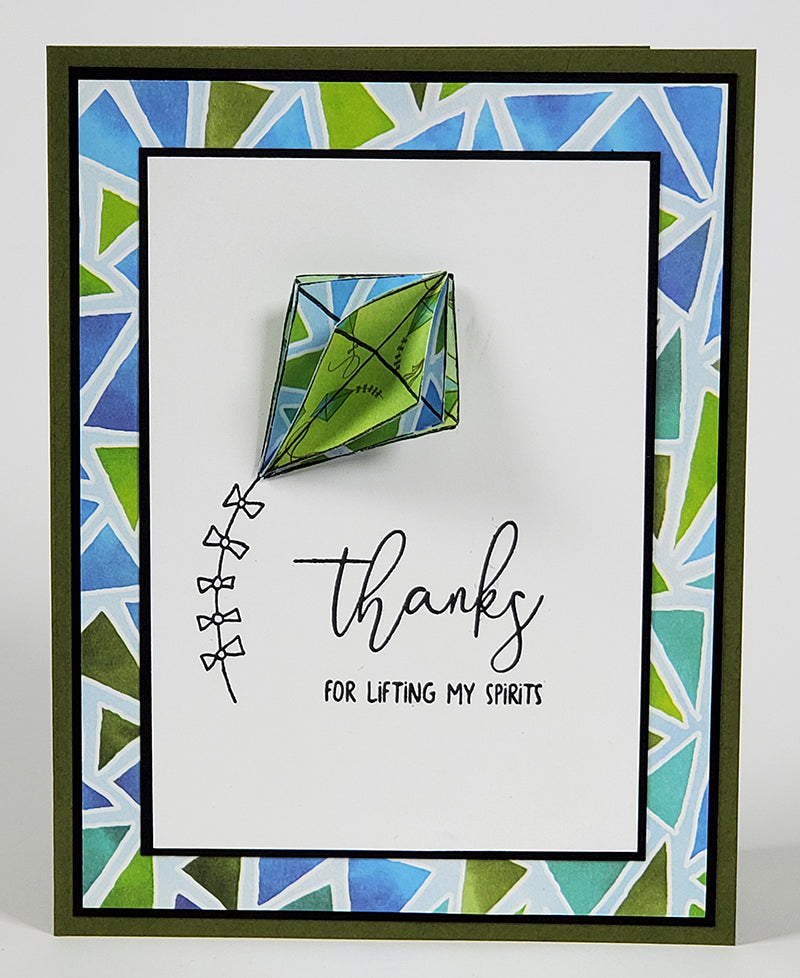
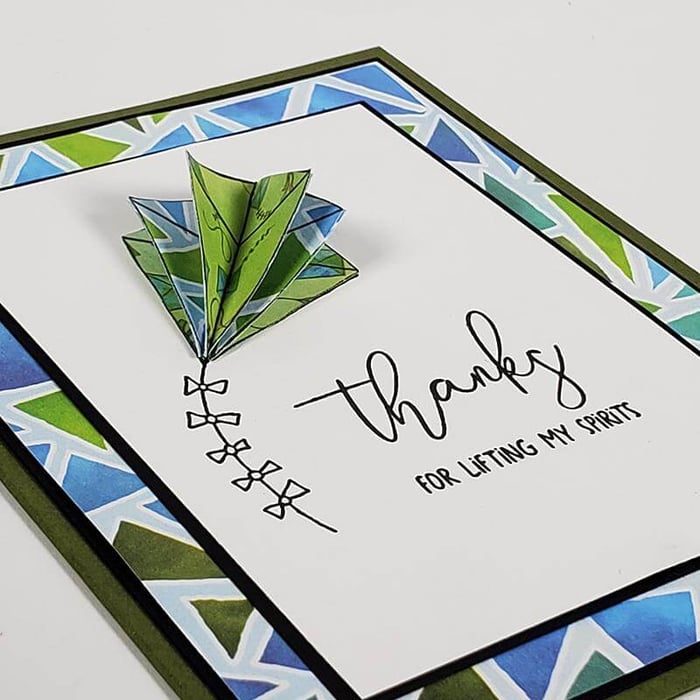
Stamp the kite image five times onto either side of the Duplex Print. Trim with scissors, fold along the vertical center, and glue the kites back to back. Adhere the dimensional kite to the stamped kite image on the white panel.

Card 3
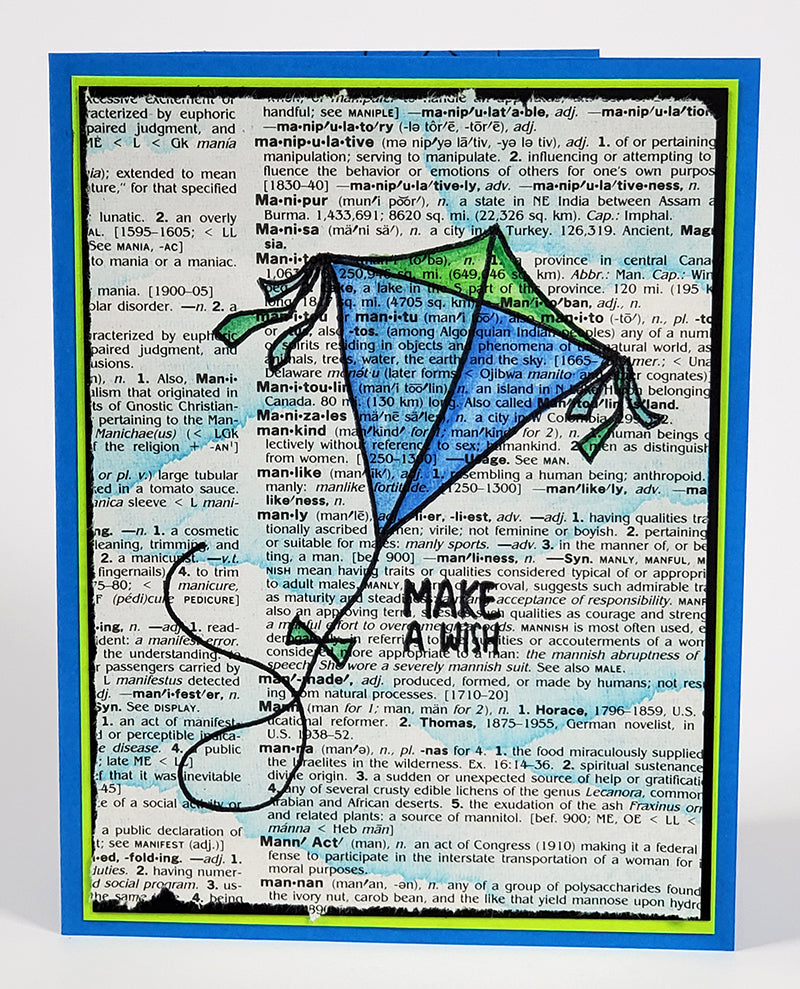
Stamp the kite onto a page torn from an old dictionary. Color the image with watercolors, which allows the text to remain visible. To create clouds, tear a piece of scrap paper and use as a mask while applying color with an ink applicator brush.

Card 4

Stamp the banner image and sentiment onto Blue Plain paper and trim the image with detail scissors. Separate the banner into three sections. Darken the second section with Ash or Earth ink. Adhere the center section to the card base with adhesive, and layer the left and right sections with foam adhesive circles.

Card 5
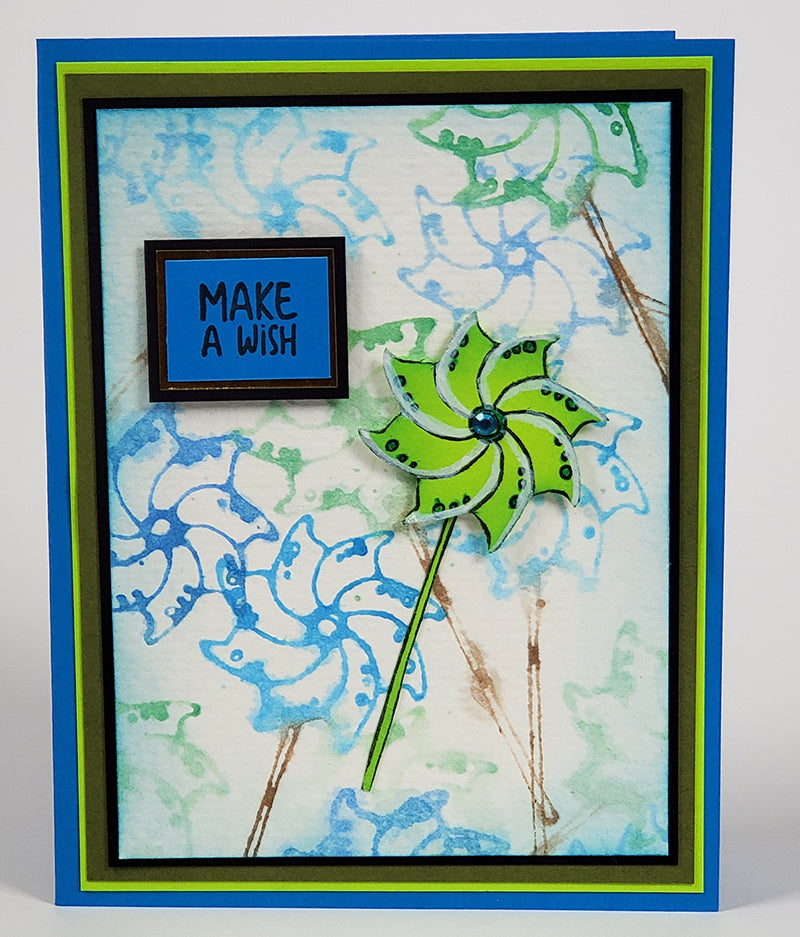
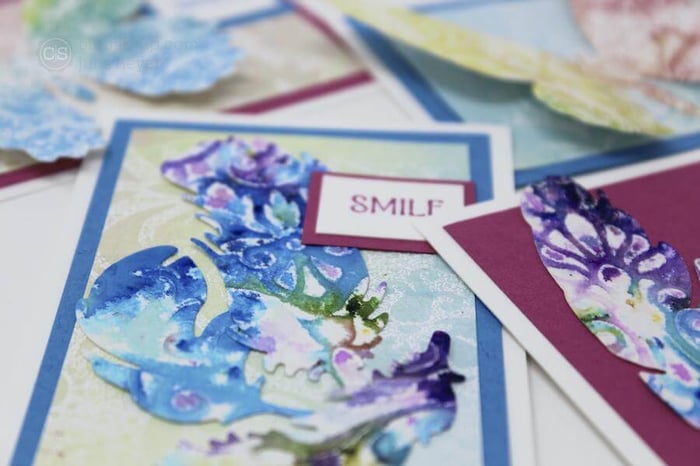
Spray the pinwheel stamp with water and color directly onto the stamp with a watercolor crayon. Mist again lightly with water and stamp onto watercolor paper. Mist and stamp two more times without adding color. Repeat with a second color scheme. Allow the watercolor panel to dry. Stamp the pinwheel onto Lt. Green Plain, fussy cut, and add a little sparkle to each fin with a "Wink of Stella" pen and a center rhinestone. Layer the pinwheel and sentiment to the card with foam adhesive circles.

Card 6
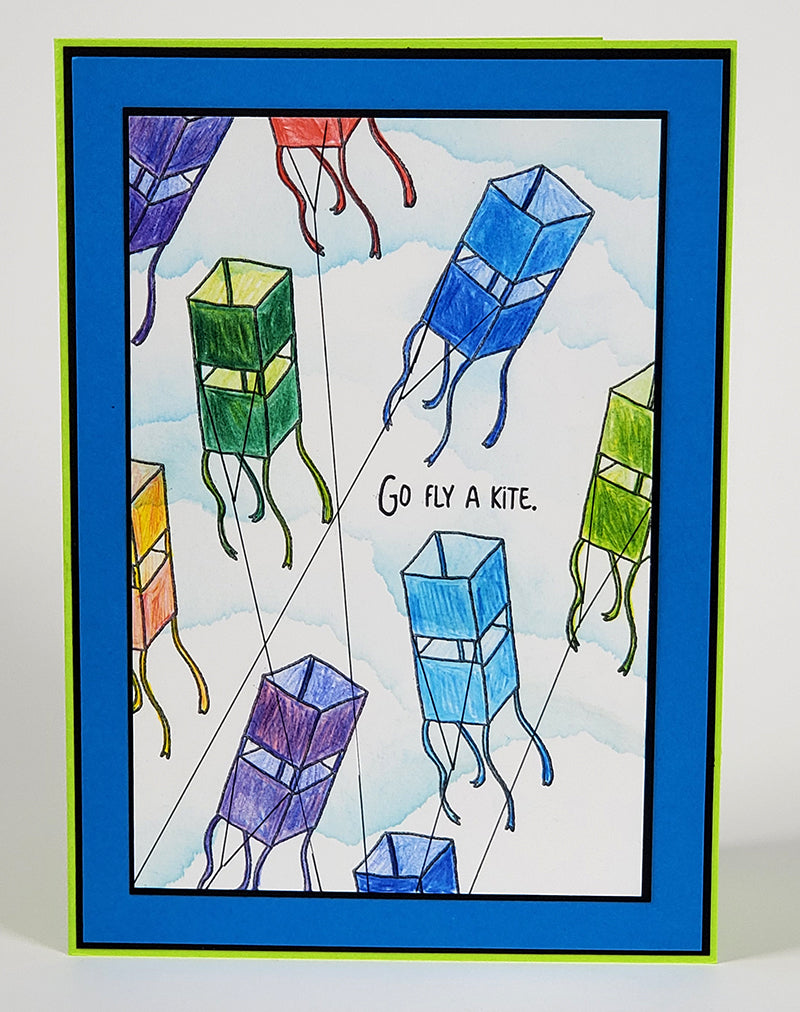
Stamp and color the kites with colored pencils. Use a grid ruler and fine-tip black pen to add "strings" to the kites. Finish with a sentiment and clouds made with a torn paper mask.

Card 7
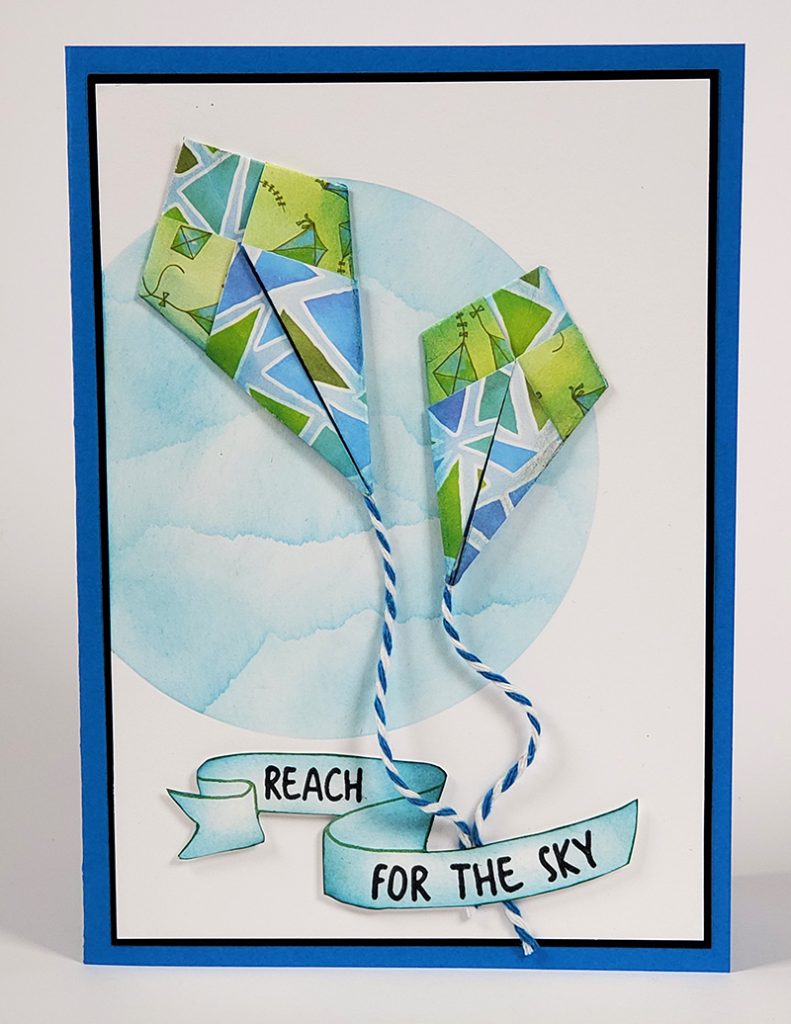
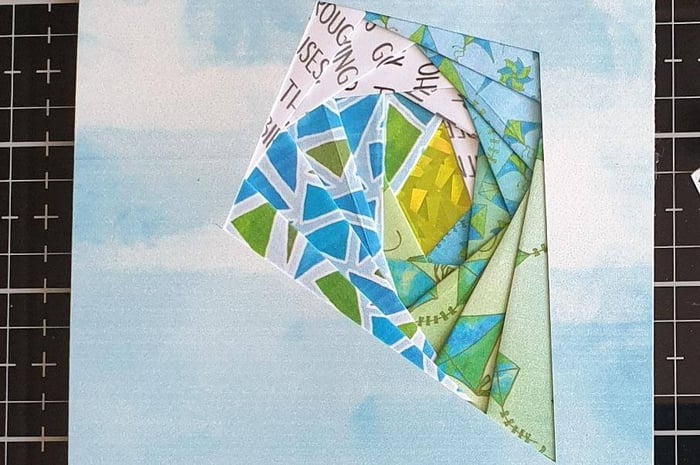
Make origami kites from a 3" and 2" square trimmed from the Duplex Print; add twine to each kite. Cut a large circle into a piece of scrap paper with a cutting die and use the negative of the circle to create a mask. Add clouds to the circular opening with a torn paper mask and ink applicator brush. Stamp the banner and sentiment onto white plain and trim with scissors. Next, layer onto the card base with foam adhesive, and tuck the kite strings behind the banner.

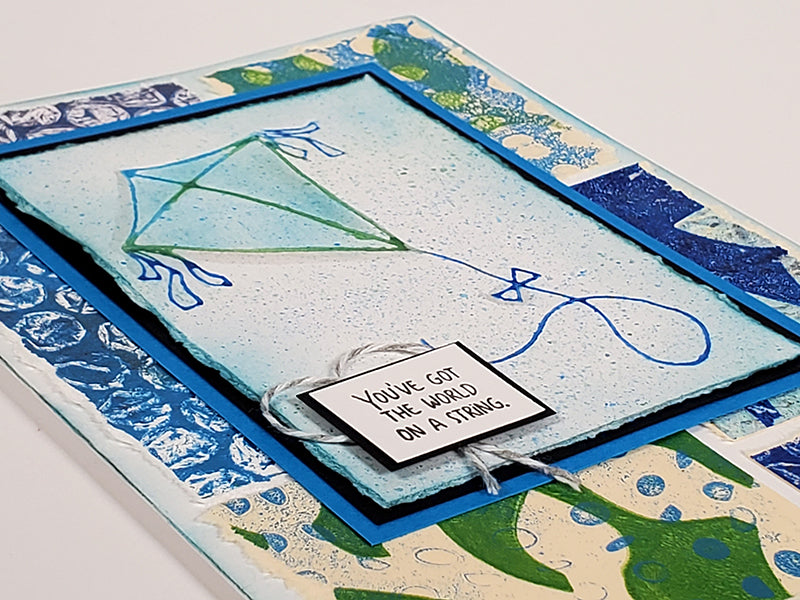
Card 8
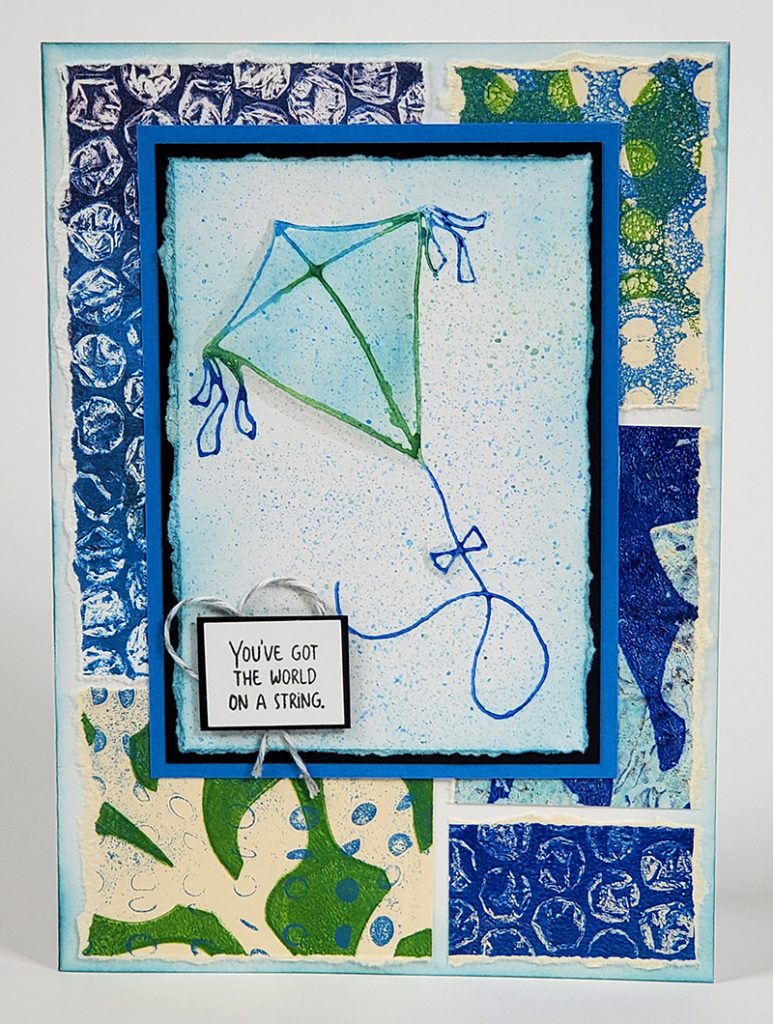
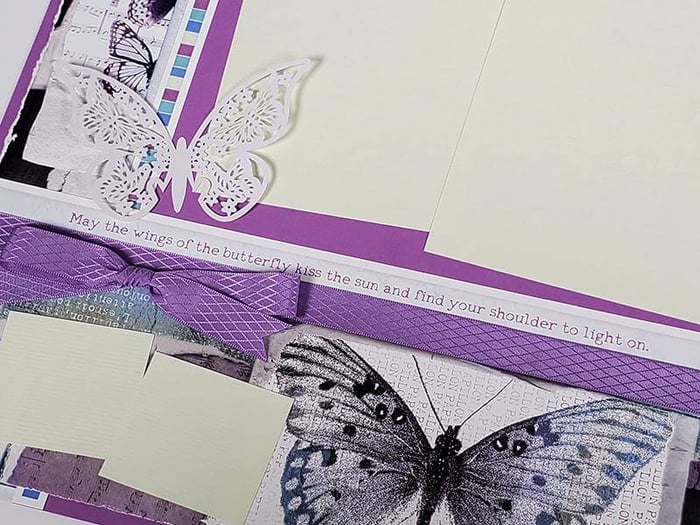
Mist the kite image with water and color directly onto the stamp with watercolor crayons. Stamp onto a torn white panel and flick the panel with additional color. Stamp the sentiment onto a small panel, mat, and layer onto the card with foam adhesive, trapping a piece of twine between. Lastly, create a color blocked background on the 5x7" card base with a series of art orphans.
There you have it . . . a little bit of card inspiration to get the creative winds blowing. Take a look back at the page kit and card kit blogs to learn more about the collection.
Enjoy flying your kites!
Tricia