On Saturday, April 15, Tricia taught a virtual workshop on the One of Kind Facebook group. During the presentation, students learned how to make a beautiful handmade Triple Panel Book featuring the Flourish Page Kit.
The two-part workshop reviewed the trimming and sorting of the project supplies, as well as a detailed assembly tutorial to build the book structure. Once the book assembly is completed, it's time to decorate! You should have extra papers and plenty of trimmed scraps in Pocket D once your book is assembled. Read on for a more detailed look at Tricia's fully-embellished Flourish Triple Panel Book.

Flourish Triple Panel Book

Mat a sentiment Cutapart with a scrap of Dark Green as a focal point for the cover. Tie a bit of waxed cord to the key charm and adhere to the magnetic tab closure with Bookbinding Glue.

Add the gold decorative metal corners included in the kit.

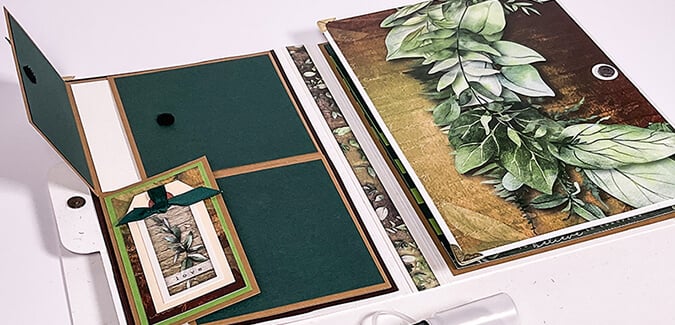
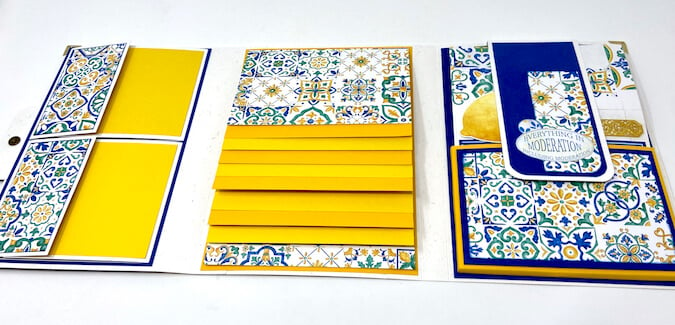
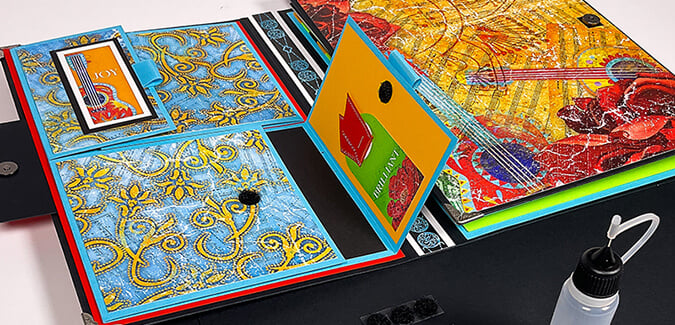
Open the book to reveal the three distinct interactive sections. On the left, a pair of trifold panels. In the center, a waterfall photo display. On the right, a pocket with a removable booklet insert.

Measure each section of the trifolds, cut scrap panels 1/4" smaller, and nest onto each section. Trim border strips to fit the inside spine of the book. Crop the Wreath print to 6.25x8.75", use a circle punch along the right edge (to allow the magnetic closure to function), and adhere to the inside right flap.

Tie ribbon onto a manila tag and add Cutapart sentiments - the tag nests perfectly onto the front of the trifold.


Trim Cutaparts as needed to decorate select waterfall pages.

Don't forget to add journaling blocks, too.


The third section features a pocket with booklet insert. Trim nesting panels for the front of the pocket. Crop Cutaparts to fit the narrow tab closure.

You should have plenty of paper and scraps to embellish the removable 6x8" accordion-folded booklet, too. Here, Tricia decorated the "front" with a border strip accented with a twist of ribbon.

Inside the accordion booklet, trim papers into photo mats in a variety of sizes. Embellish with ribbons, tags, and other items from the Page Kit.


I hope you've enjoyed this in-depth tour of the Flourish Triple Panel Book, and that these ideas inspire you as you complete your album.
Watch the blog later this month for a detailed look at two additional versions of the Triple Panel Book!
To recreate this project, you'll need to gather the following:
Triple Panel Book Craft Along Kit OR
CS® Page Kit of your choice AND Triple Panel Book Components
CS® Bookbinding Glue (essential)
12” Paper Trimmer
ScorPal
3x14" Grid Ruler
Accordion Pocket File (optional)
Bone Folder
Scissors and Pencil
Corner Chomper
1-inch Circle Punch
Adhesive
Bone Folder


