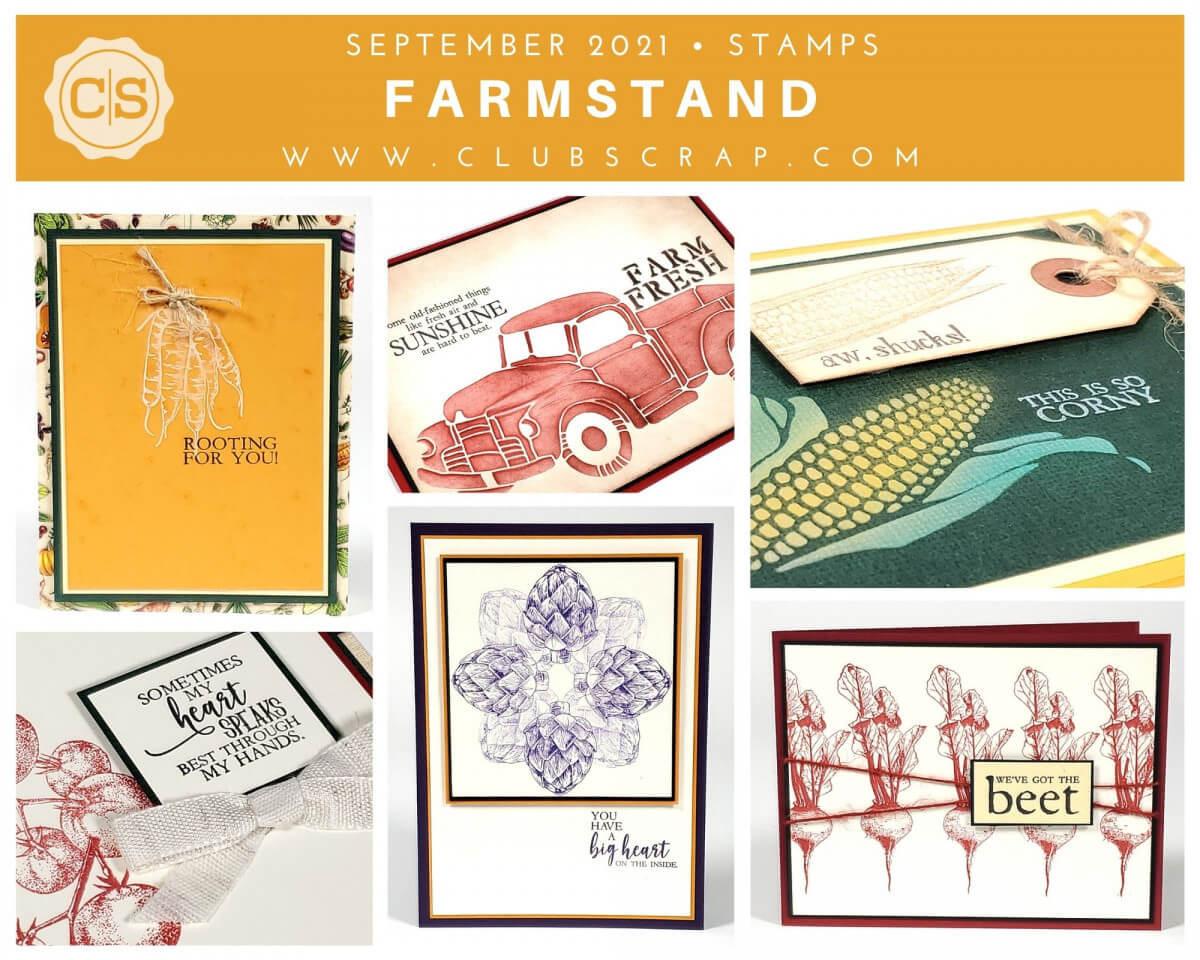
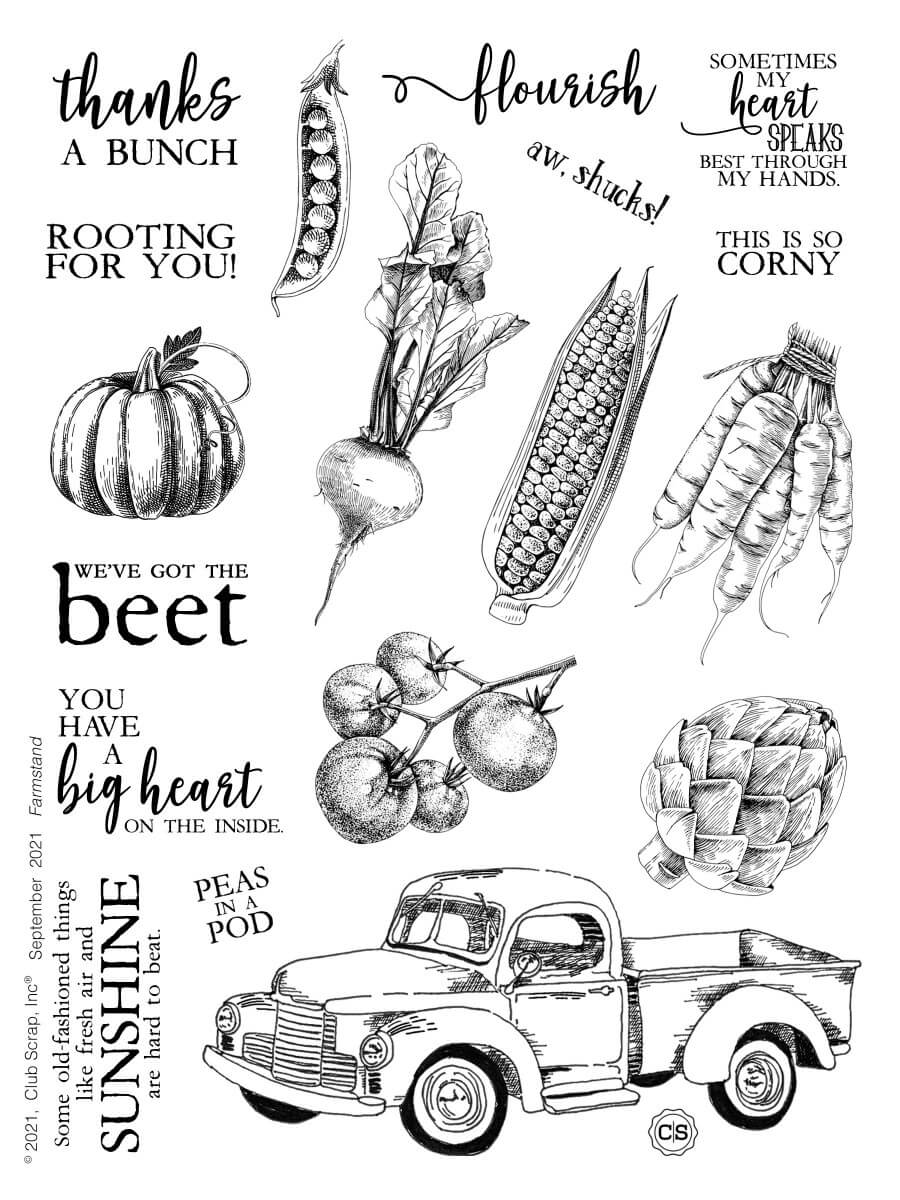
The sheet of Farmstand Stamps offers up a bountiful harvest of unbeetable options. (Insert groan here.)
Farmstand Stamps
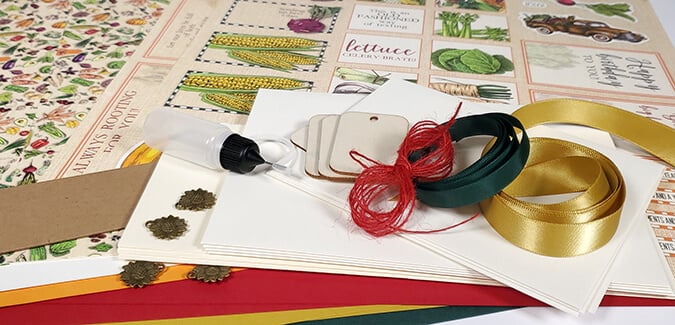
I'm lucky enough to be the first to spend a little time with the images in my studio. I spend a day or two working with a small assortment of art mediums to create a few samples that can easily be replicated. I always hope the ideas are a springboard for your own!
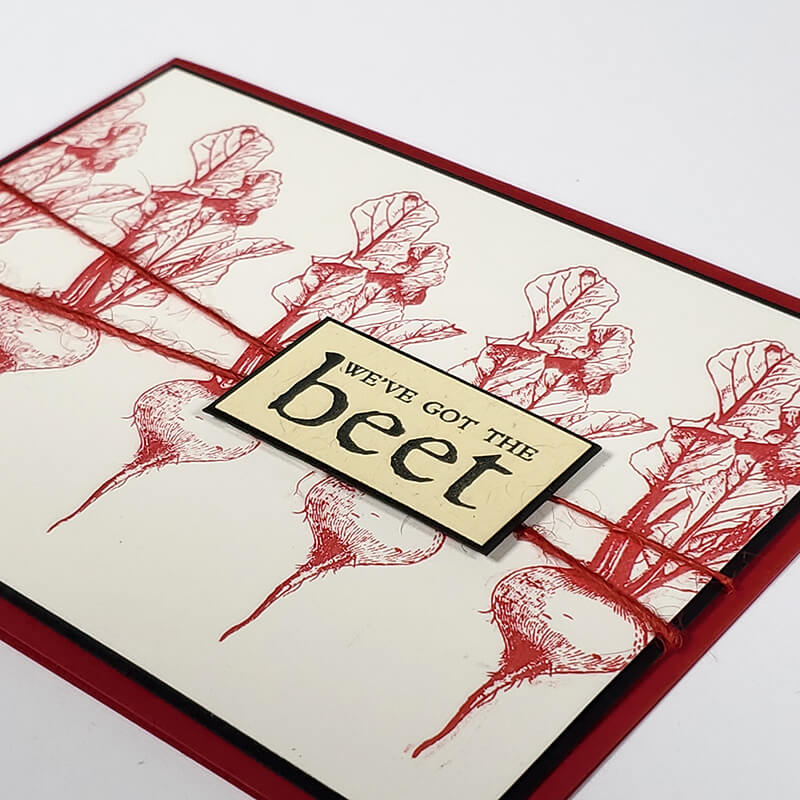
Card 1
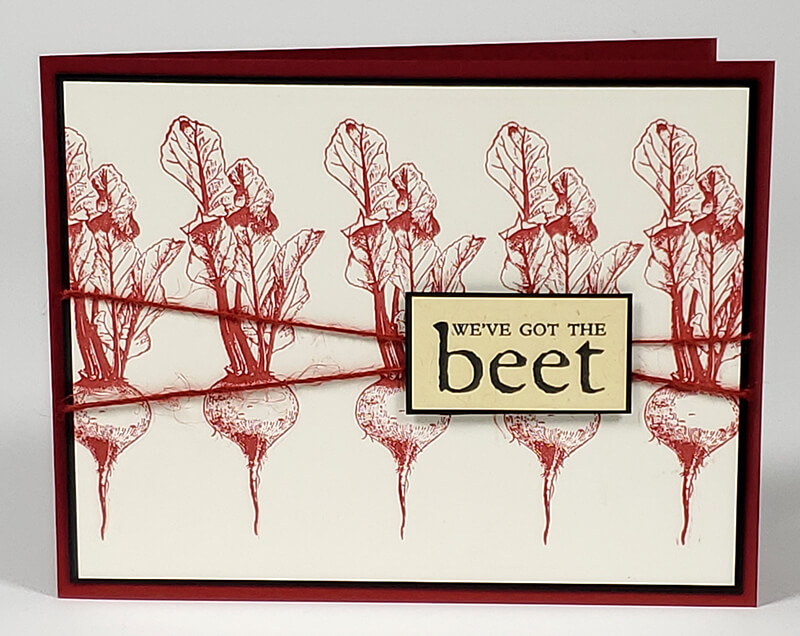
This was the first card off the creative pipeline, and my favorite! Simply stamp a row of beets across an Ivory panel. For the most appealing results, be sure to stamp off the right and left edges of the panel to allow the eye to continue to pattern further. Then, stamp the sentiment onto a Manila panel, mat with black, and adhere over criss-crossed red jute with foam adhesive circles.
Card 2
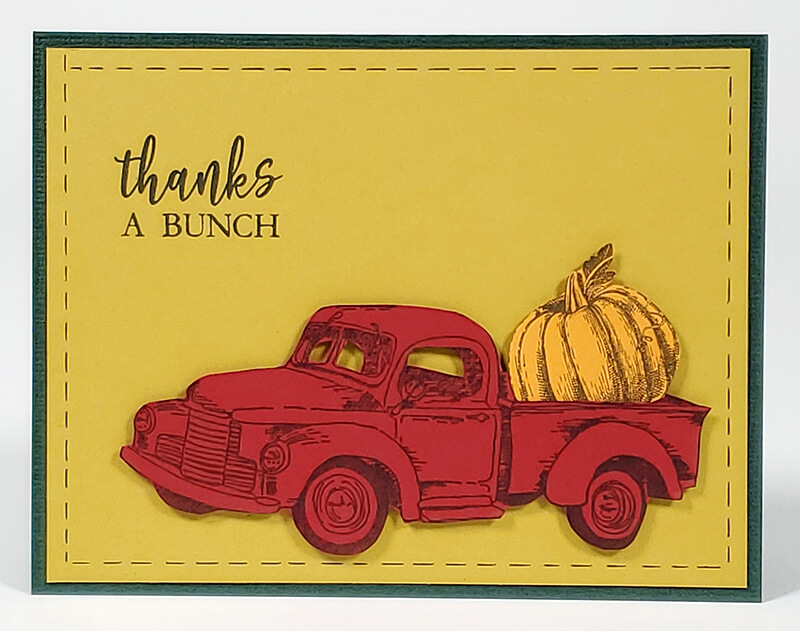
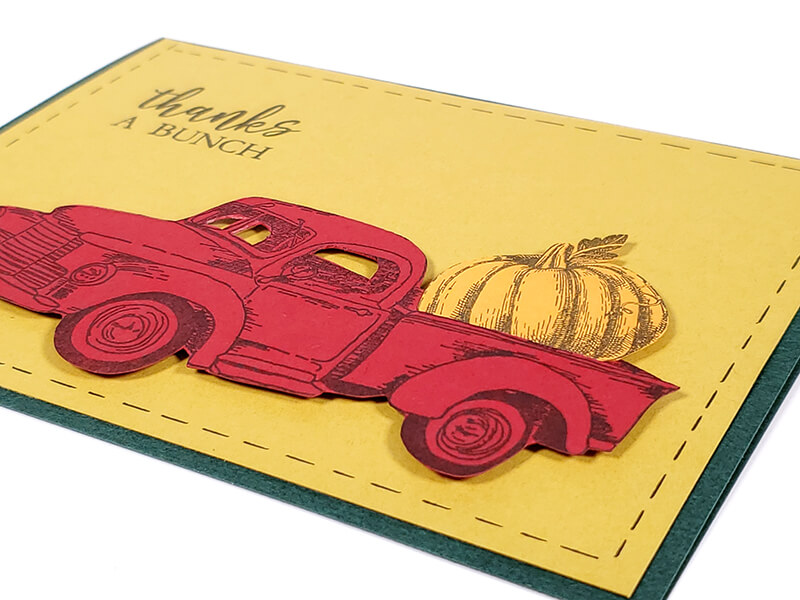
A little fussy-cutting goes a long way here! Stamp the truck and pumpkin onto red and orange paper with black ink and cut with scissors. Use a craft knife to remove the windows from the truck, and cut a slit into the truck bed. Slide the pumpkin into the slit and adhere to a Lt. Green panel with foam adhesive.
To create a clever border, simply measure 1/8" from the edge of the panel with a grid ruler, and add dashes with a black fine-tipped pen.
Card 3
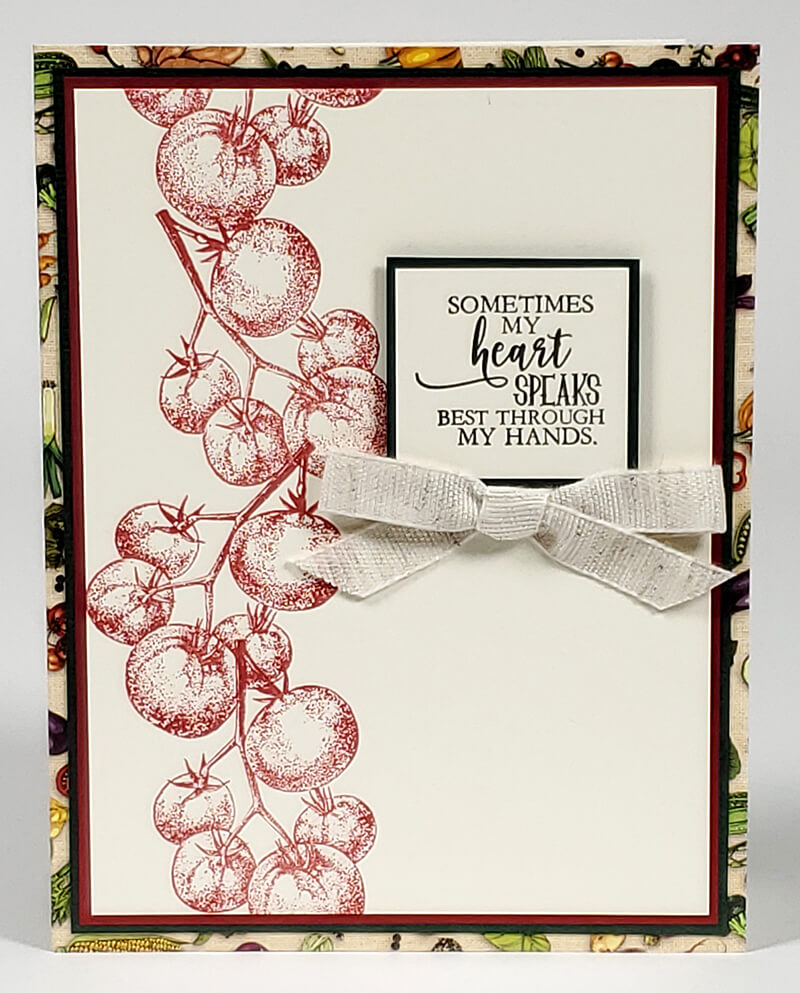
Karen requested this sentiment to be sized for the back of any handmade card. Isn't it perfect? But it also works as a main card sentiment, or perhaps for a handmade tag tied to a jar of homemade jam or tomato sauce! Layer the matted sentiment onto a card panel stamps with a row of tomatoes.

Card 4
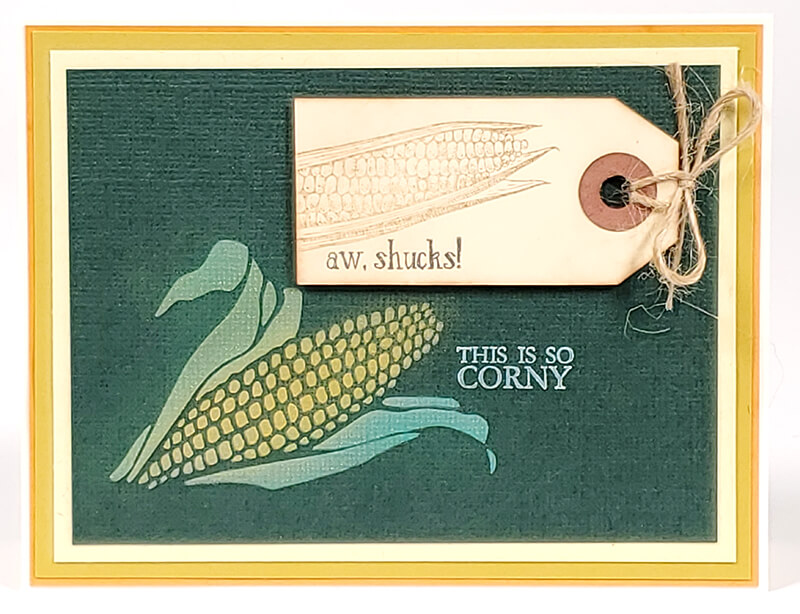
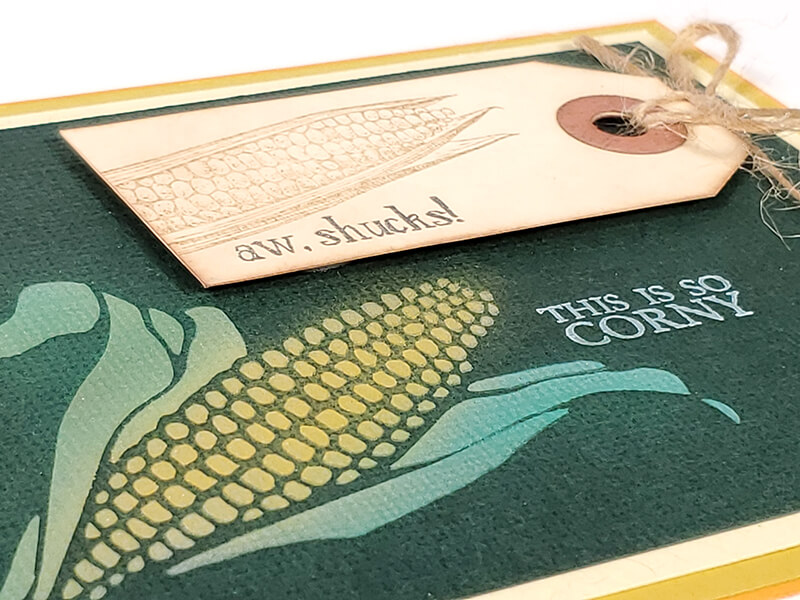
Add an ear of corn to the lower left corner of a Dk. Green panel with the Farm Fresh Stencil and our white pigment ink. Apply color to the image with pan pastels or chalks. Stamp a small manila tag with the corn image and sentiment, top with jute, and adhere to the card panel with foam adhesive.
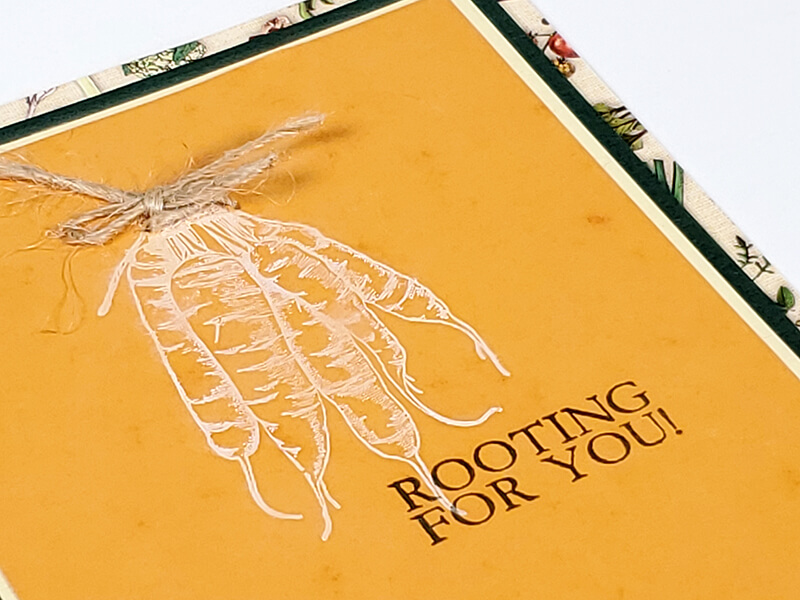
Card 5
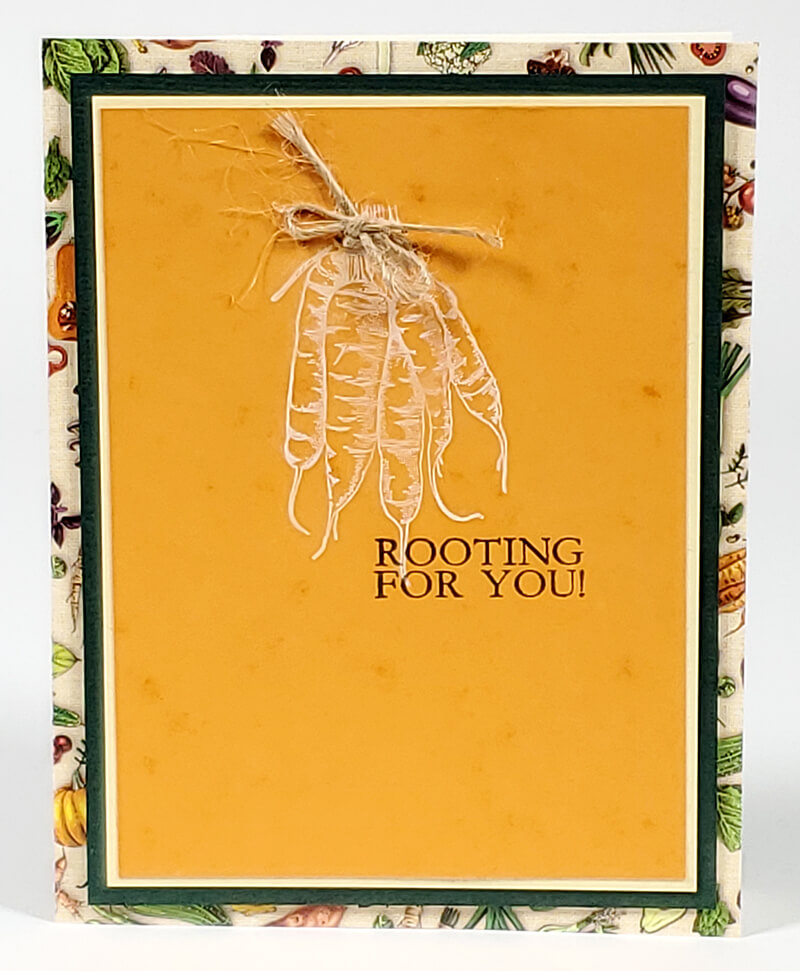
As long as you've got the white pigment ink handy . . . how about stamping the carrot bunch onto the center of an Orange panel? Top the bunch with a jute bow and add the sentiment.
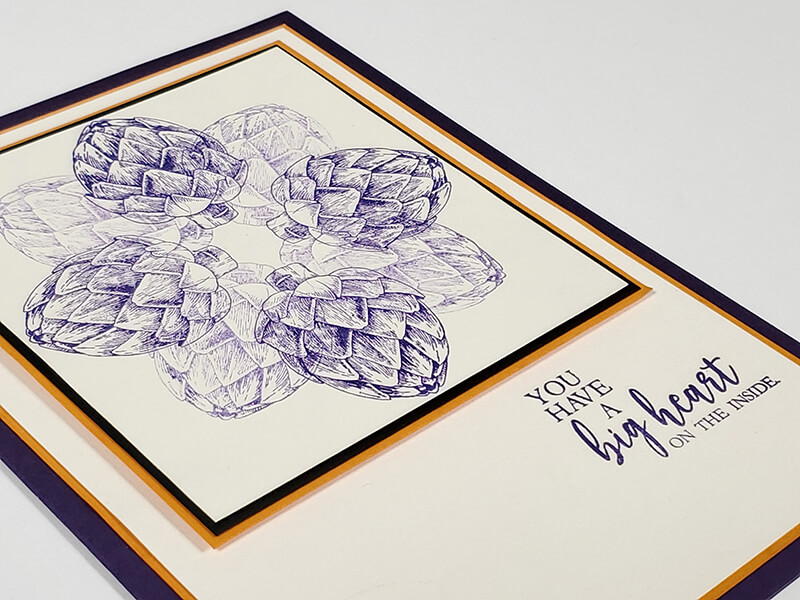
Card 6
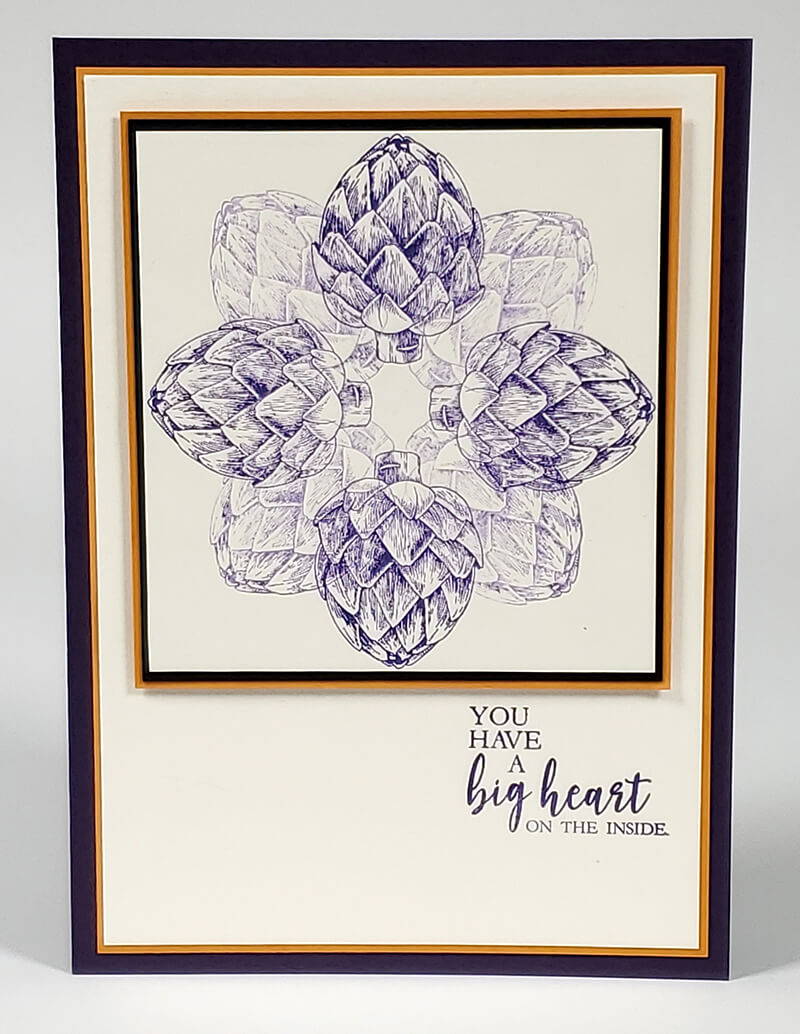
You don't need to own any fancy gadgets or templates to create this image. Trim a square Ivory panel and use a pencil and ruler to lightly draw a line through the horizontal and vertical center. Next, mark from corner to corner to make an "x". Ink the artichoke with Amethyst and stamp at 12, 3, 6 and 9 o'clock. This works great if you're using a clear mounting block with an etched grid. Center the stamp onto the grid and align it each time. Finally, ink and stamp off the Amethyst to create a lighter shade before stamping onto the angled lines.
Double mat the art panel, layer onto a 5x7" card base, and add the sentiment.
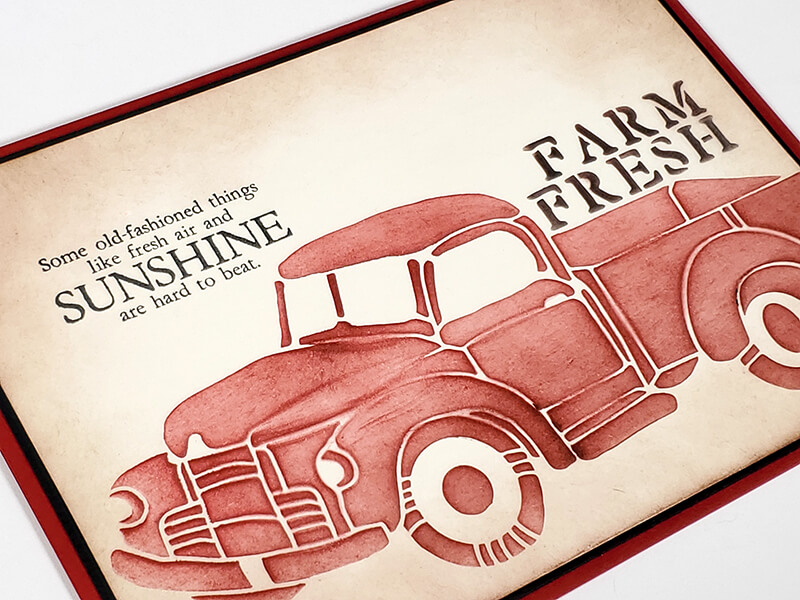
Card 7
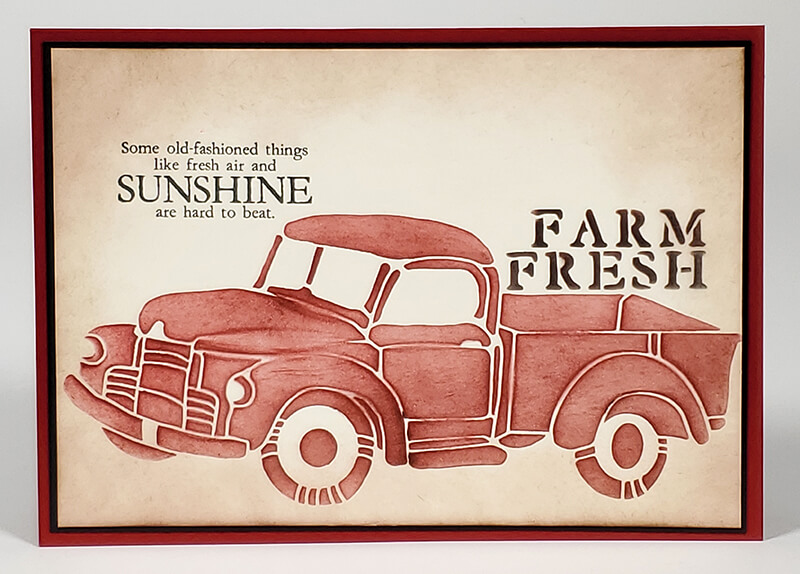
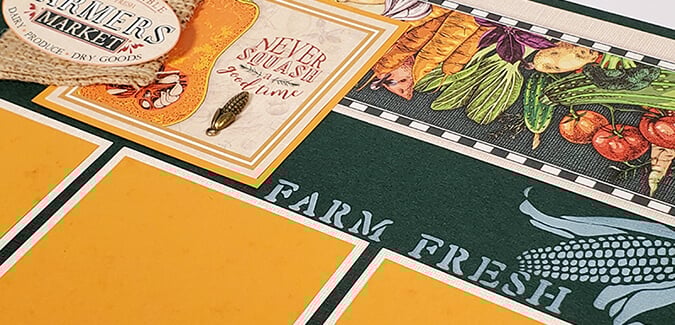
Combine the stenciled truck image and "farm fresh" sentiment with the stamped image. This card measures 5.5x8.5" and would require a larger envelope.
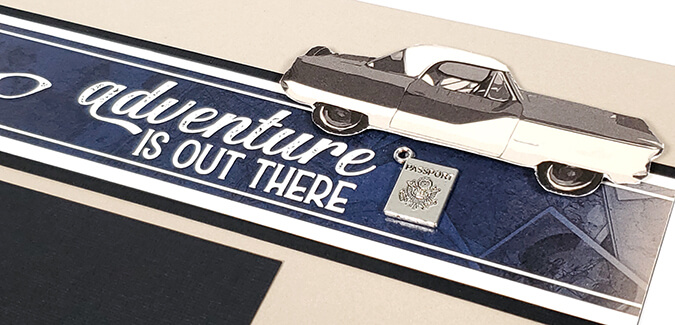
I hope you get a moment or two to sneak away and play with these fun images before the snow falls! As always, I love to see what you create with the stamps. It's never corny to share your inspiration on our private Facebook Chat Group. And I invite you to leave a comment below, just so I know you're out there!
Rooting for you!
Tricia

CS Hybrid Ink Pads

$6.35
Exclusively Club Scrap®, this hybrid craft ink combines the most exceptional ingredients of both pigments and dyes for a fine, crisp, fast-drying image! Don't forget to stock up on the coordinating re-inkers. Each ink pad sold separately. Please select the… Read More
White Pigment Ink Pad
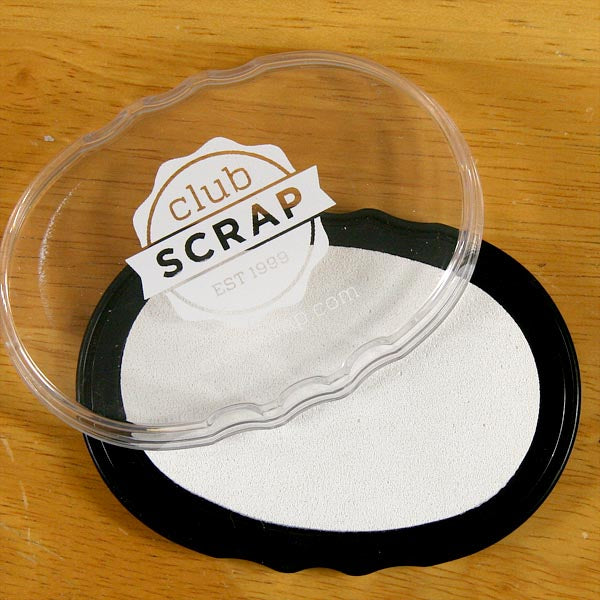
$7.20
Club Scrap's pigment craft ink offers an exceptional formula, providing for multi-surface versatility as well as remarkable detail when embossing. The bright white ink loaded into this nice 'n juicy pad will last a long time. Re-inkers also sold separately.… Read More