The Fairytale pages are here for your closer inspection. Follow along with me during the page assembly workshop, and you'll create eight embellished 12x12 layouts.
If you're still curious about what's in the box, check out this Page Kit preview video:
Fairytale Pages
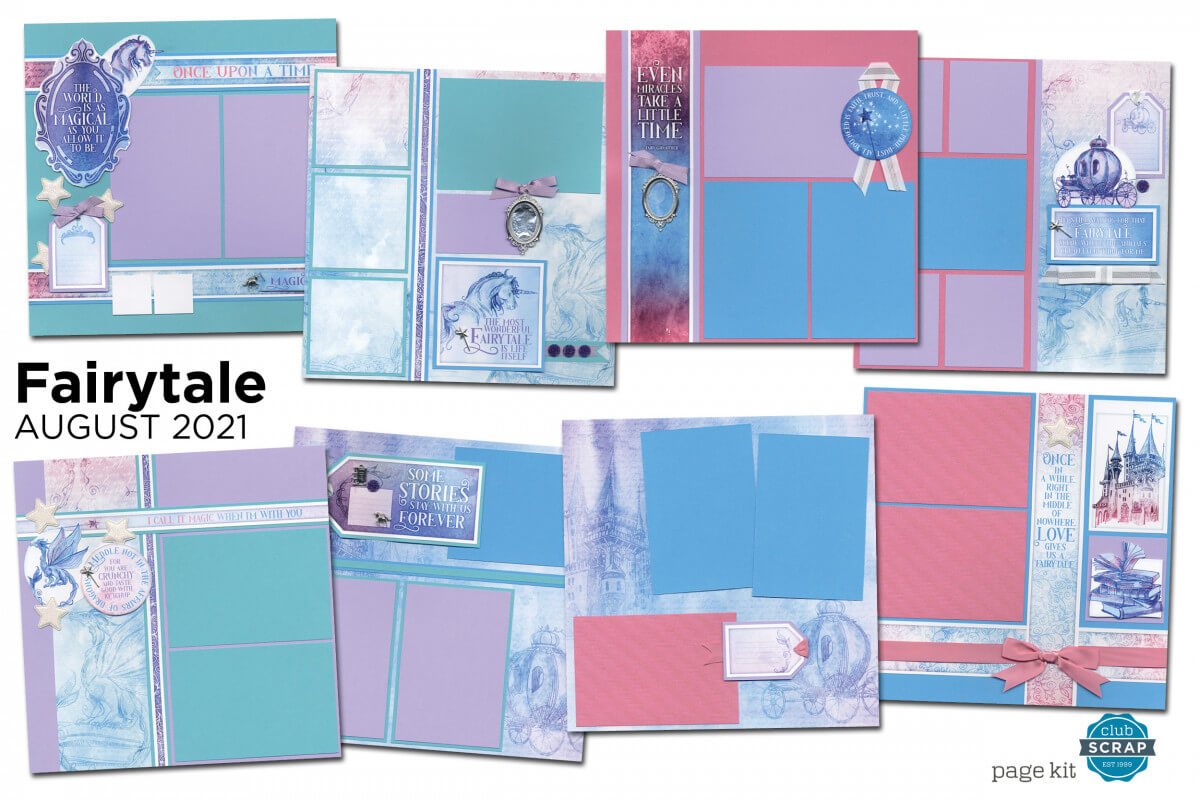
Let's peek at each individual double page spread.
Layouts 1 & 2
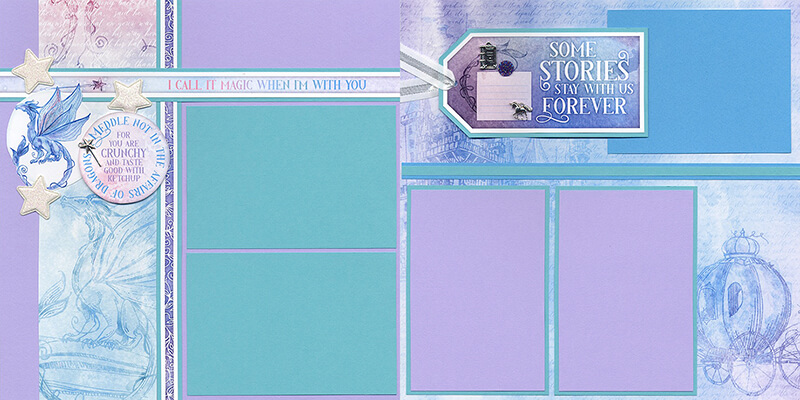
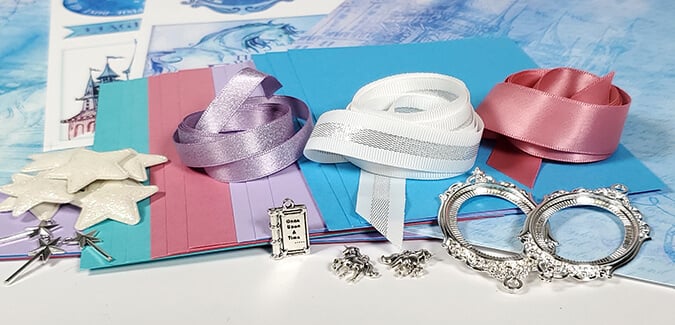
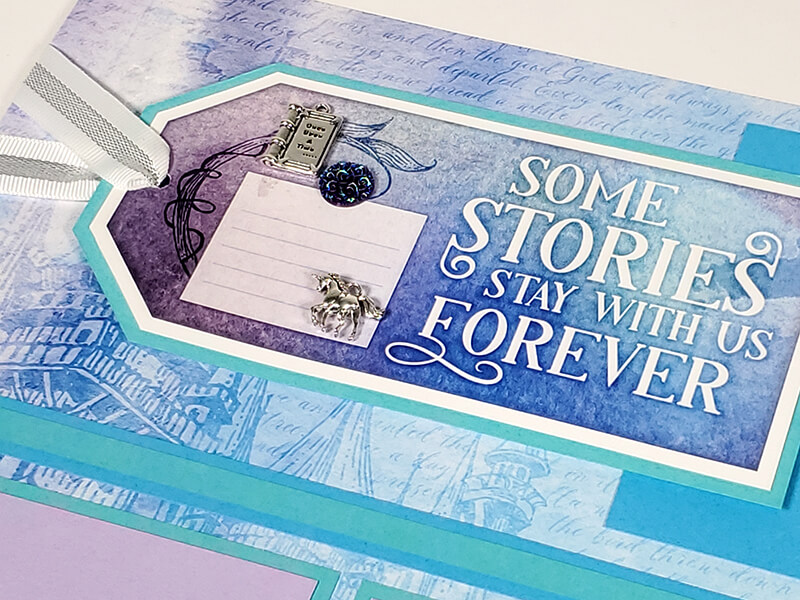
I adore the assortment of charms and other embellishments we've included in the box. Use bookbinding glue to adhere the silver storybook charm, unicorn charm, and lavender rose embellishment to the journaling prompt tag. Nest the tag onto Aqua paper, punch a hole, thread with white/silver ribbon, and wrap the ribbon tails around to the back of the page.
Layouts 3 & 4
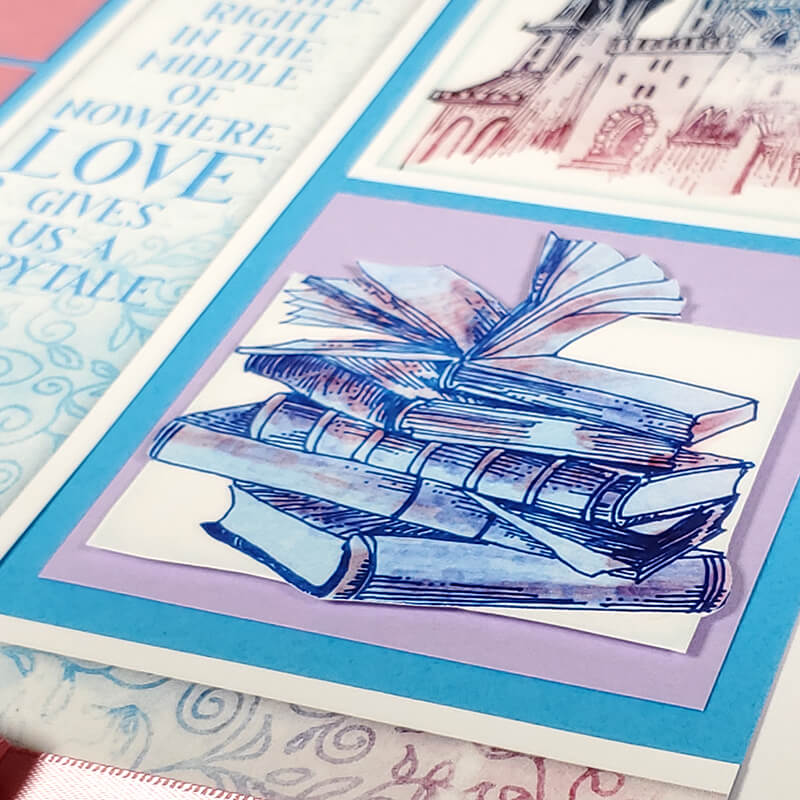
There are four elements on the cutapart sheet designed to be fussy-cut with scissors. After separating the individual images, simply cut along the very pale blue frame surrounding the image. There will be a few areas where you can trim around the shape of the object, like the book pages in the cutapart below. Adhere to the layout with foam adhesive circles.
Layouts 5 & 6

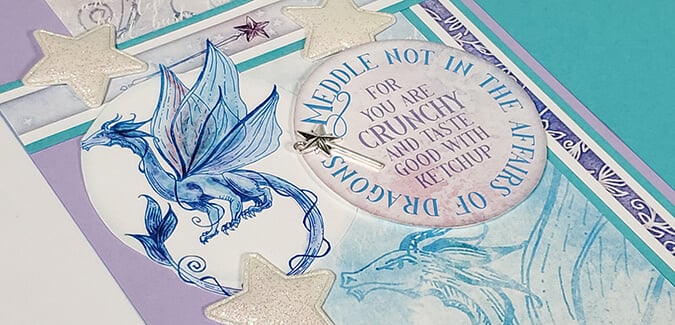
We have some fun embellishment action going on here. Let's break it down. Cut a small "v" into the 3/4" Aqua scrap to turn it into a small banner and nest it with metallic lavender ribbon. Tuck it behind the cutapart and top with three lavender rose gems. Adhere a silver wand charm next to the sentiment with bookbinding glue. Next, trace the shape of the silver frame onto a piece of household aluminum foil or metallic paper. Cut an oval slightly larger than the outlined shape and adhere to the back of the frame. Top with ribbon and adhere to the page.

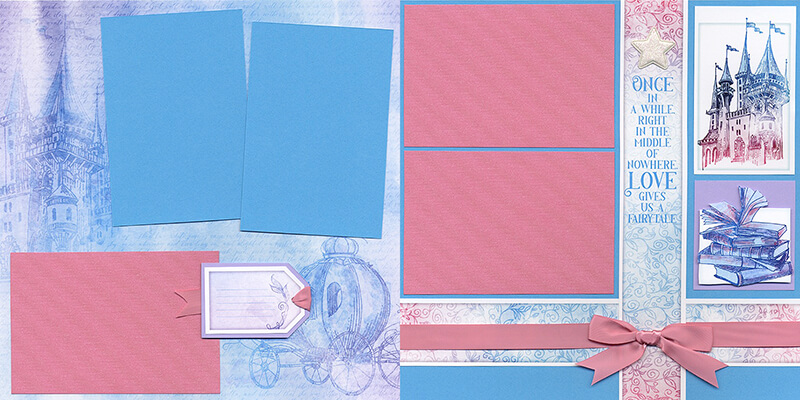
Layouts 7 & 8

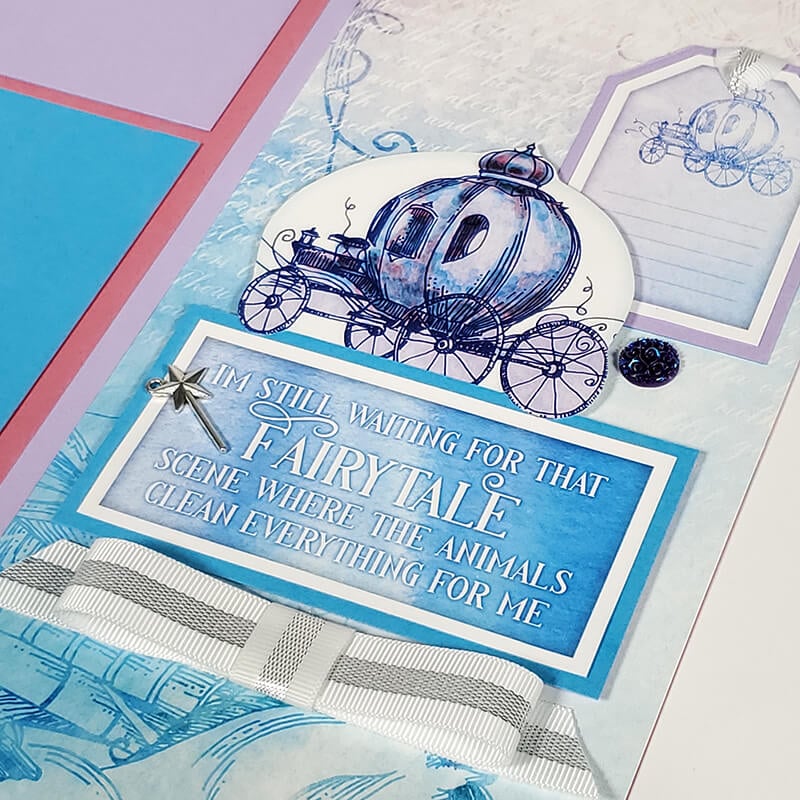
I adore this little arrangement of page accents, too! Make a three-part bow from the white/silver ribbon. (New to using ribbon on your pages? Learn more on my Ribbon Basics video.) Place the nested sentiment above the bow and top with a silver wand charm. After fussy-cutting the carriage, tuck two of the wheels behind the cutapart, and two of the wheels on top; add with foam adhesive. Thread ribbon onto the top of the nested journaling prompt tag and tuck behind the carriage. Finish with a lavender rose gem.
My routine for creating the pages each month starts the same way with the complete kit in front of me and a blank page in my graph paper notebook. I love seeing the collection transform itself into beautiful, embellished layouts during the course of a day or two. I hope the process of following along with me to recreate the pages brings you success and joy!
Tricia

