
Create two super simple single layer backgrounds with the Pacific Northwest Explore Stencil. These techniques make it so easy to send a handmade card to someone special.
Explore Stencil Techniques
Layered Inking Technique
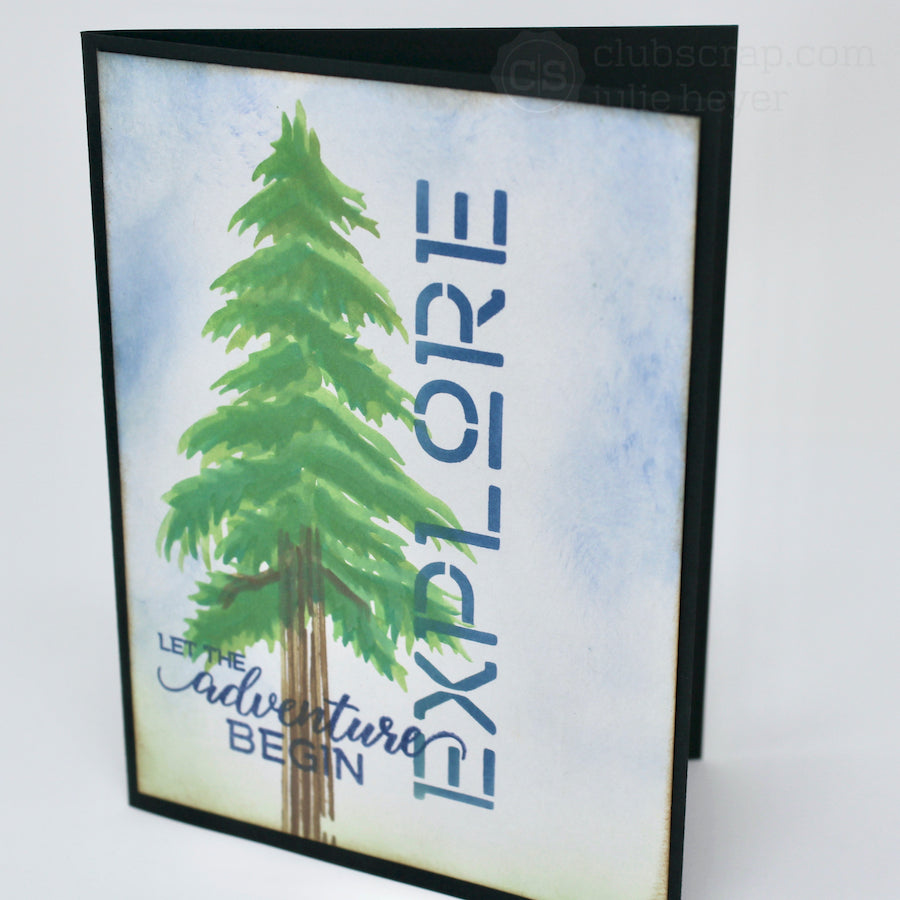
Apply green Distress Oxides over the stencil with an Ink Applicator Brush. Begin with the darkest color of ink. Slightly shift the stencil with each color of ink until the desired result is achieved. I chose to work with Cracked Pistachio, Mowed Lawn, Peeled Paint, and Lucky Clover Distress Oxide Inks. The composition of these inks allow the colors to sit on top of one another without getting muddied.

Repeat the layering process for the trunk image with Frayed Burlap and Walnut Stain Distress Oxide Inks.


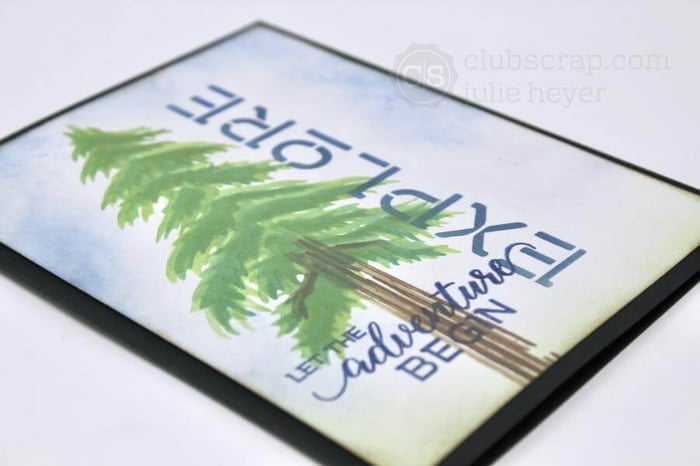
Add the EXPLORE text vertically with Faded Jeans Distress Oxide ink. Tip: Cover any exposed areas of the stencil with clear tape to avoid inking mistakes.

Swirl color onto the background around the tree and text with the residual blue ink left in the Ink Applicator Brush to create the illusion of a cloudy sky.

Stamp the Pacific Northwest sentiment over the stenciled images in Faded Jeans Distress Oxide ink. Trim the panel to 4x5.25" and layer onto a folded 4.25x5.5" Pine card base. Let's take a look at the finished card.

Reflection Technique
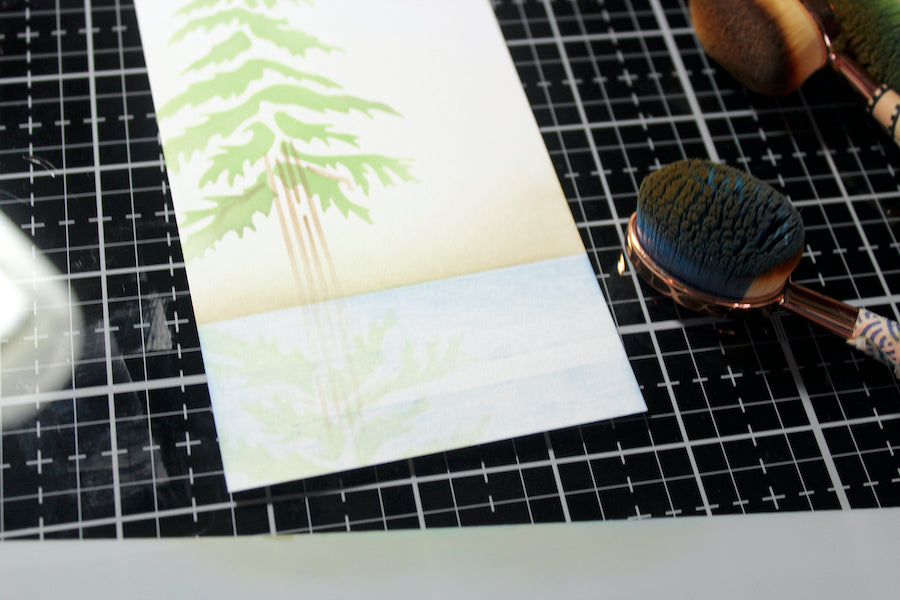
Stencil the top of the tree onto a white panel in Spruce ink.

Clean the stencil and flip it vertically onto the panel so that the tree top is a reflection of the first image.

Add color very lightly in a horizontal swiping motion.

Repeat this process with the trunk of the tree and Earth ink.


Clean the stencil and use the edge as a mask to cover the reflection. Add Earth and Spruce inks to create a horizon. Apply Sapphire ink in a horizontal swiping motion to mimic water.

Add mountain ranges with the Alpine (12/2018) stencil in Earth ink. Blend in a bit of Sapphire over the mountain tops to mimic the bright blue sky.

Trim two 1"x3.25" wood grain panels created with the stencil rubbing technique and the Orchard (09/2017) stencil.

Stamp the sentiment in Spruce ink over the top of the tree.

Adhere the stenciled and wood grain panels to the front of a Pine green folded slim line card base. Let's take a look at the finished card.

I hope these techniques will inspire you to create simple single layer card panels. Happy crafting!
 Julie
Julie