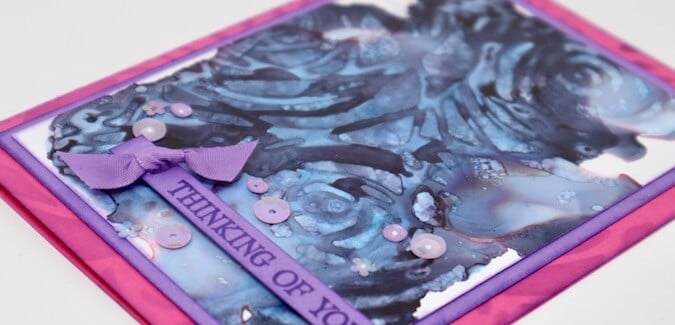

Color Blocking has been a recent topic of discussion on the Club Scrap Chat group. It inspired me to play with Tricia’s Color Blocked Card Formula from 2018. What’s the best way to spend a nearly zero-degree day? Crafting!
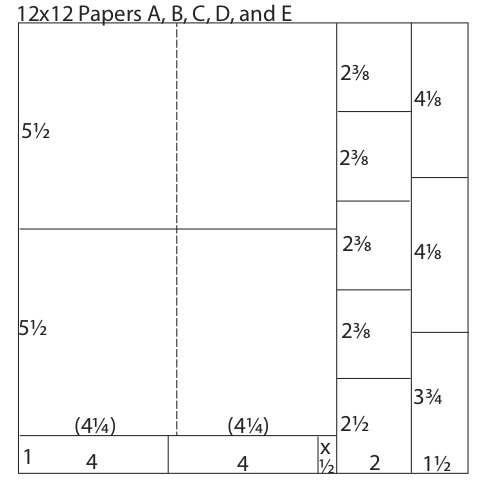
The formula is timeless, and it helps you create ten cards from just five sheets of paper.
Color Blocked Card Tips
How do you create 20 cards in two hours? Keep it simple. The more supplies you have to choose from, the more overwhelming it can be. The following tips will help simplify the process:
- Select papers featuring a unique texture or print. More visual texture means less decorating, stamping and/or embossing.
- Limit yourself to two or three ribbon choices.
- Select only one or two embellishment options
- Limit yourself to one embossing folder (optional). Emboss the same-sized panel for each card.
- If adding die cuts, choose two or three die shapes that fit the theme. Cut shapes in advance to save time during assembly.
I recently purchased Card Cutaparts from a variety of collections. I have an overabundance of paper in my stash, so I'm thankful these sheets are sold separately.
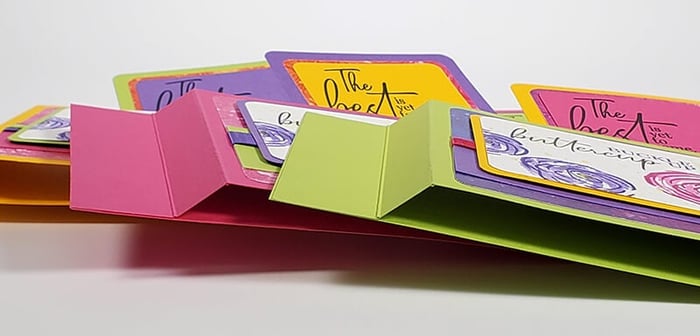
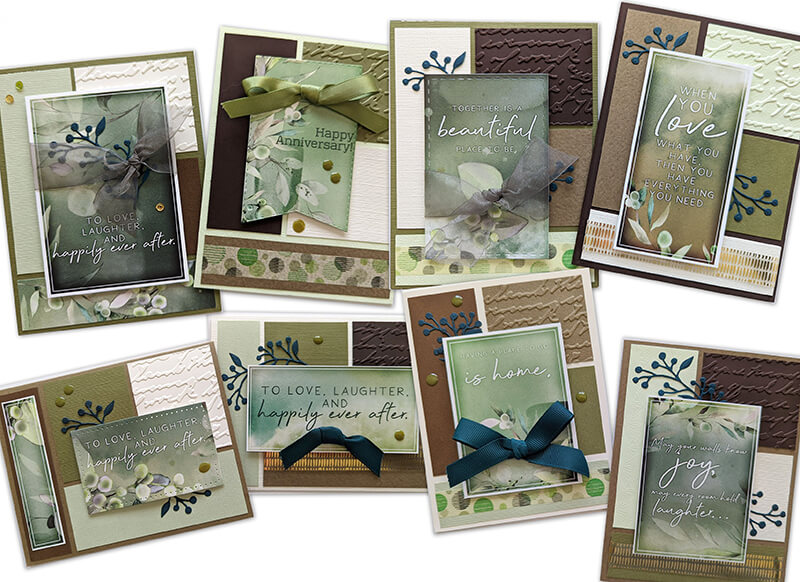
Ever After Color Blocked Cards
The Ever After Card Cutaparts feature three 12x12 sheets filled with sentiments. There are plenty of options, so all of my cards include sentiments on the outside and inside. Some sentiments can be used on their own, allowing you to make even more cards.
To replicate my cards, grab a set of Ever After Card Cutparts, along with the following supplies:
(2) Dark Brown
(2) Light Brown
(2) Light Green
(2) Medium Green
(2) Ivory
1-2 yards Club Scrap Ribbon
Gone Wild Remix Washi Tape
Pattern Play Washi Tape
Embossing Folder(s)
Die(s)
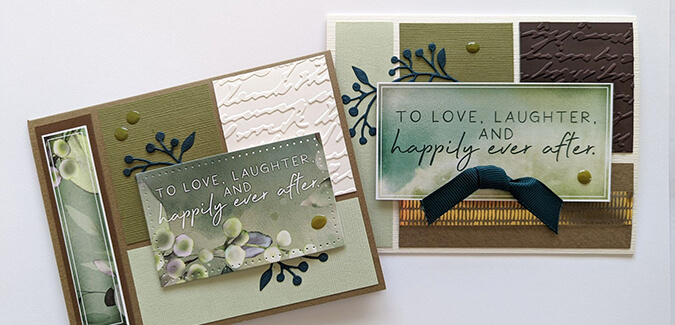
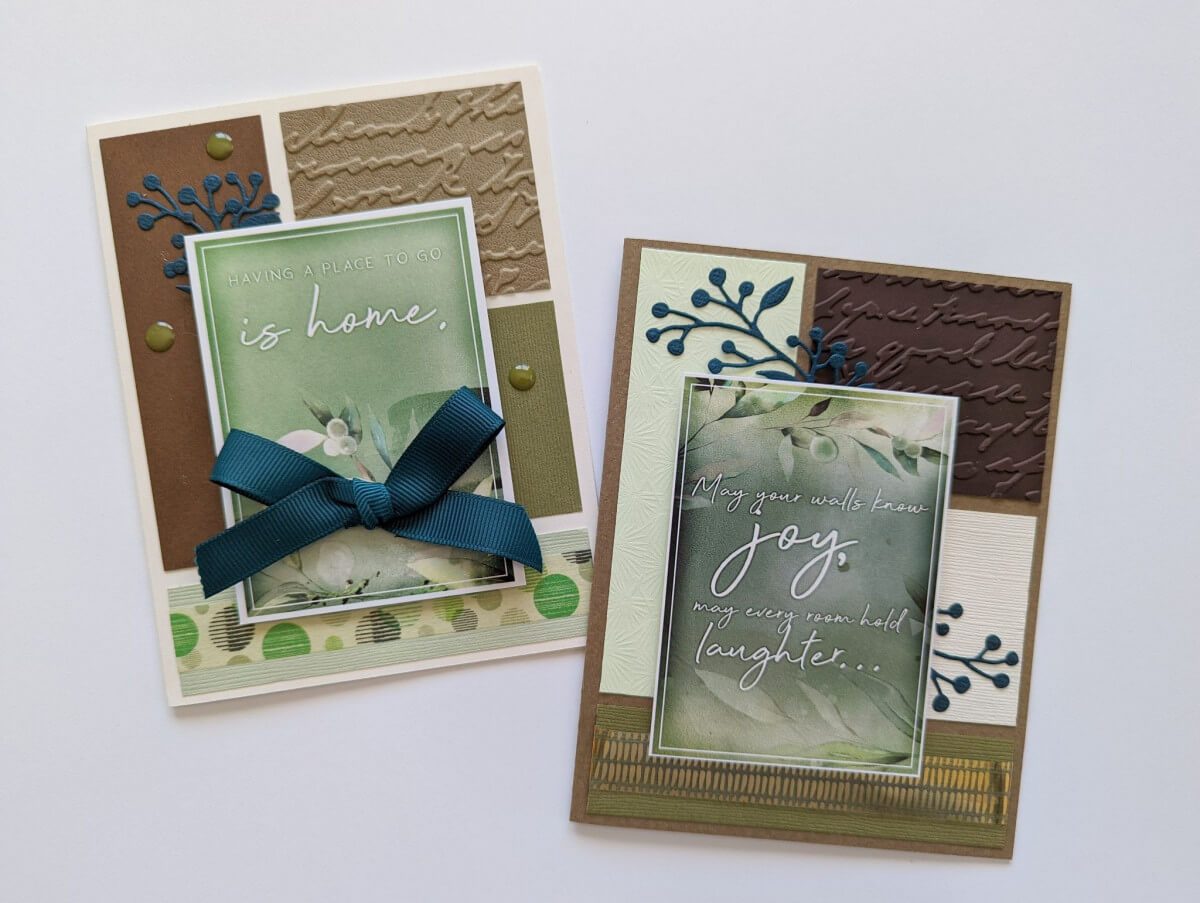
Card 1 & 2
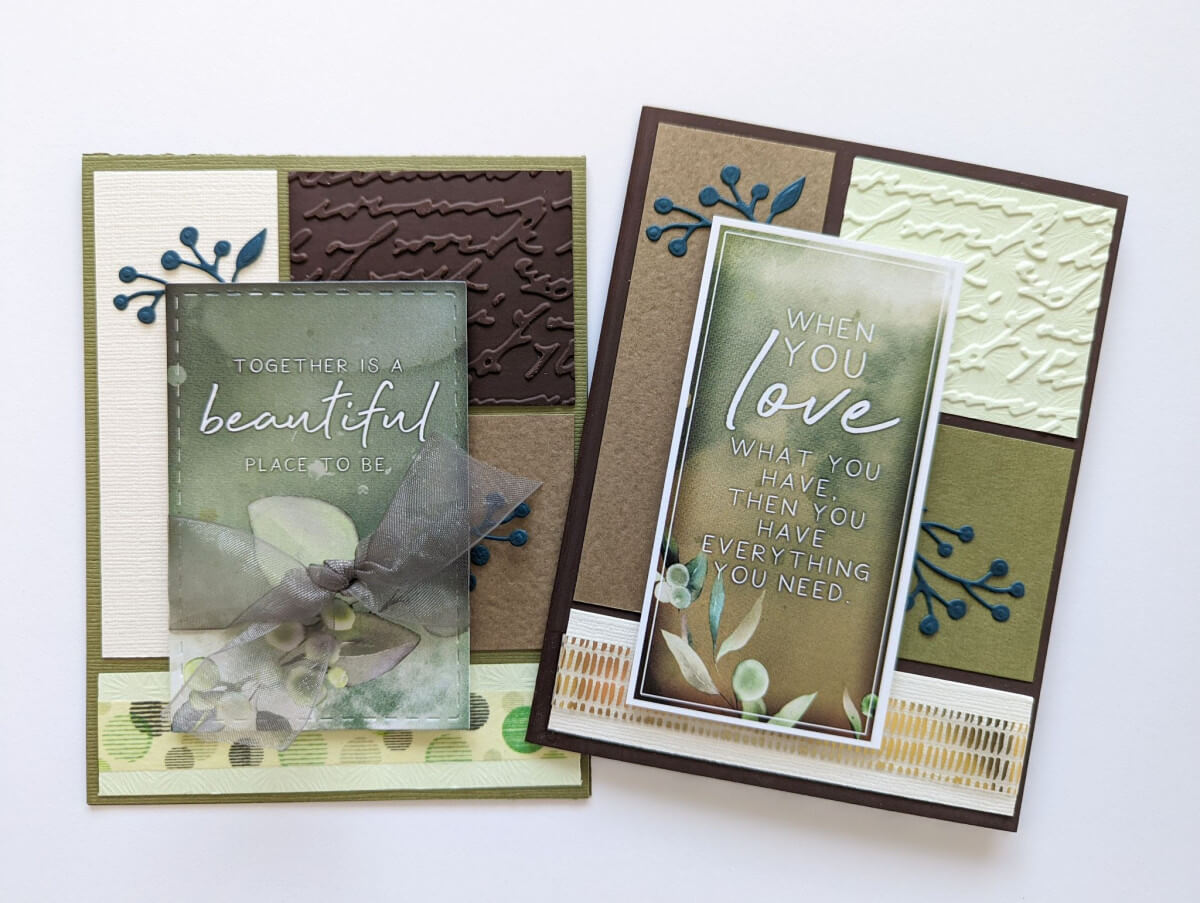
Emboss upper right corner panels. Apply washi tape to rectangular panels at the bottom of the card. Adhere sentiment panel with foam adhesive. Tuck die cut sprigs behind sentiment.
*Tip* Use sheer ribbon so you don’t cover up any of the beautiful print images.
Card 3 & 4
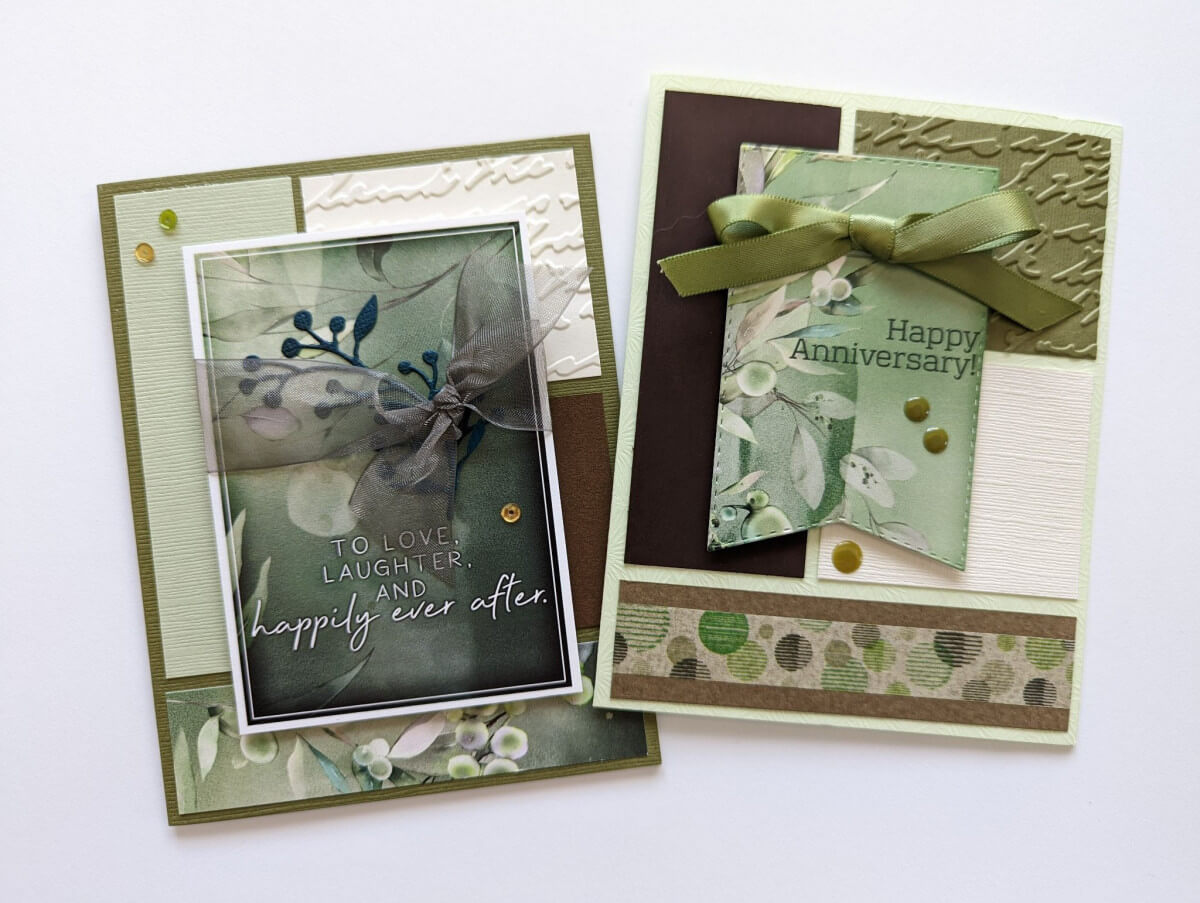
Emboss upper right corner panels. Apply washi tape to long narrow panel at the bottom of the card, or substitute the narrow bottom panel with a trimmed border strip. Die cut sentiment panel with flag-shaped die. Adhere sentiments with foam adhesive. Tuck die cut sprig behind sheer ribbon. Add Nuvo drops or sequins for a little something "extra".
*Tip* Apply Nuvo drops to all cards at once, after assembly is completed. Set aside overnight to dry.
Card 5 & 6
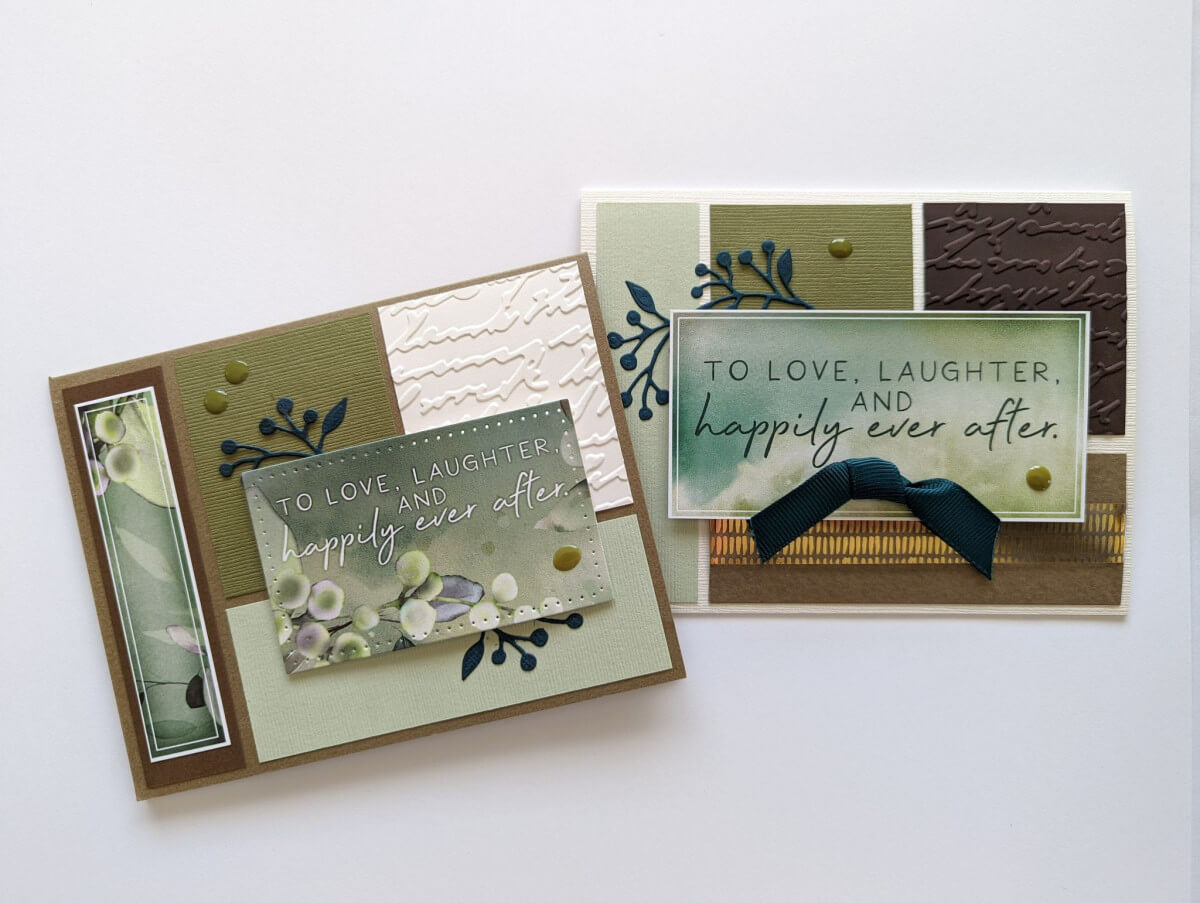
Emboss upper right corner panels. Apply washi tape and cutapart to narrow panels. Die cut sentiment panel with stitched die. Adhere sentiment with foam adhesive. Tuck die cut sprig behind sentiment. Add Nuvo drops.
*Tip* Due to their size, you can add texture to two to three small panels at a time in each embossing folder.
Card 7 & 8
Emboss upper right corner panels. Apply washi tape to lower panels. Adhere sentiments with foam adhesive. Tuck die cut sprig behind sheer ribbon. Add Nuvo drops or sequins.
*Tip* Sandwich ribbon bows between plates and run through your die cut machine using the embossing folder setting. This will flatten the bows, making the knot less bulky.
The beauty of this formula is you can repeat as many times as desired to complete even more cards.
I hope I've inspired you to give Club Scrap's card making formulas a try. there are so many to choose from! And if you're feeling overwhelmed with choices, give my "keep it simple" time-saving tips a try as well.
Happy crafting!