Create unique and organic shapes for backgrounds with the Embossing Powder Skins Technique.
Embossing Powder Skins Tutorial
Gather parchment paper and cut into large squares.
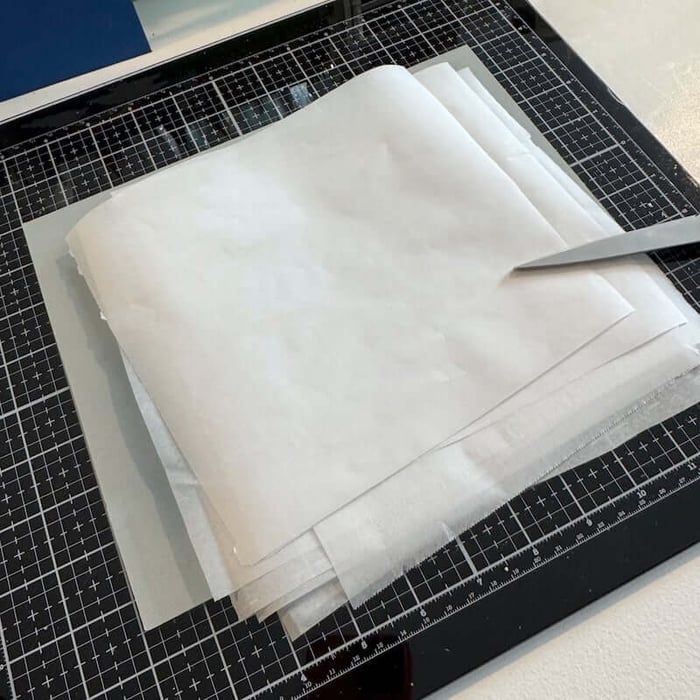
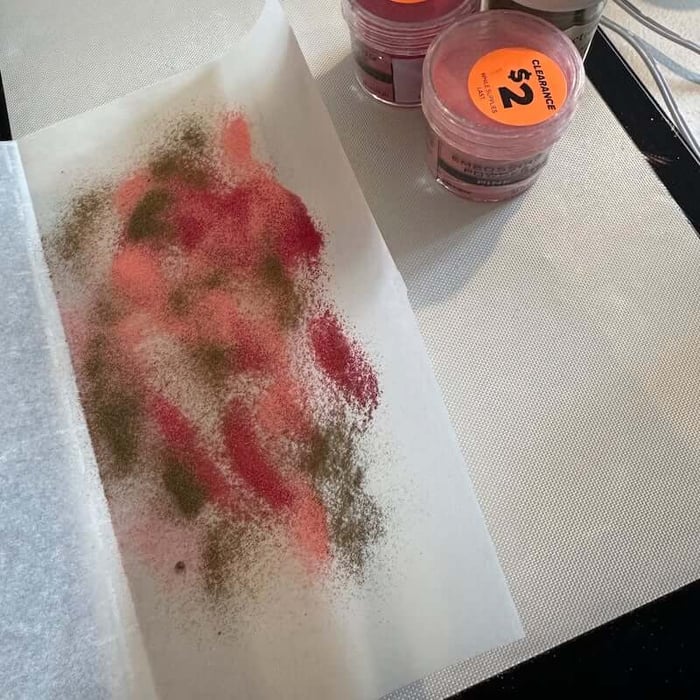
Place one parchment sheet onto your work surface. Sprinkle with embossing powder (EP) in coordinating colors.
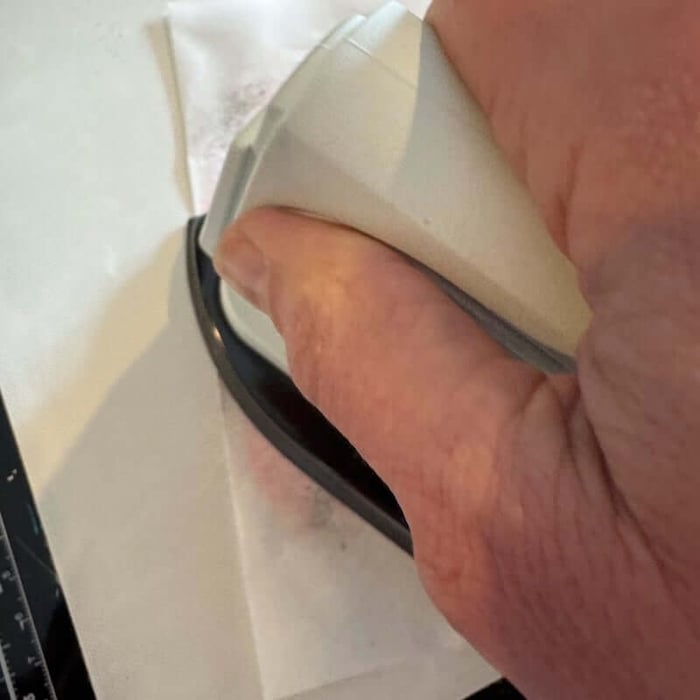
 Cover with another sheet of parchment paper. Run a very hot iron over the paper to melt the powders.
Remove the iron and allow the melted powder "skin" to cool completely. Carefully remove the top piece of parchment paper.
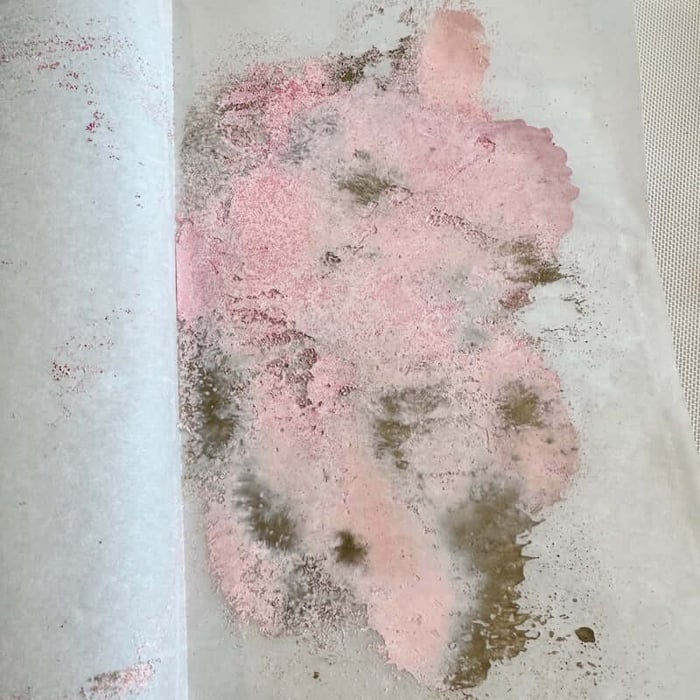
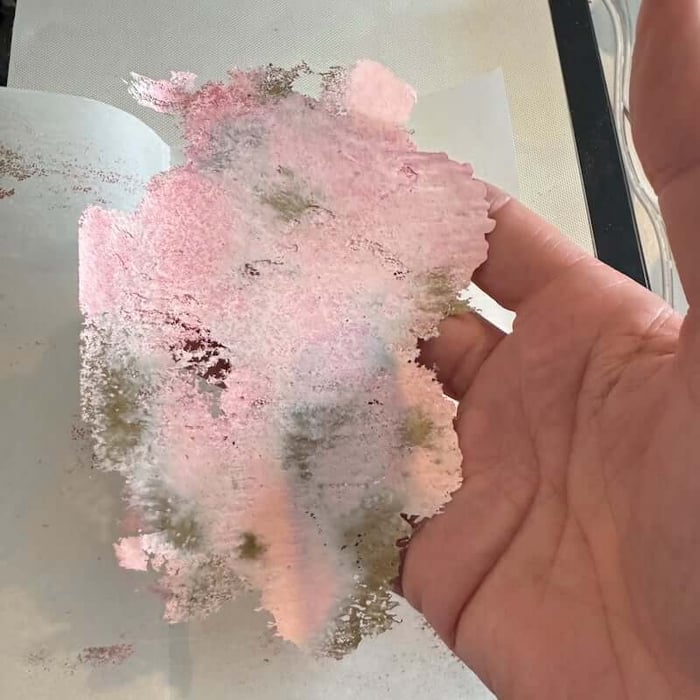
Carefully remove the "skin" from the bottom sheet, as they are very fragile.
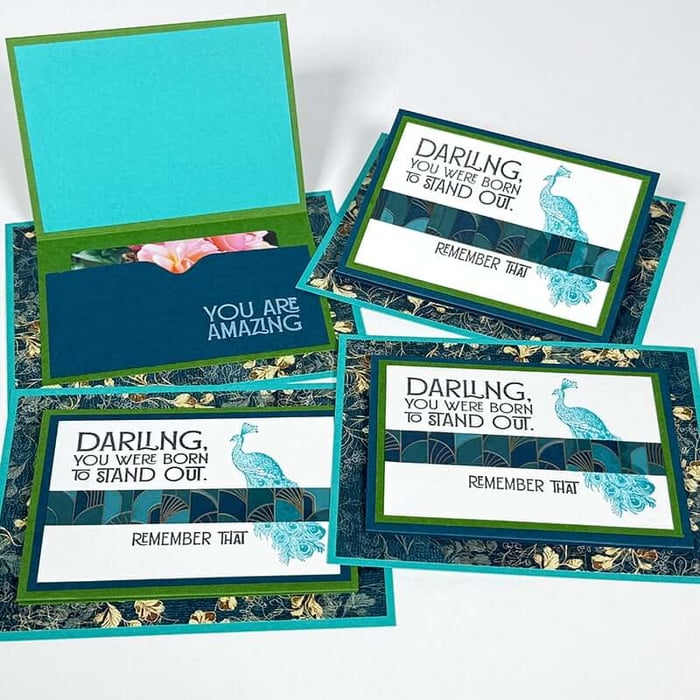
Coat the back of the EP skin with a spray adhesive; adhere to a paper panel. These panels amke great backgrounds for cards.
Beachcomber Cards - Lisa
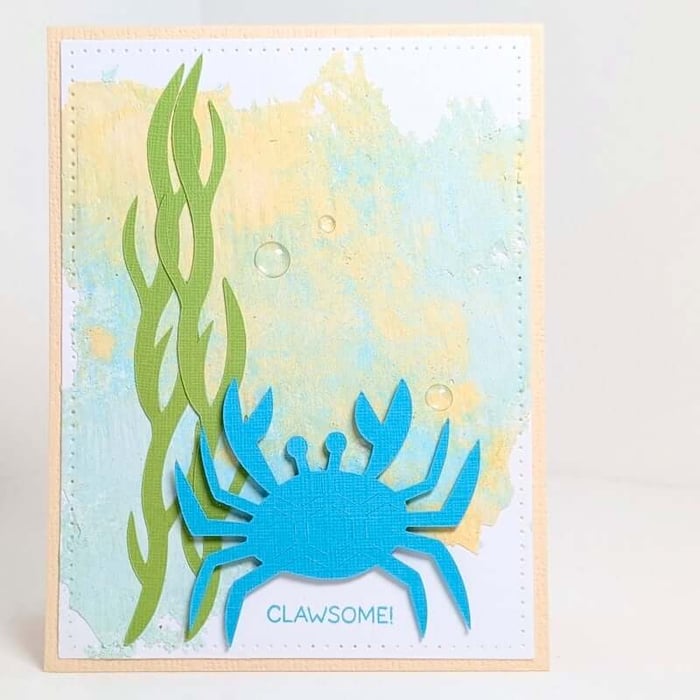
Lisa created the backgrounds below by choosing embossing powders in colors to compliment the Beachcomber collection.
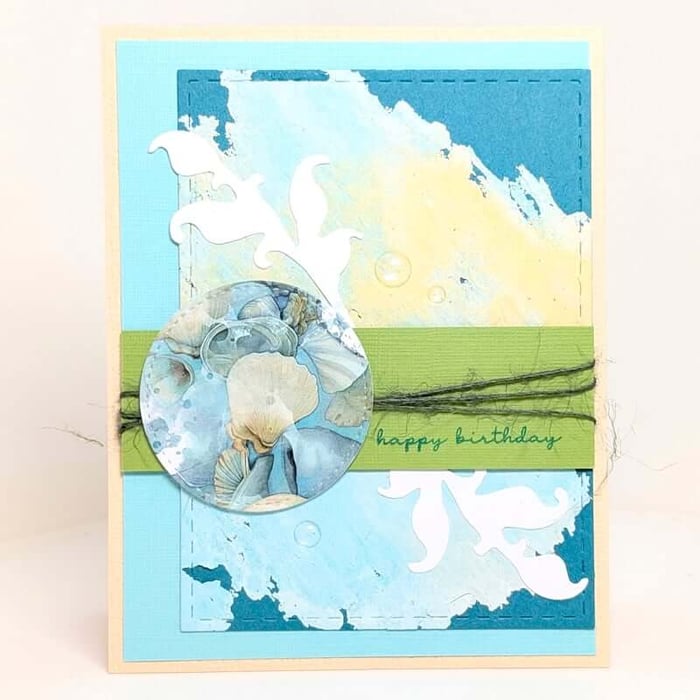 I love how she paired the backgrounds with fun die cut shapes and sentiments from the Beachcomber stamps.
Embossing Powder Skin - Alternate Method
Since I was unable to locate my spray adhesive, I came up with an alternative way to achieve similar results.
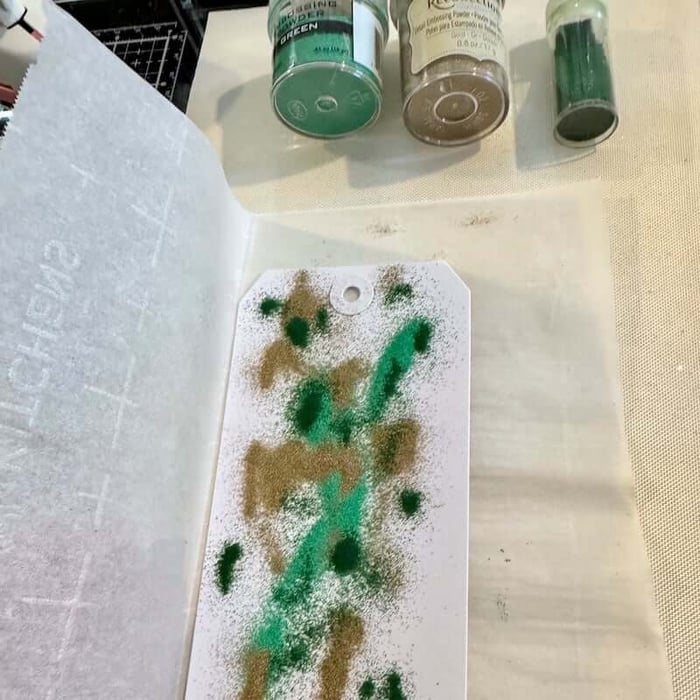
Place a white tag onto a piece of parchment paper. Sprinkle with a variety of EP colors.
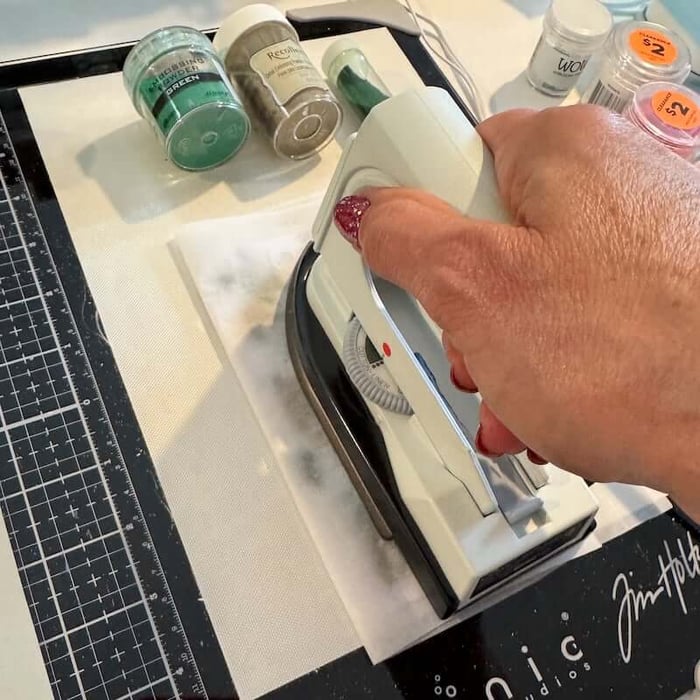
Place a second sheet of parchment paper over the powder. Press the parchment sandwich with a very hot iron to melt the EP.
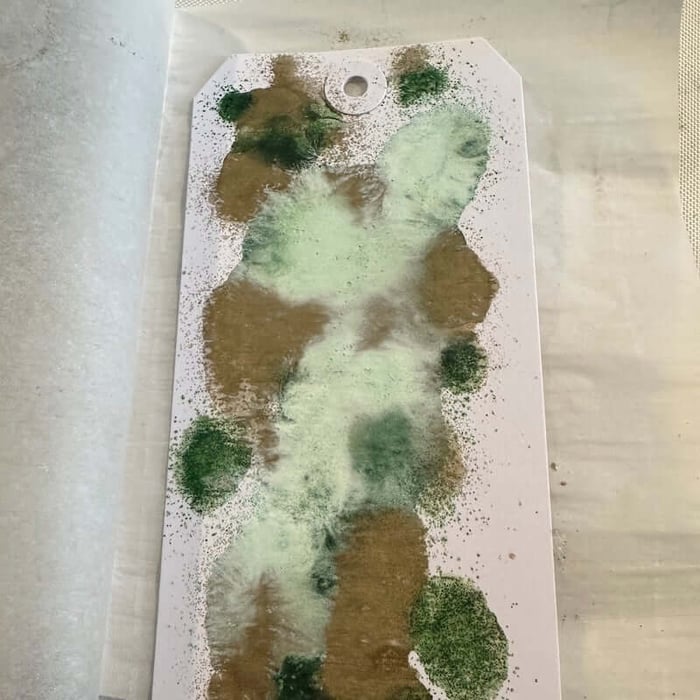
Remove the iron and allow to cool to the touch. Once cool, carefully peel the parchment paper from the tag.
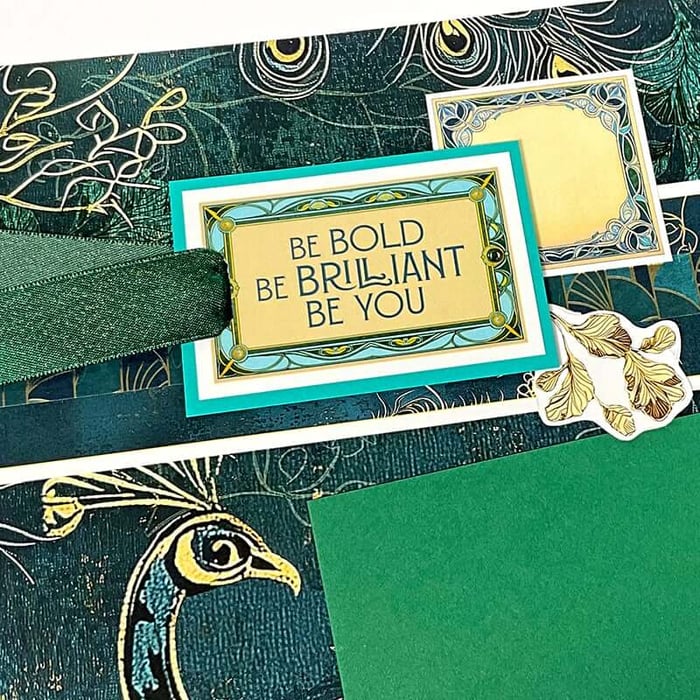
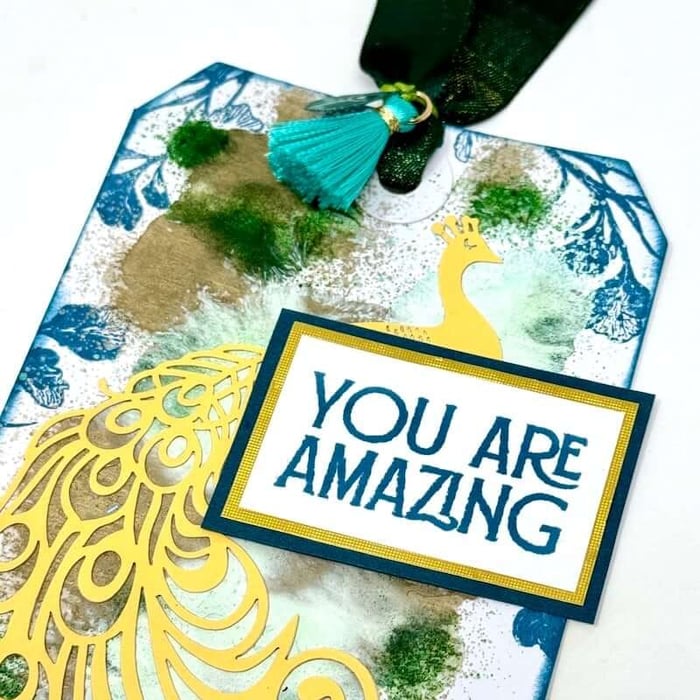
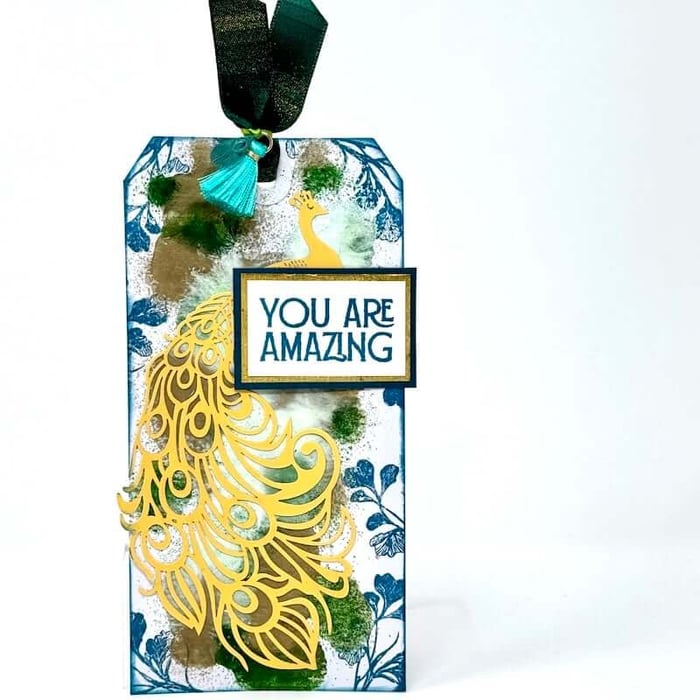
Now the background is ready for embellishment! Dispense Bookbinding Glue onto the back of a Laser Cut Peacock with a Needle-tipped Applicator.
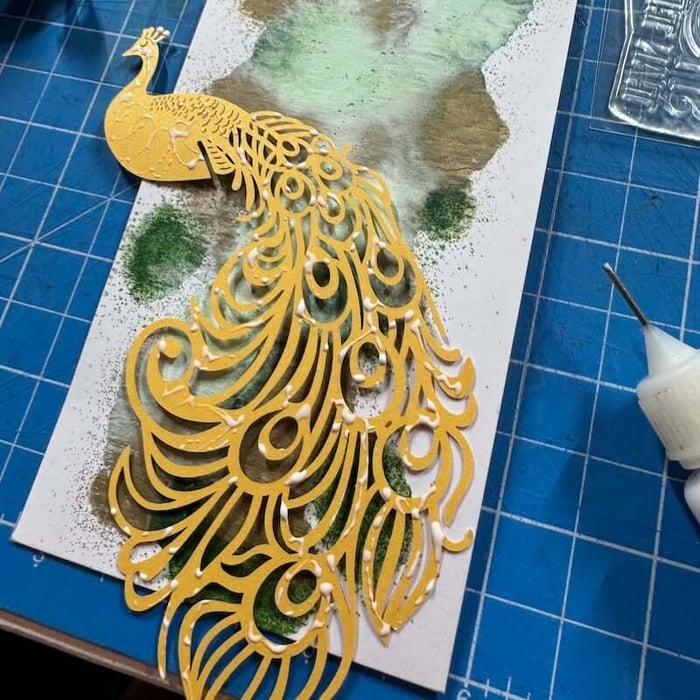
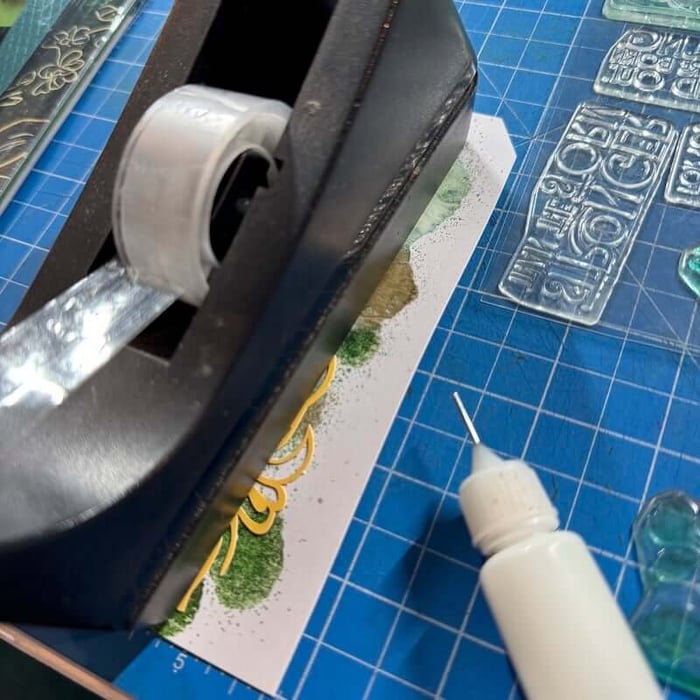
Position the peacock in the center of the tag. Tip: Cover with a heavy object ensure proper adhesion.
Stamp the leaf images around the outside edges of the tag with Uncharted Mariner Distress Ink*.
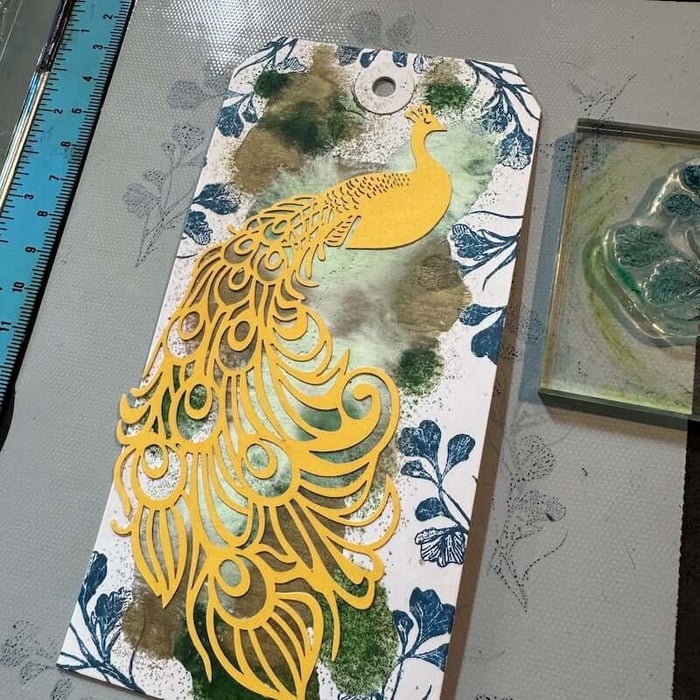
Distress the edges of the tag with the same ink.
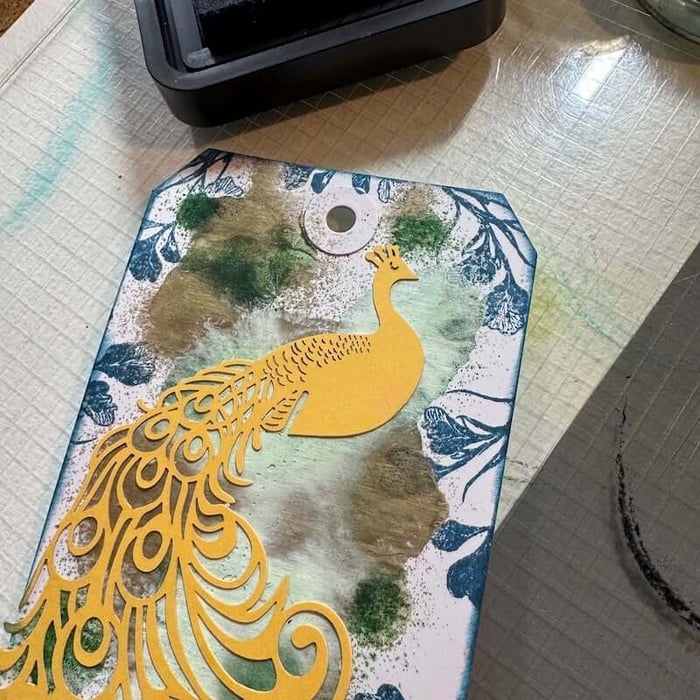
Add a stamped sentiment, ribbon, tassel and charm to complete the tag.
We hope you'll give this fun technique a try! Don't own spray adhesive? Give the alternative a try and let us know what you think.
We invite you to share your finished artwork on our Facebook Chat Group. Not a member of the group yet? Simply answer a few questions and we'll get your request processed in no time!

*As an Amazon Associate, Club Scrap earns from qualifying purchases. This means we may earn a commission if you make a purchase through links on our site. Thank you for supporting us!