
Embossed papers add depth and texture to your scrapbook layouts.

To create this layered decorative border, follow these simple steps.
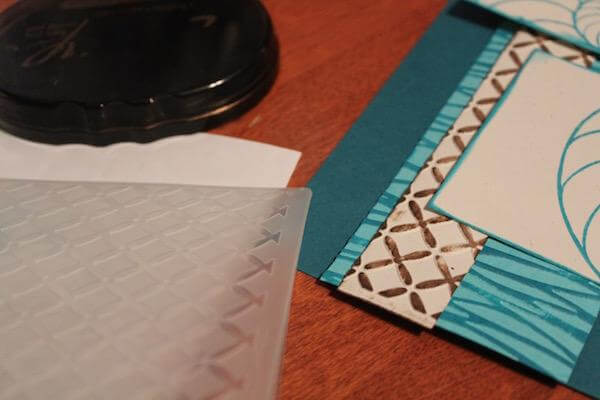
1. Run a 2.5x12" Lt. Turquoise border strip through an embossing folder* beginning at one short end.


2. Rotate the border strip and emboss the opposite end.

3. Cut the border strip in half. (Note: Dry embossing causes the border strip to shrink in size.)

4. Add color to each piece by swiping an Ocean Ink pad across the raised areas. Adhere the border strips to a 12x12" Dk. Turquoise base paper.

5. Trim a 3x12" strip of Eggshell paper horizontally at 9, 6, and 3".

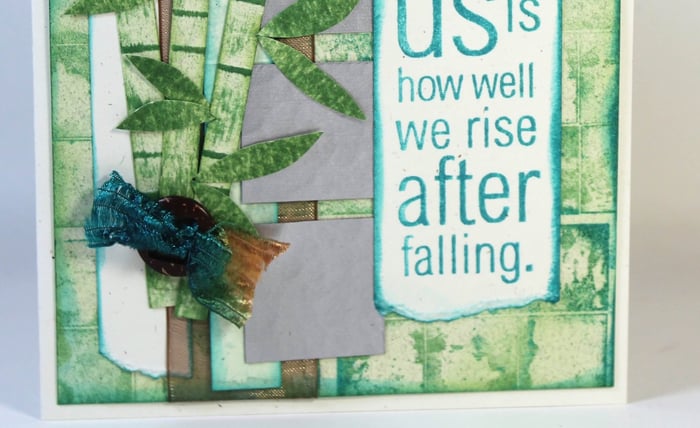
6. Stamp the nautilus image (UM Borders and Backgrounds) onto the Eggshell squares with Ocean Ink. Attach one of the squares to the layout making sure it covers the gap in the border strip.

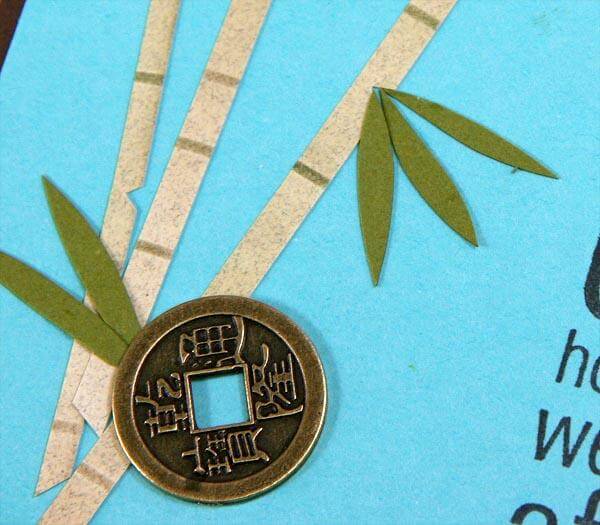
7. Die cut leaves from Dk. Green paper. Fold edges of the leaves and distress with Ocean Ink.

8. Trim a 1x12" piece of Eggshell paper at 6" and emboss**. Swipe raised areas with Earth Ink.

9. Stamp the sentiment (The Blues B&B) onto an Eggshell panel and layer onto a Brown matte.

I hope this embossed border tutorial made an impression!
 Julie
Julie