
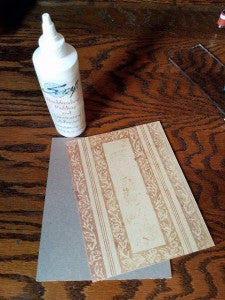
Every year at Retreat I buy this 32 ounce jug of Bookbinding Glue.
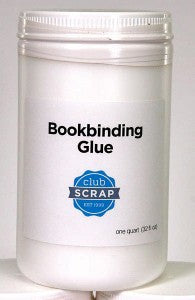
This amazing product is acid-free, quick drying, and easy to use. You would think that 32 ounces is A LOT of glue and it would take forever to use it up, but I use it for everything: Bookbinding, laminating, painting and adhering. I even use it for everyday fixes in my home. I have an extensive history of breaking things--just ask my husband! I want to share my favorite ways to use this awesome product with you.
1. Fuse paper to book board or chipboard
A thin coat of glue will create a strong bond adhering papers to your project. Just keep in mind, you have to work quickly because it dries fast and it's PERMANENT. You will destroy the paper and/or the project surface if you try to separate them--don't ask me how I know.
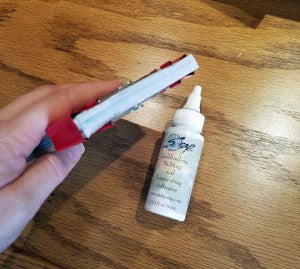
2. Adhere small embellishments

The needle-tipped applicator is by far my favorite way to apply this glue. The applicator dispenses the perfect amount to attach buttons, charms, metal embellishments (and more) to your projects. I no longer have to purchase boxes and boxes of glue dots!
3. DIY pads of paper
Create paper pads with scrap papers or index cards.

Gather a stack of same-sized papers and use binder clips to hold them in place. Brush a thick coating of Bookbinding Glue onto one edge and let dry completely. Repeat this step 2-3 times.
Once dry, remove the binder clips and enjoy!

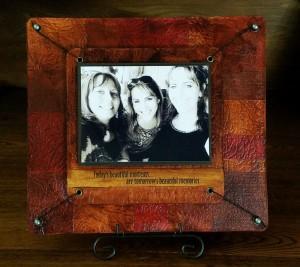
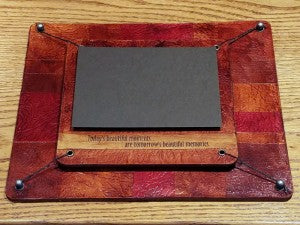
4. Varnish
First, mix several drops of Walnut Stain Distress re-inker into a small puddle of glue. Add a few drops of water to thin to desired consistency.

Use a brush to quickly apply mixture to the project surface. Repeat layers until you reach desired color. The mixture dries quickly to the touch, but allow extra time for the tackiness to completely go away.

5. Prevent fraying
With May's Adirondacks collection, I couldn't get enough of the burlap accents. The deluxe kit came with a sheet of coated burlap that I quickly used up. I tried cutting shapes from burlap scraps from my stash, but the pieces fell apart shortly after cutting. I took a chance and brushed Bookbinding Glue onto the back side of the burlap and set it aside to dry.

Once dry, I used a die to cut hearts from the burlap. Guess what? My hearts held together perfectly!


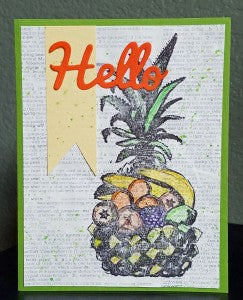
6. Homemade Gesso
To make homemade gesso, mix together 1 oz Bookbinding Glue, 1 oz white acrylic paint and 1 oz baby powder. Blend well, then add anywhere from 1/4 to 1 oz water to achieve desired thickness. I love to use gesso to tone down busy papers. Brush a thin coat onto a dictionary page. Once dry, add stamped images and and color with your favorite medium.
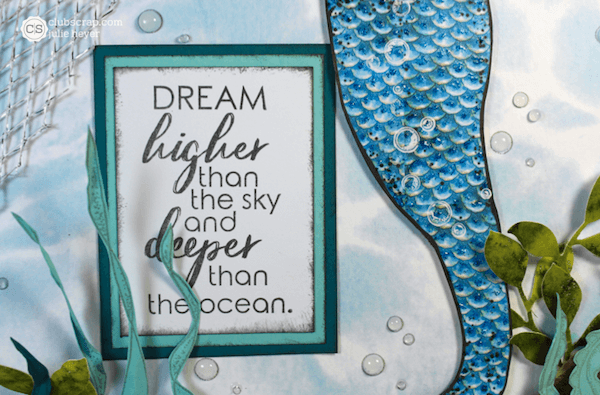
7. Homemade Texture Paste
The recipe for texture paste is virtually the same as the gesso above, except it's made with less water. Coat a panel with paste using a small craft spatula. Next, place a second panel on top, smoosh them together, then pull them apart quickly to create awesome texture. Let dry. Blend Oxide inks onto textured panel and add drops of water to create dotted appearance.

8. Homemade Shimmer Mist
To create custom shimmer mists, mix together 1 tablespoon acrylic paint, 1/4 teaspoon PearlEx powder, 1/4 teaspoon Bookbinding Glue and 3 oz distilled water. Pour into a spray bottle and pair with masks or stencils to create stunning designs.

What is your favorite way to use Bookbinding Glue?